Paper Circuit Accordion Book
An hour or two
Ages 11+
What Will You Make?
In this tutorial, we will show you how to make a highly customizable paper circuit accordion book, with a series of connectable templates, powered by a single battery! An accordion book is a type of book that has pleated pages that are folded back and forth from one long continuous piece of paper.
What Will You Learn?
While making this project, you will learn how to create an interactive accordion book with pages that light up in different ways, using your own images and text.
First, you will learn how to construct several stand-alone circuits, some of which include switches and sensors. Afterwards, you’ll learn how to connect them together to create one highly interactive parallel circuit that only requires a single battery to power. You’ll even learn how to make a paper battery holder.
Practice with Templates
Tape Templates
Because familiarizing yourself with each of the paper circuit templates can help stimulate ideas, I suggest starting with them.
Set aside the Battery Cover Template; we’ll be coming back to it later in this tutorial.
Next, start adding Conductive Fabric Tape to the gray areas of each remaining template, noting that two have been left unfinished to allow you to customize your own circuit designs.
Because Conductive Fabric Tape is equally conductive on its adhesive side, you can use scissors to cut it, overlapping pieces on top of one another to ensure a solid physical and electrical connection.
Stay Below the Battery Outline
When using a Blank Template, design your circuit below the circular battery outline.
We suggest this, because the top two inches of each template will be used for adding power and ground lines that connect all of the templates together.
The circuit in the first photo is too high up on the template, but the circuits in the second photo are just right.
Add Components
Once you’ve taped your templates, the next step is adding your LEDs and a piece of Pressure Sensitive Conductive Plastic. I’m using axial LEDs for this project, but you might choose to use LED Circuit Stickers (or a combination of axial LEDs and white Circuit Stickers).
Like Circuit Stickers, axial LEDs are diodes, meaning that the direction in which they are taped down matters to the electrons trying to pass through them. While axial LEDs are not as flat as the Circuit Stickers, they have a slimmer profile than most through-hole LEDs. They are also more easily repositionable than Circuit Stickers, which is handy when you make a mistake.
Use small pieces of Conductive Fabric Tape to secure the LEDs on top of the conductive traces you added to the templates in the last step. Doing so will ensure a more robust electrical connection than Scotch tape.
Before taping down an LED, check its polarity. The negative leg of a prototyping, or axial, LED is marked with a small black line on its back side.
Add Pressure Sensitive Plastic
The last component you’ll be adding will result in a cool fading effect.
The Switch/ Pressure Sensor Template has an outline for a piece of Pressure Sensitive Conductive Plastic.
In order to secure it in place, use a glue stick on one side of the plastic and place it sticky side down on the template.
Making and Using a Battery Holder
Prepare Battery Holder
The next step is to fold and secure your battery holder. To get started, use scissors to cut out one of the cardstock copies to include in your accordion book and use the other as a visual reference.
Please observe that the Battery Holder Template used in this project, with the positive (+) lead on the right, has been designed to match up with the positive and negative traces of the Battery Cover Template.
Taping Battery Holder Step 1
After you’ve cut the battery holder out, add Conductive Fabric Tape to the gray area on the front, letting any extra hang down.
Next, turn the holder over to the back side. Add another piece of tape, starting from the bottom edge, following the direction of the arrow, and stopping where the gray outline ends.
Taping Battery Holder Step 2
Then, flip the holder upside down. Keeping the holder in an upside down position, fold the leg of the holder along the dotted lines to create a tab that will come in contact with the battery. When you make the final fold, flip the holder upright and allow the conductive leads to hang down. Lastly, add the battery (negative side up).
The Flap Acts as a Switch
If you are soon planning to use the battery to power your circuit, tuck the flap around the outside of the conductive tab. If you are not ready to use the battery, tuck the flap between the battery and the conductive tab.
Tips, Tricks & Call-outs
When preparing to use your battery holder to power your circuit, be careful to avoid tucking the paper flap between the battery and the folded tab inside the holder. Otherwise, the battery will be insulated from the rest of the circuit and the LEDs will not turn on. While it may take a little practice, one of the benefits of using this type of battery holder is that you can switch the circuit off and on by simply repositioning the flap. Having the ability to switch the battery on or off with the flap is a great way to conserve the life of your battery!
Tape Down Battery Template
If you haven’t already done so, separate the folded accordion book pages and lay them on a flat surface. The top layer will hold the artwork and text, illuminated by the circuit layer below.
Adhere glue or a piece of double stick tape to the top back edge of the completed template, centering the template upon the first page of the circuit layer of your accordion book. Once adhered, there should be about ¼” of brown paper peeking out from under the top and bottom of the template. You’ll learn how to use this space to accommodate thin magnetic strips later in this tutorial.
Building the Book
Add Templates to Circuit Layer
Now that you’ve adhered the Battery Cover Template, the next step is adding the rest of your completed templates to the circuit layer page of your accordion book.
The order in which you place the remaining templates does not matter, in terms of how the circuit will function, although you may wish to alternate between switched templates and those without switches.
Tips, Tricks, and Call-Outs
While the circuit would still work electrically if the battery was placed on the last page, rather than the first, a benefit of placing it at the start of your book is that you may easily add more pages to the end of your accordion should you wish to.
When adding the next template, line up its top and bottom edges with the Battery Cover Template you’ve already tacked down.
Create Insulating Bridges
Before you can connect all of your templates together, you need to create some insulating bridges for the negative ground rail to cross over. Creating bridges to cover up the positive leads of the circuit will help you prevent a short circuit. To do so, simply cover the positive traces near each battery outline with a piece of washi or Scotch tape.
Connect Templates Together
The last step in constructing your circuit layer is to connect all of the templates together! In the process, you will be creating a very long parallel circuit!
Use Conductive Fabric Tape to connect the negative lead of the battery holder, crossing the bridges you constructed and connecting to each template by crossing over the positive battery outlines.
Repeat this process for the positive lead of the battery holder, by taping straight across the entire length of the circuit. As you work, press the tape down, ensuring that it is fully adhered to the paper and conductive tape that it is crossing over.
Avoiding Wonky Connections
Because you are adding Conductive Fabric Tape on top of itself, as you connect all of the templates together, it’s important to check your joints. If two pieces of conductive tape merely touch, rather than overlapping (depicted in the first photo), you will end up with a wonky circuit. As a result your circuit might not turn on, or it might only turn on intermittently.
To solve this problem, press down or add patches of conductive tape to areas with weak connections (depicted in the second photo).
Test Your Circuit
Finally, it’s time to verify that the LEDs in each of the connected templates are working. Place the battery in the holder, ensuring that the flap is not insulating the battery. When you press down the switches, do the LEDs light up? If not, check to see that each LED is well-taped, bridges are in place, and taped connections are overlapped and secure.
Add Magnets
I found that adding some thin magnetic strips along the top edge of my circuit page was a good way to keep the art layer in place on top of the circuit layer.
First, hold the magnet from a short end.
Next, cut it into halves; press the pieces together with the black sides facing inward.
Then, cut several 1/4″ tall magnetic strip pairs from the joined halves.
Adhere the magnets along the top edge of the circuit layer page.
I usually add one per page, with two on the front and back covers.
Personalize Your Book
Laying Out The Book
Now that you have a functioning circuit, you can add artwork and text. I used a combination of hand-drawn designs, made with a white paint pen on black paper, and paper outlines that I cut out using a Cricut machine.
While brainstorming, I found it helpful to position the pages so that the art layer and the circuit layer were stretched out parallel to one another.
If you are working on a small surface, it might be easier to keep most of the pages folded, focusing upon one or two at a time.
Planning for Light
You may notice that I punched small holes in these pages, to allow more light to shine through. I’ll be explaining how to do this in the next step.
Since I have very large handwriting, I decided to glue typed text inside of little mini accordions that I made from printer paper.
Using a Screw Punch
If you want more light to shine through the art layer of your accordion, consider using a Japanese Screw punch to make small, neat holes, precisely where you want them.
Use a mat under a screw punch to protect surfaces. With the LEDs lit, use a pen to mark areas needing holes. Hold the punch over the marks and push down.
Lights will be more diffused in areas without holes. Lights will be brighter where you’ve punched holes.
Making the Cover
To make a book cover, fold the 6 ½” H X 12” W piece of colored paper so that it has a front cover, spine, back cover, and a flap. Since the accordion pages are 4 ½” W, the front and back covers need to be folded a little wider, at 4 ¾” W. If you fold the paper to accommodate a ½” W spine, the flap that will help keep your book closed (once it’s glued on) will be 2″ W.
If you’d like for your book’s cover to remain secure, you may tape or glue it on.
Do so by attaching the first page of the circuit layer down to the side of the colored paper cover without the flap. The flap, which should remain loose and unglued, was designed to wrap around the last page of the accordion, to keep if from flying open.
What Is Happrening Here?
Storytelling and Electronics
This STEAM project combines the art and craft of story telling with electronics, blending them together to create an interactive piece of art in the form of an accordion book. Similar to the way you might add a splash of color to an illustration with paints, markers, or Crayons, it’s also possible to use LEDs, switches, and sensors to help convey an idea or tell a story.
Because there are different ways to approach this project, I’m going to mention a couple that might help you get started.
One way to begin is by brainstorming a concept or idea, imagining artistic elements that might match up with each paper circuit template, to help communicate a mood or illustrate a story. In my case, I knew from the start that I wanted my book to document my time in the woods.
Another way to approach this project is to construct the entire circuit layer, independent of any specific creative outcome, letting the functionality of each template stimulate ideas and inspire content.
While some people prefer to start out with a fully formed idea, others may feel more excited about having the electronics completed first, allowing them to focus completely on the content. No matter which entry point suits you best, the directions that follow will show you the basics of constructing an interactive accordion book that uses a single battery to power a series of paper circuit templates.
What Is Next?
Additional Resources
To take this project a step further, here are some ideas to consider:
If you used axial LEDs, try Circuit Sticker LEDs next time.
If you created the circuit BEFORE creating your artwork, try mixing up the order next time.
Once you’ve assembled a completed project using templates, try a different configuration next time, including more blank templates that you design yourself.
Experiment with hand-cut and machine-cut artwork.
Collaborate with a partner to write and illustrate the story & design the circuit art.
To see a more detailed version of this tutorial, please visit the original Chibitronics Accordion Book Tutorial.
Chibitronics Educators Guide
Chibitronics Paper Circuits STEAM Educator’s Guide is a FREE comprehensive guide to STEAM (Science Technology Engineering Art and Math) learning with paper circuits!
This 185-page guide includes:
Overview and history of paper circuits, including materials, techniques and troubleshooting tips
Suggested learning standards
Resources on equitable teaching and collaboration in the classroom
7 detailed lesson sequences based on the Circuit Sticker Sketchbook in Part 1 Lessons
12 detailed lesson sequences based on Love to Code in Part 2 Lessons
6 Featured Projects: cross-curricular adaptable project inspirations
Printable templates for each lesson sequence
Throughout the guide, Chibitronics celebrates artists, educators, art techniques, and projects to showcase inspiring work in action. The arts are interwoven into each activity; STEM becomes a medium to ask and explore big questions about ourselves and the world, and nurture new forms of creativity!
Materials:
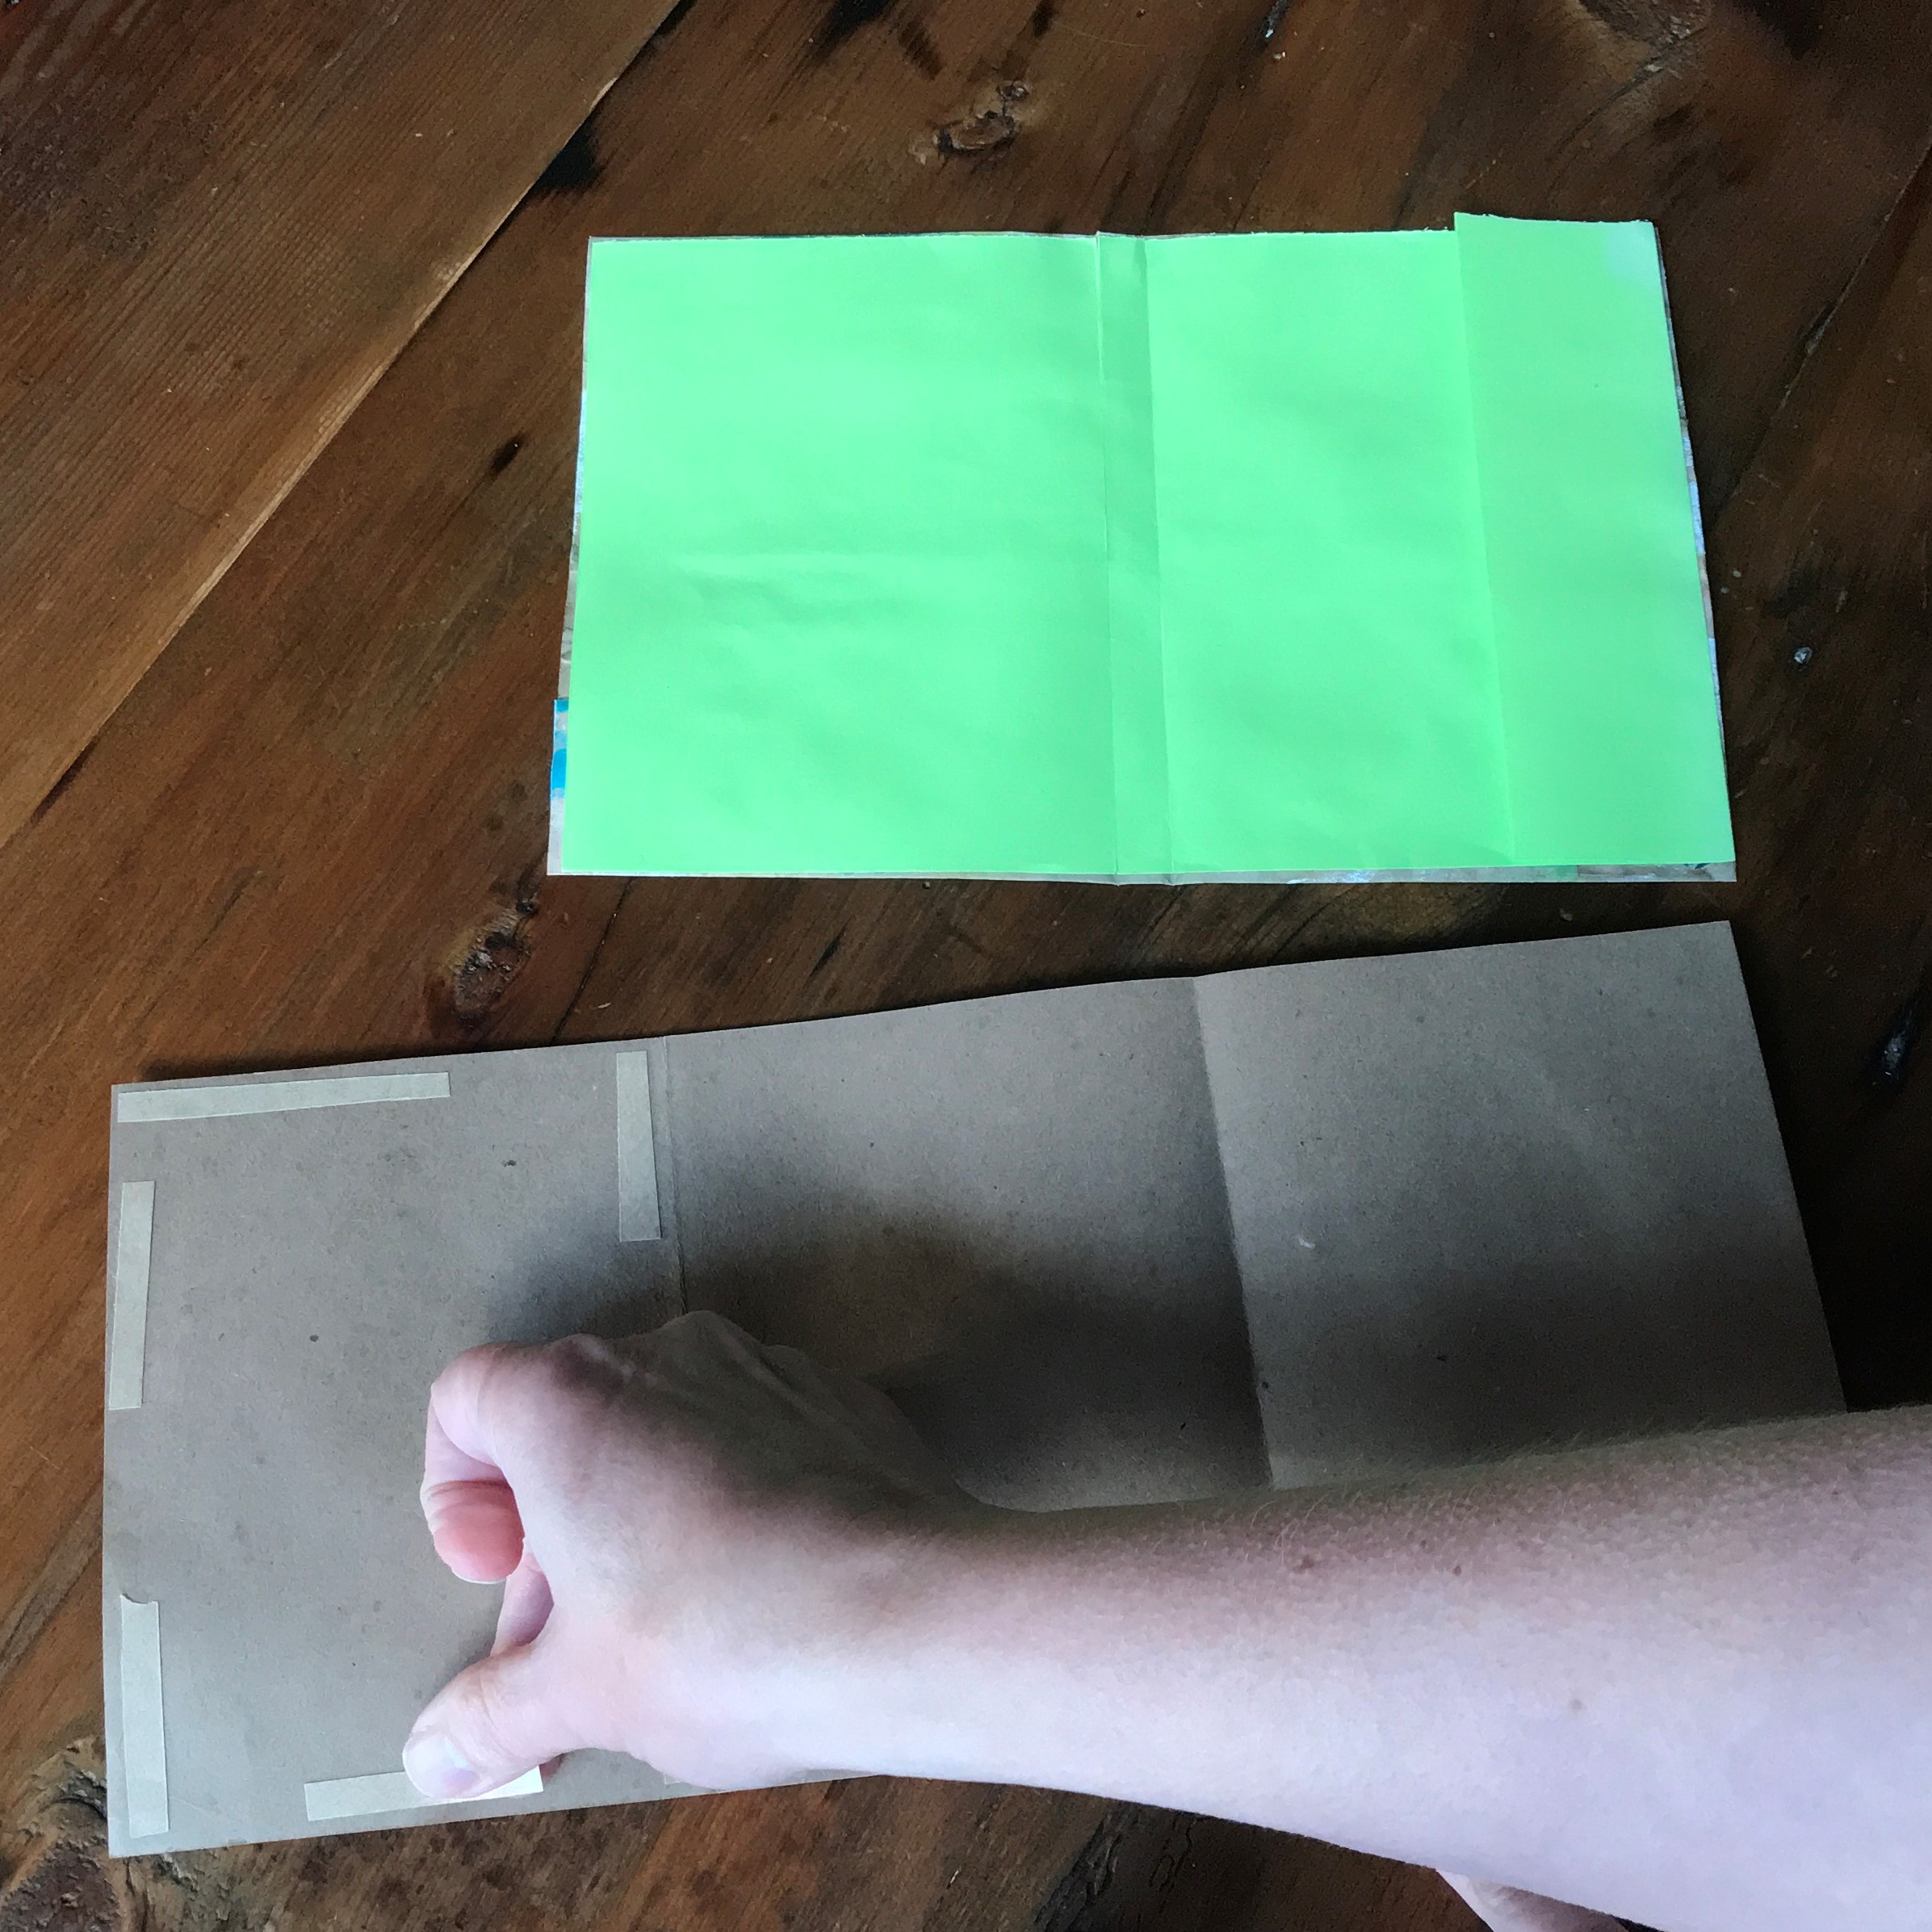
- 2 accordion book pages (6” H X 36” W). I’m using two pieces of brown craft paper, folded into eighths.
- 1 colored paper cover (6 ½” H X 12” W)
- Conductive Fabric Tape (10 meters/32 feet)
- 12 white prototyping/ axial LEDs OR 12 white LED Circuit Stickers
- 1 X 3V coin cell battery
- 1 piece of Pressure Sensitive Plastic (1 ½” H X ½” W)
- 2 printed battery holders (on cardstock) (see PDF)
- 1 X adhesive backed magnet (2″ H X 3 1/2″ W)
- 8 X printed paper circuit templates (see PDF) printed and evenly cut:
- Battery Cover Template, Paper Switch Template, Switch/ Pressure Sensor Template, Animation Switch Template, Parallel Circuit Template, Blinking Slide Switch Template, 2 Blank Templates
- Printer
- Ruler
- Scissors
- Washi or Scotch Tape
- Glue Stick
- Art supplies of your choice
- Double-Sided Tape (Optional)
- Japanese Screw Punch/ Push Drill (Optional)
See More Projects in these topics:
Arts & Crafts Electronics Paper Crafts STEM or STEAMSee More Projects from these themes:
Art/Craft Studio The Shop (Makerspace)Chibitronics
Maker Camp Project Standards
Based on NGSS (Next Generation Science Standards)
National Core Arts Standards
The National Core Arts Standards are a process that guides educators in providing a unified quality arts education for students in Pre-K through high school. These standards provide goals for Dance, Media Arts, Music, Theatre, and Visual Arts with cross-cutting anchors in Creating, Performing, Responding, and Connecting through art. The Anchor Standards include:- Generate and conceptualize artistic ideas and work.
- Organize and develop artistic ideas and work.
- Refine and complete artistic work.
- Select, analyze, and interpret artistic work for presentation.
- Develop and refine artistic techniques and work for presentation.
- Convey meaning through the presentation of artistic work.
- Perceive and analyze artistic work.
- Interpret intent and meaning in artistic work.
- Apply criteria to evaluate artistic work.
- Synthesize and relate knowledge and personal experiences to make art.
- Relate artistic ideas and works with societal, cultural, and historical context to deepen understanding.
NGSS (Next Generation Science Standards)
The Next Generation Science Standards (NGSS) are K–12 science content standards. Learn more.Forces and Motion
- 3-PS2-3. Ask questions to determine cause and effect relationships of electric or magnetic interactions between two objects not in contact with each other.
- HS-PS4-5. Communicate technical information about how some technological devices use the principles of wave behavior and wave interactions with matter to transmit and capture information and energy.
National Core Arts Standards
The National Core Arts Standards are a process that guides educators in providing a unified quality arts education for students in Pre-K through high school. Also see Standards with cross-cutting anchors in Creating, Performing, Responding, and Connecting through art for Visual Arts.ISTE Standards (International Society for Technology in Education)
The ISTE Standards provide the competencies for learning, teaching and leading in the digital age, providing a comprehensive roadmap for the effective use of technology in schools worldwide.1.1 Empowered Learner
- Summary: Students leverage technology to take an active role in choosing, achieving, and demonstrating competency in their learning goals, informed by the learning sciences.
- 1.1.a Students articulate and set personal learning goals, develop strategies leveraging technology to achieve them and reflect on the learning process itself to improve learning outcomes.
- 1.1.b Students build networks and customize their learning environments in ways that support the learning process.
- 1.1.c Students use technology to seek feedback that informs and improves their practice and to demonstrate their learning in a variety of ways.
- 1.1.d Students understand the fundamental concepts of technology operations, demonstrate the ability to choose, use and troubleshoot current technologies and are able to transfer their knowledge to explore emerging technologies.
1.2 Digital Citizen
- Summary: Students recognize the rights, responsibilities and opportunities of living, learning and working in an interconnected digital world, and they act and model in ways that are safe, legal and ethical.
- 1.2.a Students cultivate and manage their digital identity and reputation and are aware of the permanence of their actions in the digital world.
- 1.2.b Students engage in positive, safe, legal and ethical behavior when using technology, including social interactions online or when using networked devices.
- 1.2.c Students demonstrate an understanding of and respect for the rights and obligations of using and sharing intellectual property.
- 1.2.d Students manage their personal data to maintain digital privacy and security and are aware of data-collection technology used to track their navigation online.
1.3 Knowledge Constructor
- Summary: Students critically curate a variety of resources using digital tools to construct knowledge, produce creative artifacts and make meaningful learning experiences for themselves and others.
- 1.3.a Students plan and employ effective research strategies to locate information and other resources for their intellectual or creative pursuits.
- 1.3.b Students evaluate the accuracy, perspective, credibility and relevance of information, media, data or other resources.
- 1.3.c Students curate information from digital resources using a variety of tools and methods to create collections of artifacts that demonstrate meaningful connections or conclusions.
- 1.3.d Students build knowledge by actively exploring real-world issues and problems, developing ideas and theories and pursuing answers and solutions.
1.4 Innovative Designer
- Summary: Students use a variety of technologies within a design process to identify and solve problems by creating new, useful or imaginative solutions.
- 1.4.a Students know and use a deliberate design process for generating ideas, testing theories, creating innovative artifacts or solving authentic problems.
- 1.4.b Students select and use digital tools to plan and manage a design process that considers design constraints and calculated risks.
- 1.4.c Students develop, test and refine prototypes as part of a cyclical design process.
- 1.4.d Students exhibit a tolerance for ambiguity, perseverance and the capacity to work with open-ended problems.
1.5 Computational Thinker
- Summary: Students develop and employ strategies for understanding and solving problems in ways that leverage the power of technological methods to develop and test solutions.
- 1.5.a Students formulate problem definitions suited for technology-assisted methods such as data analysis, abstract models and algorithmic thinking in exploring and finding solutions.
- 1.5.b Students collect data or identify relevant data sets, use digital tools to analyze them, and represent data in various ways to facilitate problem-solving and decision-making.
- 1.5.c Students break problems into component parts, extract key information, and develop descriptive models to understand complex systems or facilitate problem-solving.
- 1.5.d Students understand how automation works and use algorithmic thinking to develop a sequence of steps to create and test automated solutions.
NGSS MS.Engineering Design
The Next Generation Science Standards (NGSS) are K–12 science content standards.- MS-ETS1-1. Define the criteria and constraints of a design problem with sufficient precision to ensure a successful solution, taking into account relevant scientific principles and potential impacts on people and the natural environment that may limit possible solutions.
- MS-ETS1-2. Evaluate competing design solutions using a systematic process to determine how well they meet the criteria and constraints of the problem.
- MS-ETS1-3. Analyze data from tests to determine similarities and differences among several design solutions to identify the best characteristics of each that can be combined into a new solution to better meet the criteria for success.
- MS-ETS1-4. Develop a model to generate data for iterative testing and modification of a proposed object, tool, or process such that an optimal design can be achieved.
NGSS HS.Engineering Design
The Next Generation Science Standards (NGSS) are K–12 science content standards.- HS-ETS1-1. Analyze a major global challenge to specify qualitative and quantitative criteria and constraints for solutions that account for societal needs and wants.
- HS-ETS1-2. Design a solution to a complex real-world problem by breaking it down into smaller, more manageable problems that can be solved through engineering.
- HS-ETS1-3. Evaluate a solution to a complex real-world problem based on prioritized criteria and trade-offs that account for a range of constraints, including cost, safety, reliability, and aesthetics as well as possible social, cultural, and environmental impacts.
- HS-ETS1-4. Use a computer simulation to model the impact of proposed solutions to a complex real-world problem with numerous criteria and constraints on interactions within and between systems relevant to the problem.