9790


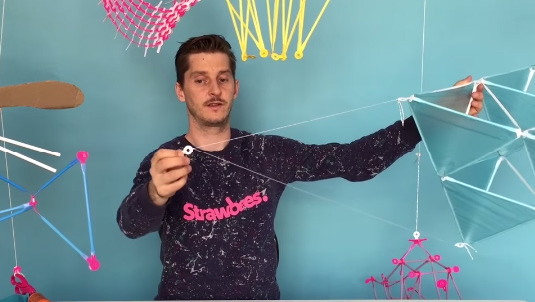
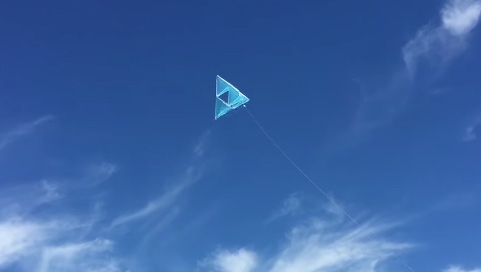
Strawbees Kite

Project hero image

TIME TO COMPLETE

An hour or two

WHAT WILL YOU MAKE?

When we step on the bottle, we compress the air inside it, forcing it to move up and out through our PVC pipe and into the rocket body. The air is unable to escape when it reaches the nose of the rocket, so it pushes upwards and downwards at the same time, causing our rocket to launch.

WHAT WILL YOU NEED?

  • Other Materials
  • Upcycled / Recycled materials

Project step photo 2

STEP 1

Build the tetrahedrons.

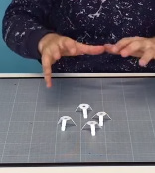
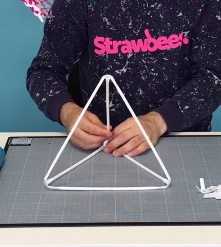
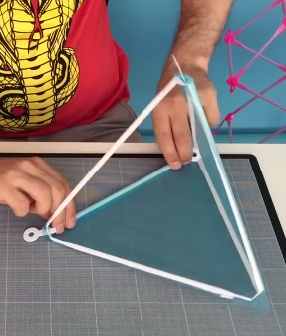
Grab four of the three-way connectors and bend their legs down. Attach six straws to the ends of the connectors so that you construct the tetrahedral shape seen in the photo on the left. Repeat this process with the 12 remaining three-way connectors and 18 straws so that you have four separate tetrahedrons.
Project step photo 2

STEP 2

Cut the plastic.

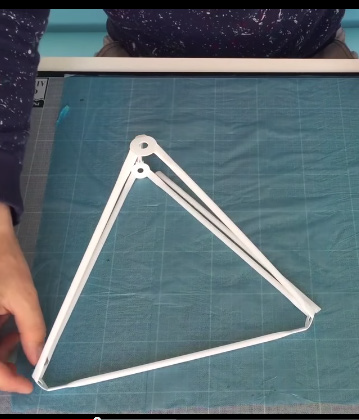
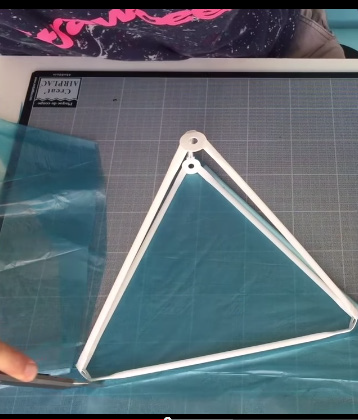
Cut a plastic bag open and lay it flat. » Place one of the tetrahedrons in a corner of the plastic and place a straw directly below it to mark its place. » Remove the tetrahedron and fold the plastic over the placeholder straw. » Place the tetrahedron back on top of the two layers of plastic and use a craft knife to trim off the edges around the triangle. Leave about 1/4" of plastic around the edges.
Project step photo 2

STEP 3

Attach the plastic.

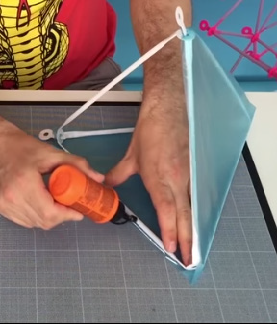
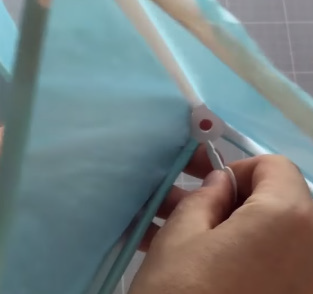
Insert a Strawbees one-way connector through the plastic and through the corner of the tetrahedron to secure it. Insert another at the opposite end. The plastic should now be taut around your tetrahedron. Now glue down all the edges of the plastic to the straws. It's a good idea to roll the plastic around the straws. Repeat steps 2-3 three more times so that you have four plastic-wrapped tetrahedrons.
Project step photo 2

STEP 4

Build your kite.

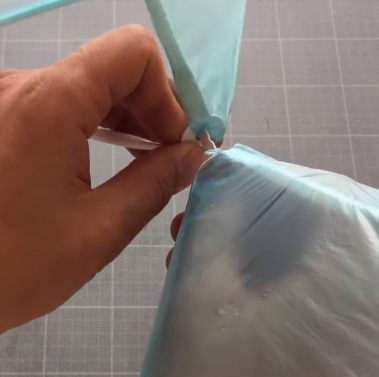
Remove all of the one-way connectors that you used to secure the plastic. Attach the four tetrahedrons together by inserting a one-way connector from the inside corner of one shape into the outside corner of another. Your kite should look like a pyramid with three tetrahedrons on the bottom and one on the top.
Project step photo 2

STEP 5

Attach the string.

Measure out and cut enough string to span 3x the length of one side of your kite. Attach a one-way connector to each end of the string by forming a small loop, pushing it through the hole in the connector, looping it around the arm, and then tightening the knot.
Project step photo 2

STEP 6

It's a good idea to reinforce this knot by tying a second knot with the remaining string. Insert each of the connectors to the top and bottom of the front of your kite.
Project step photo 2

STEP 7

Finish the kite and let it fly.

Pull the string that you just attached to the kite until you find its center point. Using the same looping knot method that you used in step 5, attach one more one-way connector to the center point of the string. Now, tie a piece of string that is long enough for your kite to fly high to this one-way connector that you have just attached.

WHAT'S NEXT?

If you do not have Strawbees connectors, no worries! You can make the same tetrahedral type kite using straws, string, and tissue paper as shown in this video.

Please Note

Your safety is your own responsibility, including proper use of equipment and safety gear, and determining whether you have adequate skill and experience. Power tools, electricity, and other resources used for these projects are dangerous, unless used properly and with adequate precautions, including safety gear and adult supervision. Some illustrative photos do not depict safety precautions or equipment, in order to show the project steps more clearly. Use of the instructions and suggestions found in Maker Camp is at your own risk. Maker Media, Inc., disclaims all responsibility for any resulting damage, injury, or expense.


Escape to an island of imagination + innovation as Maker Faire Bay Area returns for its 16th iteration!

Prices Increase in....

Days
Hours
Minutes
Seconds