Rainbow Spectroscope

TIME TO COMPLETE
An hour or two
WHAT WILL YOU MAKE?
You will learn to build a scientific device using a special spectroscope film — a diffraction grating. Then you will learn to view and decipher light spectra.
WHAT WILL YOU NEED?
- Cardboard
- Crafting Materials
- Other Materials
- Paper
- Tape (Duct, masking, etc)
- Upcycled / Recycled materials
STEP 1
Cut the Card stock
- Cut two squares of card stock that are large enough to cover the ends of the cardboard tube with space left over.
- If you do not have a cardboard tube, then use additional card stock to make a tube!
STEP 2
Add the Film
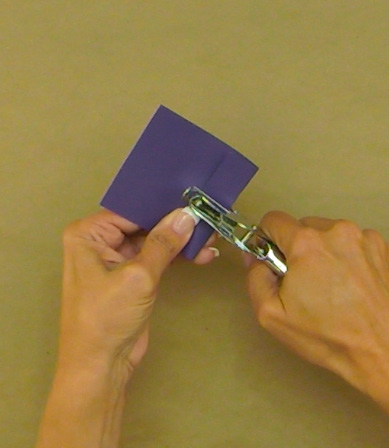
- Use the hole punch to punch a hole in the center of one of the squares of card stock. You might have to fold the edge of the square to get the hole punch over the center.
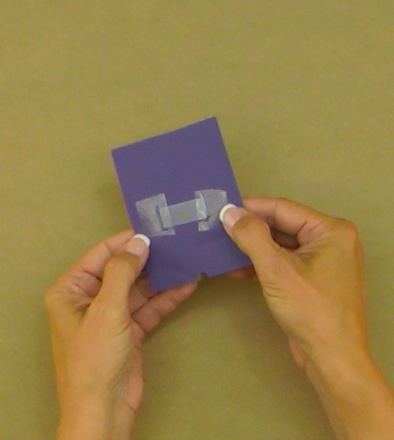
- Now tape a small piece of spectroscopic film over the hole that you punched. Do not get any tape over the hole!
STEP 3
Attach the Cardstock
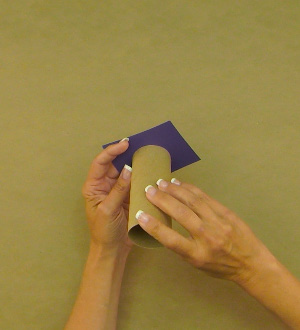
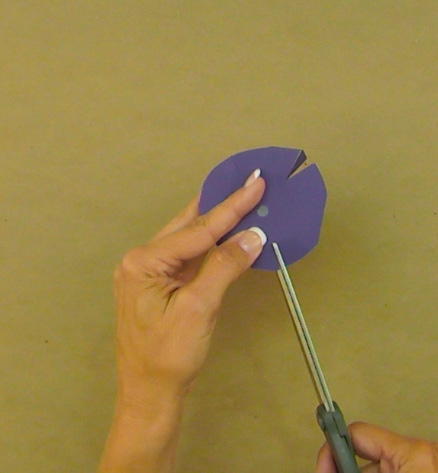
- Place the card stock with the spectroscopic film over one end of the cardboard tube.
- Cut the card stock into a circular shape and then cut slits towards the center all the way around the card stock. Be careful not to cut too far! Only cut up to the tube-- do not make any cuts where the card stock stretches over the opening.
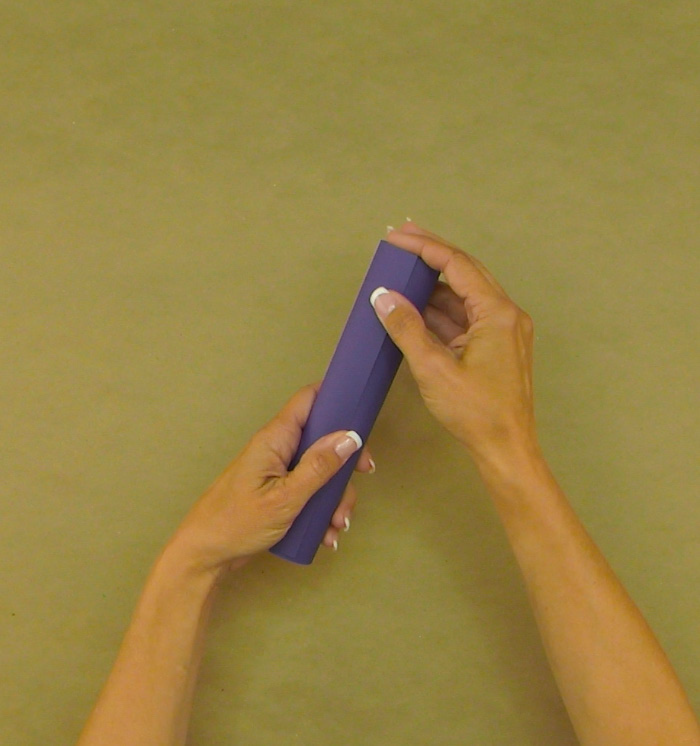
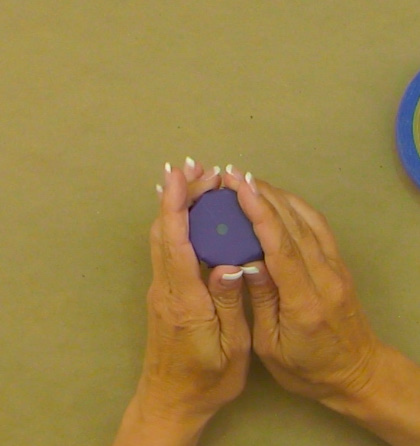
- Fold down the flaps that you made and tape the card stock to the tube by wrapping tape around the flaps.
STEP 4
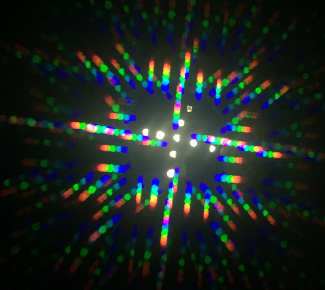
Option A Spectroscrope
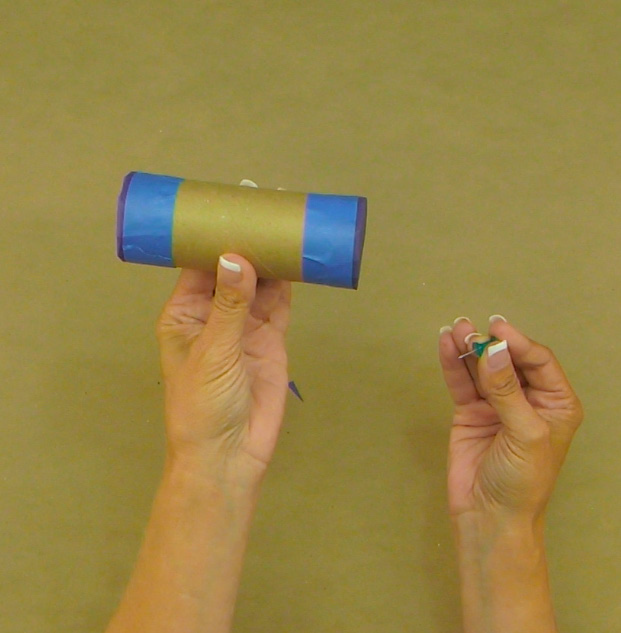
- Attach the other piece of card stock to the other end of the tube using the same process that you used in step 3.
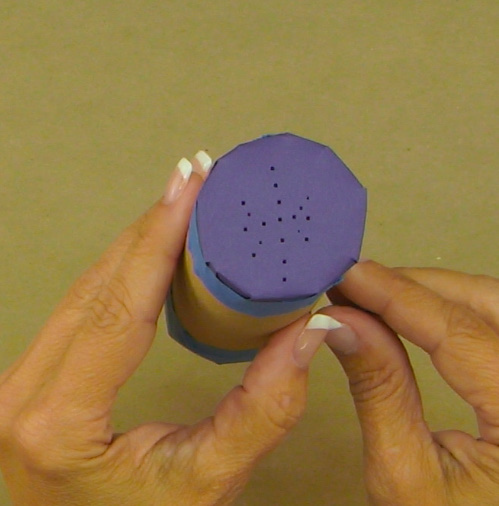
- Use the thumbtack to poke a pattern into the card stock. Be creative with your pattern!
STEP 5
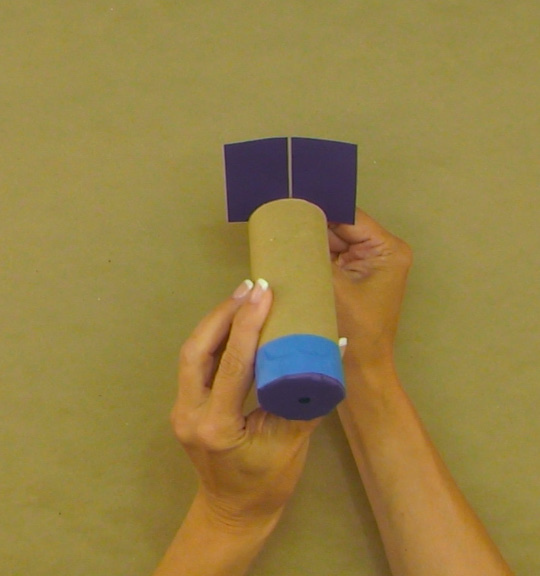
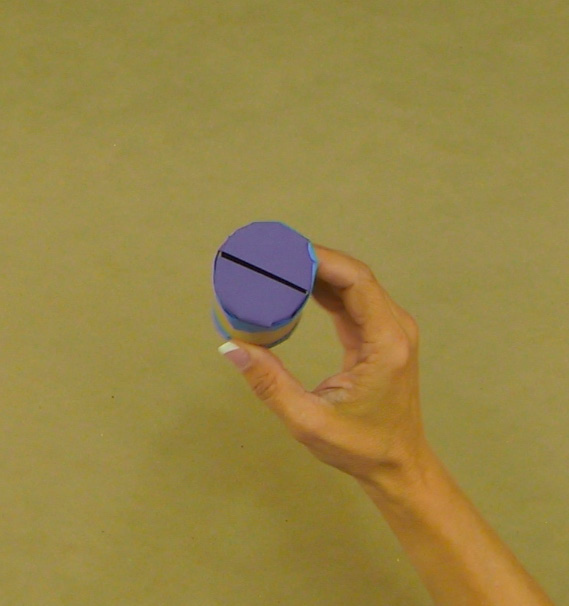
Option B Spectroscope
- Cut the remaining piece of card stock in half and center the two pieces over the end of the cardboard tube. Leave a couple millimeters of space between the halves.
- Before you tape the pieces down, look through the hole that you punched on the other end and turn the tube until the rainbows run parallel to the slit.
- After it is calibrated, tape the pieces down using the same method from step 3.
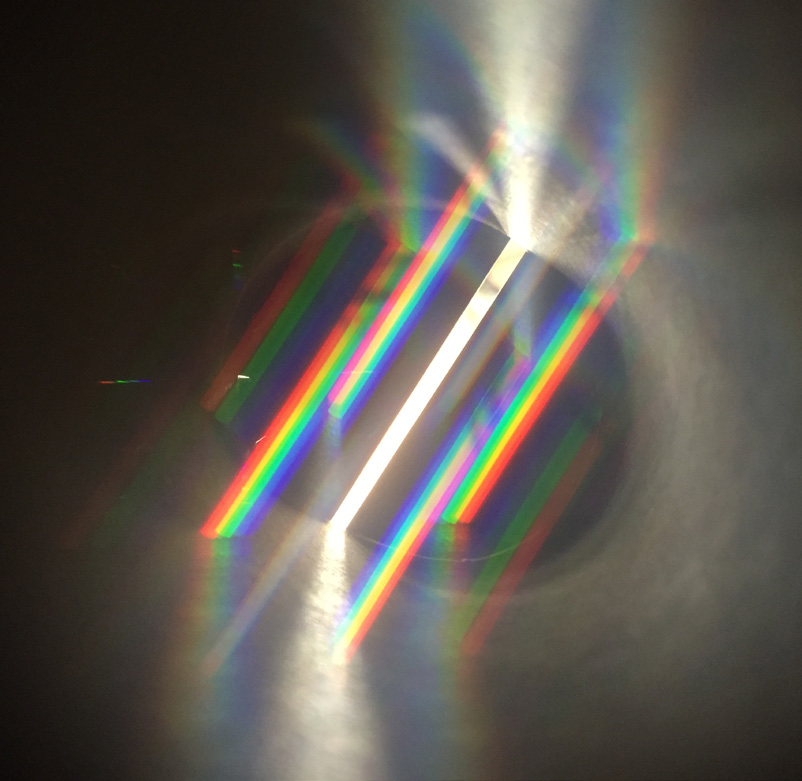
STEP 6
Look for Rainbows
- Look through the hole that you punched to see some rainbows!
- Try looking at different types of light such as fluorescent, incandescent, candlelight, daylight. etc.
- Remember, do NOT look directly at the sun!
Please Note
Your safety is your own responsibility, including proper use of equipment and safety gear, and determining whether you have adequate skill and experience. Power tools, electricity, and other resources used for these projects are dangerous, unless used properly and with adequate precautions, including safety gear and adult supervision. Some illustrative photos do not depict safety precautions or equipment, in order to show the project steps more clearly. Use of the instructions and suggestions found in Maker Camp is at your own risk. Maker Media, Inc., disclaims all responsibility for any resulting damage, injury, or expense.
