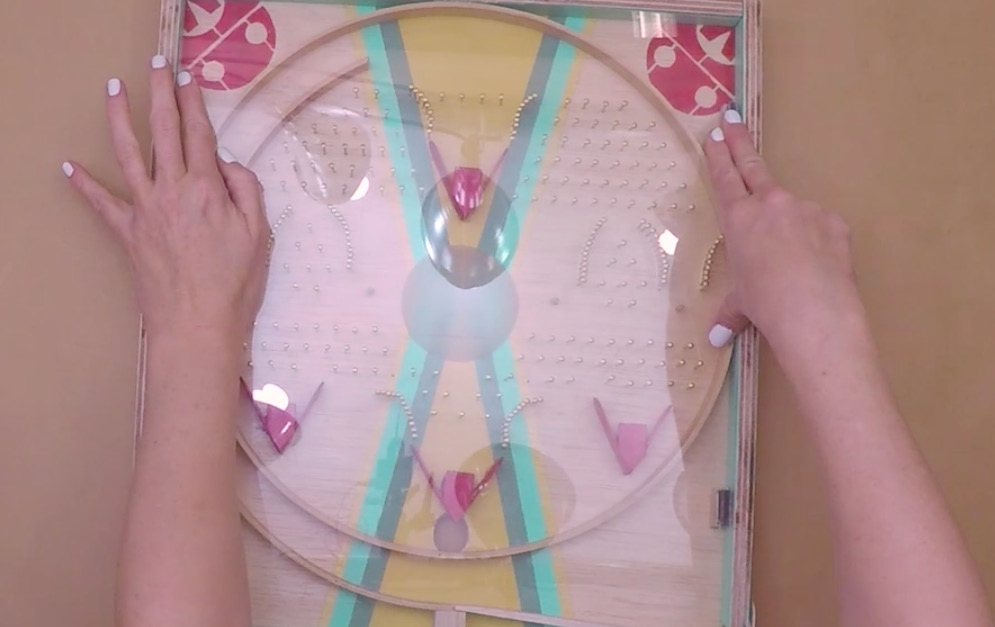
Pachinko Machine part 2

TIME TO COMPLETE
An hour or two
WHAT WILL YOU MAKE?
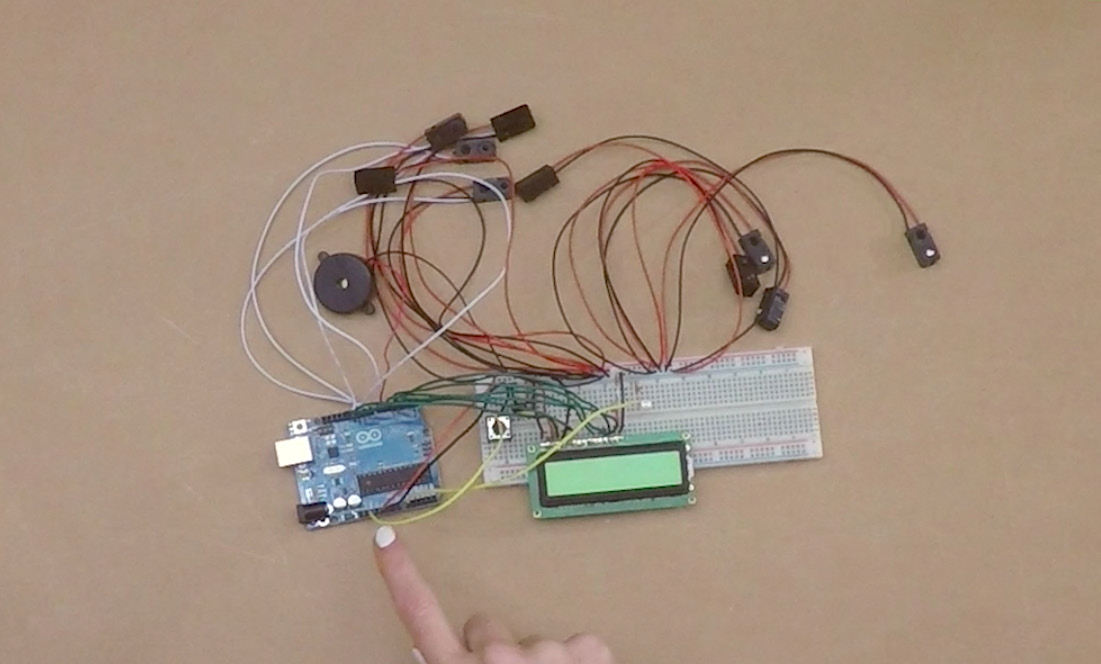
You will learn to use woodworking techniques such as hammering, drilling, sawing, sanding and careful measurment to fabricate a mechanical game originating in Japan. You will also connect electronic components so you can track points and add buzzers and lights.
WHAT WILL YOU NEED?
- Arduino
- Drill
- Electronics
- General Hand Tools
- General Plastics (polystyrene & polypropylene)
- Other Materials
- Tools
- Wood
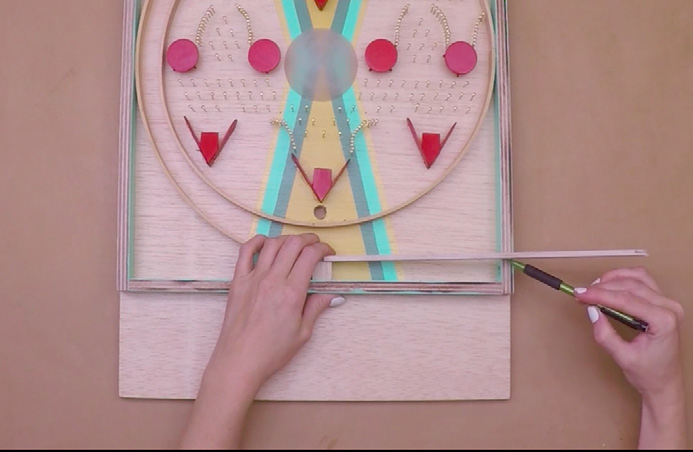
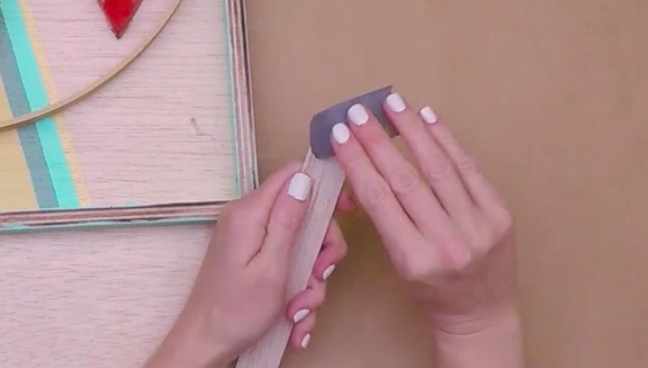
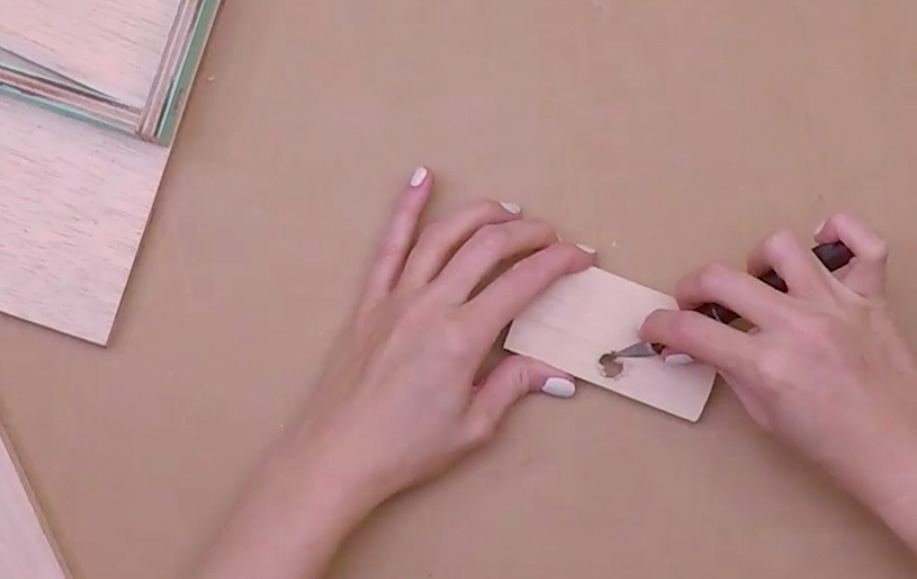
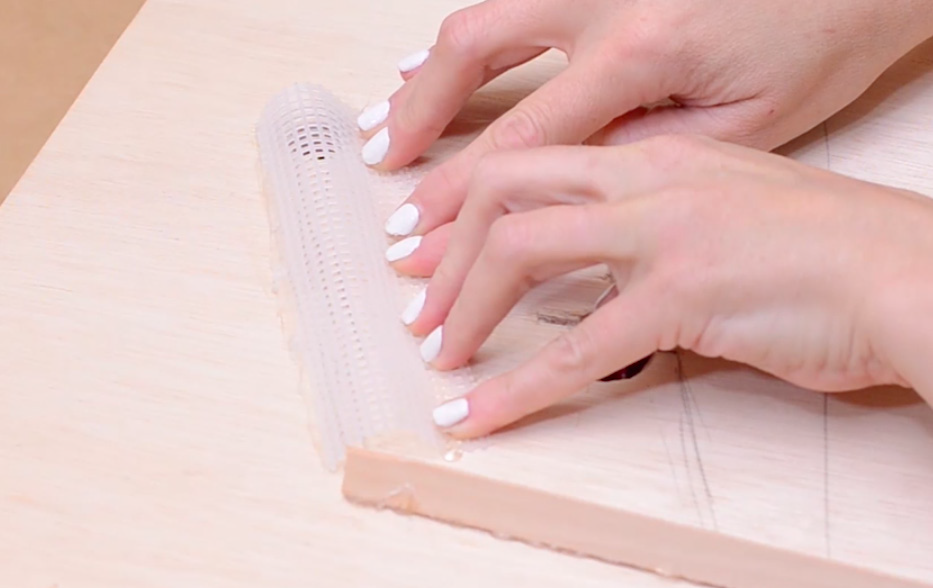
STEP 1
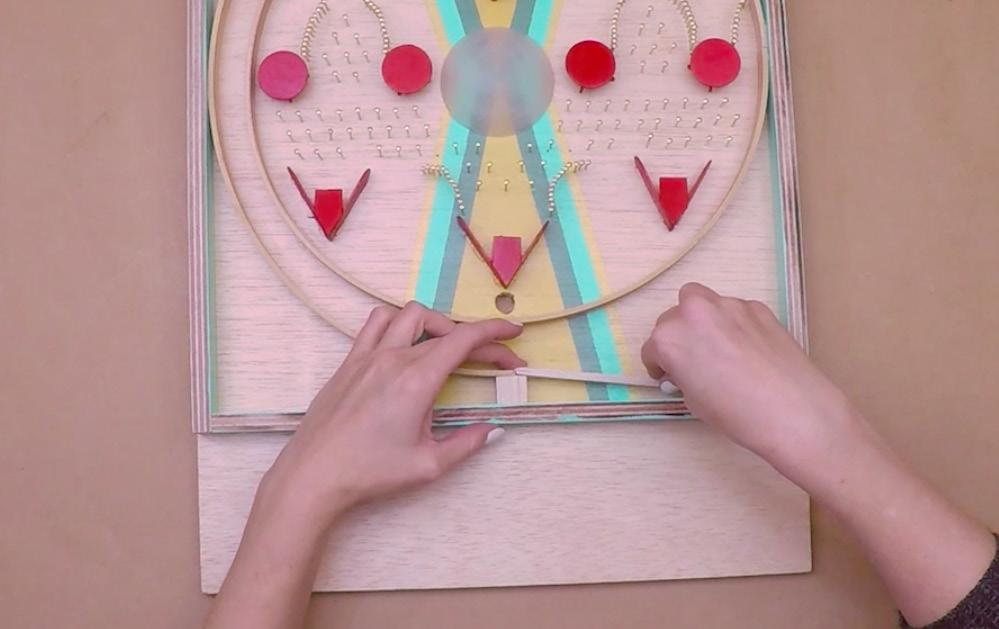
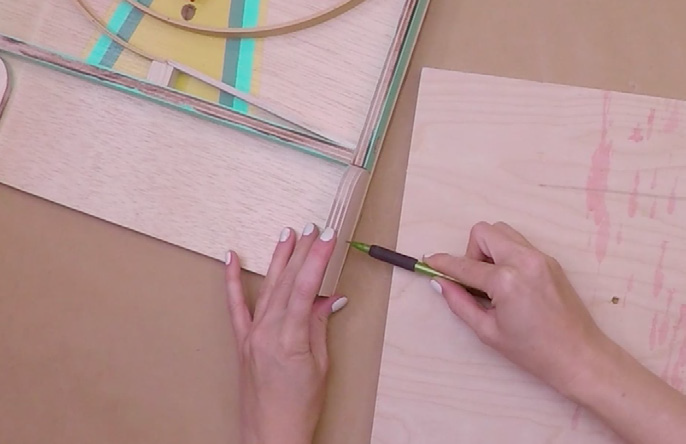
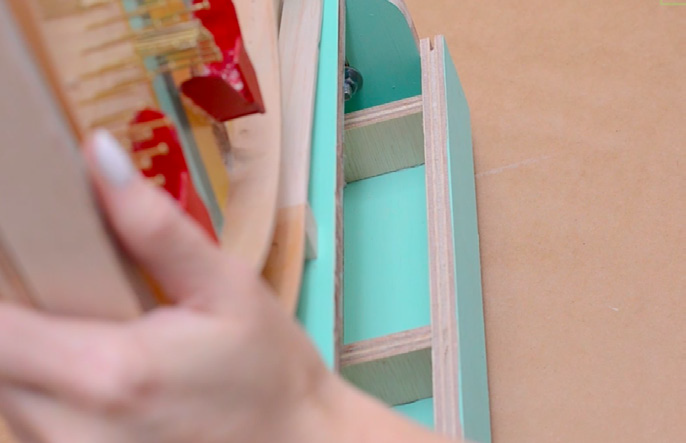
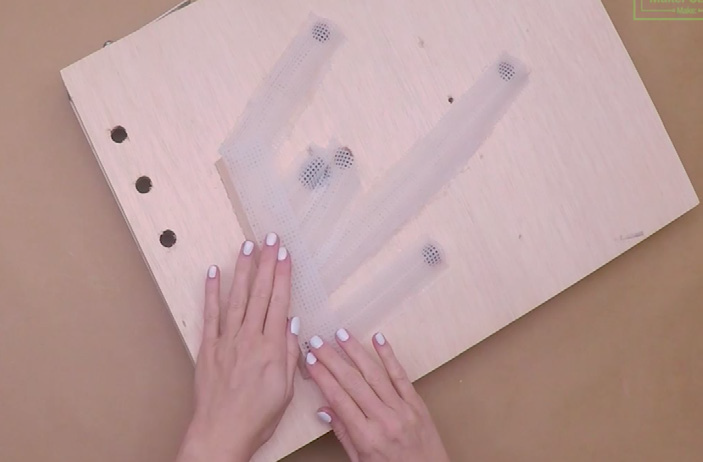
STEP 2
STEP 3
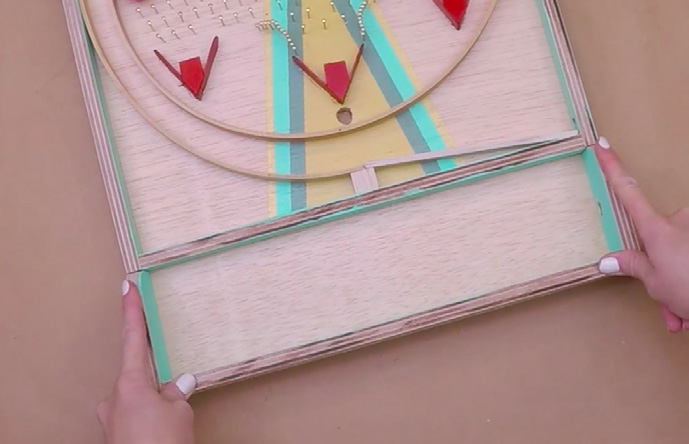
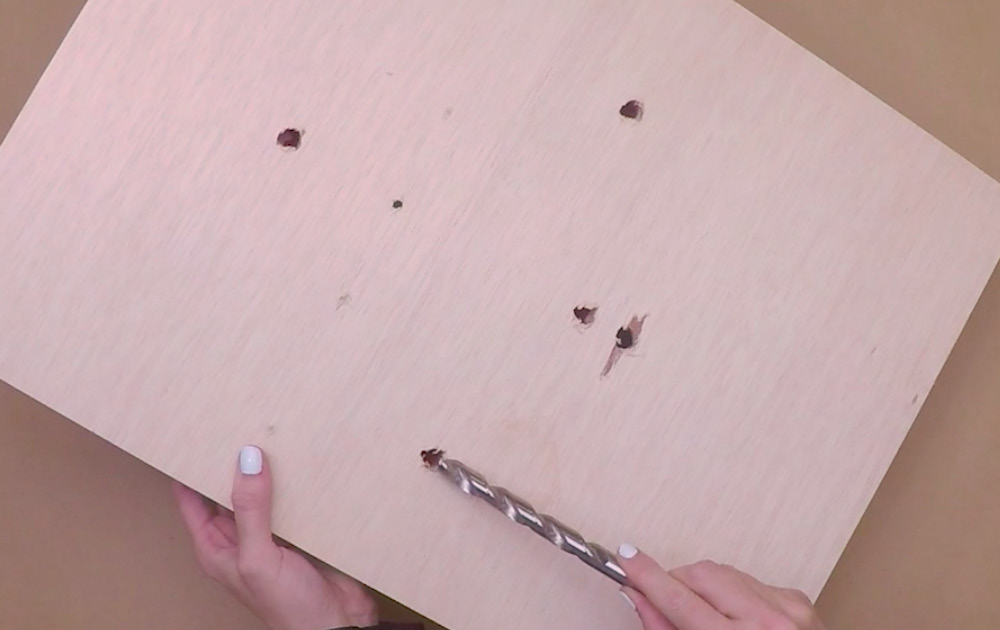
STEP 4
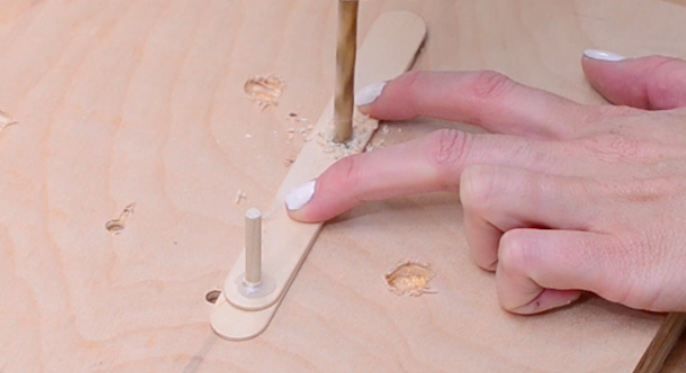
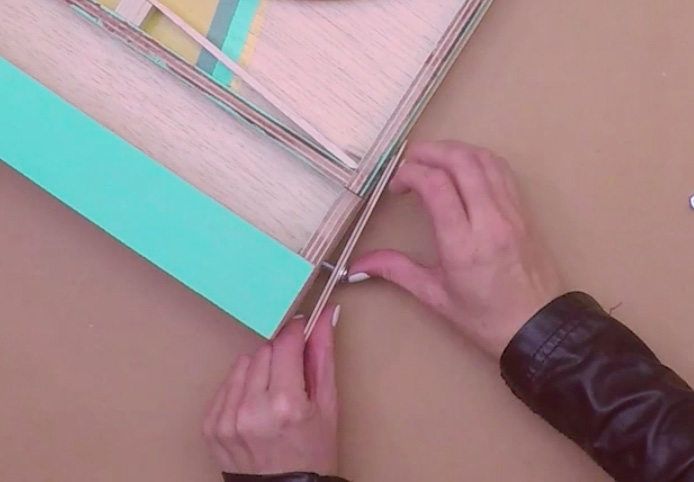
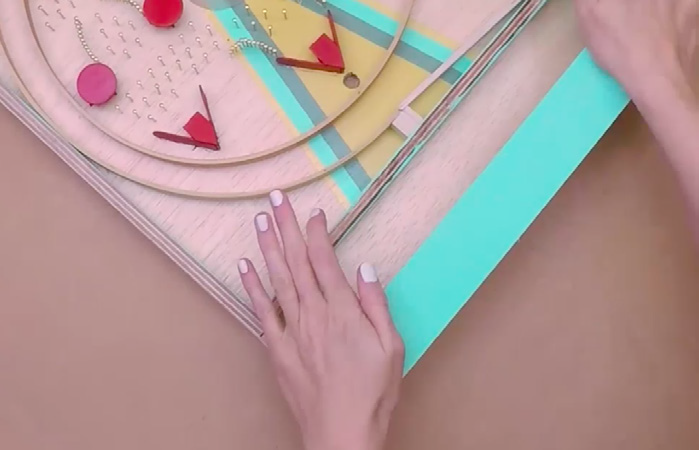
STEP 5
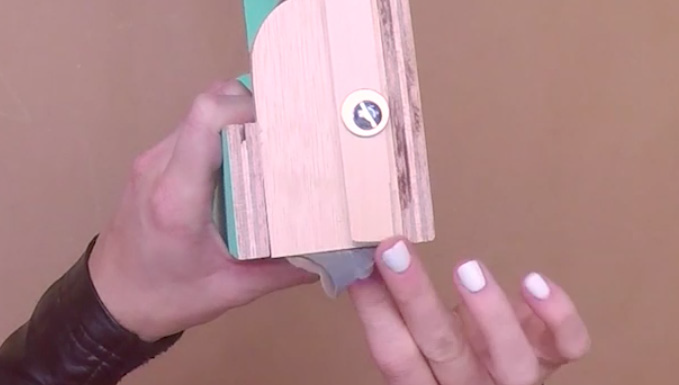

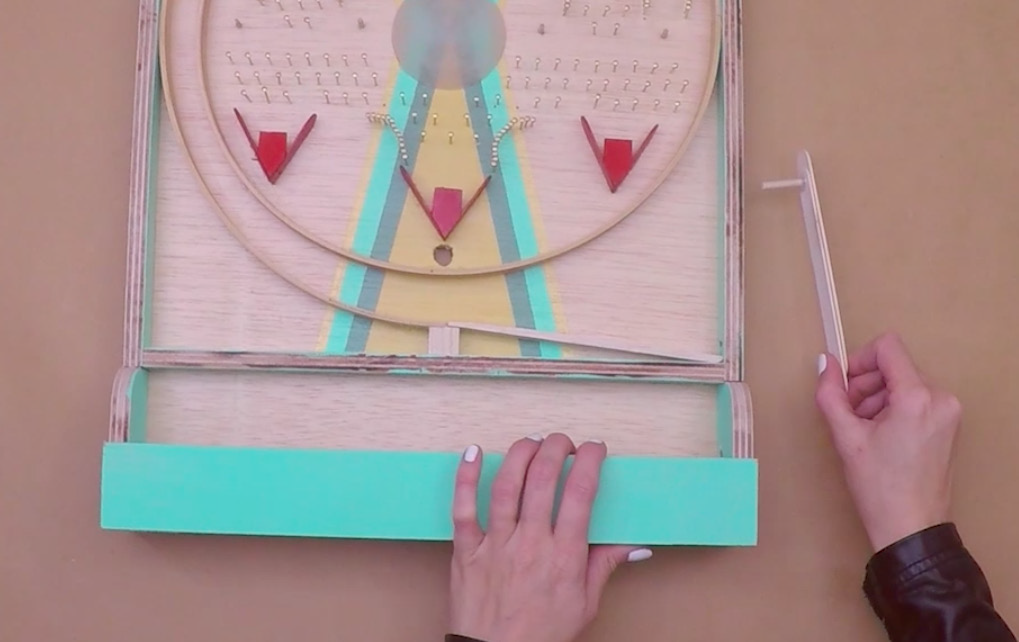
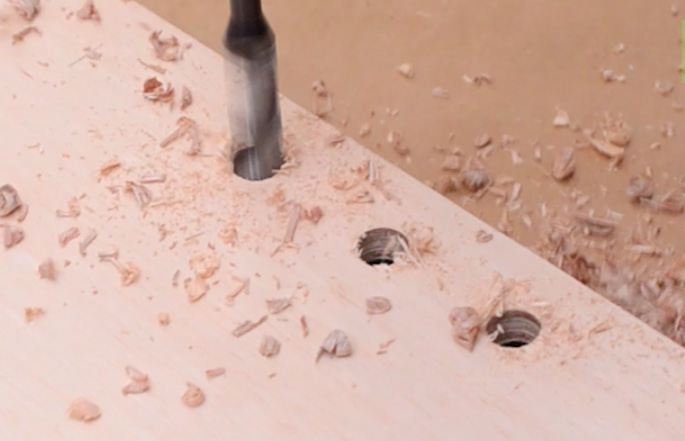
STEP 6
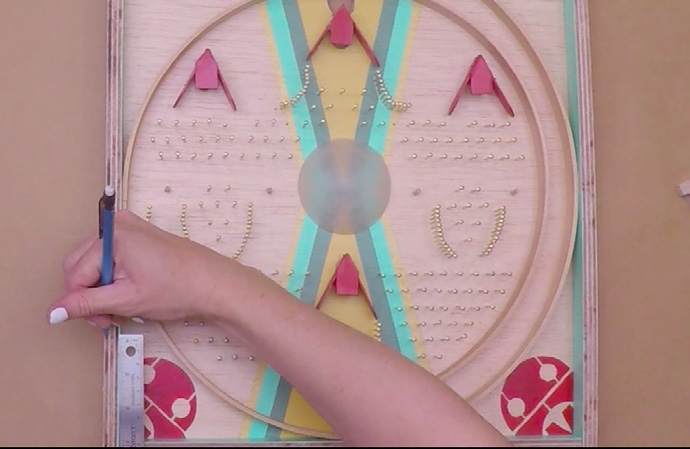
STEP 7
STEP 8
STEP 9
STEP 10

STEP 11


STEP 12
STEP 13
STEP 14
Please Note
Your safety is your own responsibility, including proper use of equipment and safety gear, and determining whether you have adequate skill and experience. Power tools, electricity, and other resources used for these projects are dangerous, unless used properly and with adequate precautions, including safety gear and adult supervision. Some illustrative photos do not depict safety precautions or equipment, in order to show the project steps more clearly. Use of the instructions and suggestions found in Maker Camp is at your own risk. Maker Media, Inc., disclaims all responsibility for any resulting damage, injury, or expense.
