9748


Pachinko Machine part 1

Project hero image

TIME TO COMPLETE

An hour or two

WHAT WILL YOU MAKE?

You will learn to use woodworking techniques such as hammering, drilling, sawing, sanding and careful measurment to fabricate a mechanical game originating in Japan.

WHAT WILL YOU NEED?

  • Arduino
  • Drill
  • Electronics
  • General Hand Tools
  • Other Materials
  • Tools
  • Wood

Project step photo 2

STEP 1

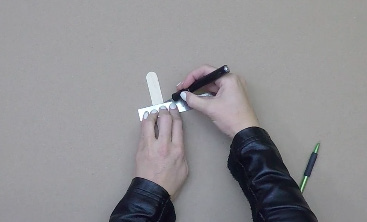
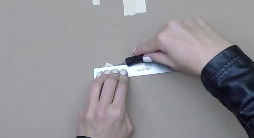
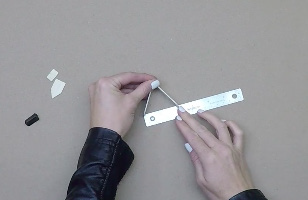
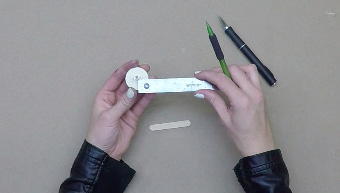
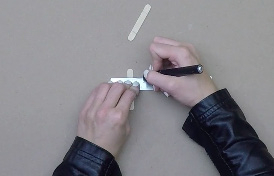
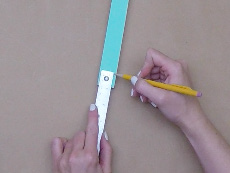
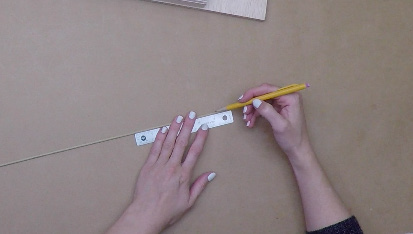
Measure and cut 2" from both ends of a jumbo craft stick. Measure 1.25" of the remaining craft stick and cut it to have one 1.25" piece and one 0.75" piece. Measure and mark 5/8" away from the left edge on both the top and bottom edges of the 1.25" piece. Connect each mark to the center of the left edge to form a point.
Project step photo 2

STEP 2

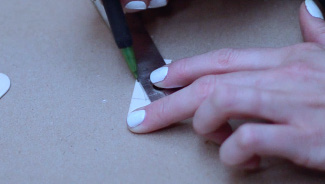
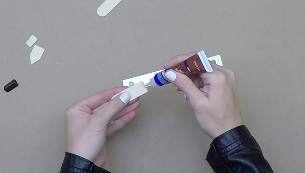
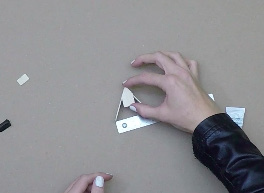
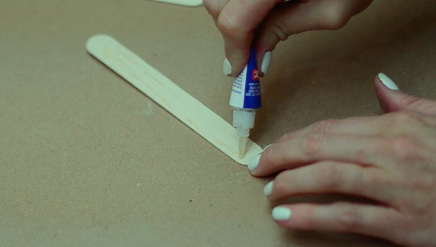
Cut out the shape that you just made. It should be a rectangular shape with a pointed end. Apply glue to the bottom of one of the first pieces that you cut out in step one.
Project step photo 2

STEP 3

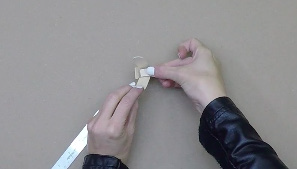
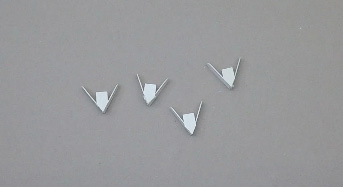
Glue the two end pieces together to form a V shape that has a 2" opening. The rounded edges should be at the opening. Glue the pointed piece on top of the V shape to make a basket.
Project step photo 2

STEP 4

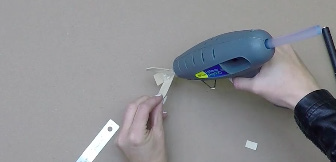
Add a small pile of hot glue to the bottom of the inside of the basket. Place the 0.75" piece at an angle on top of the glue to make a small ramp. This will guide the ball into the hole if it lands in a basket.
Project step photo 2

STEP 5

Now make three more baskets!
Project step photo 2

STEP 6

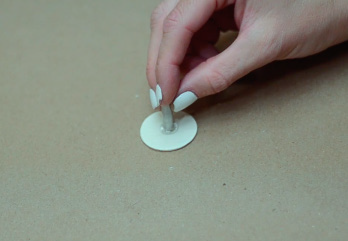
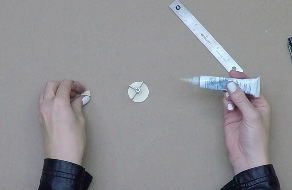
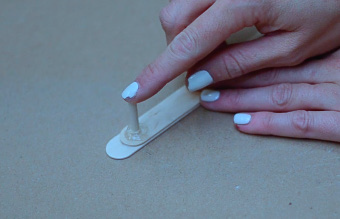
Glue one end of the aluminum spacer to the center of a craft circle. This will be a spinner on your board. Measure from the spacer to the end of the circle. Ours is about 0.25".
Project step photo 2

STEP 7

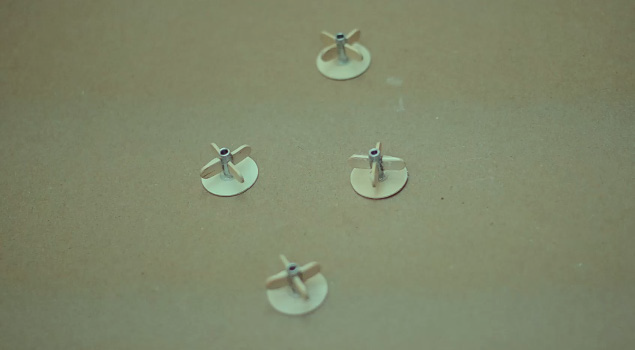
Measure and cut the ends off of two popsicle sticks so that they are the same length as the distance measured in step 6. Glue the four ends to the spacer so that they are perpendicular to each other.
Project step photo 2

STEP 8

Make three more spinners!
Project step photo 2

STEP 9

Measure and cut a 1" piece from your 3/16" dowel. Sand the ends so that they are smooth and flat.
Project step photo 2

STEP 10

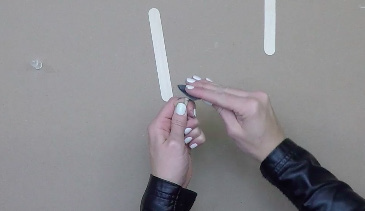
Glue two jumbo craft sticks together so that they are about 0.5" off center. Glue the 1" piece of dowel to the end of one of the craft sticks from step 17.
Project step photo 2

STEP 11

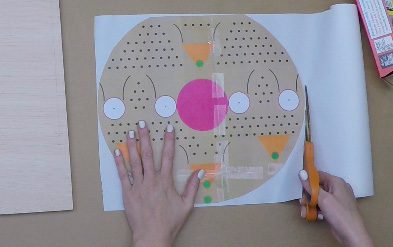
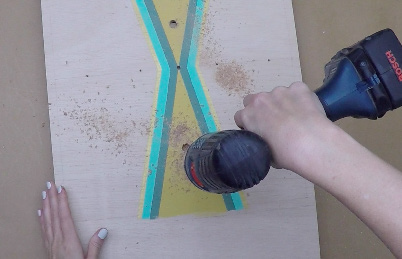
If you are using our template, cut a piece of transfer paper to match its size. Find where you want the center of your pachinko game to be and drill a 15/64" hole.
Project step photo 2

STEP 12

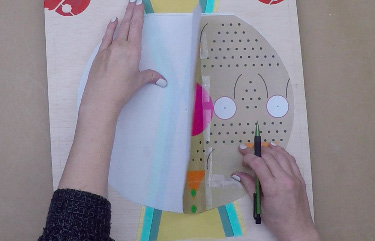
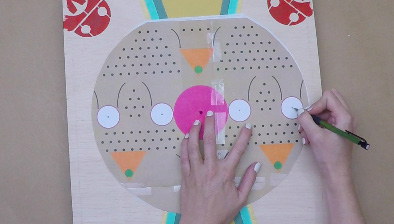
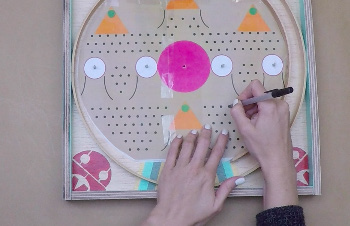
Lay the transfer paper down with the template on top so that the center hole is above the hole that you drilled. Now trace all of the other drill holes. They are the green circles on the template.
Project step photo 2

STEP 13

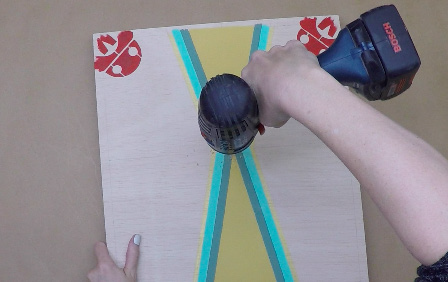
Drill the holes that you traced. Make sure to sand each hole so that the balls can freely roll in and out of the holes. Measure 5/8" from the edge of one of the side bumper pieces of wood. Drill a hole there using the 1/2" bit.
Project step photo 2

STEP 14

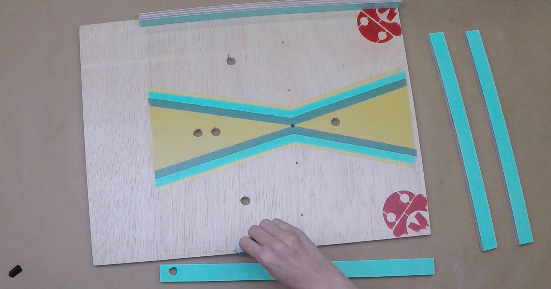
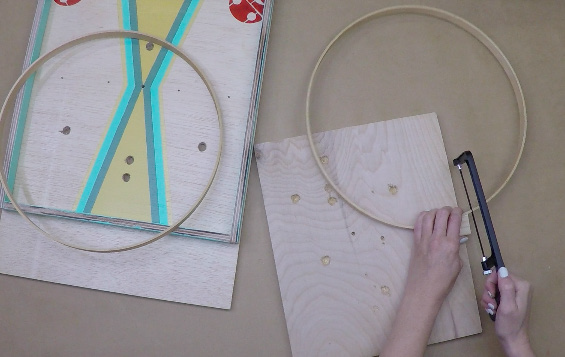
Glue the bumpers of your game onto the board. Make sure the hole that you drilled in one of the bumpers is on the bottom right when your game is standing straight up Remove the clasp from the embroidery hoop with the hand saw.
Project step photo 2

STEP 15

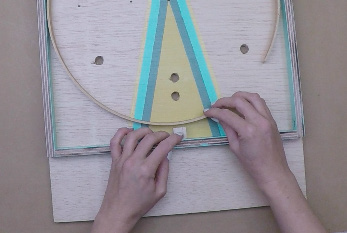
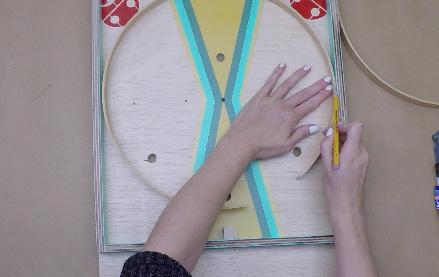
Glue a small cube of scrap wood on top of the center of your bottom bumper. Bend the embroidery hoop so that it touches the top, left, and right bumpers. Mark where there is excess hoop on the right side of your board.
Project step photo 2

STEP 16

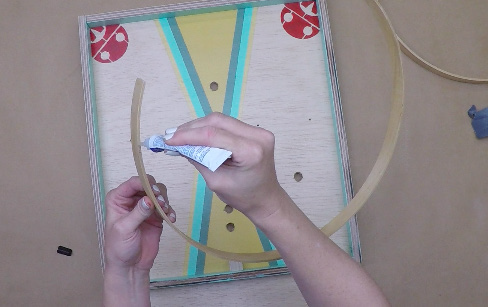
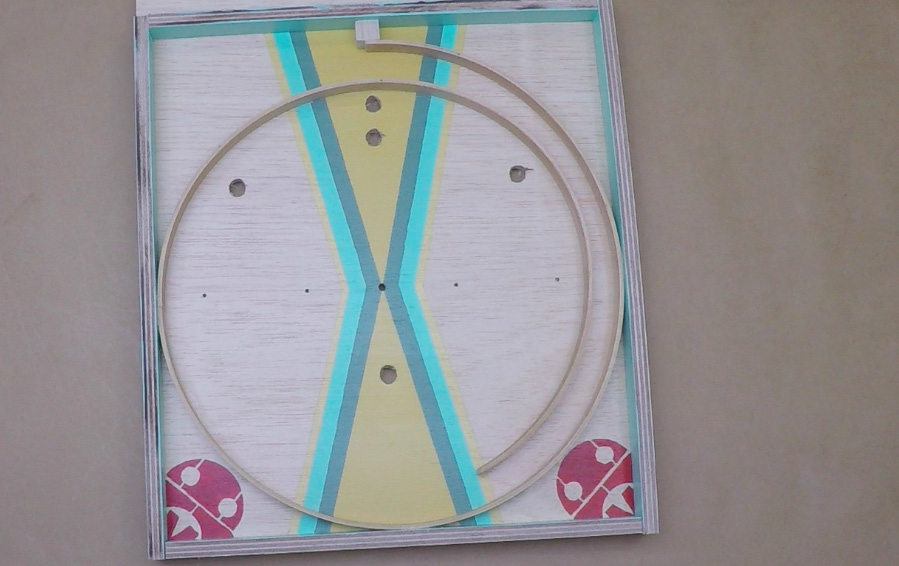
Cut off the excess hoop and glue your embroidery hoop down. Glue the bottom edge to the scrap cube. Measure and cut the other hoop so that it connects to the end of the first hoop on the right side of the board and curves to the top. Glue it down.
Project step photo 2

STEP 17

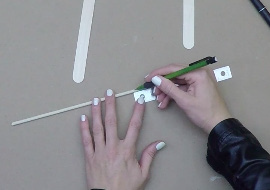
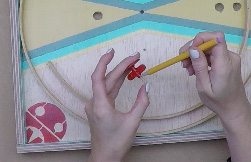
Cut the 1/8" dowel into four 1" pieces. Put the pieces of dowel into the aluminum spacers on the wheels and mark how far they go in.
Project step photo 2

STEP 18

Add a small amount of glue to the four wheel holes and hammer each dowel piece in until they reach the marks that you made in step 17. Trace the remaing portion of your template onto the board.
Project step photo 2

STEP 19

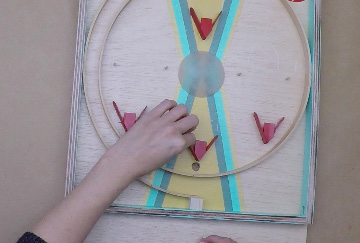
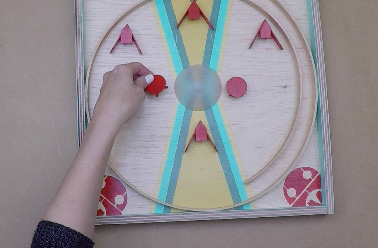
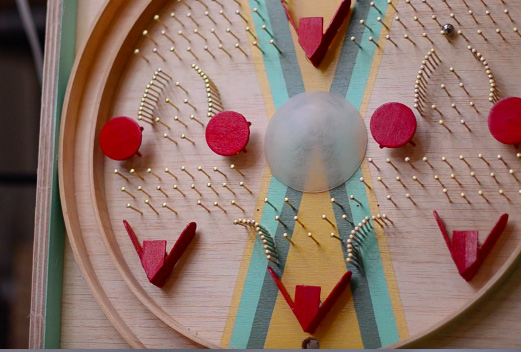
Glue the ball baskets over each ball hole. Be careful not to obscure the holes with glue! Lightly sand the plastic ornament and glue it to the center of your board. You might have to make the ornament shorter using the hand saw Place one spinner on top of each of the four dowels.
Project step photo 2

STEP 20

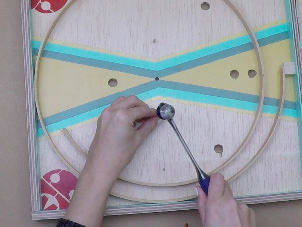
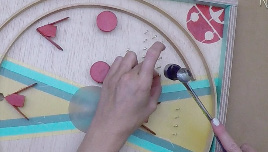
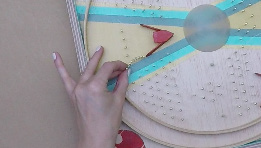
Hammer the nails according to the template, or make your own design! Just make sure that the ball cannot get stuck anywhere. Hammer the nails closely together to create the walls that guide the balls into the baskets. These are represented by solid curved lines on the template.
Project step photo 2

STEP 21

Go to part 2 to find out how to make a ramp, ball tray, stand, and launcher! We will also be adding lights, sounds, and an Arduino to our pachinko game.

Please Note

Your safety is your own responsibility, including proper use of equipment and safety gear, and determining whether you have adequate skill and experience. Power tools, electricity, and other resources used for these projects are dangerous, unless used properly and with adequate precautions, including safety gear and adult supervision. Some illustrative photos do not depict safety precautions or equipment, in order to show the project steps more clearly. Use of the instructions and suggestions found in Maker Camp is at your own risk. Maker Media, Inc., disclaims all responsibility for any resulting damage, injury, or expense.


Escape to an island of imagination + innovation as Maker Faire Bay Area returns for its 16th iteration!

Prices Increase in....

Days
Hours
Minutes
Seconds