Dome Den

TIME TO COMPLETE
More than 3 hours
WHAT WILL YOU MAKE?
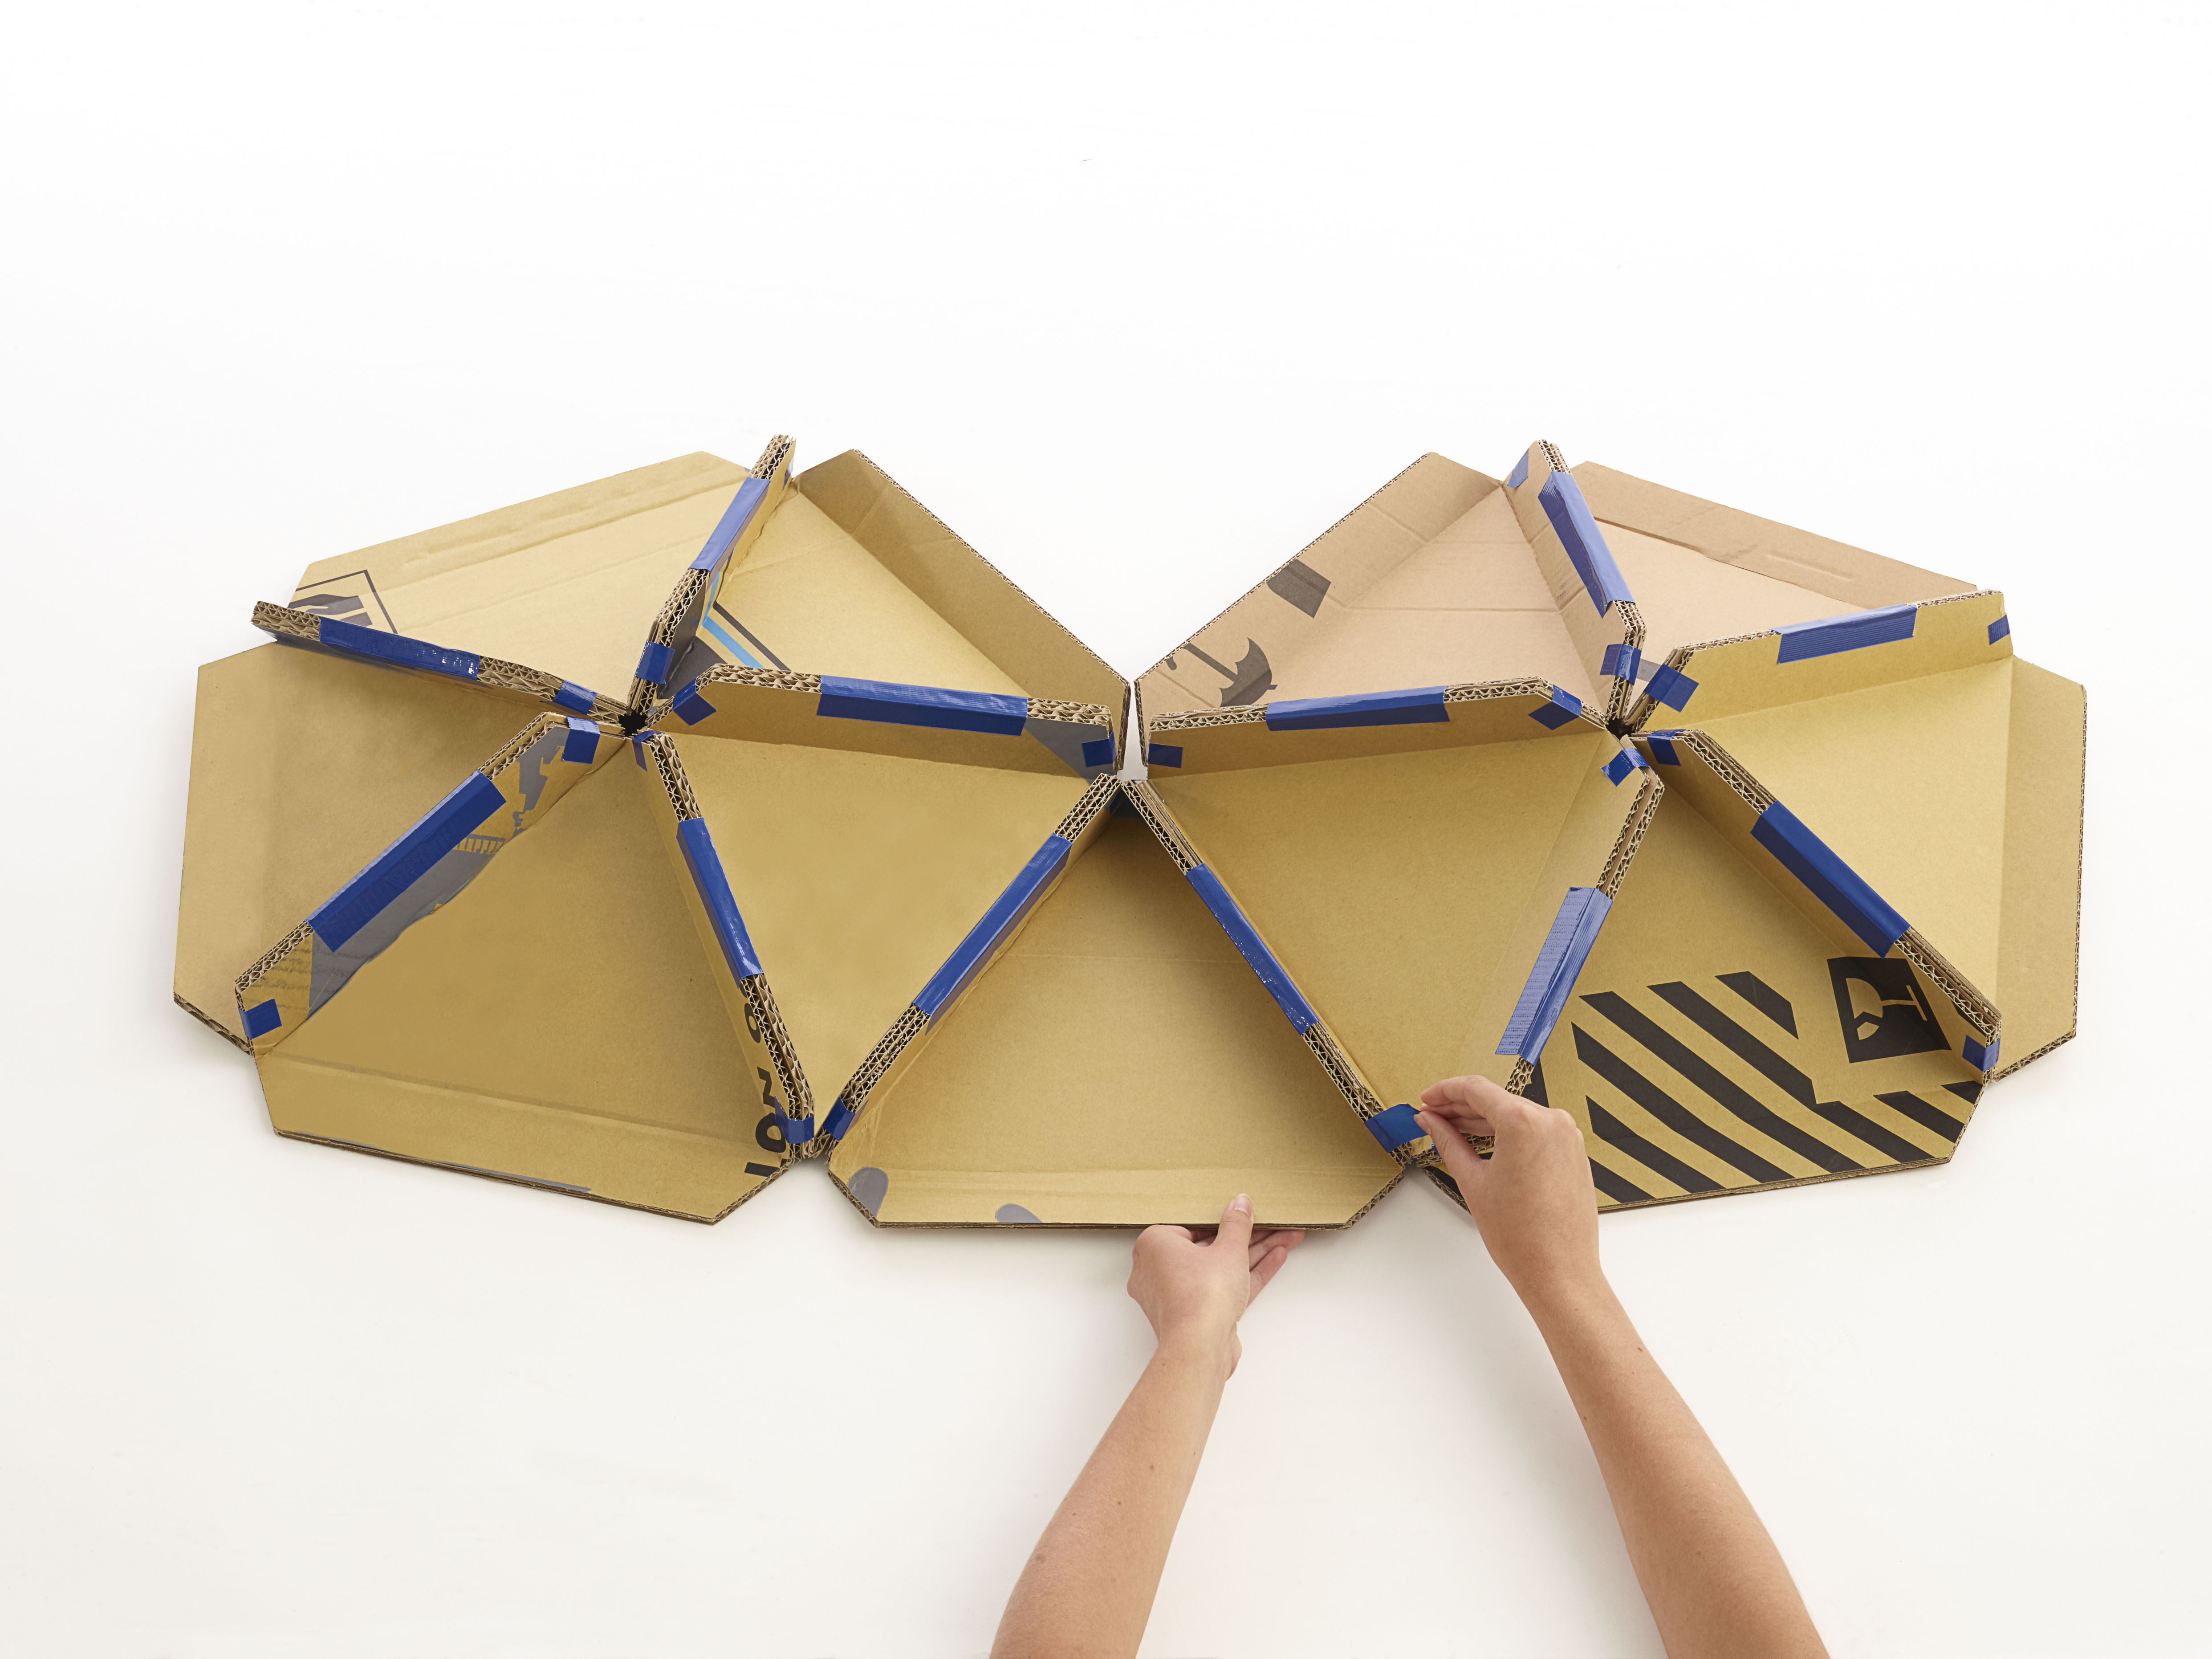
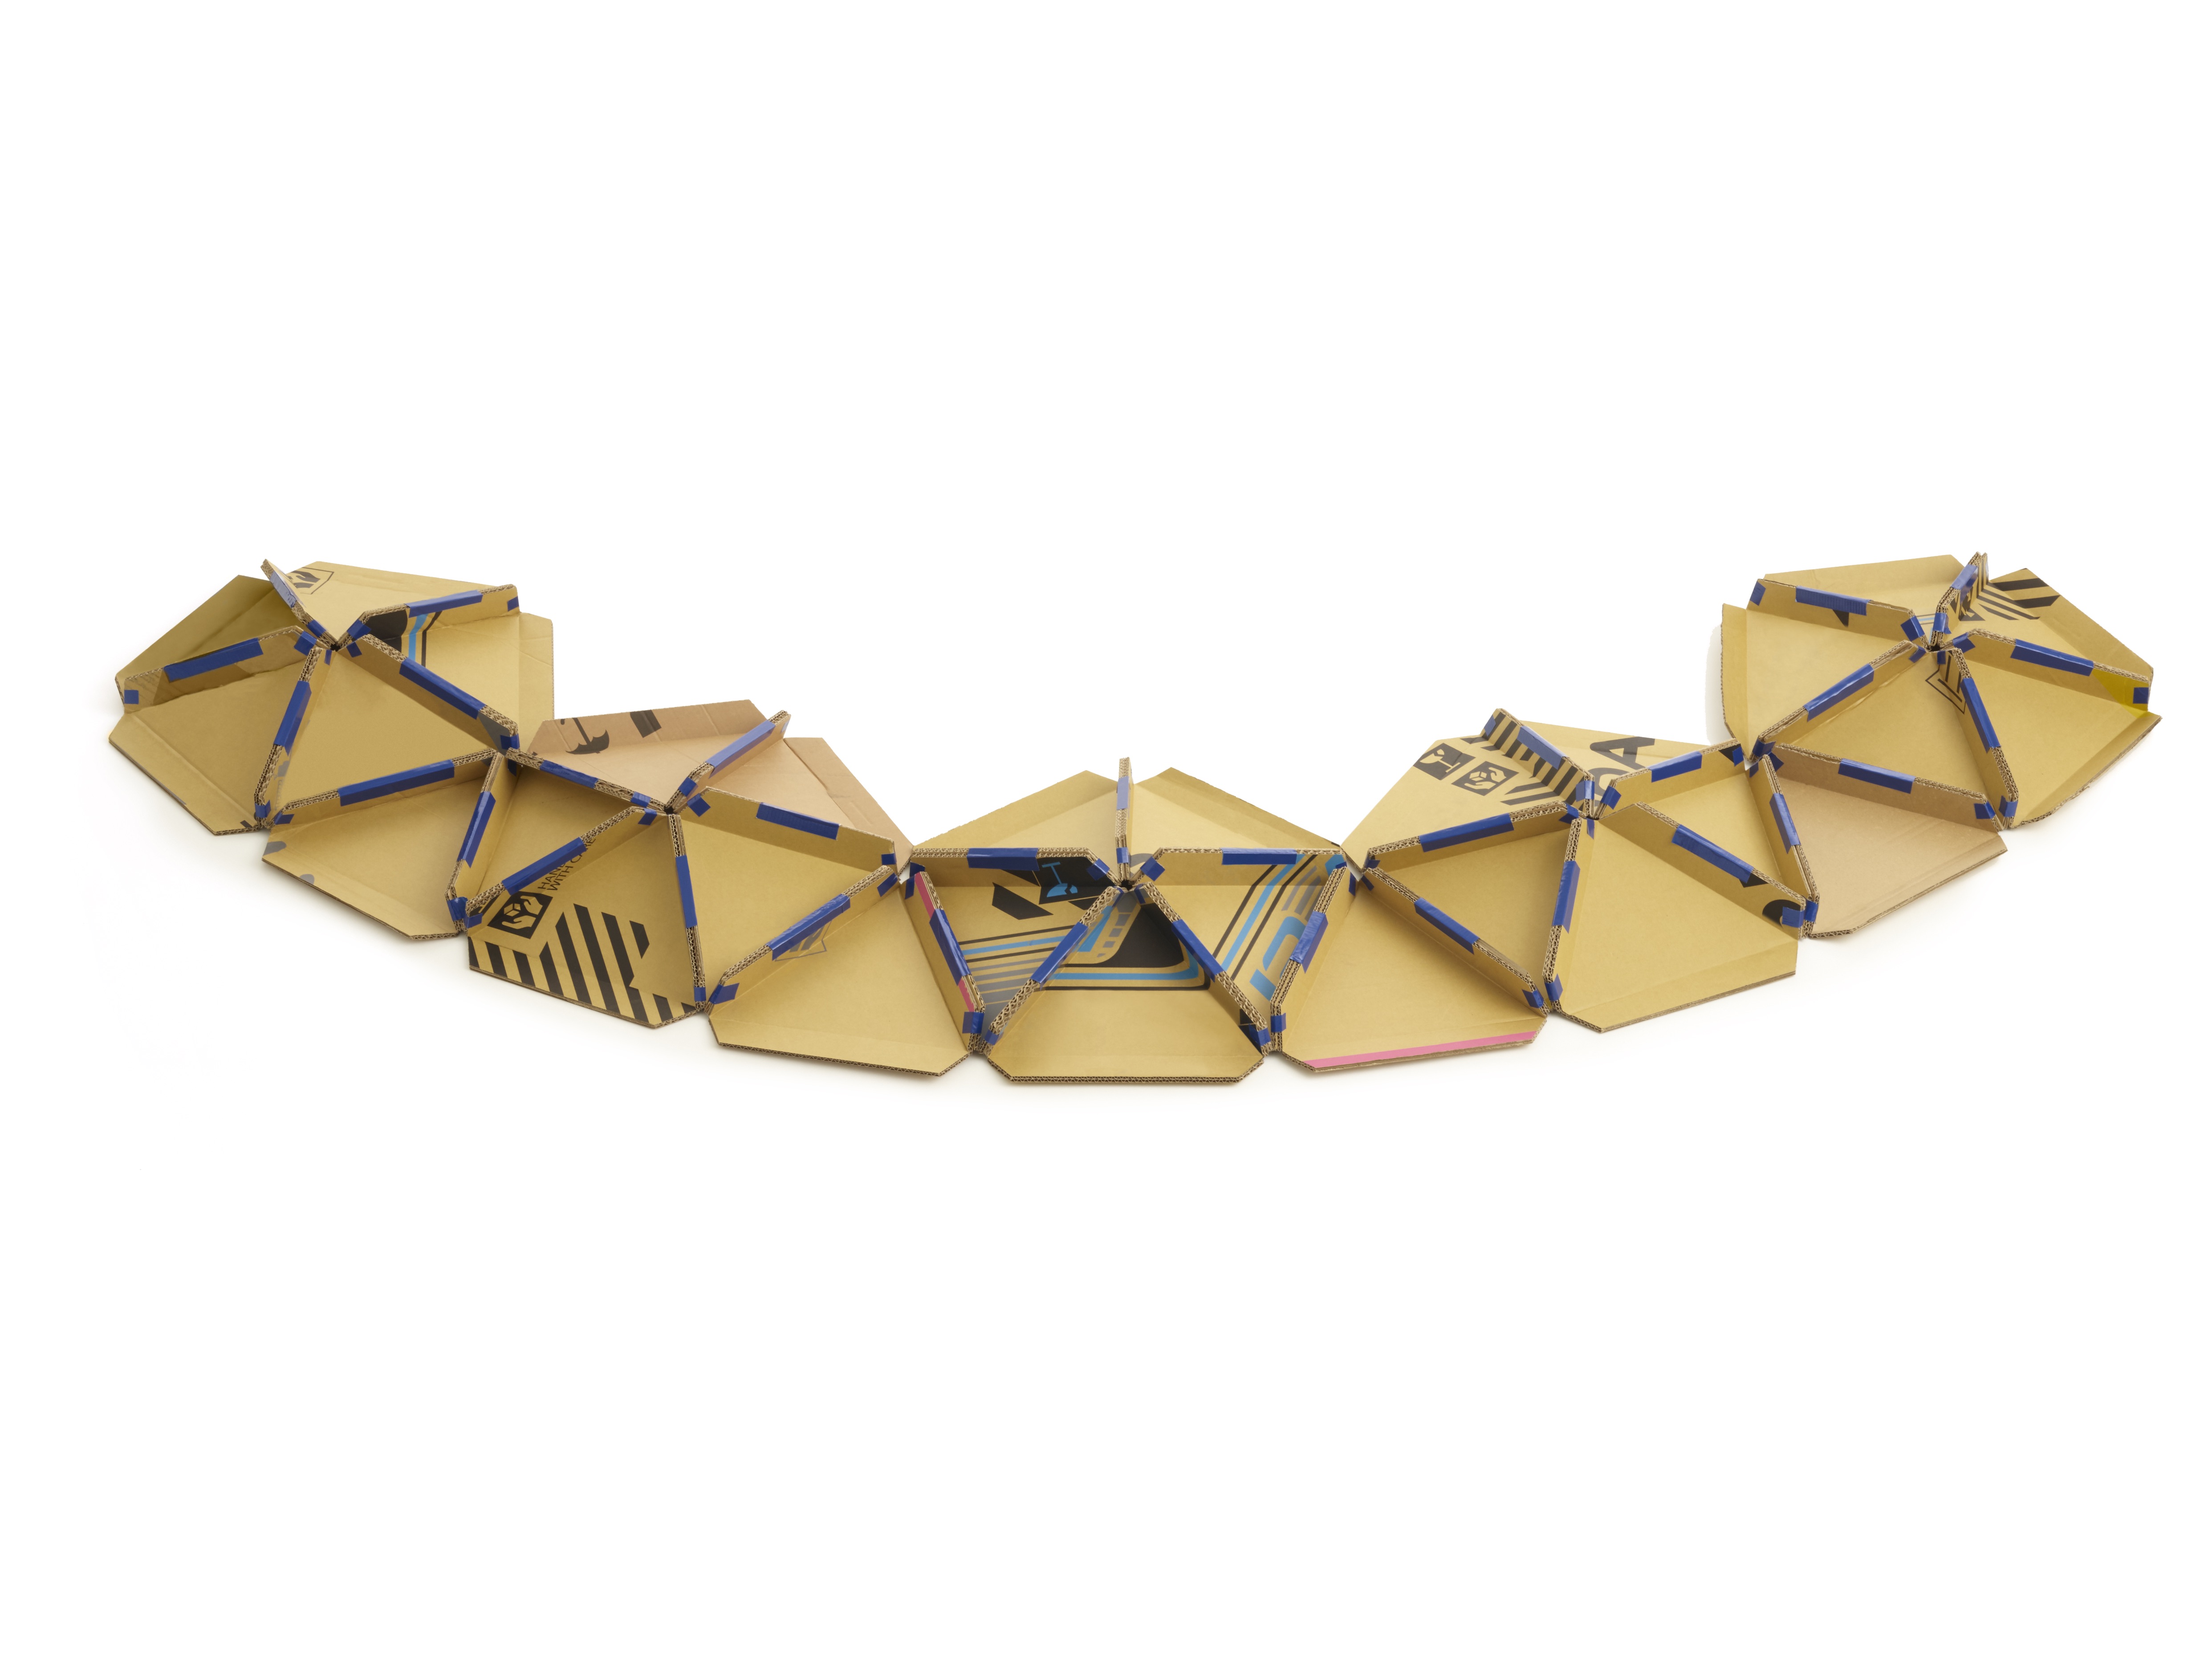
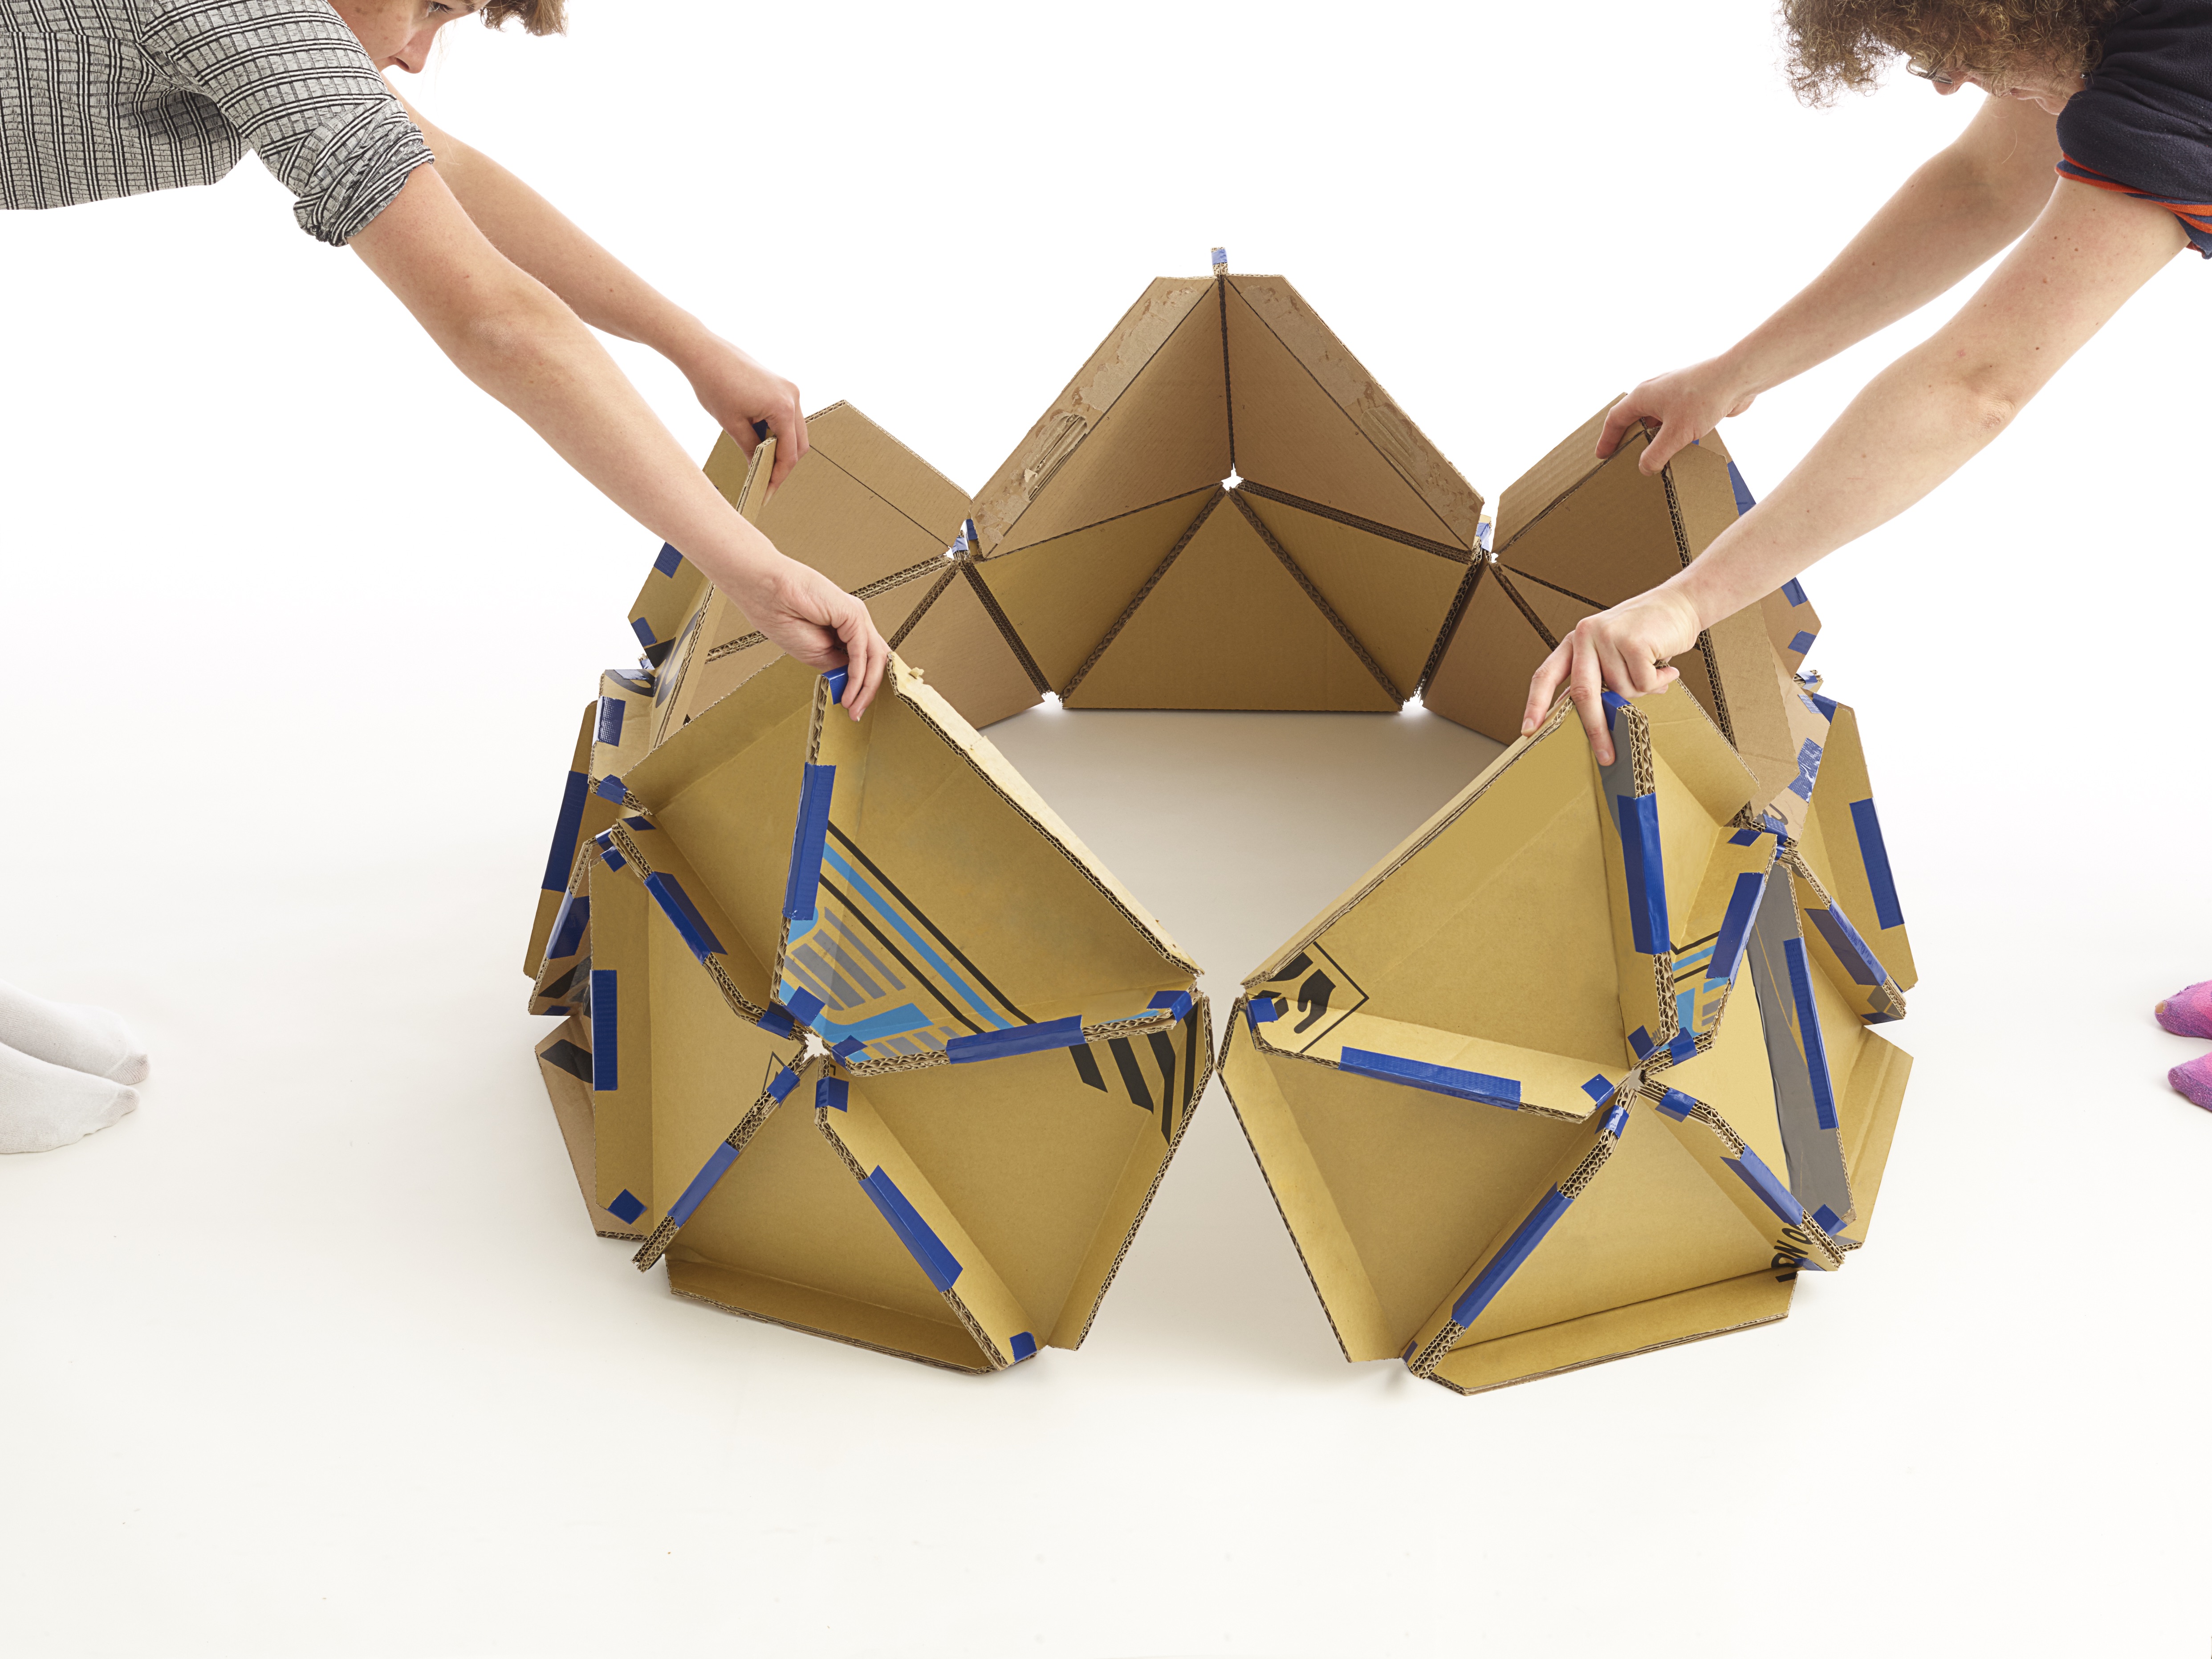
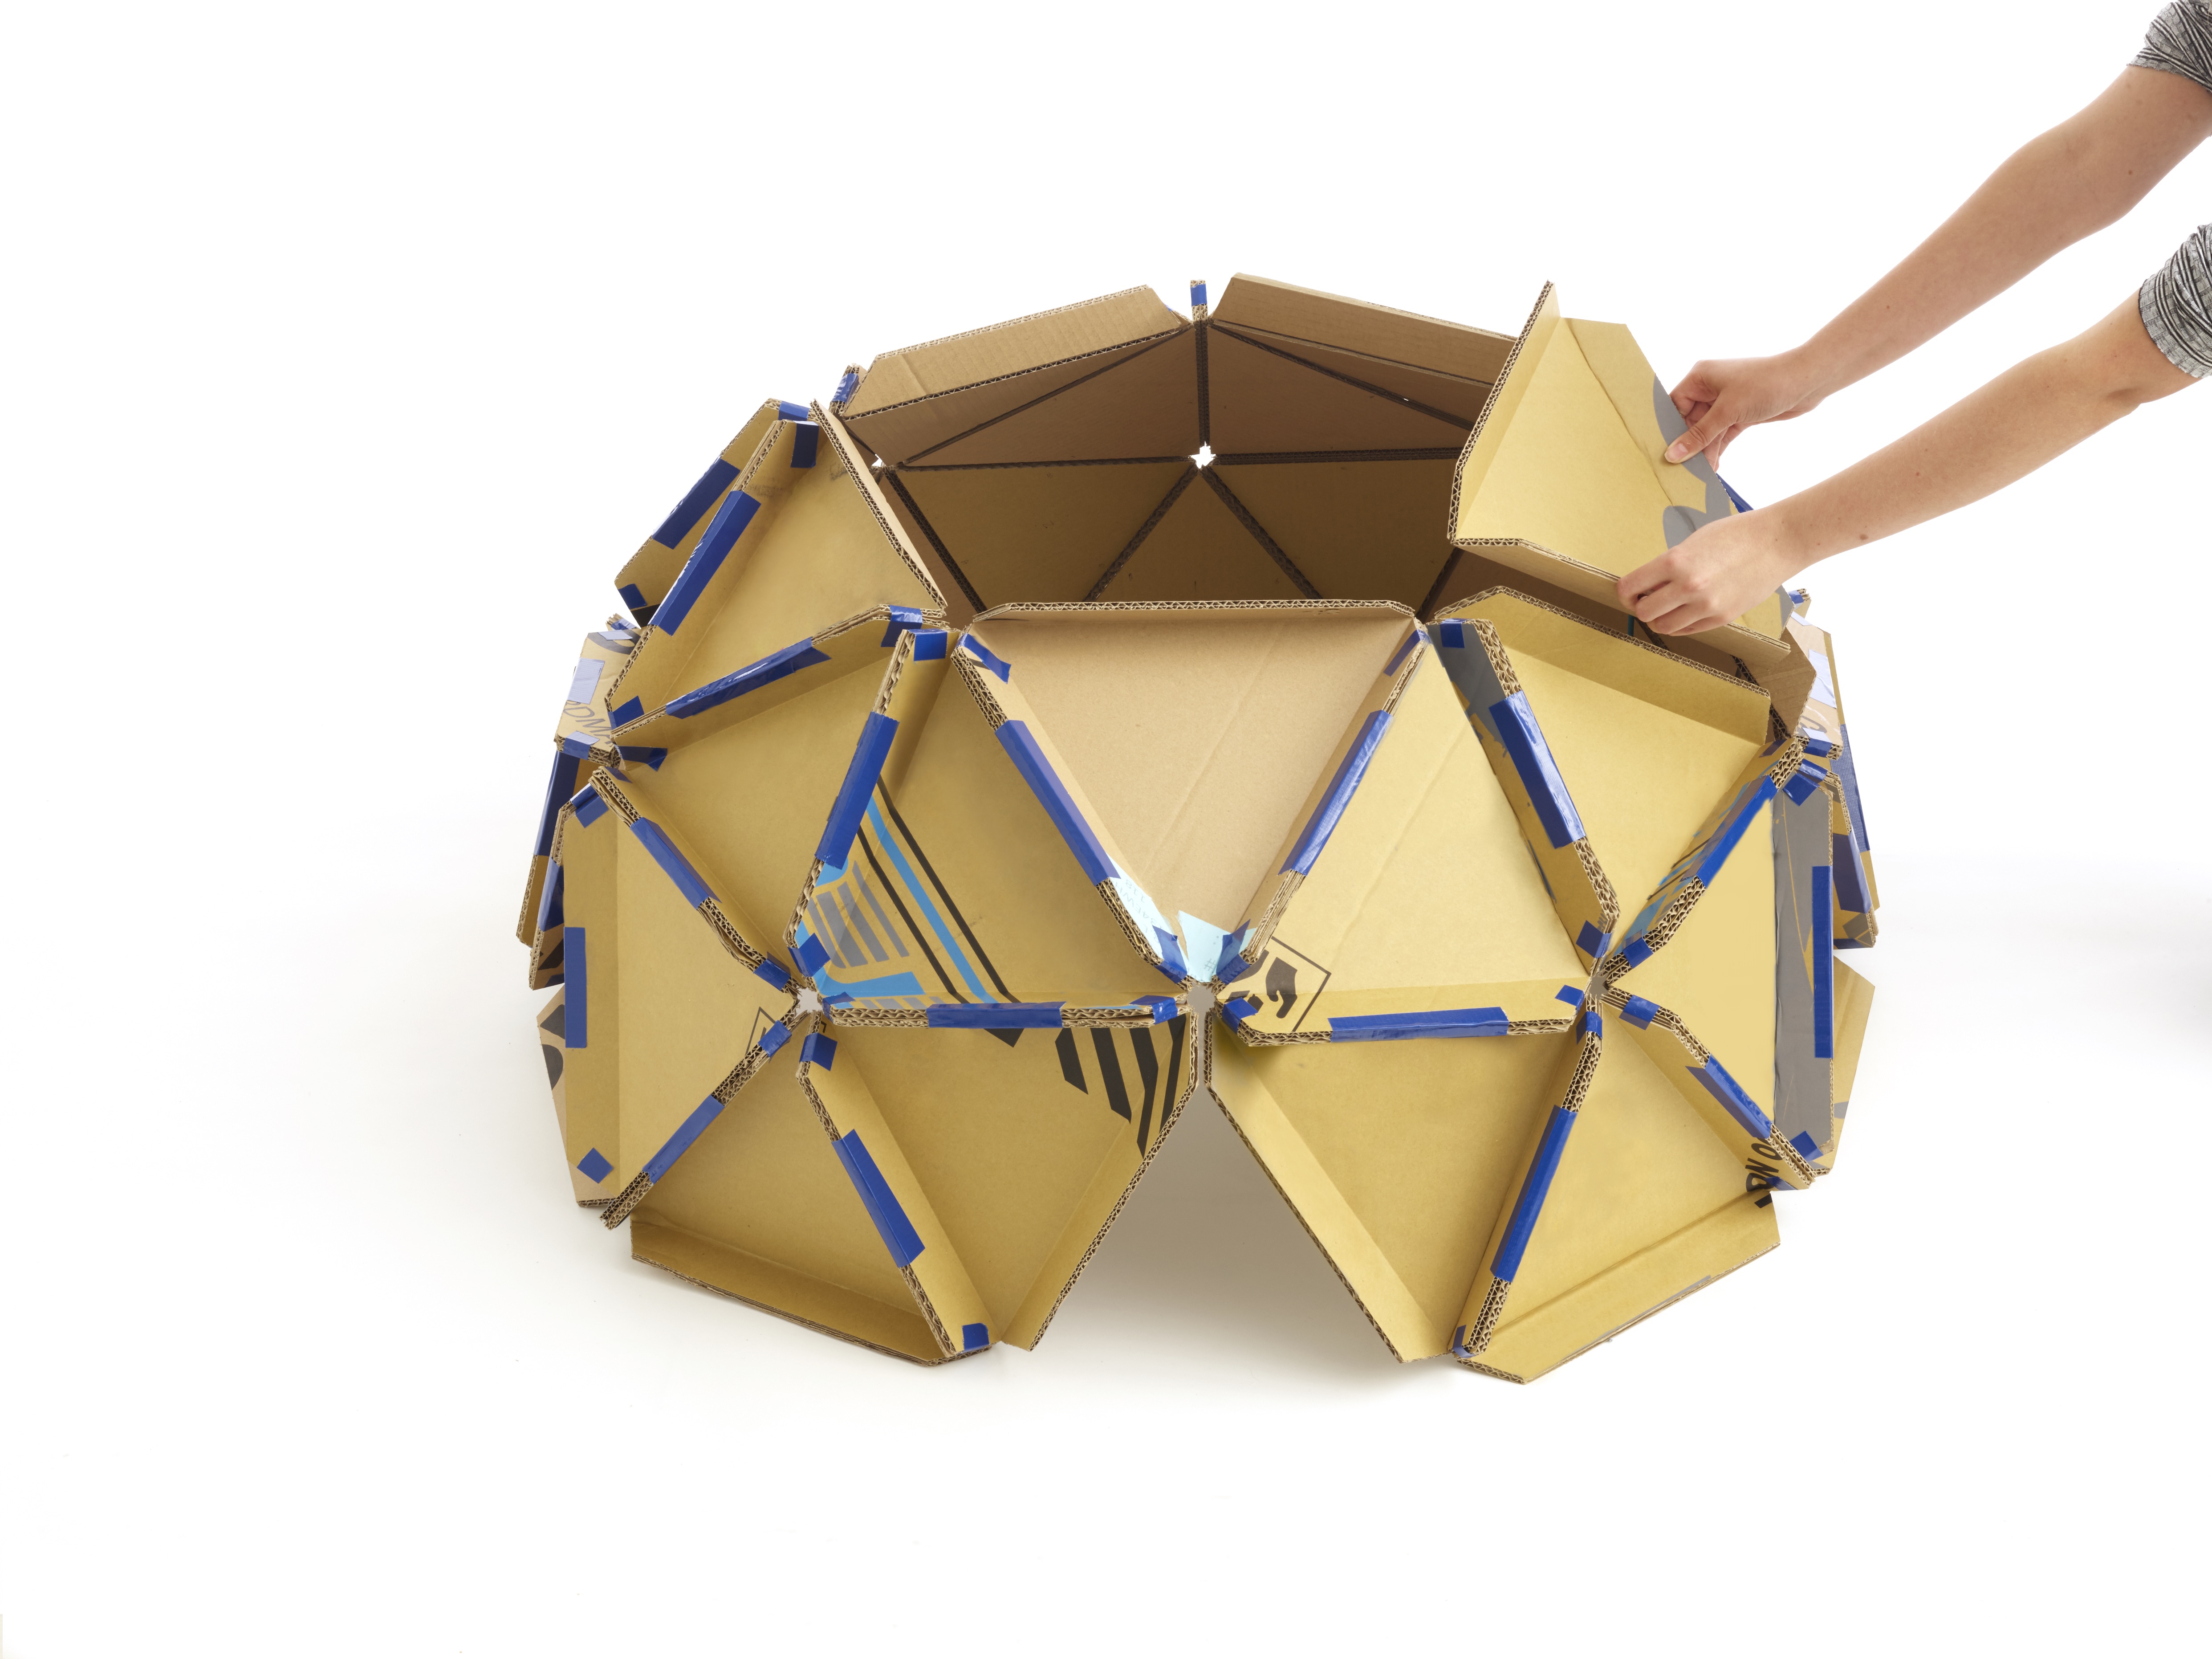
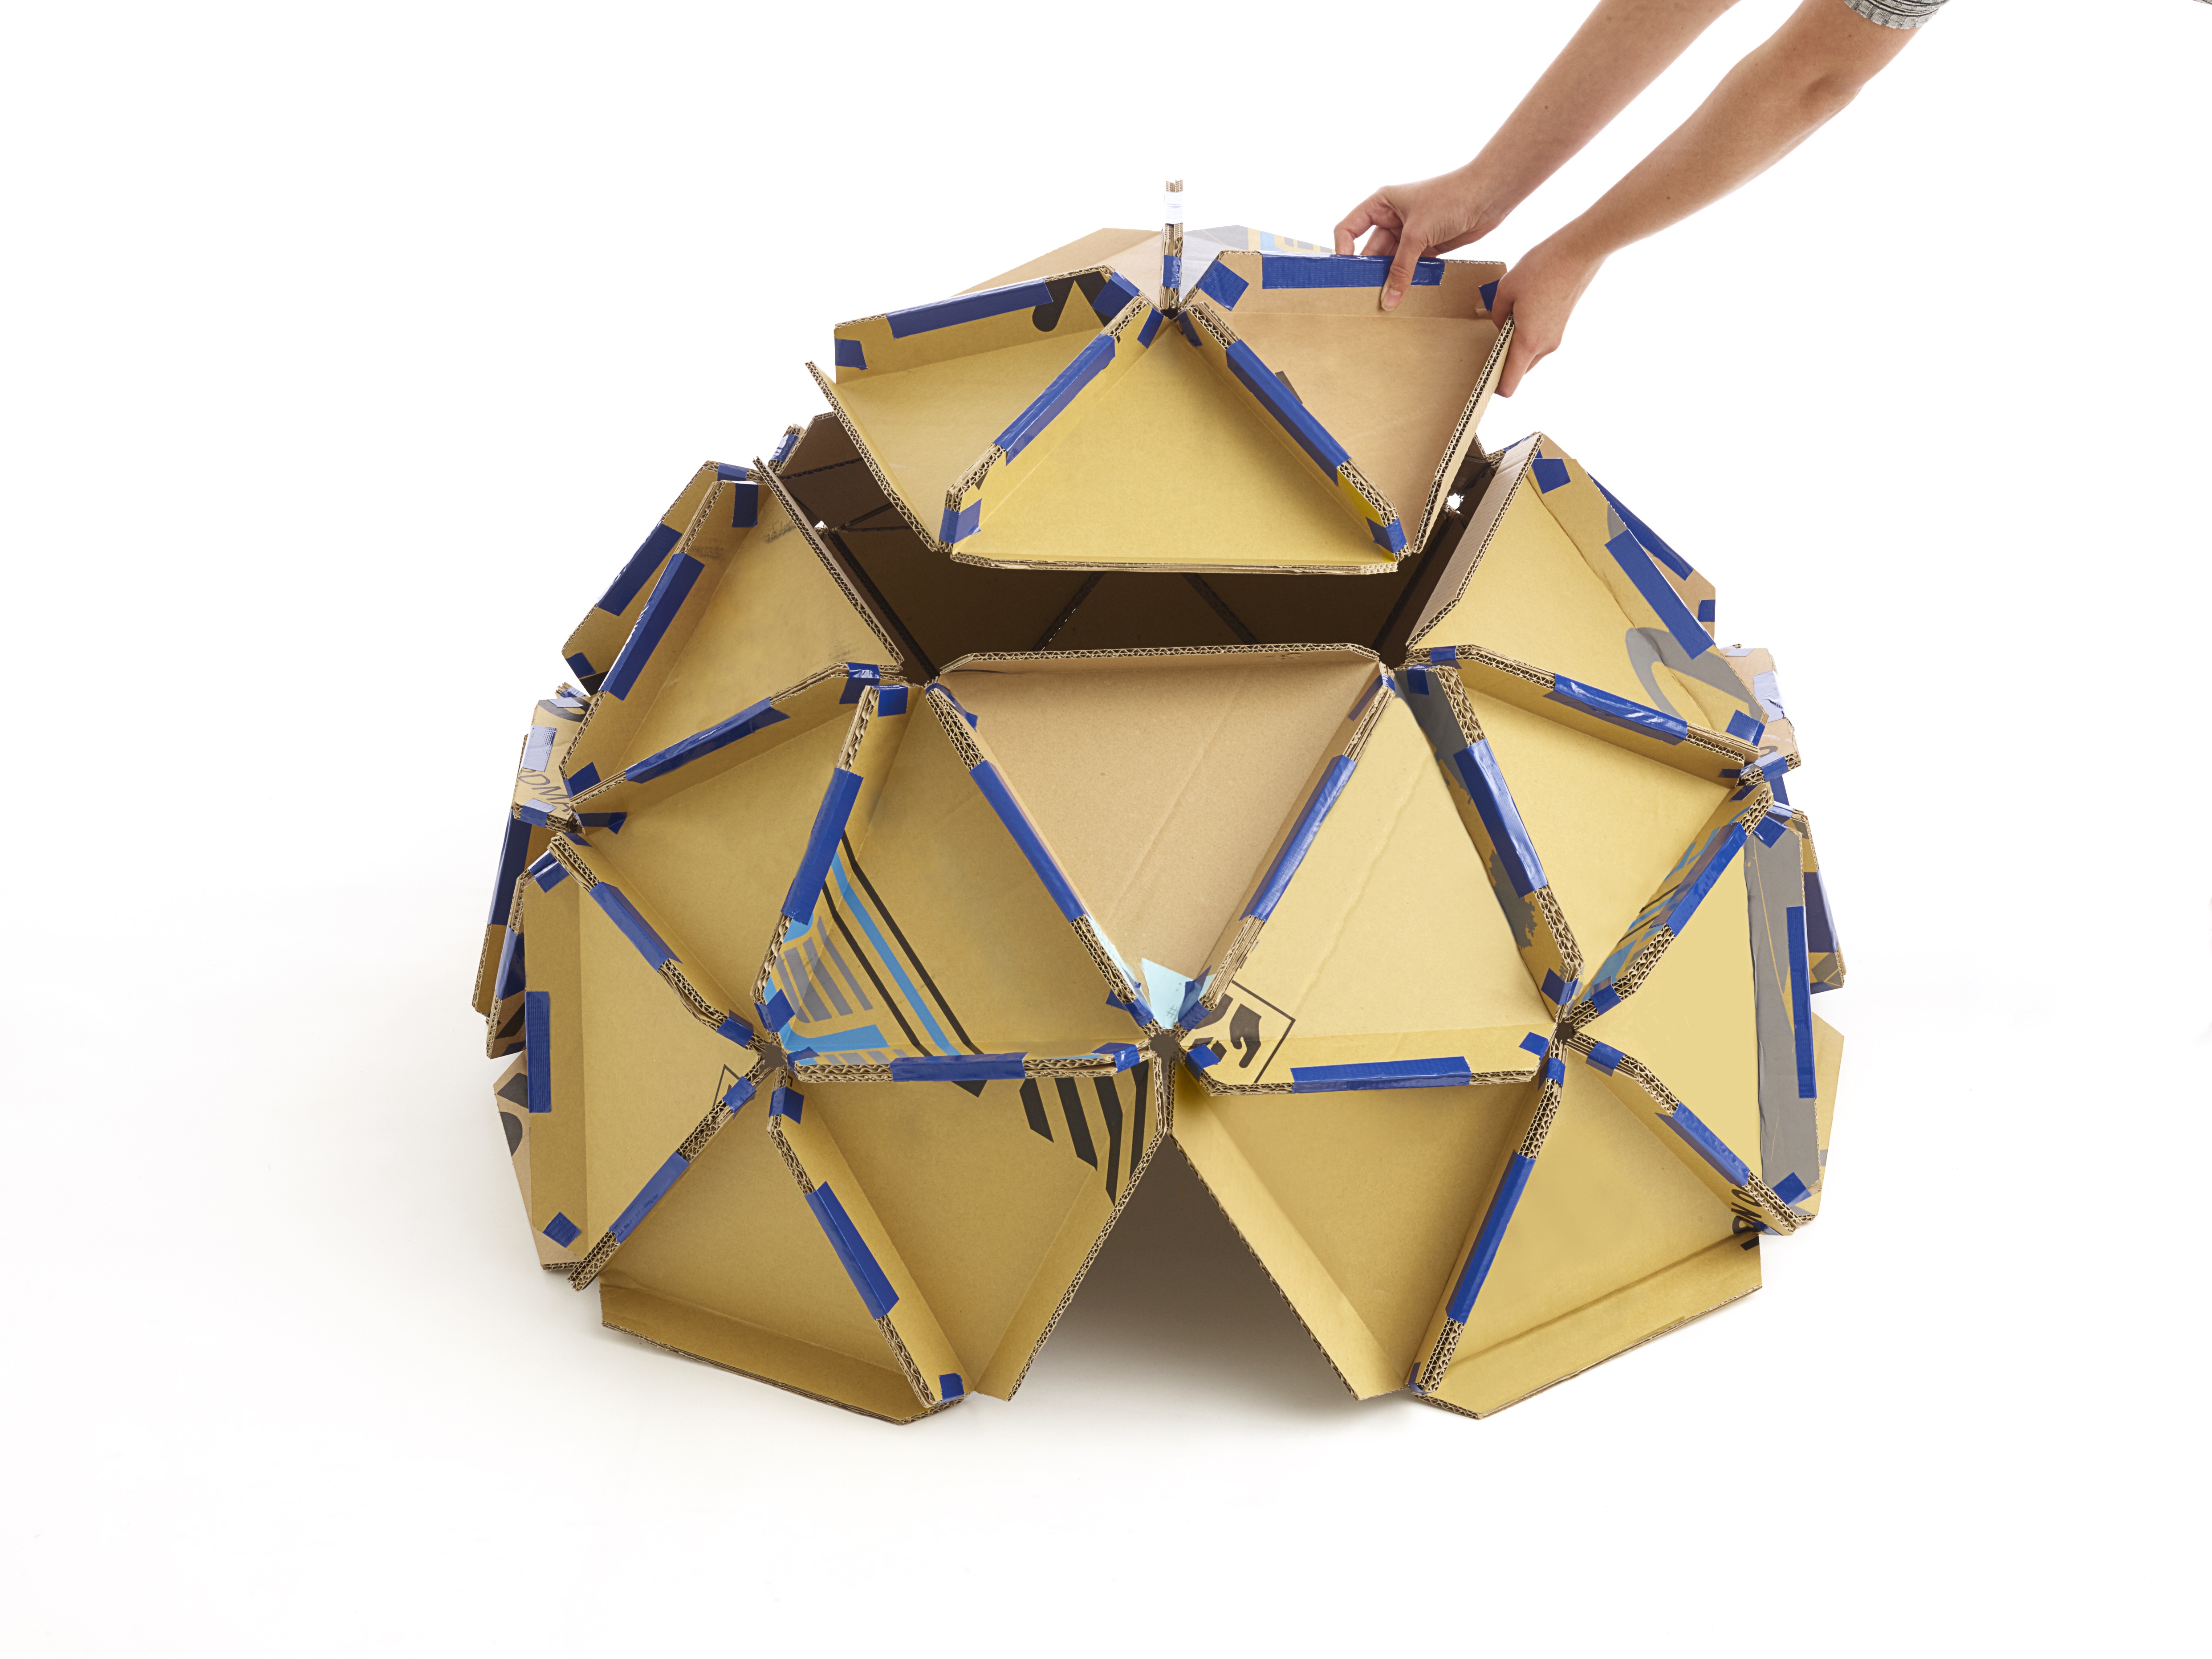
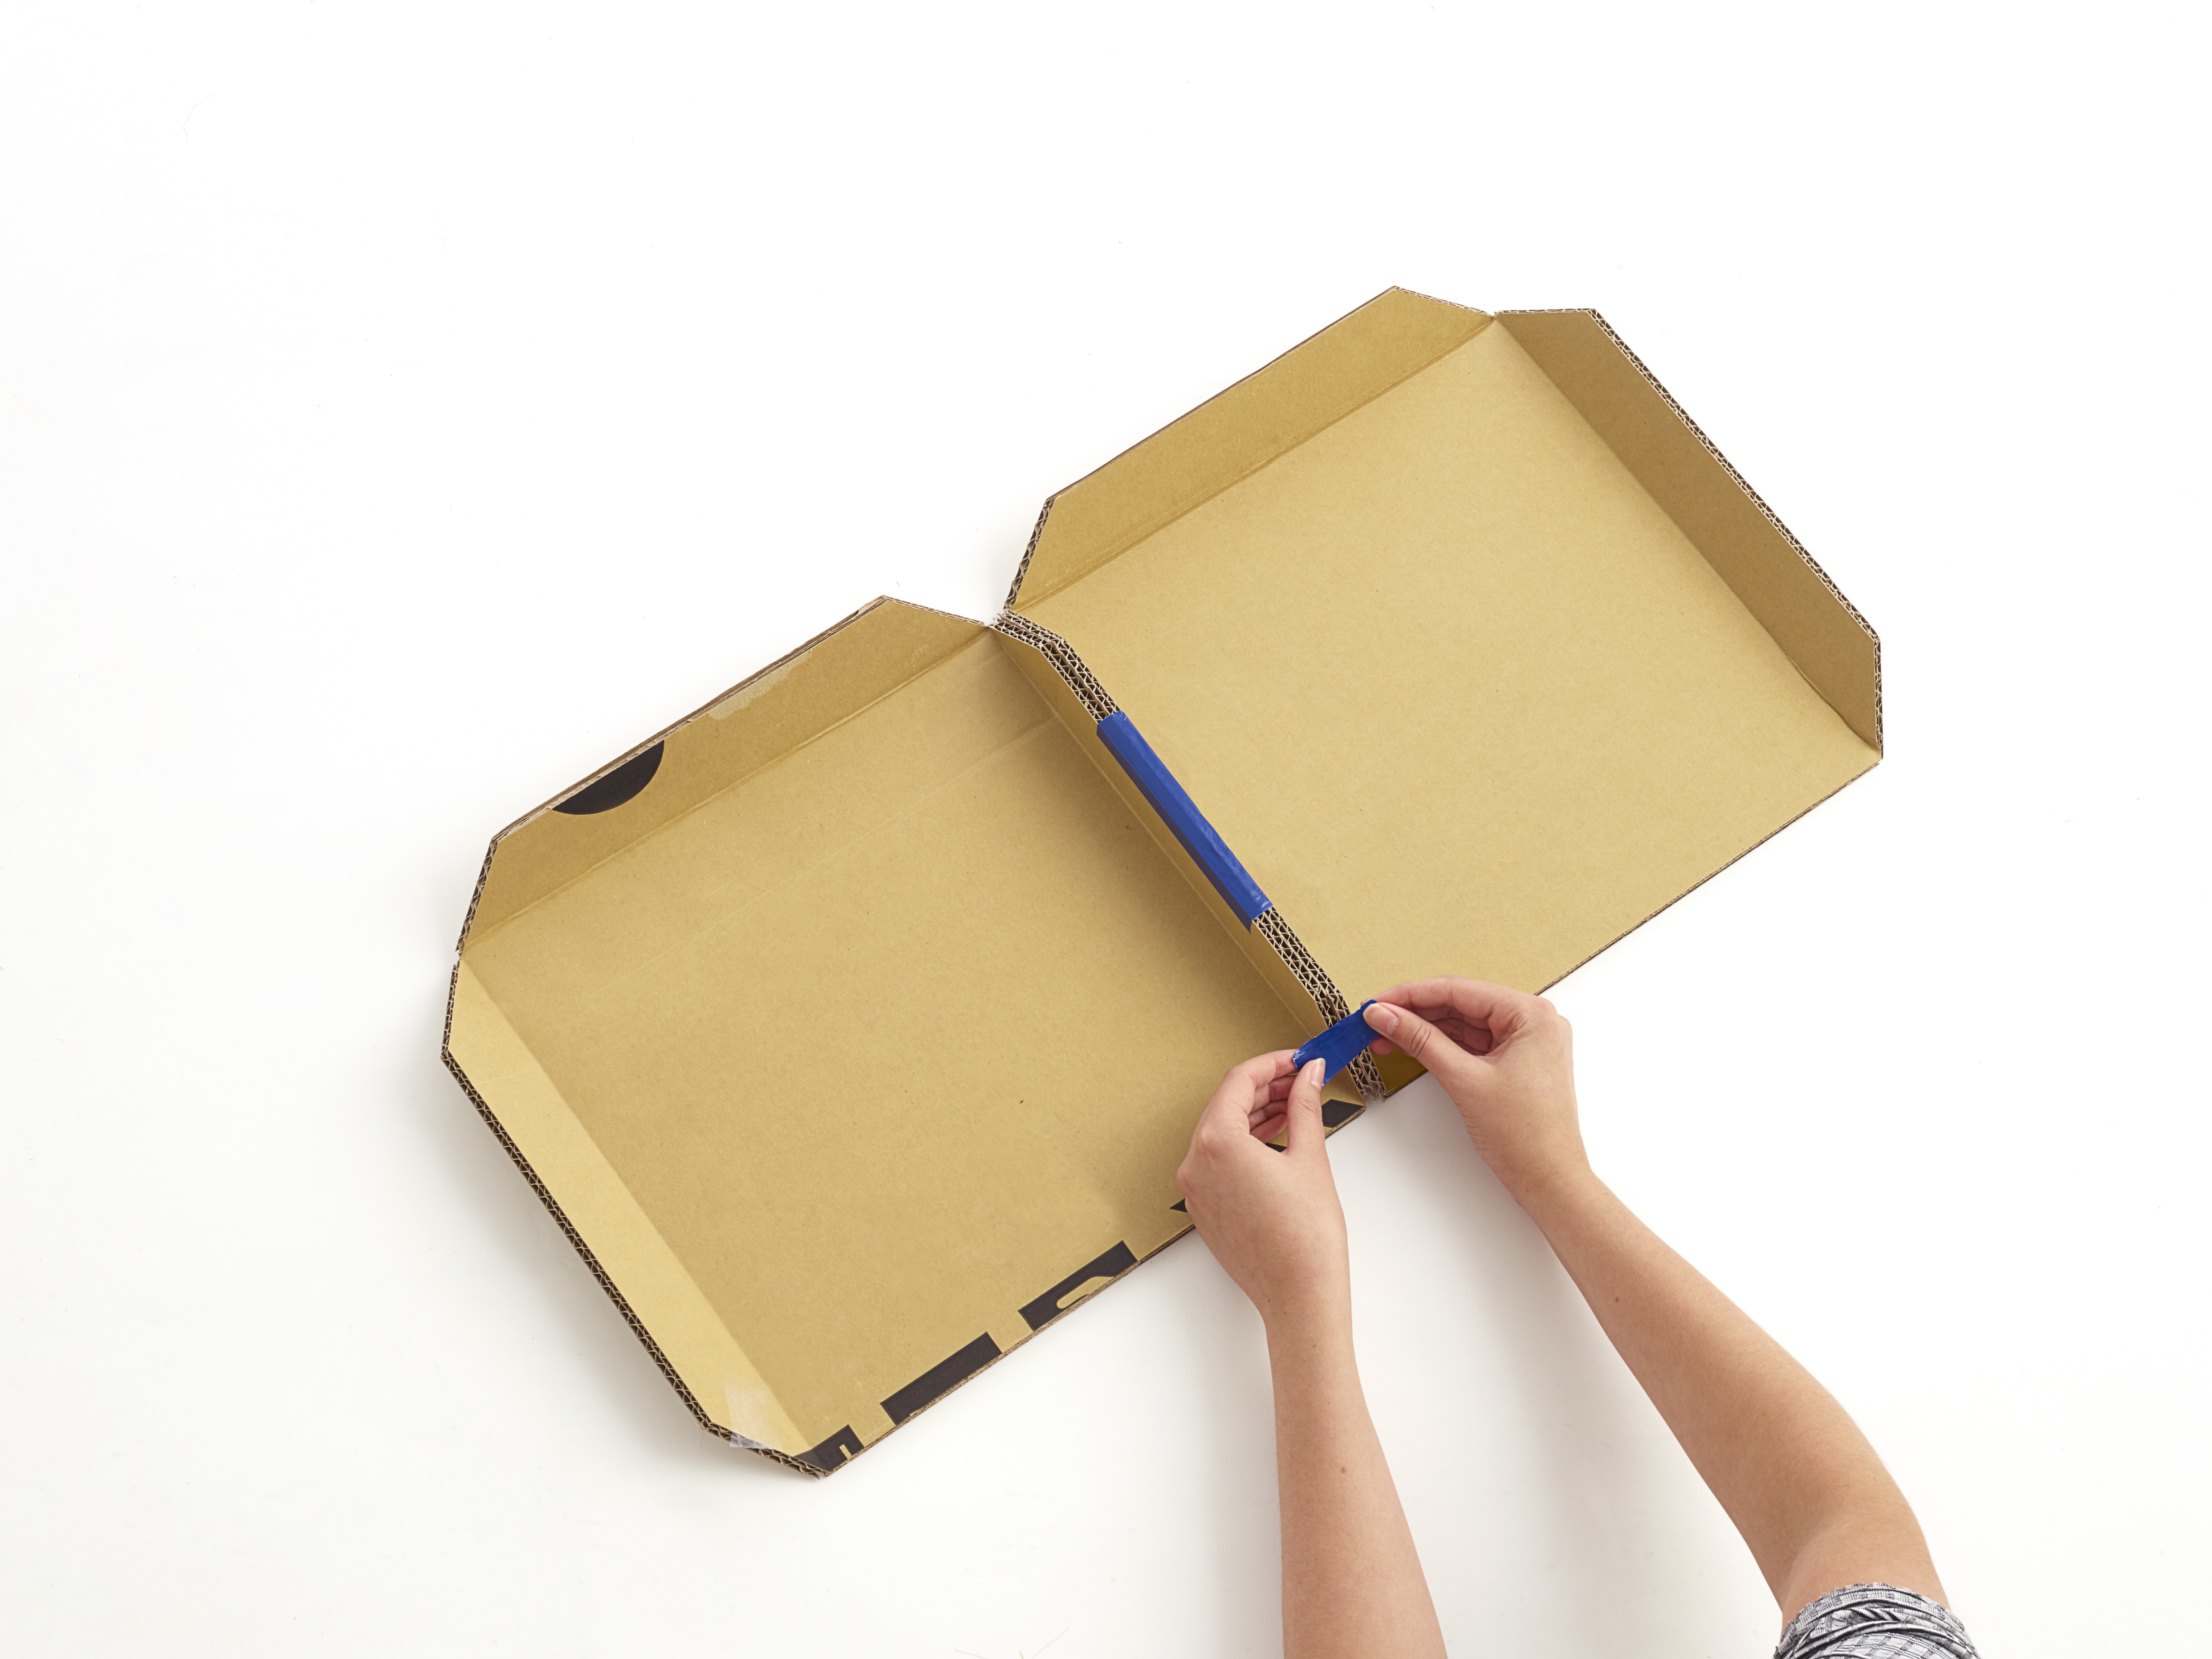
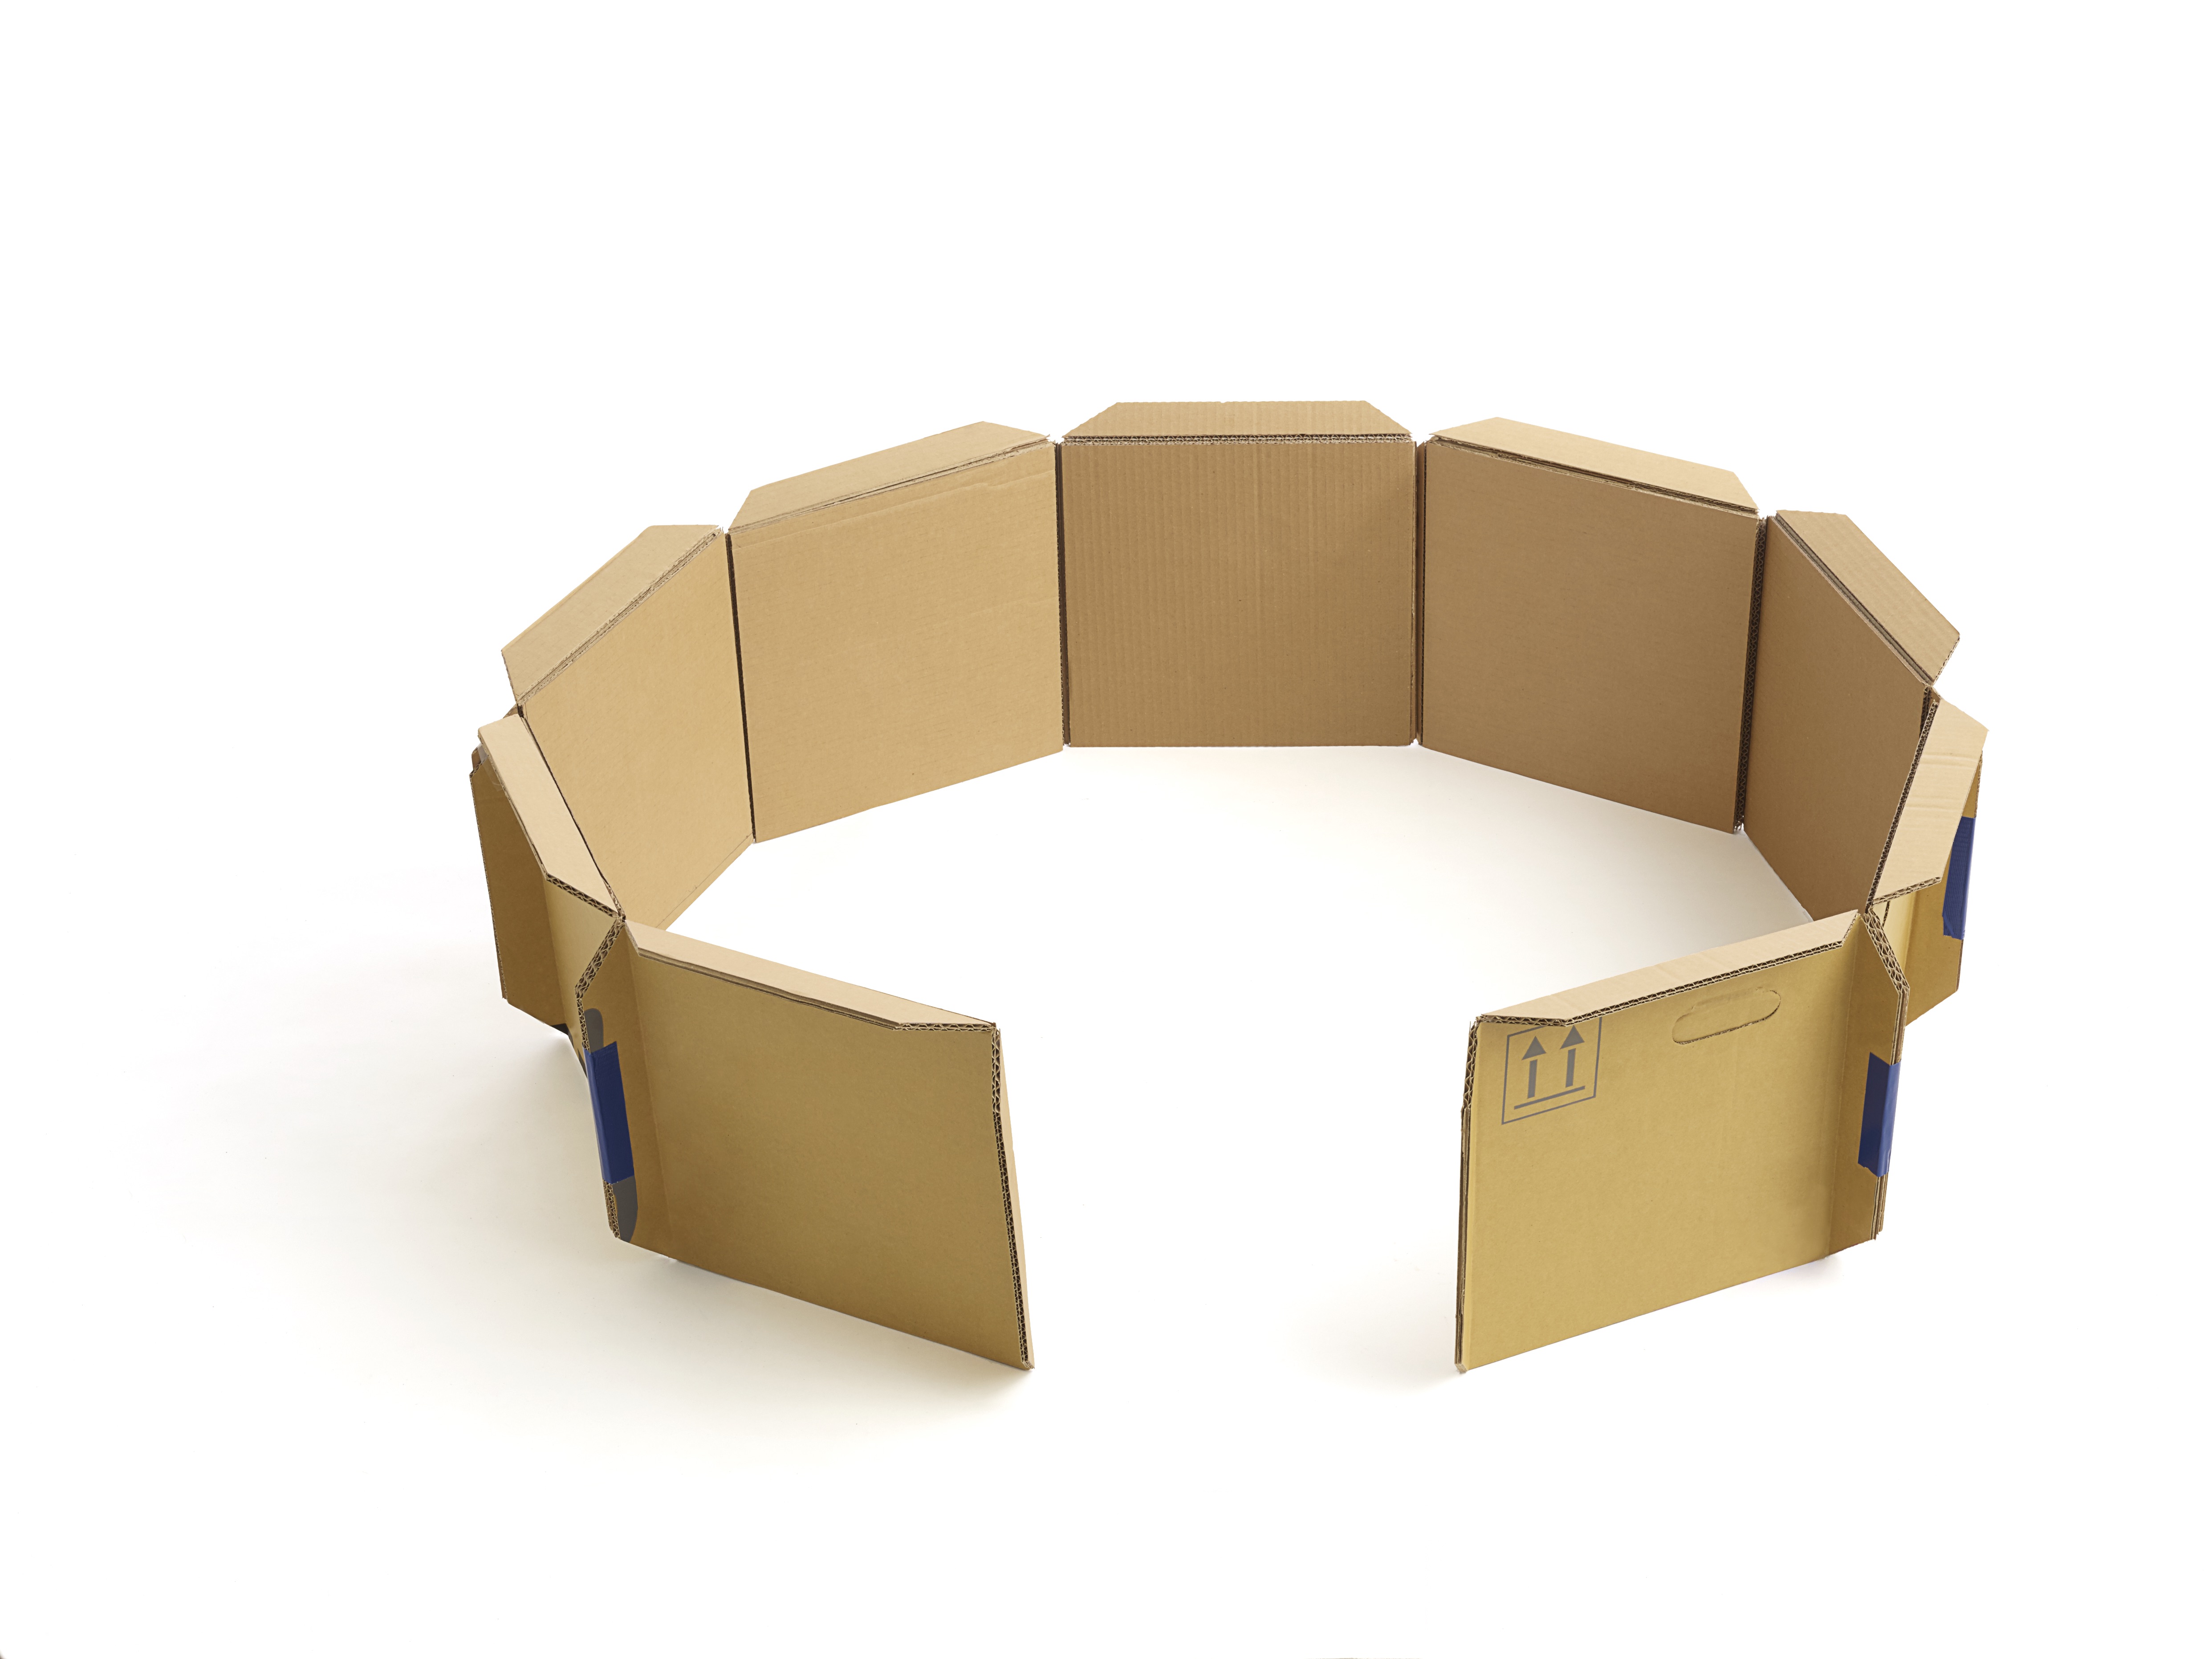
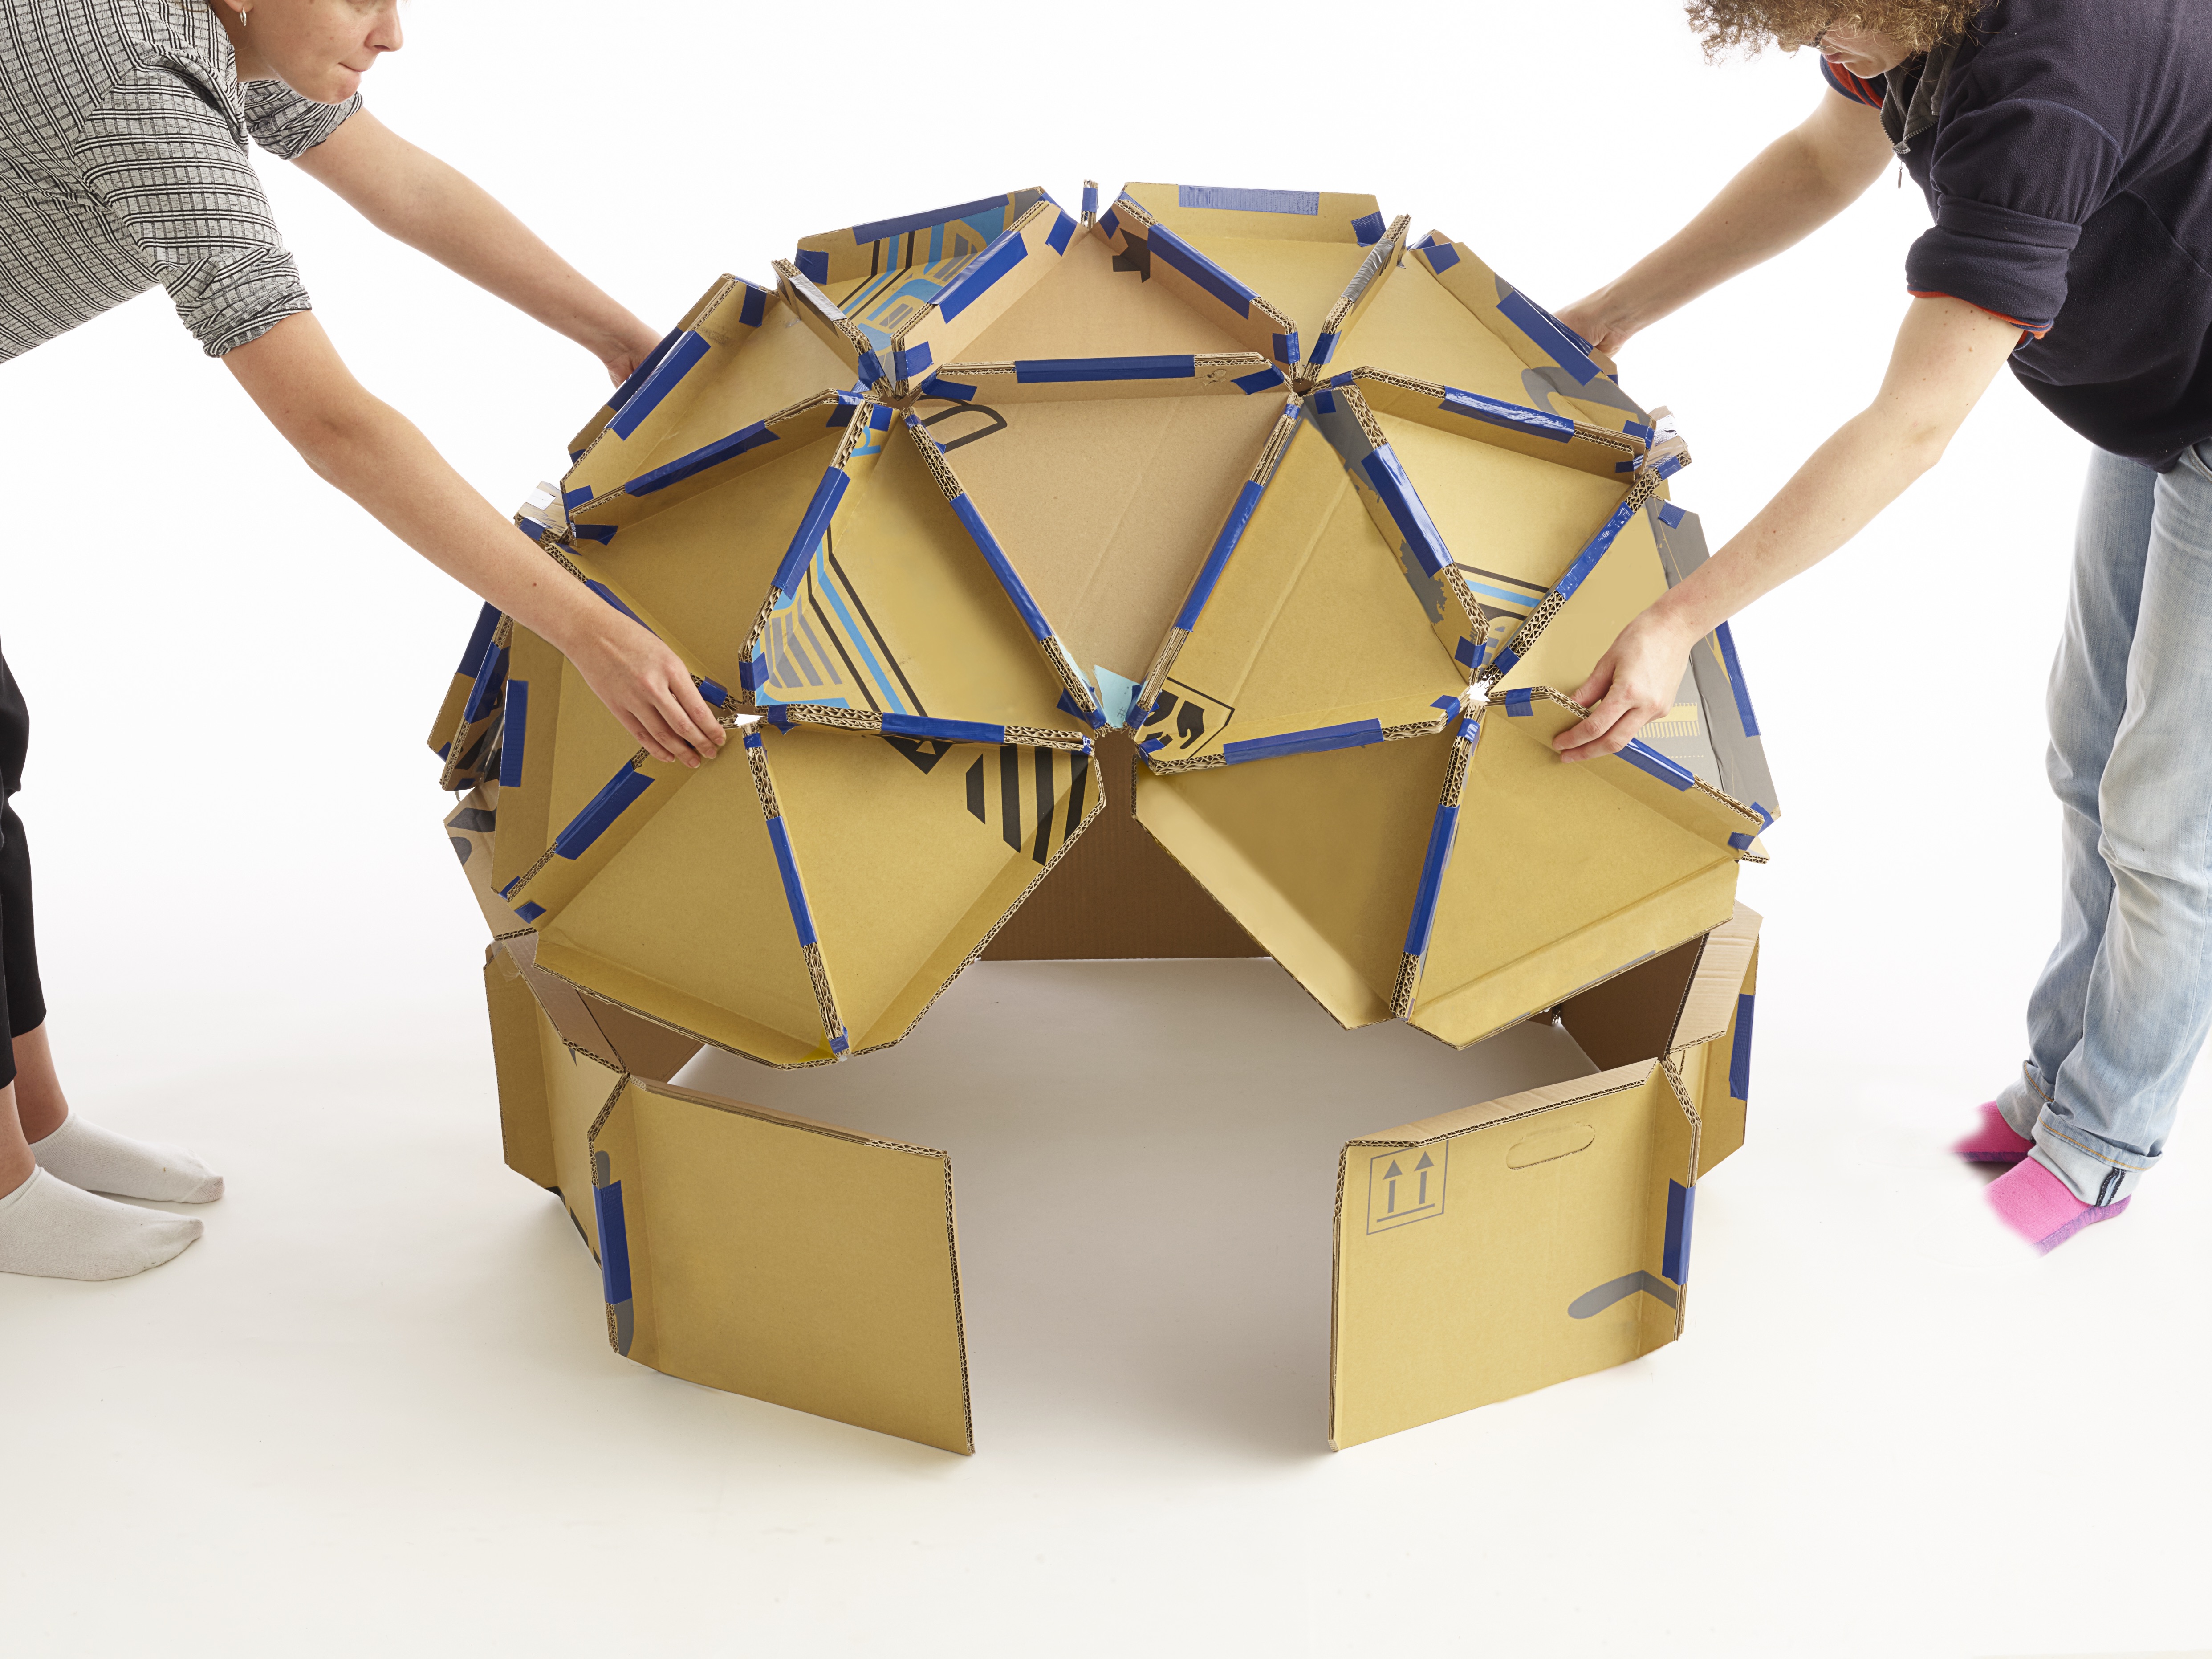
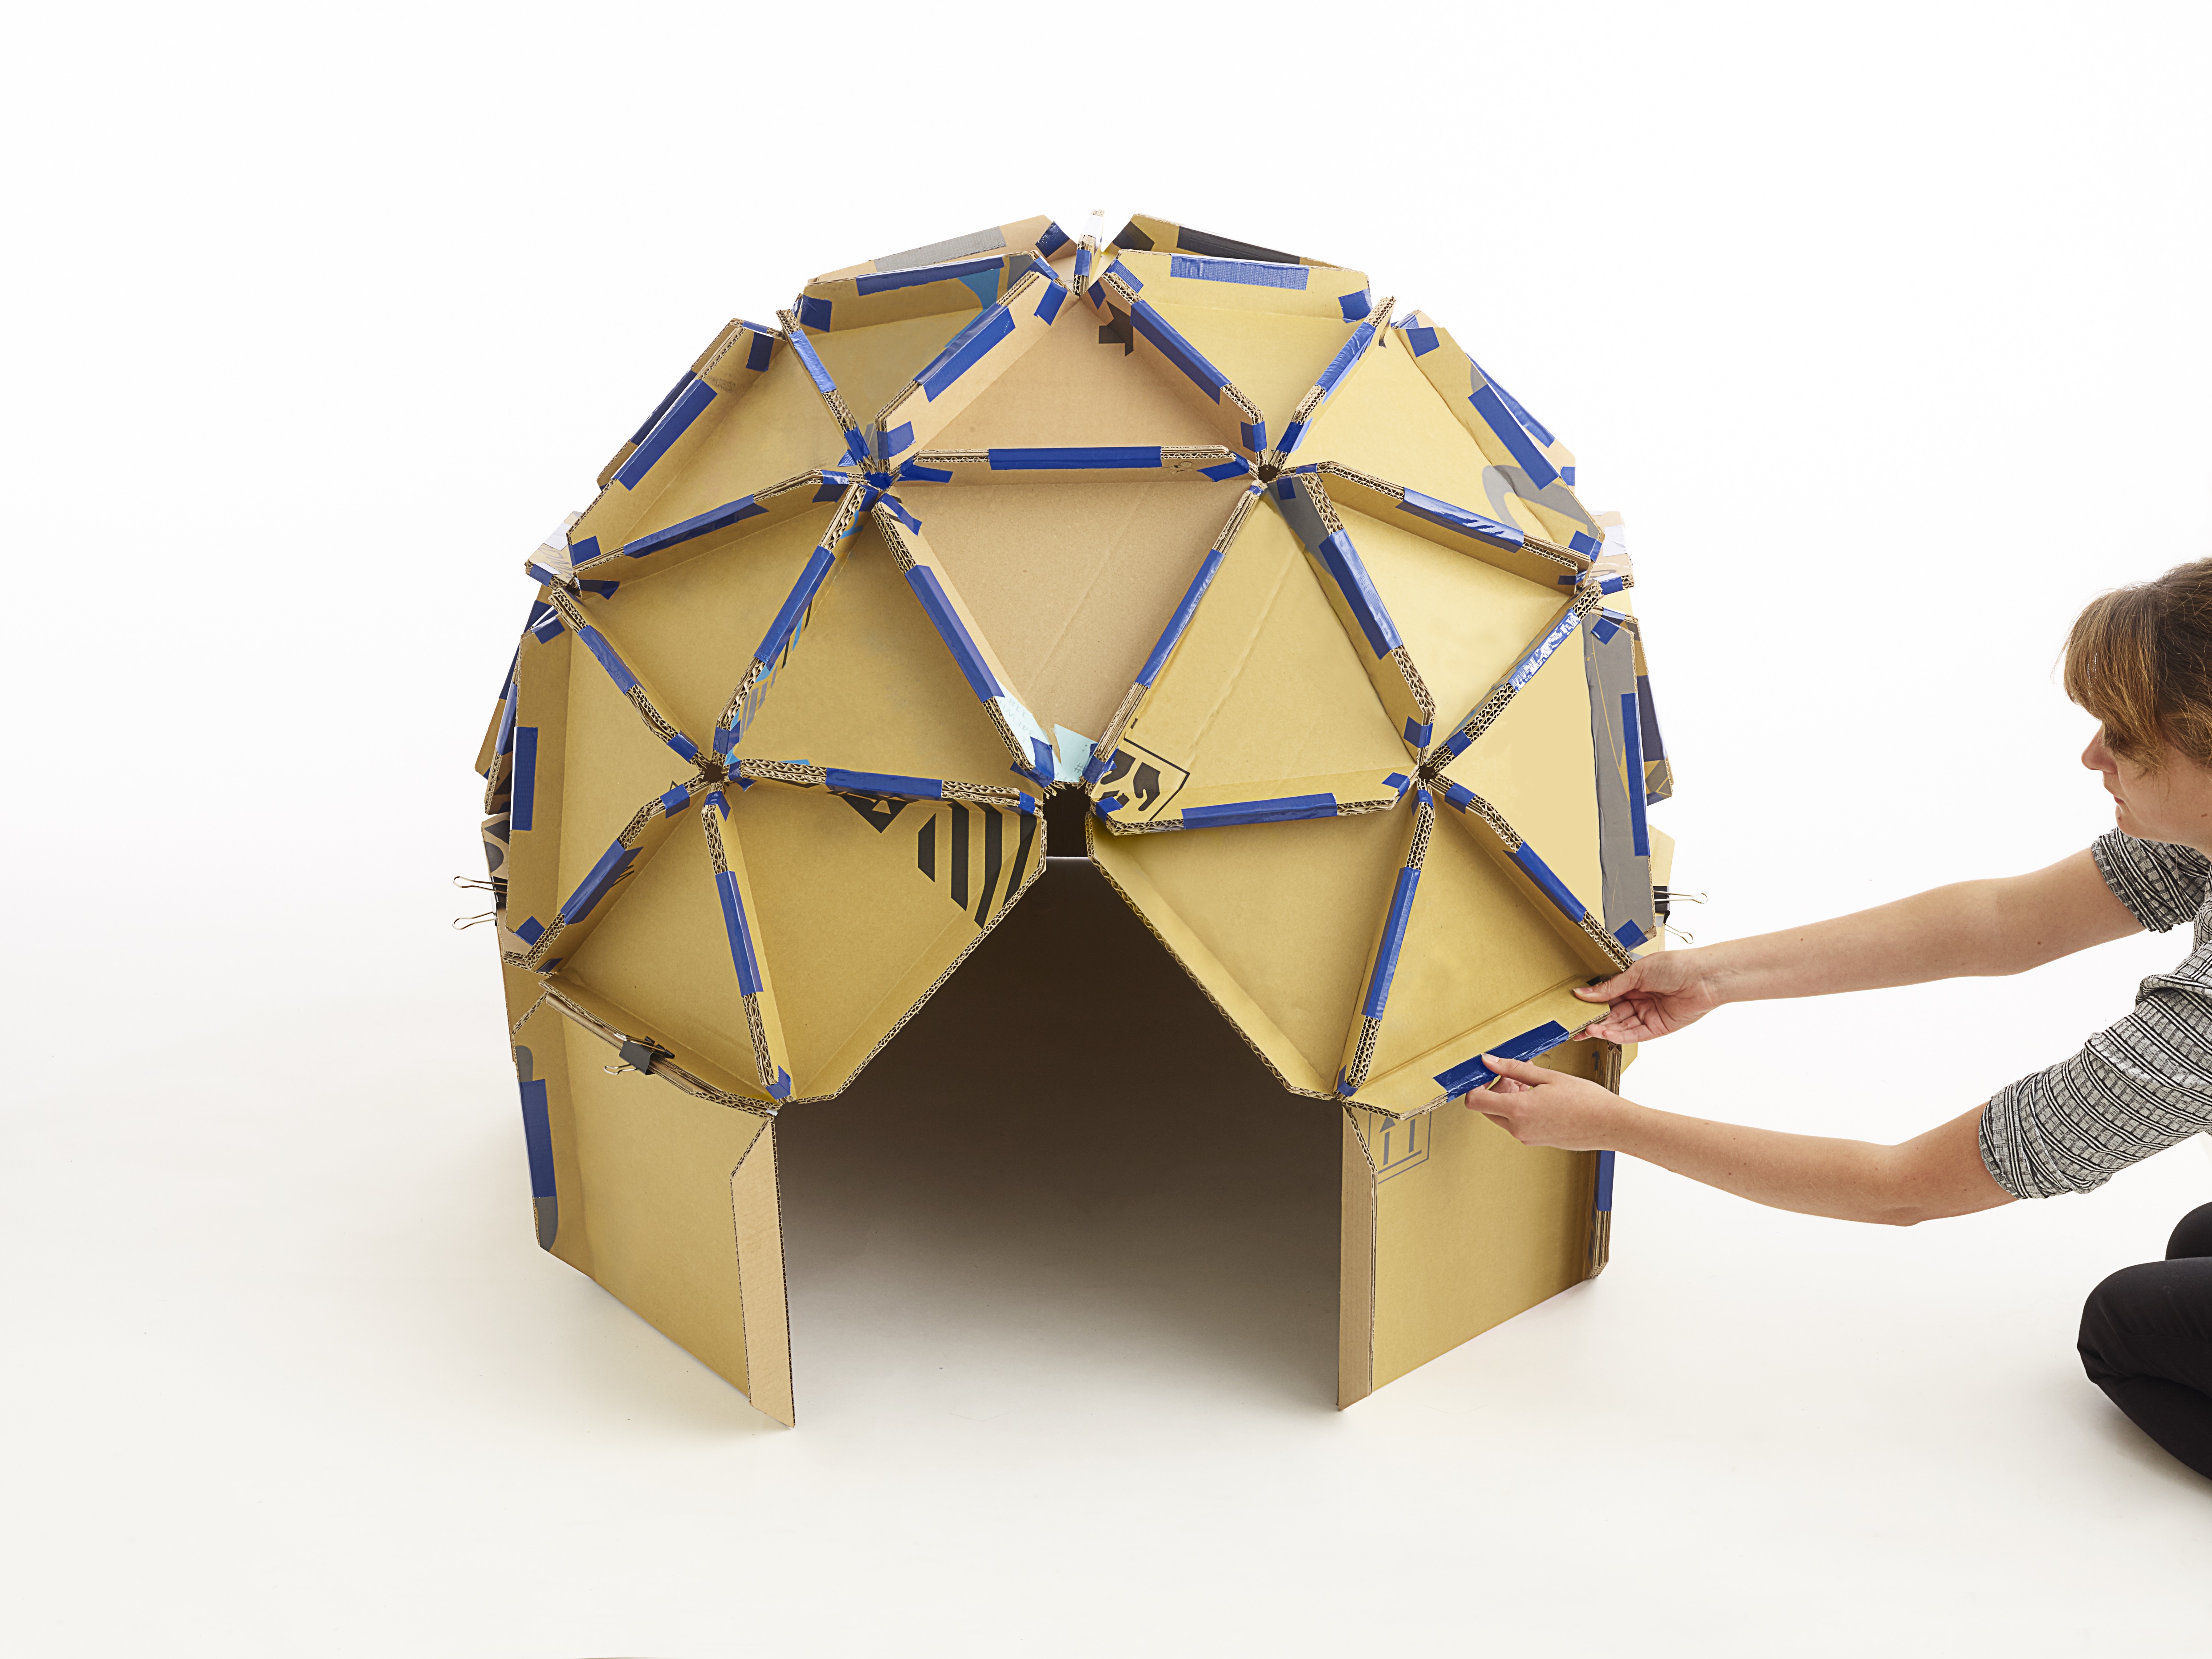
You will learn to measure & cut angled cardboard pieces to assemble into a standing dome structure
WHAT WILL YOU NEED?
- Cardboard
- Crafting Materials
- Other Materials
- Tape (Duct, masking, etc)
- Upcycled / Recycled materials
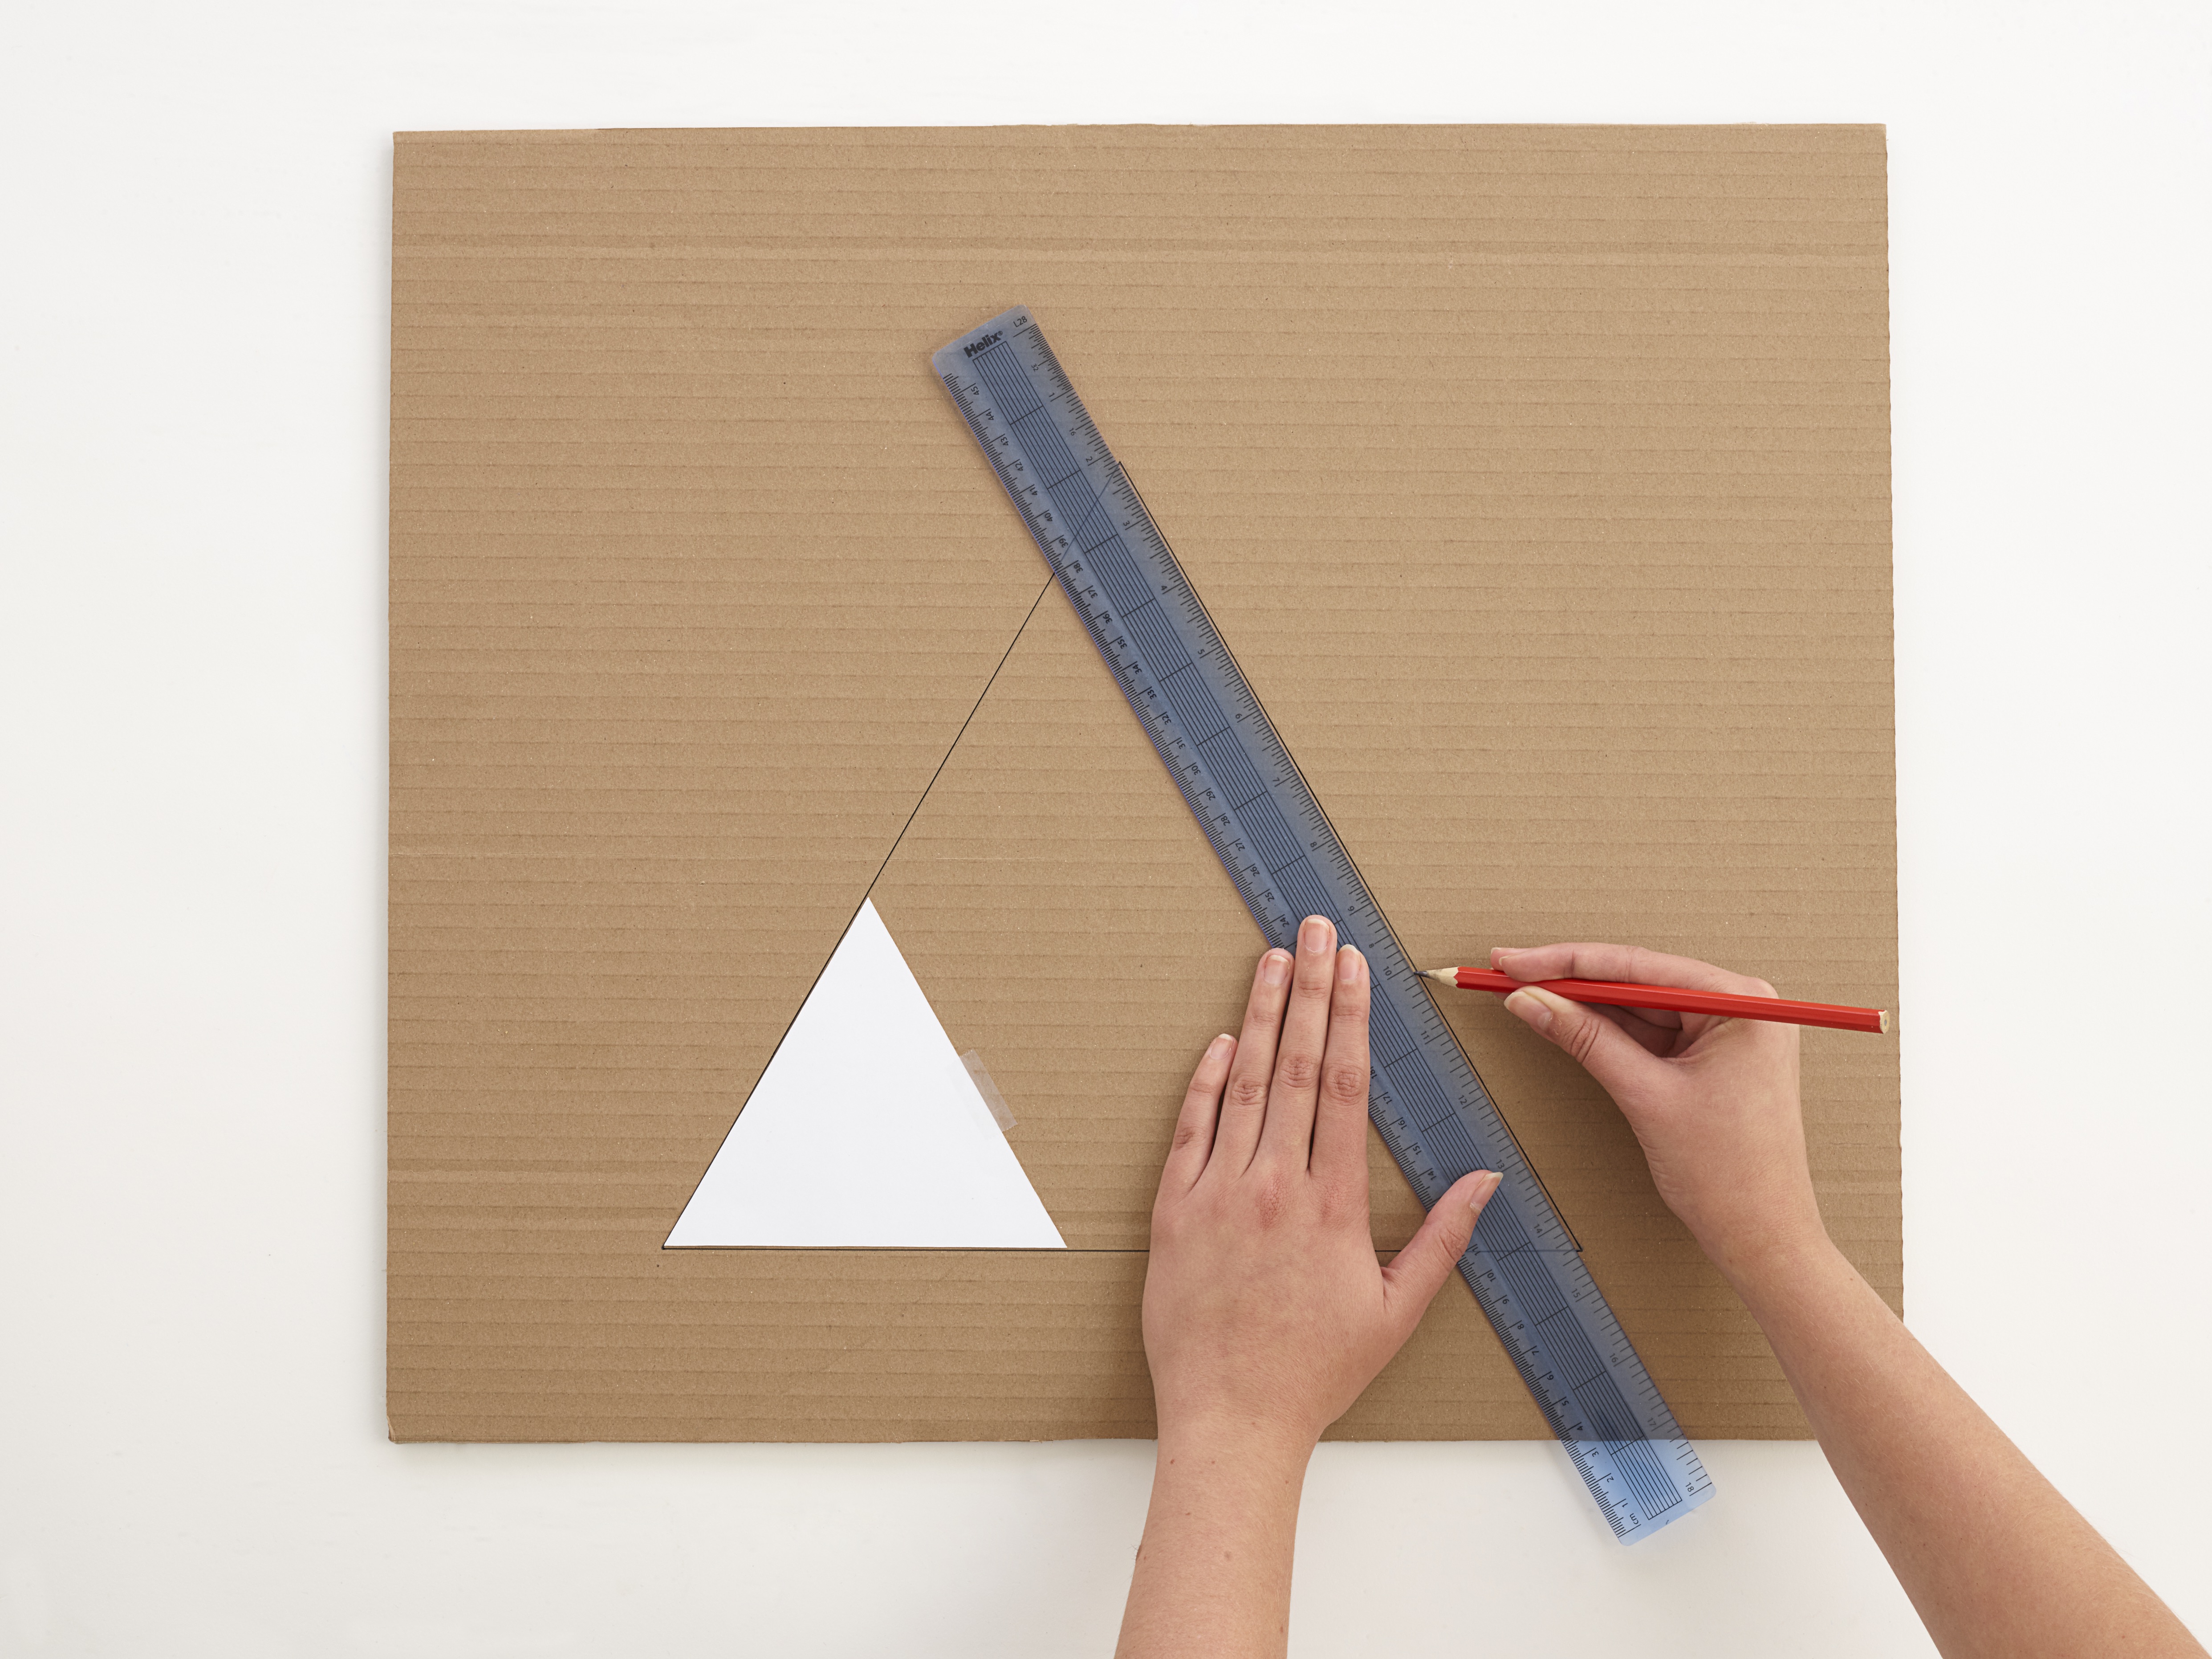
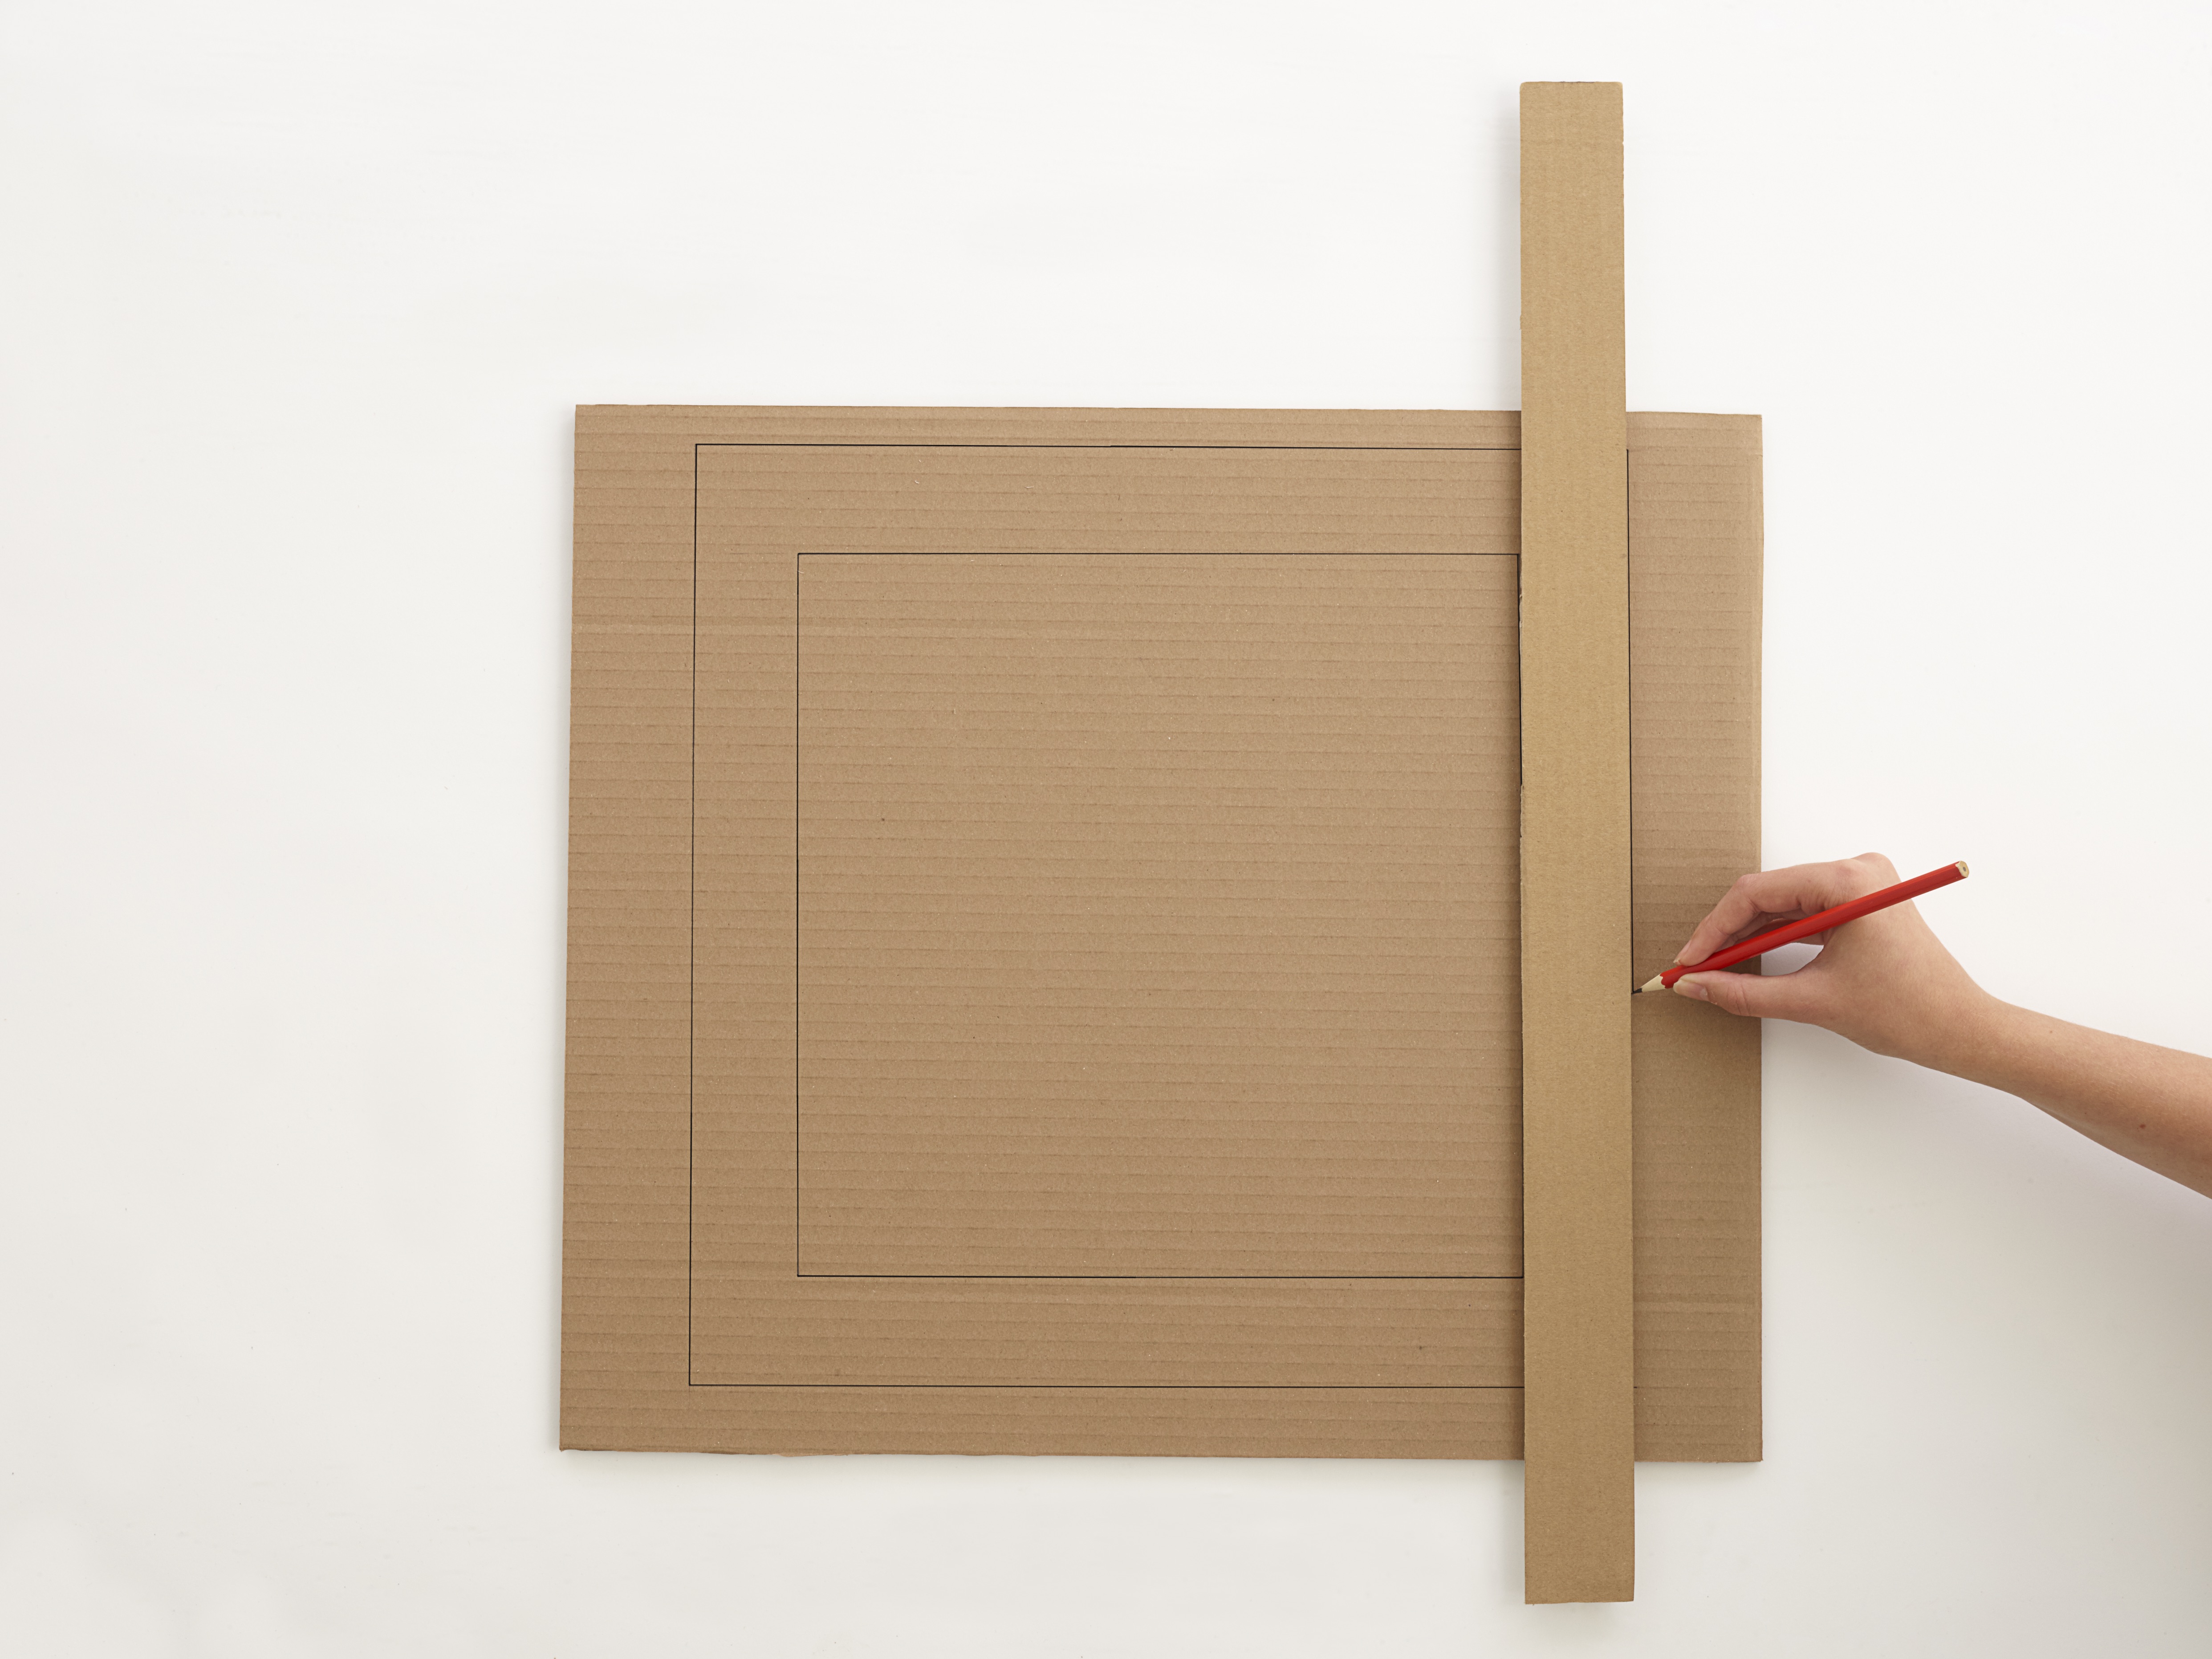
STEP 1
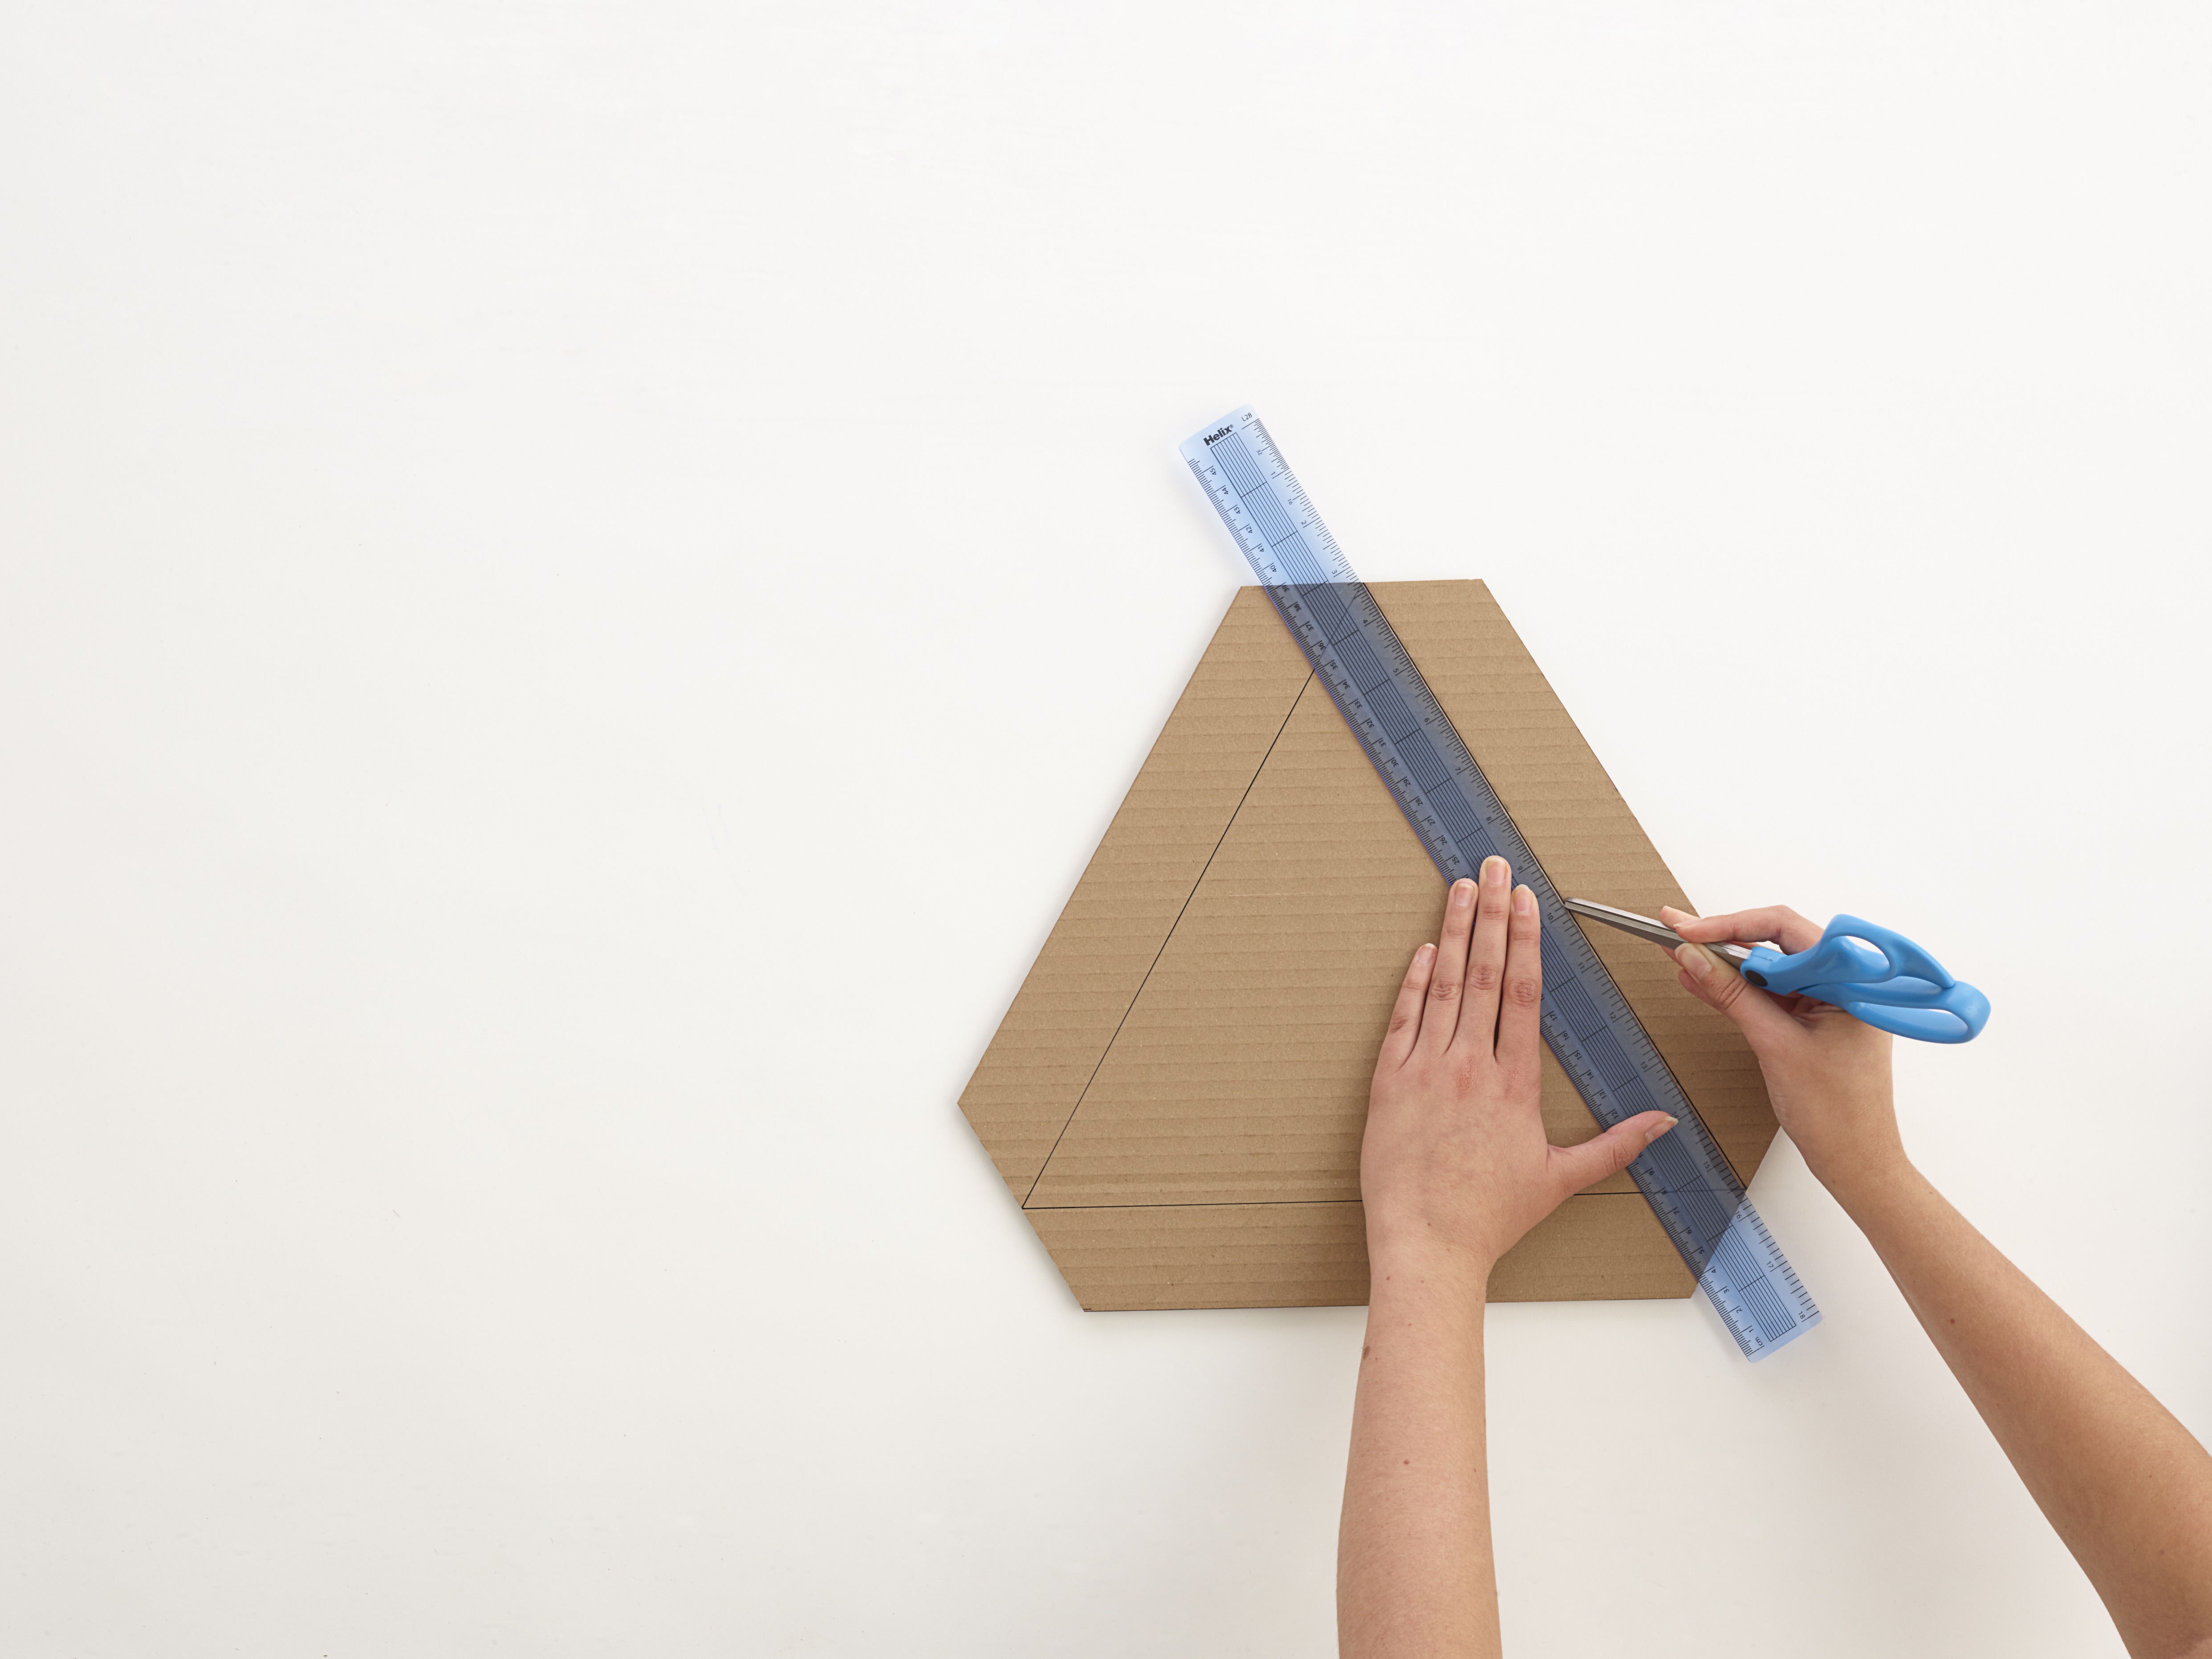
STEP 2
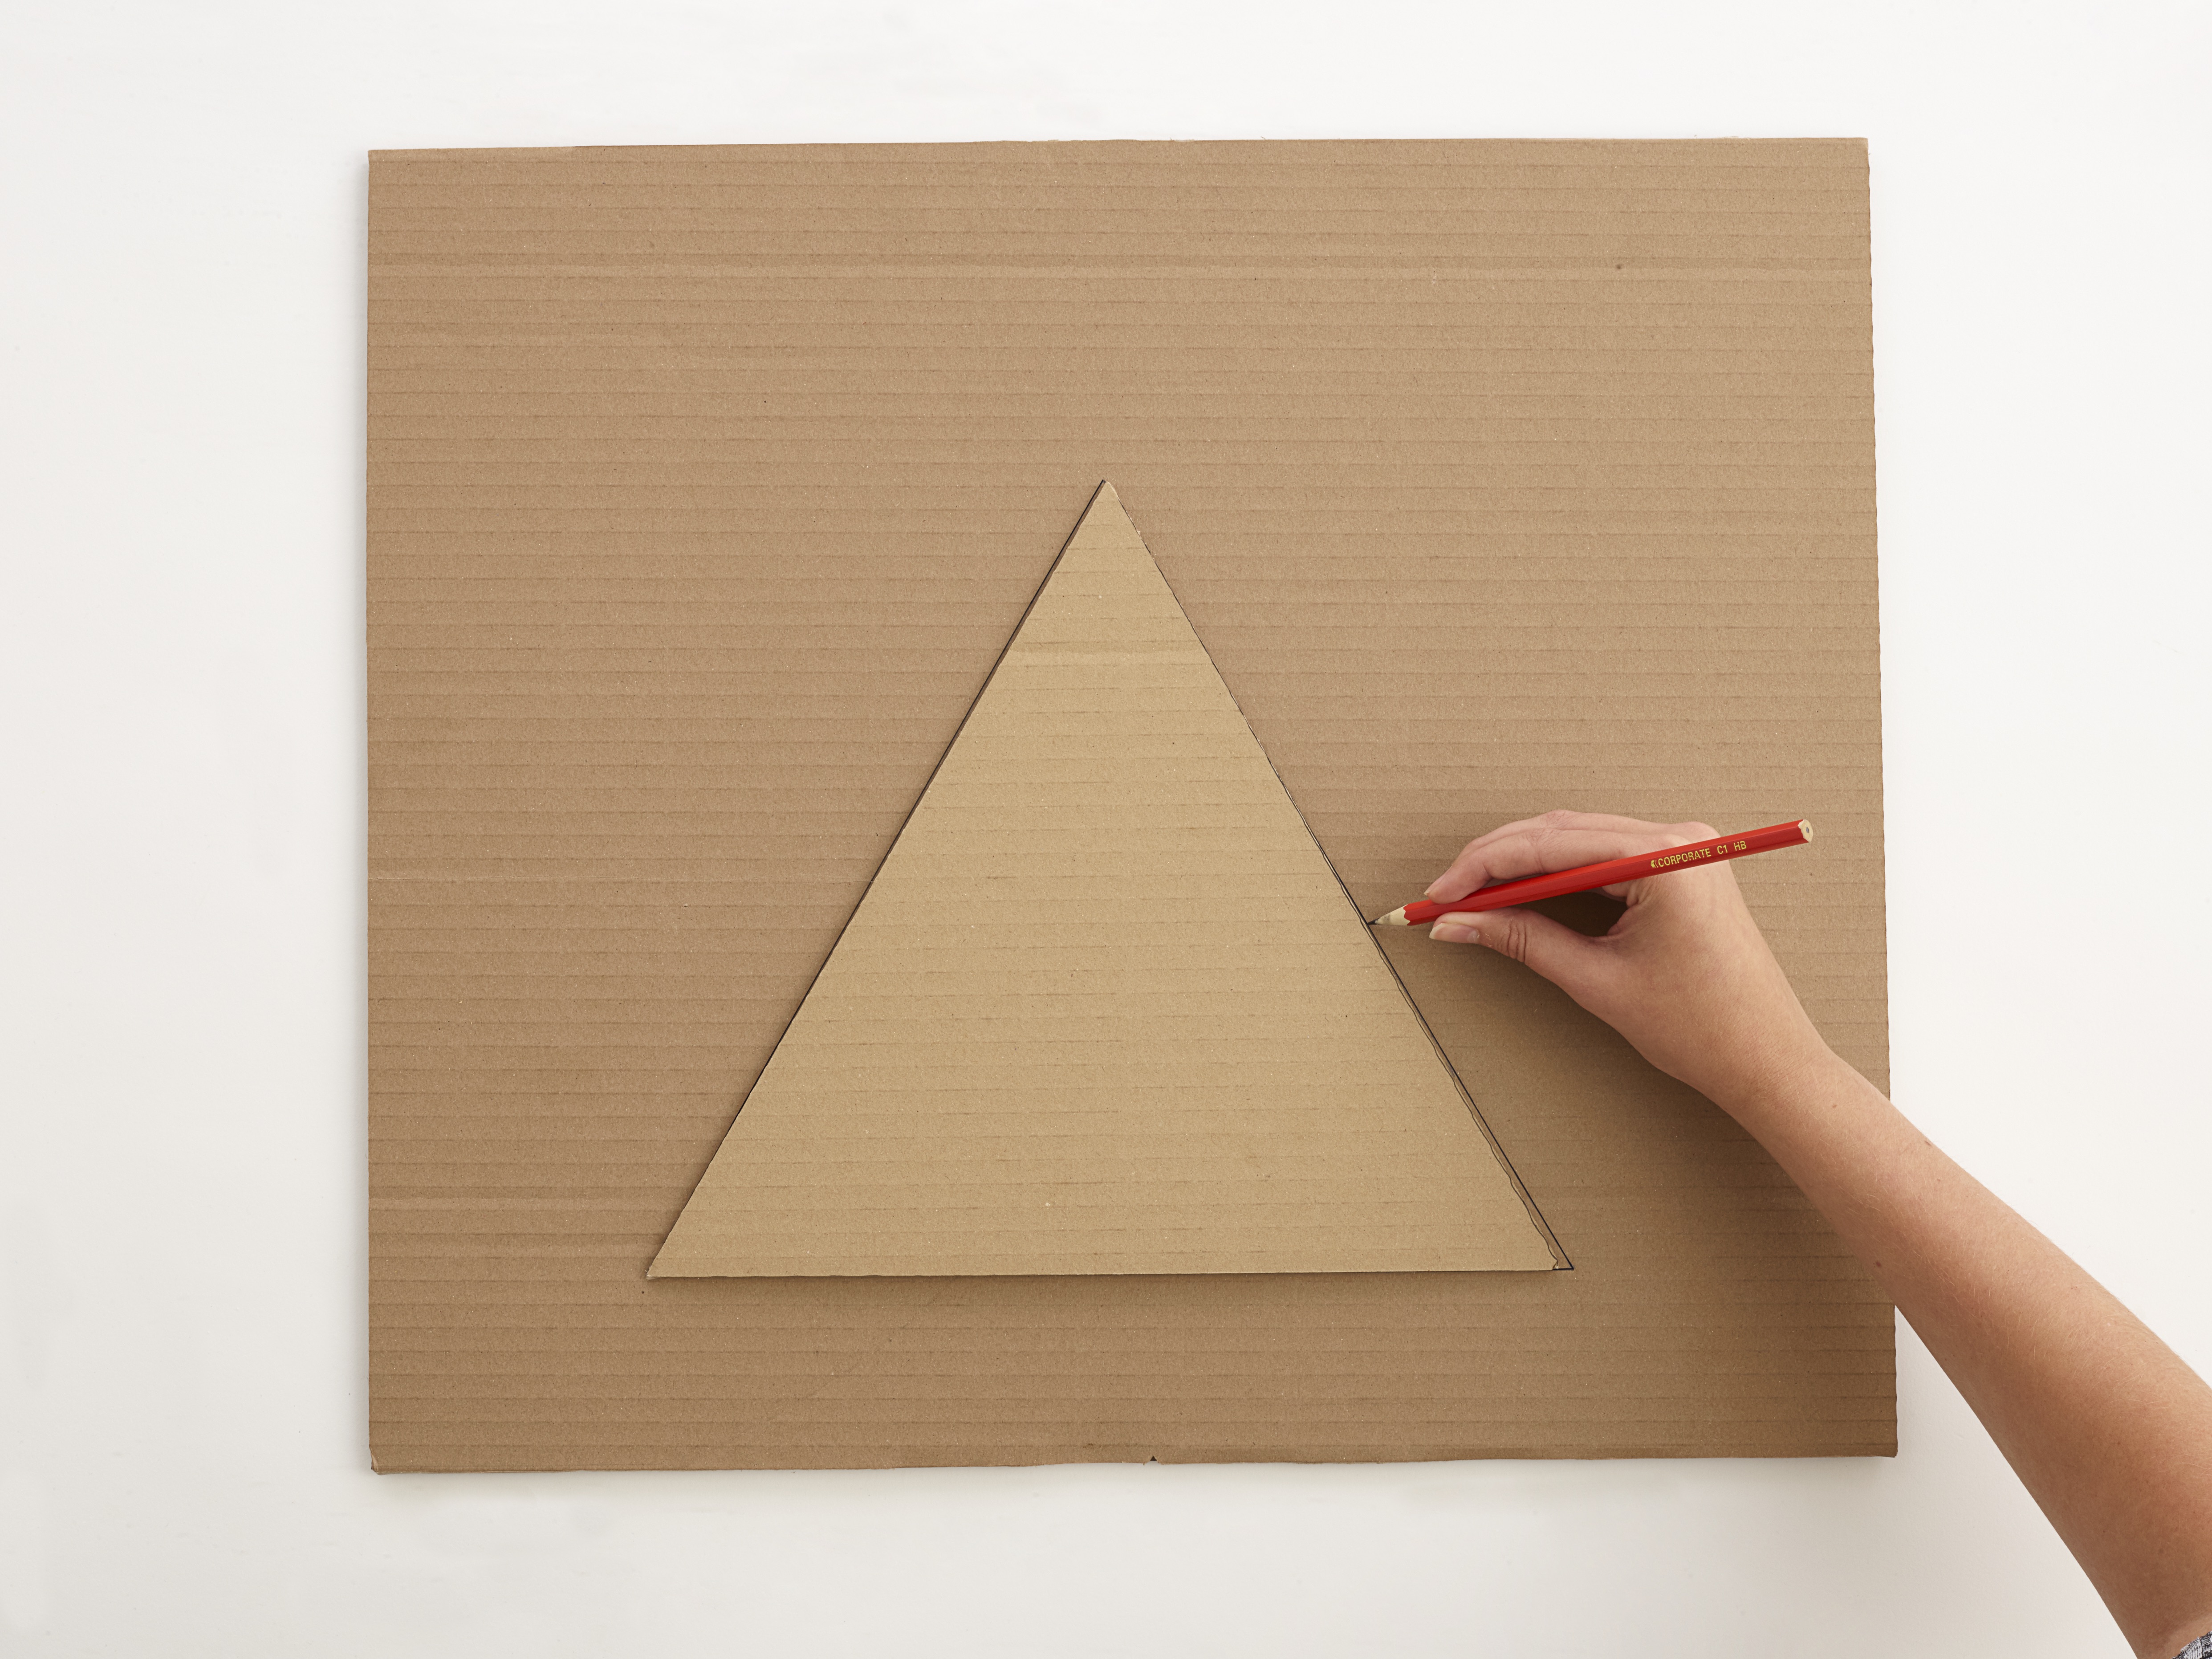
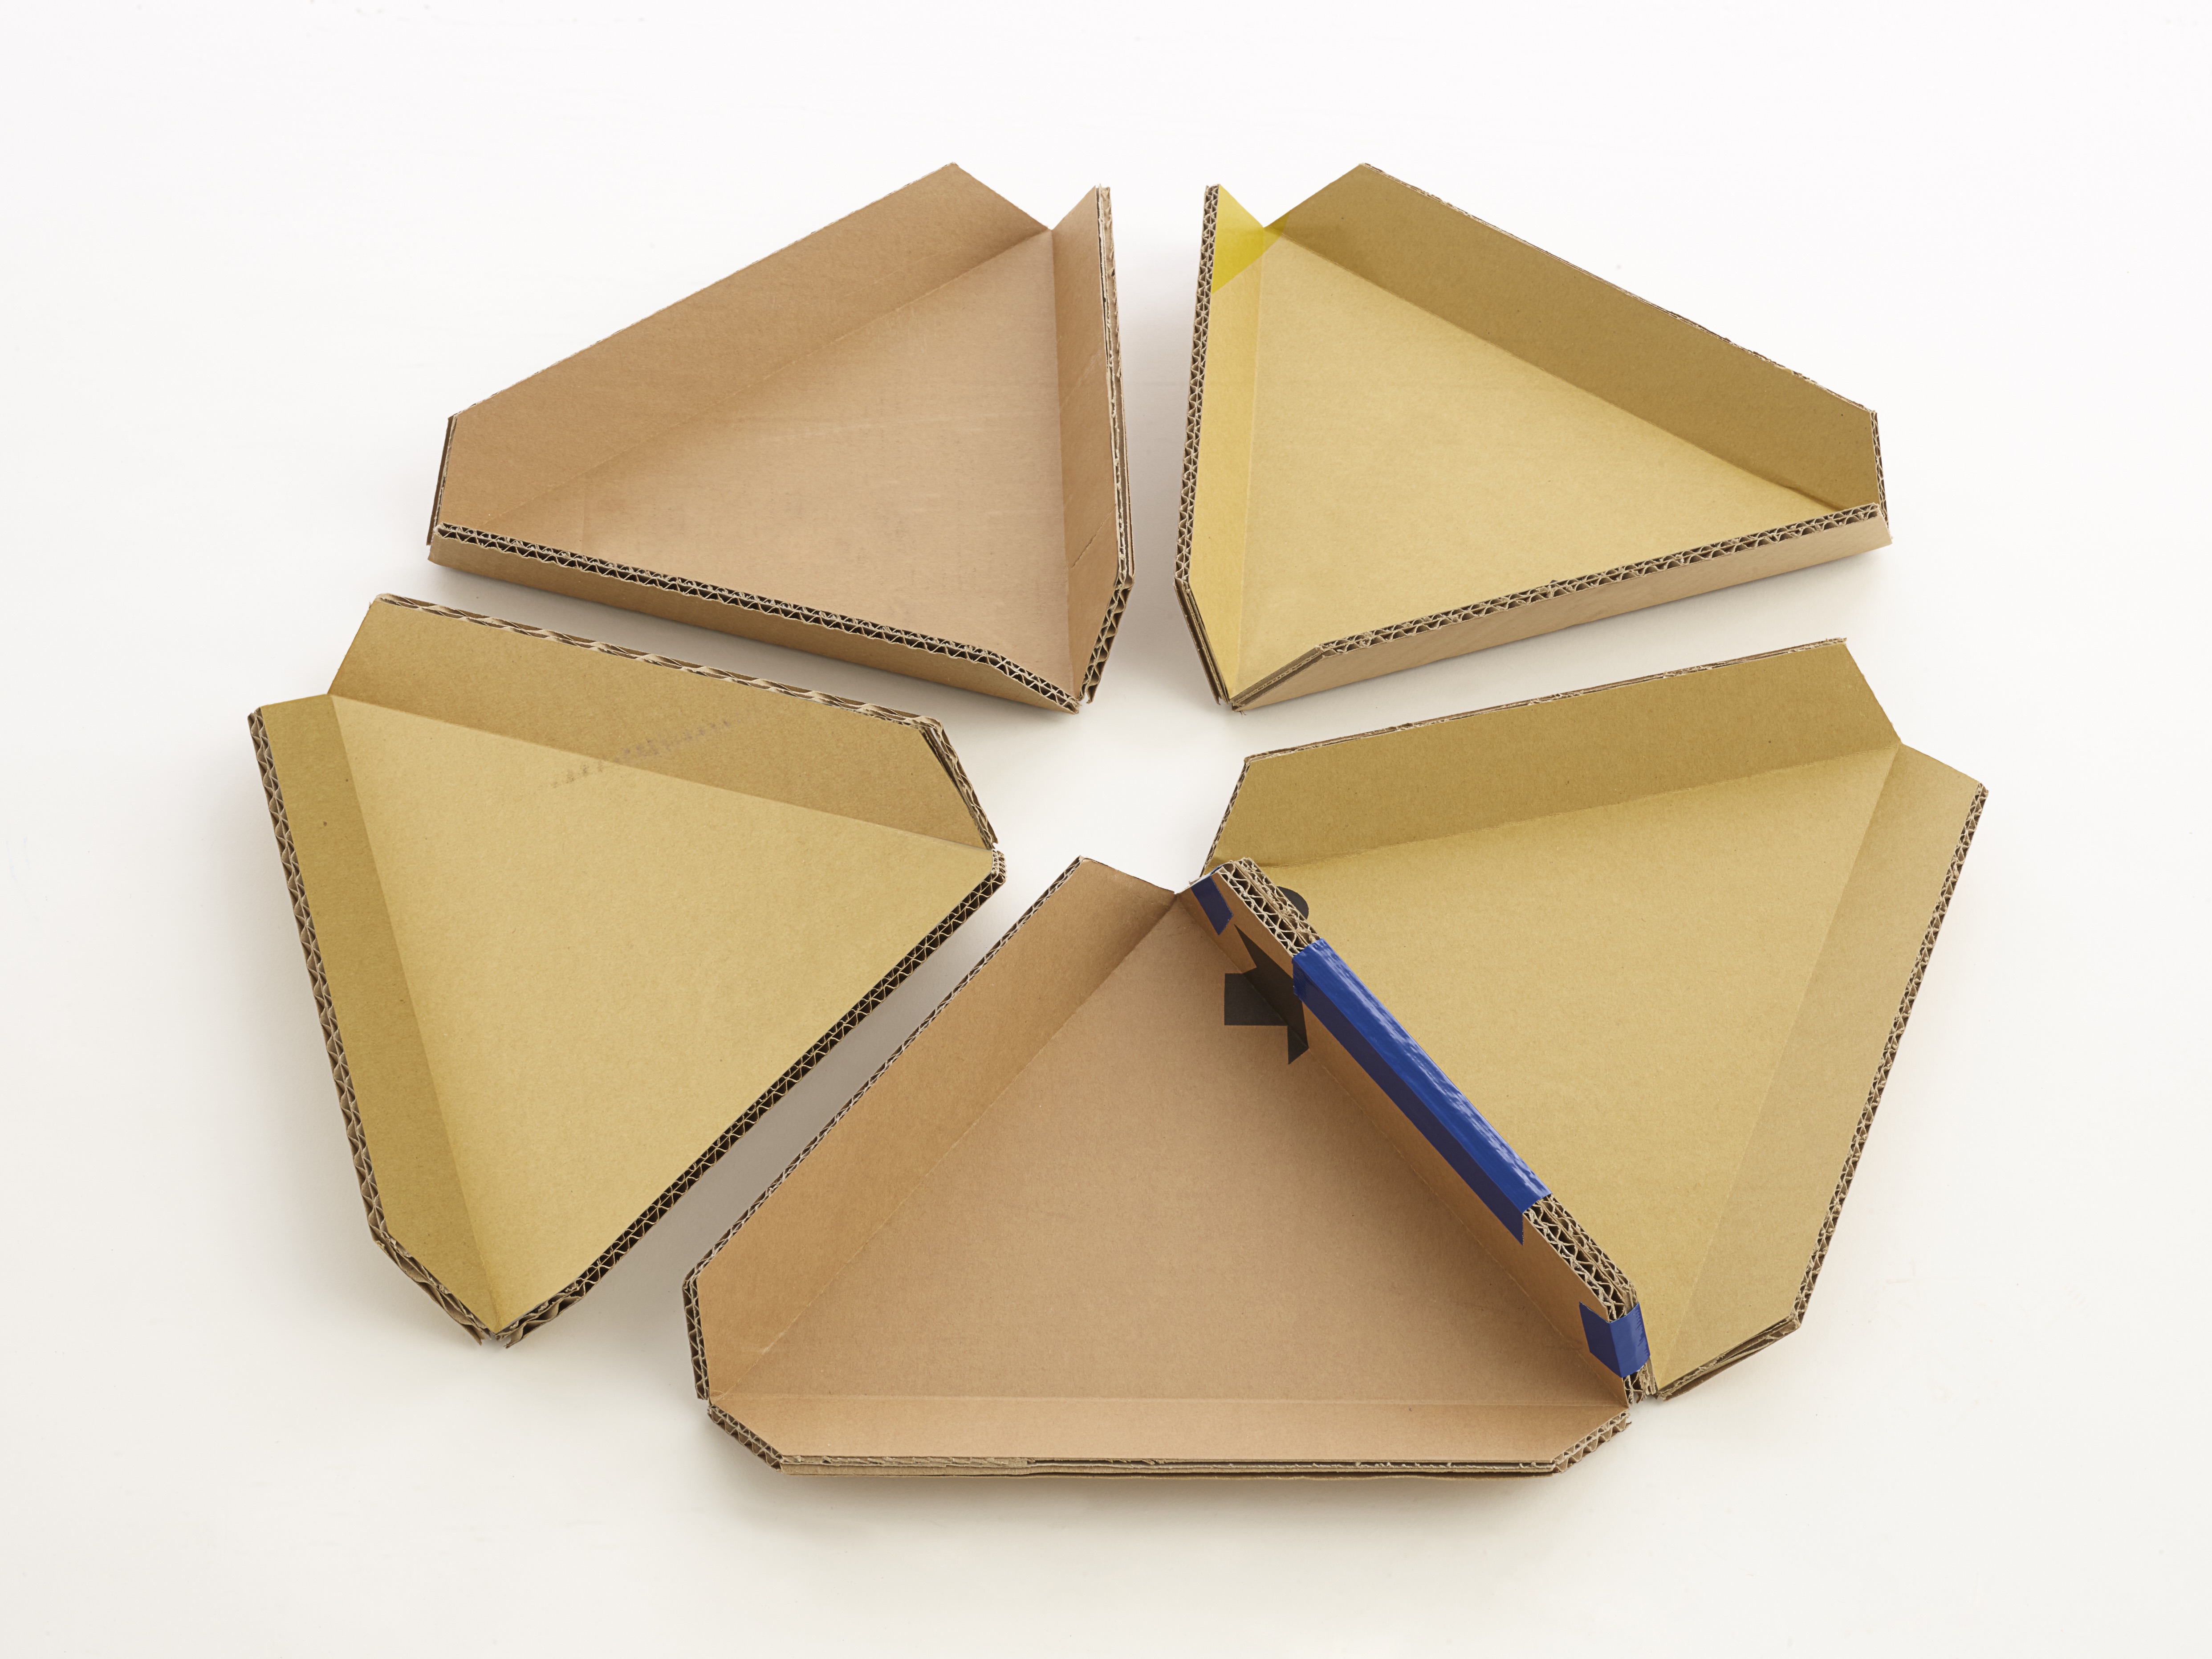
STEP 3
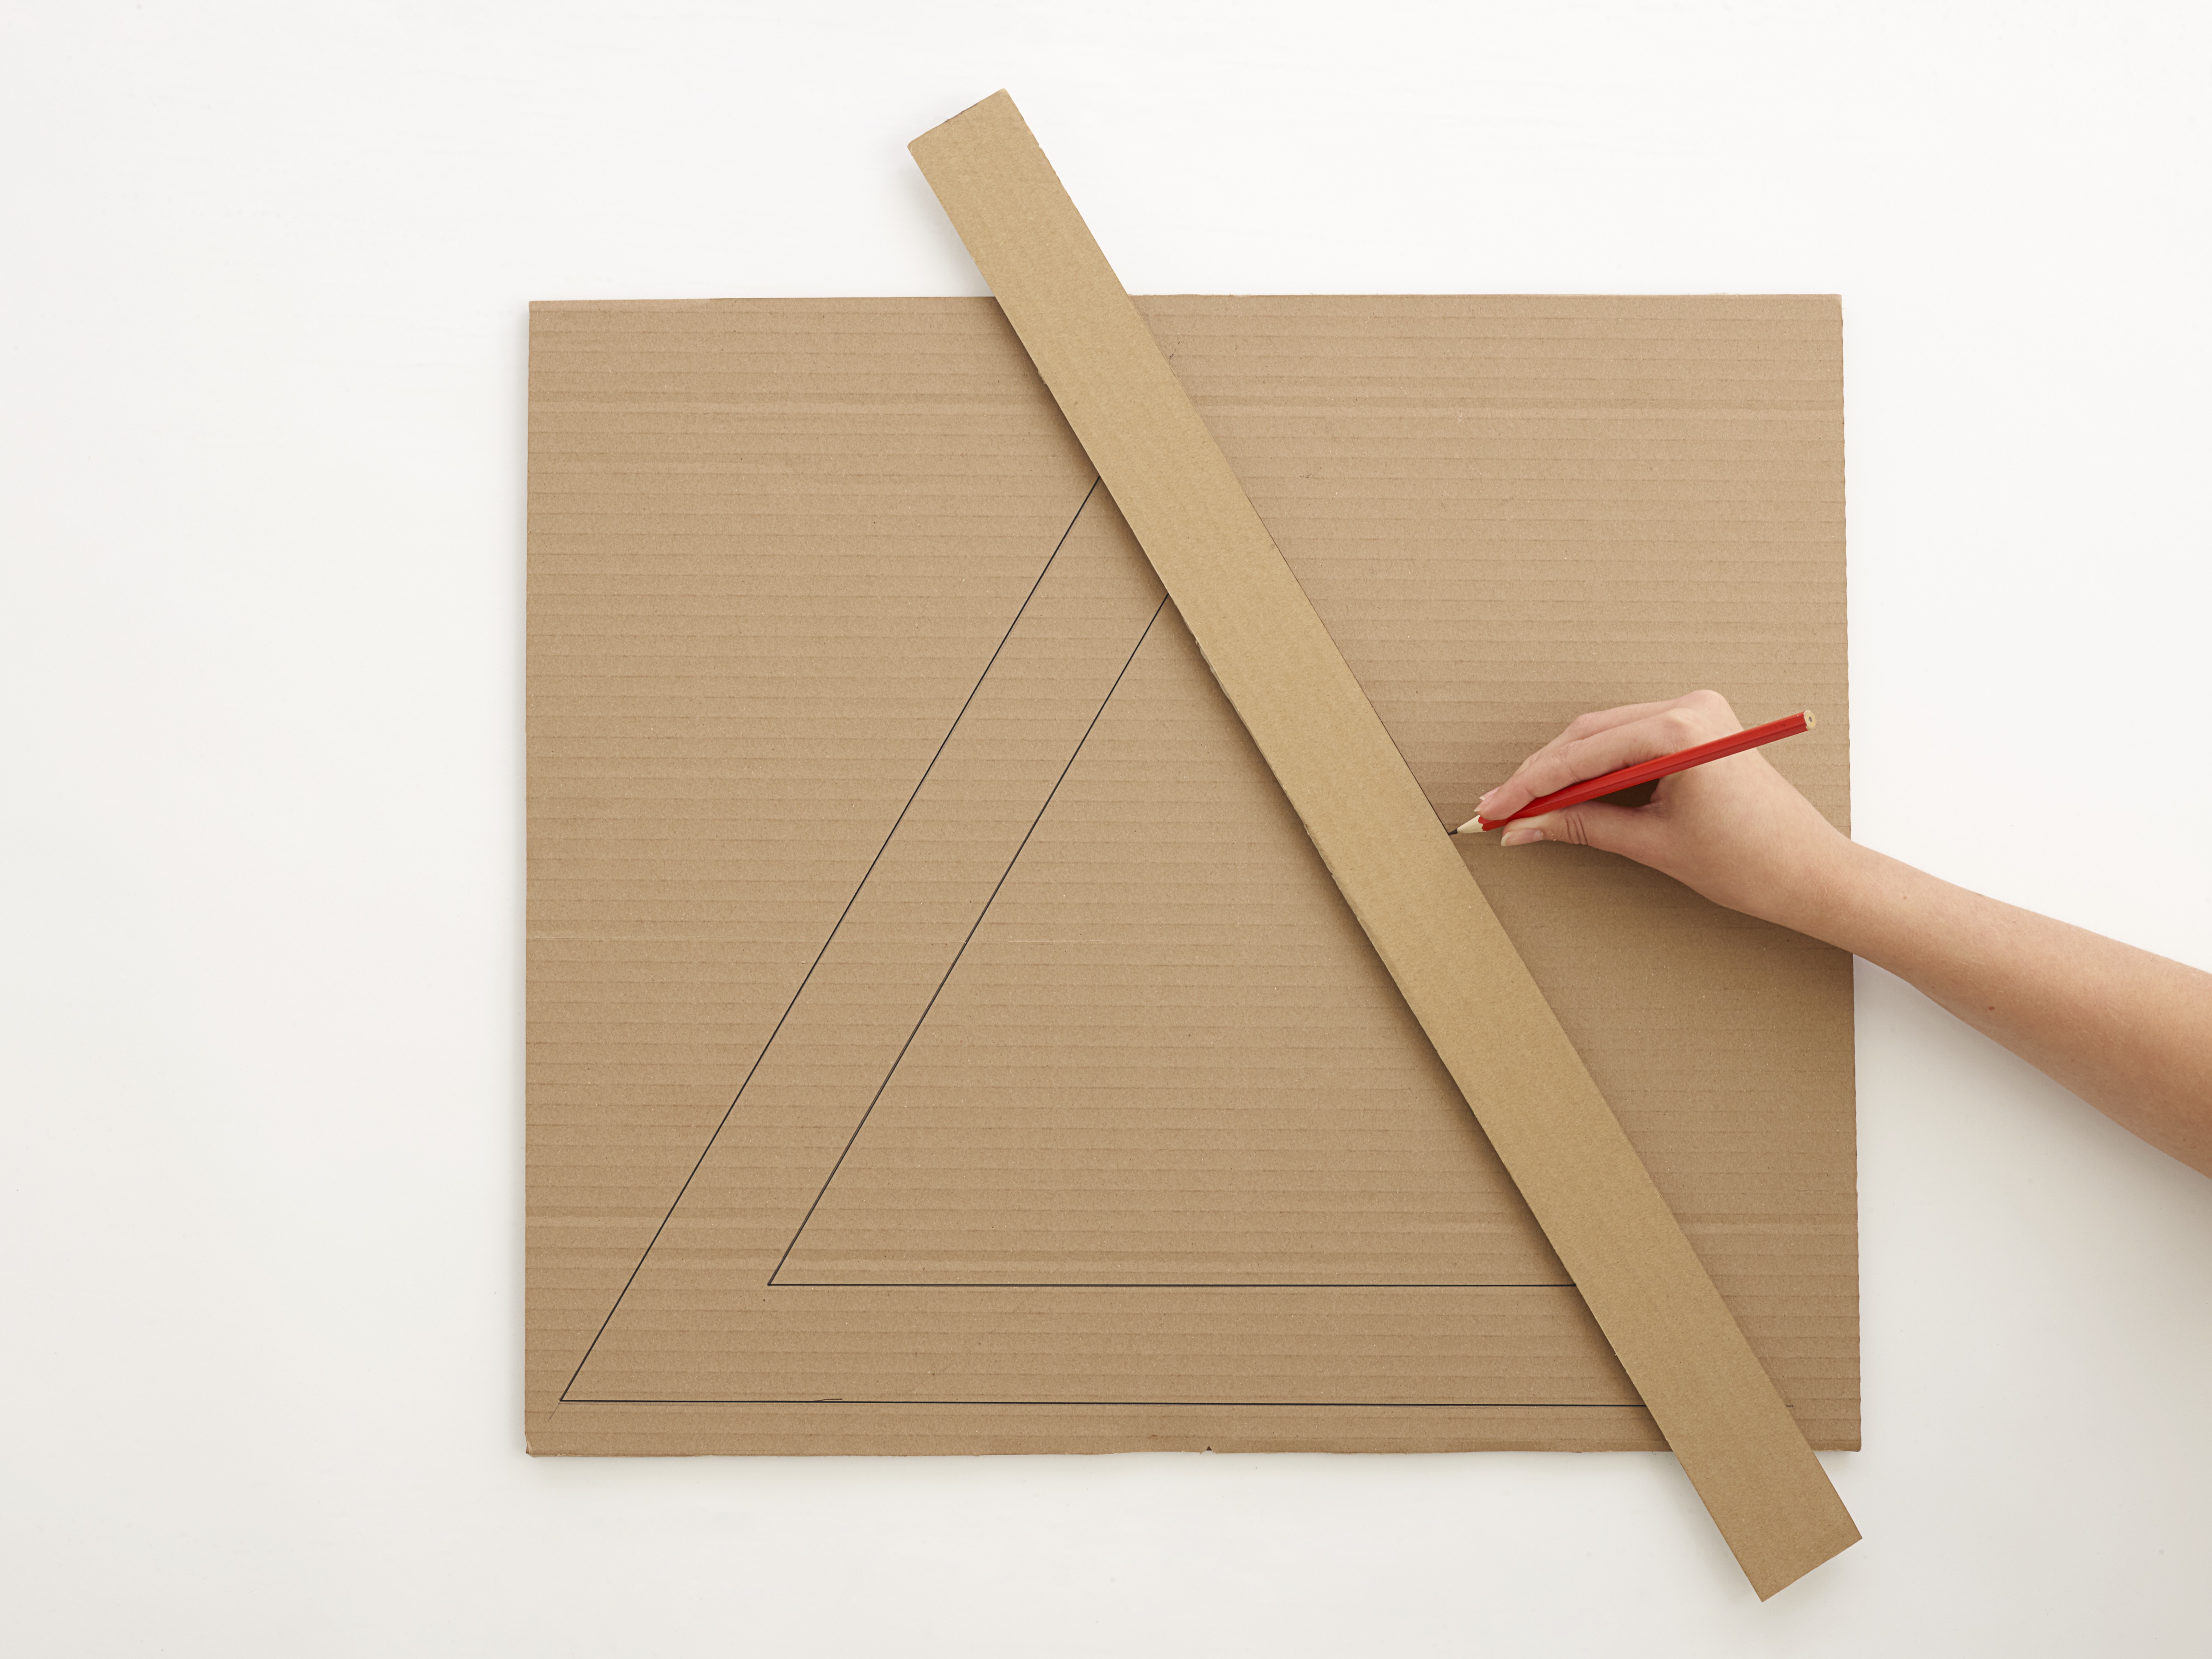
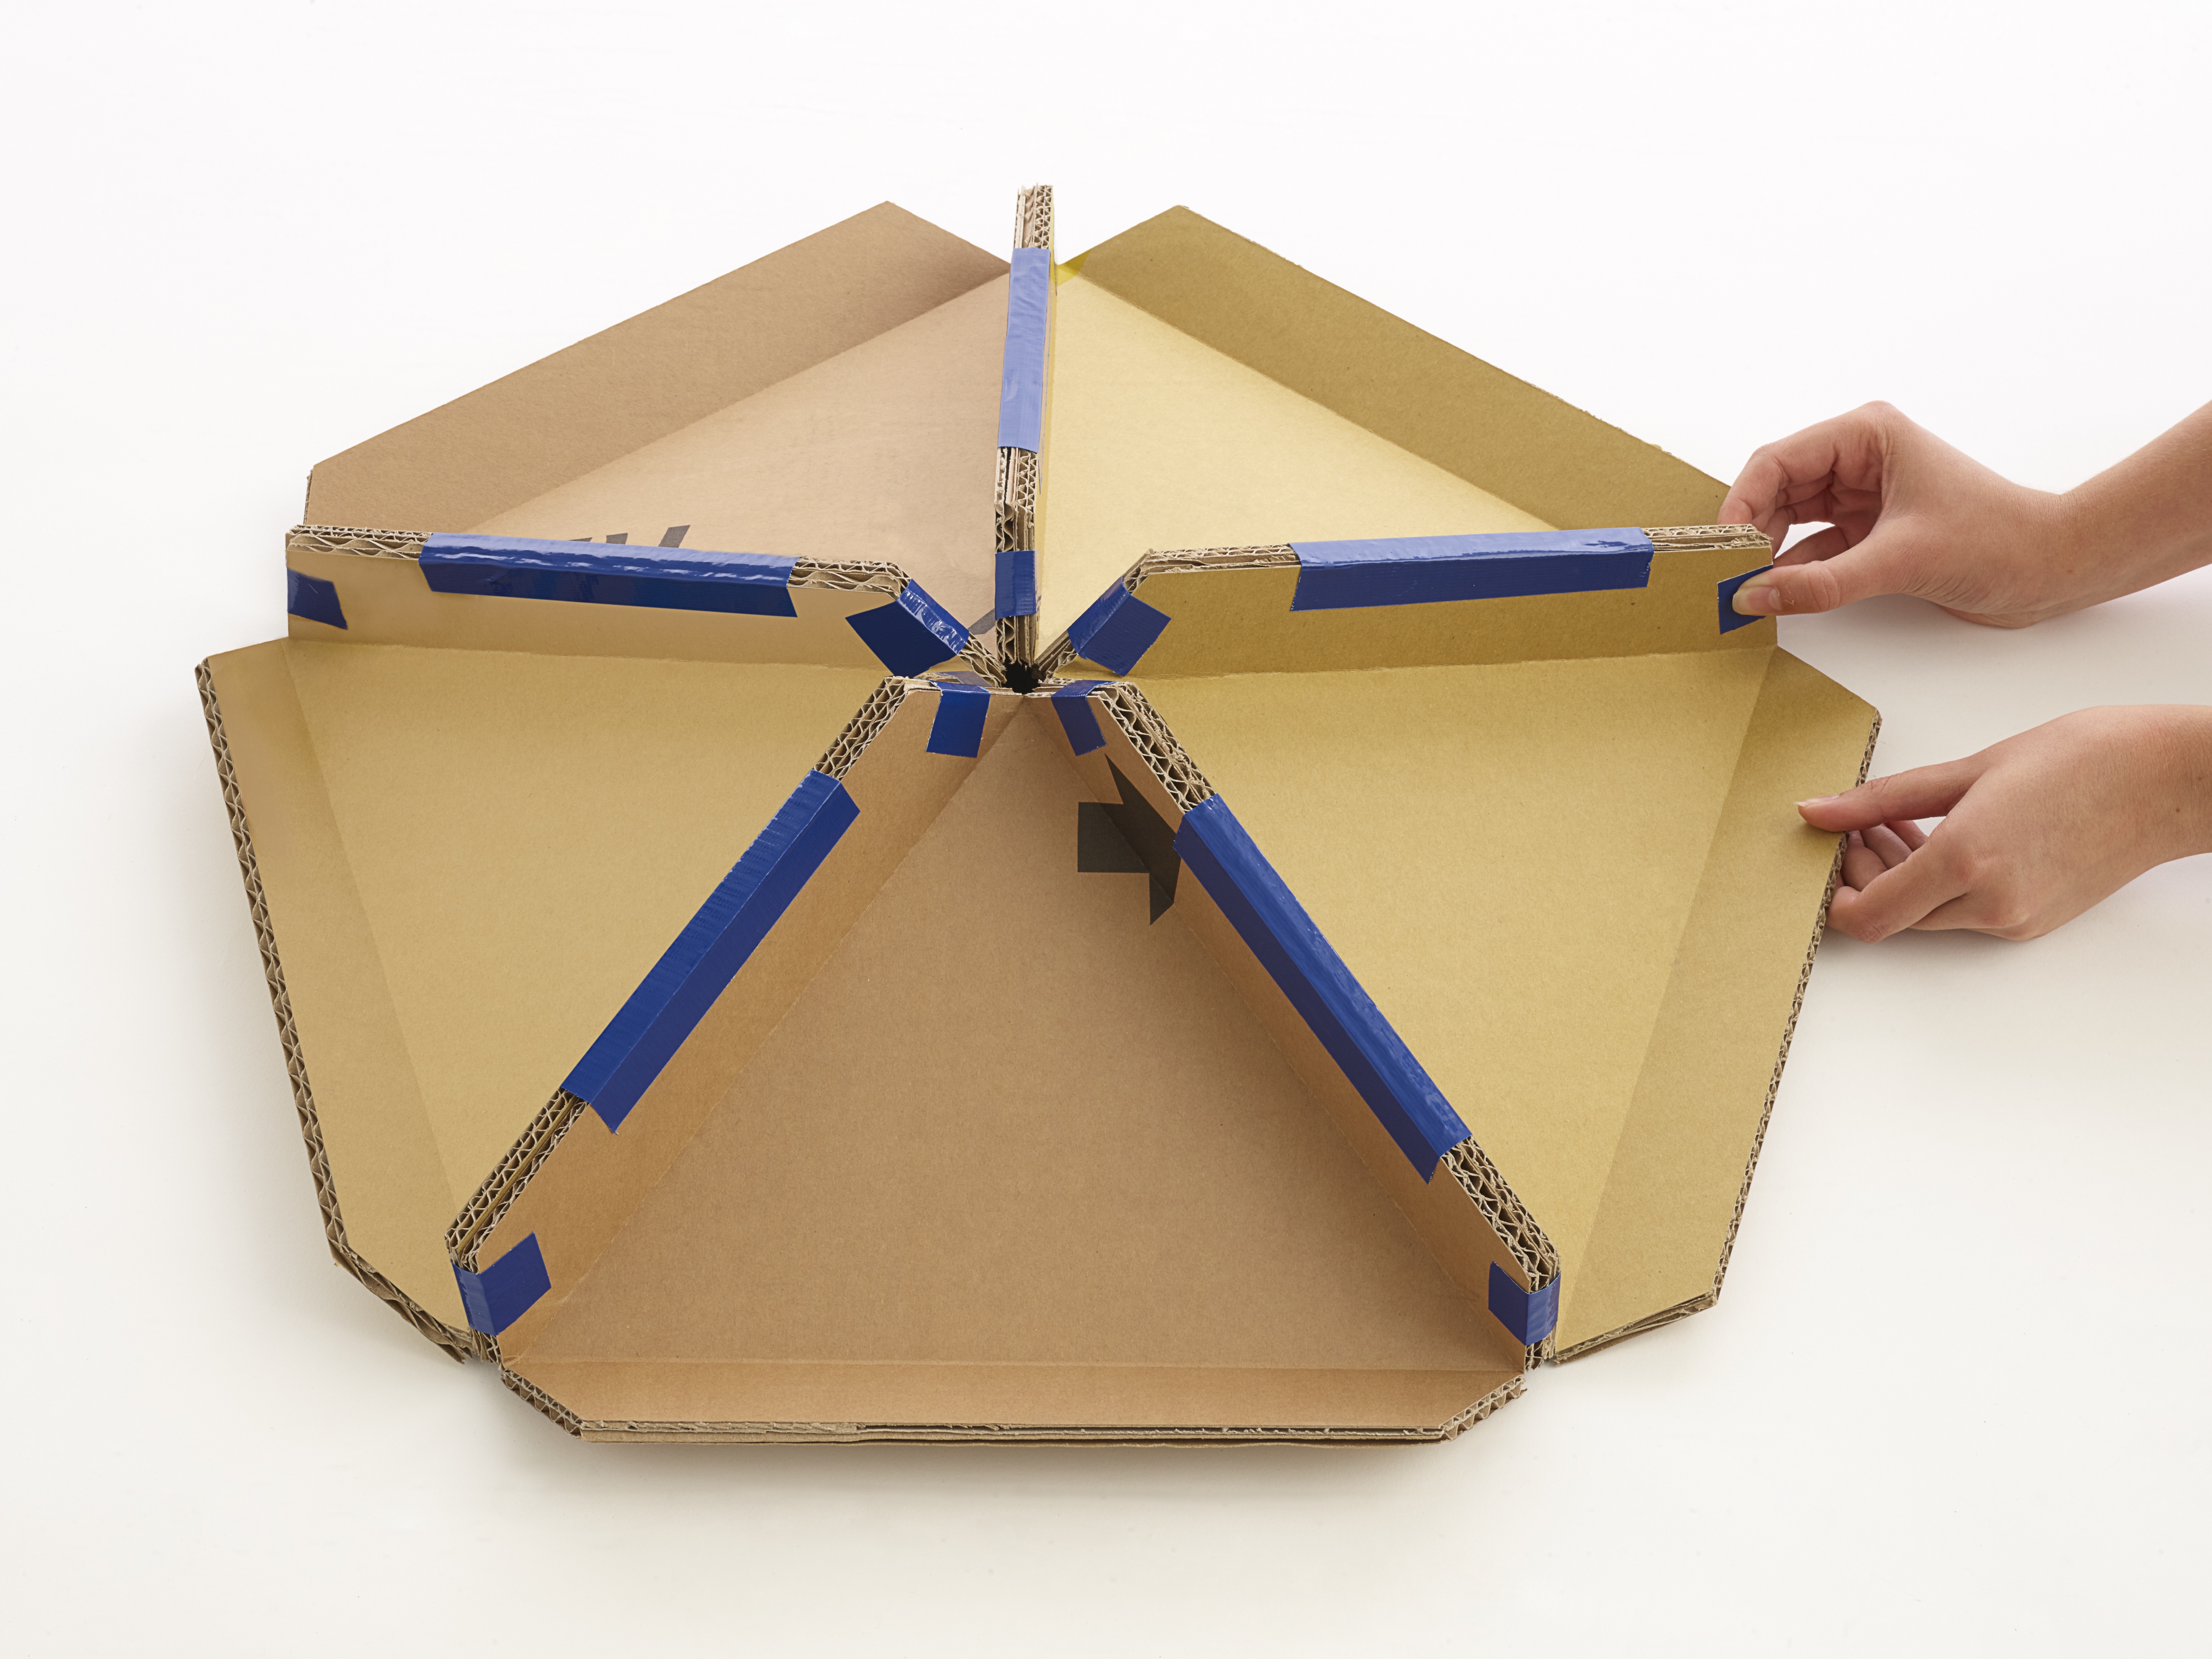
STEP 4
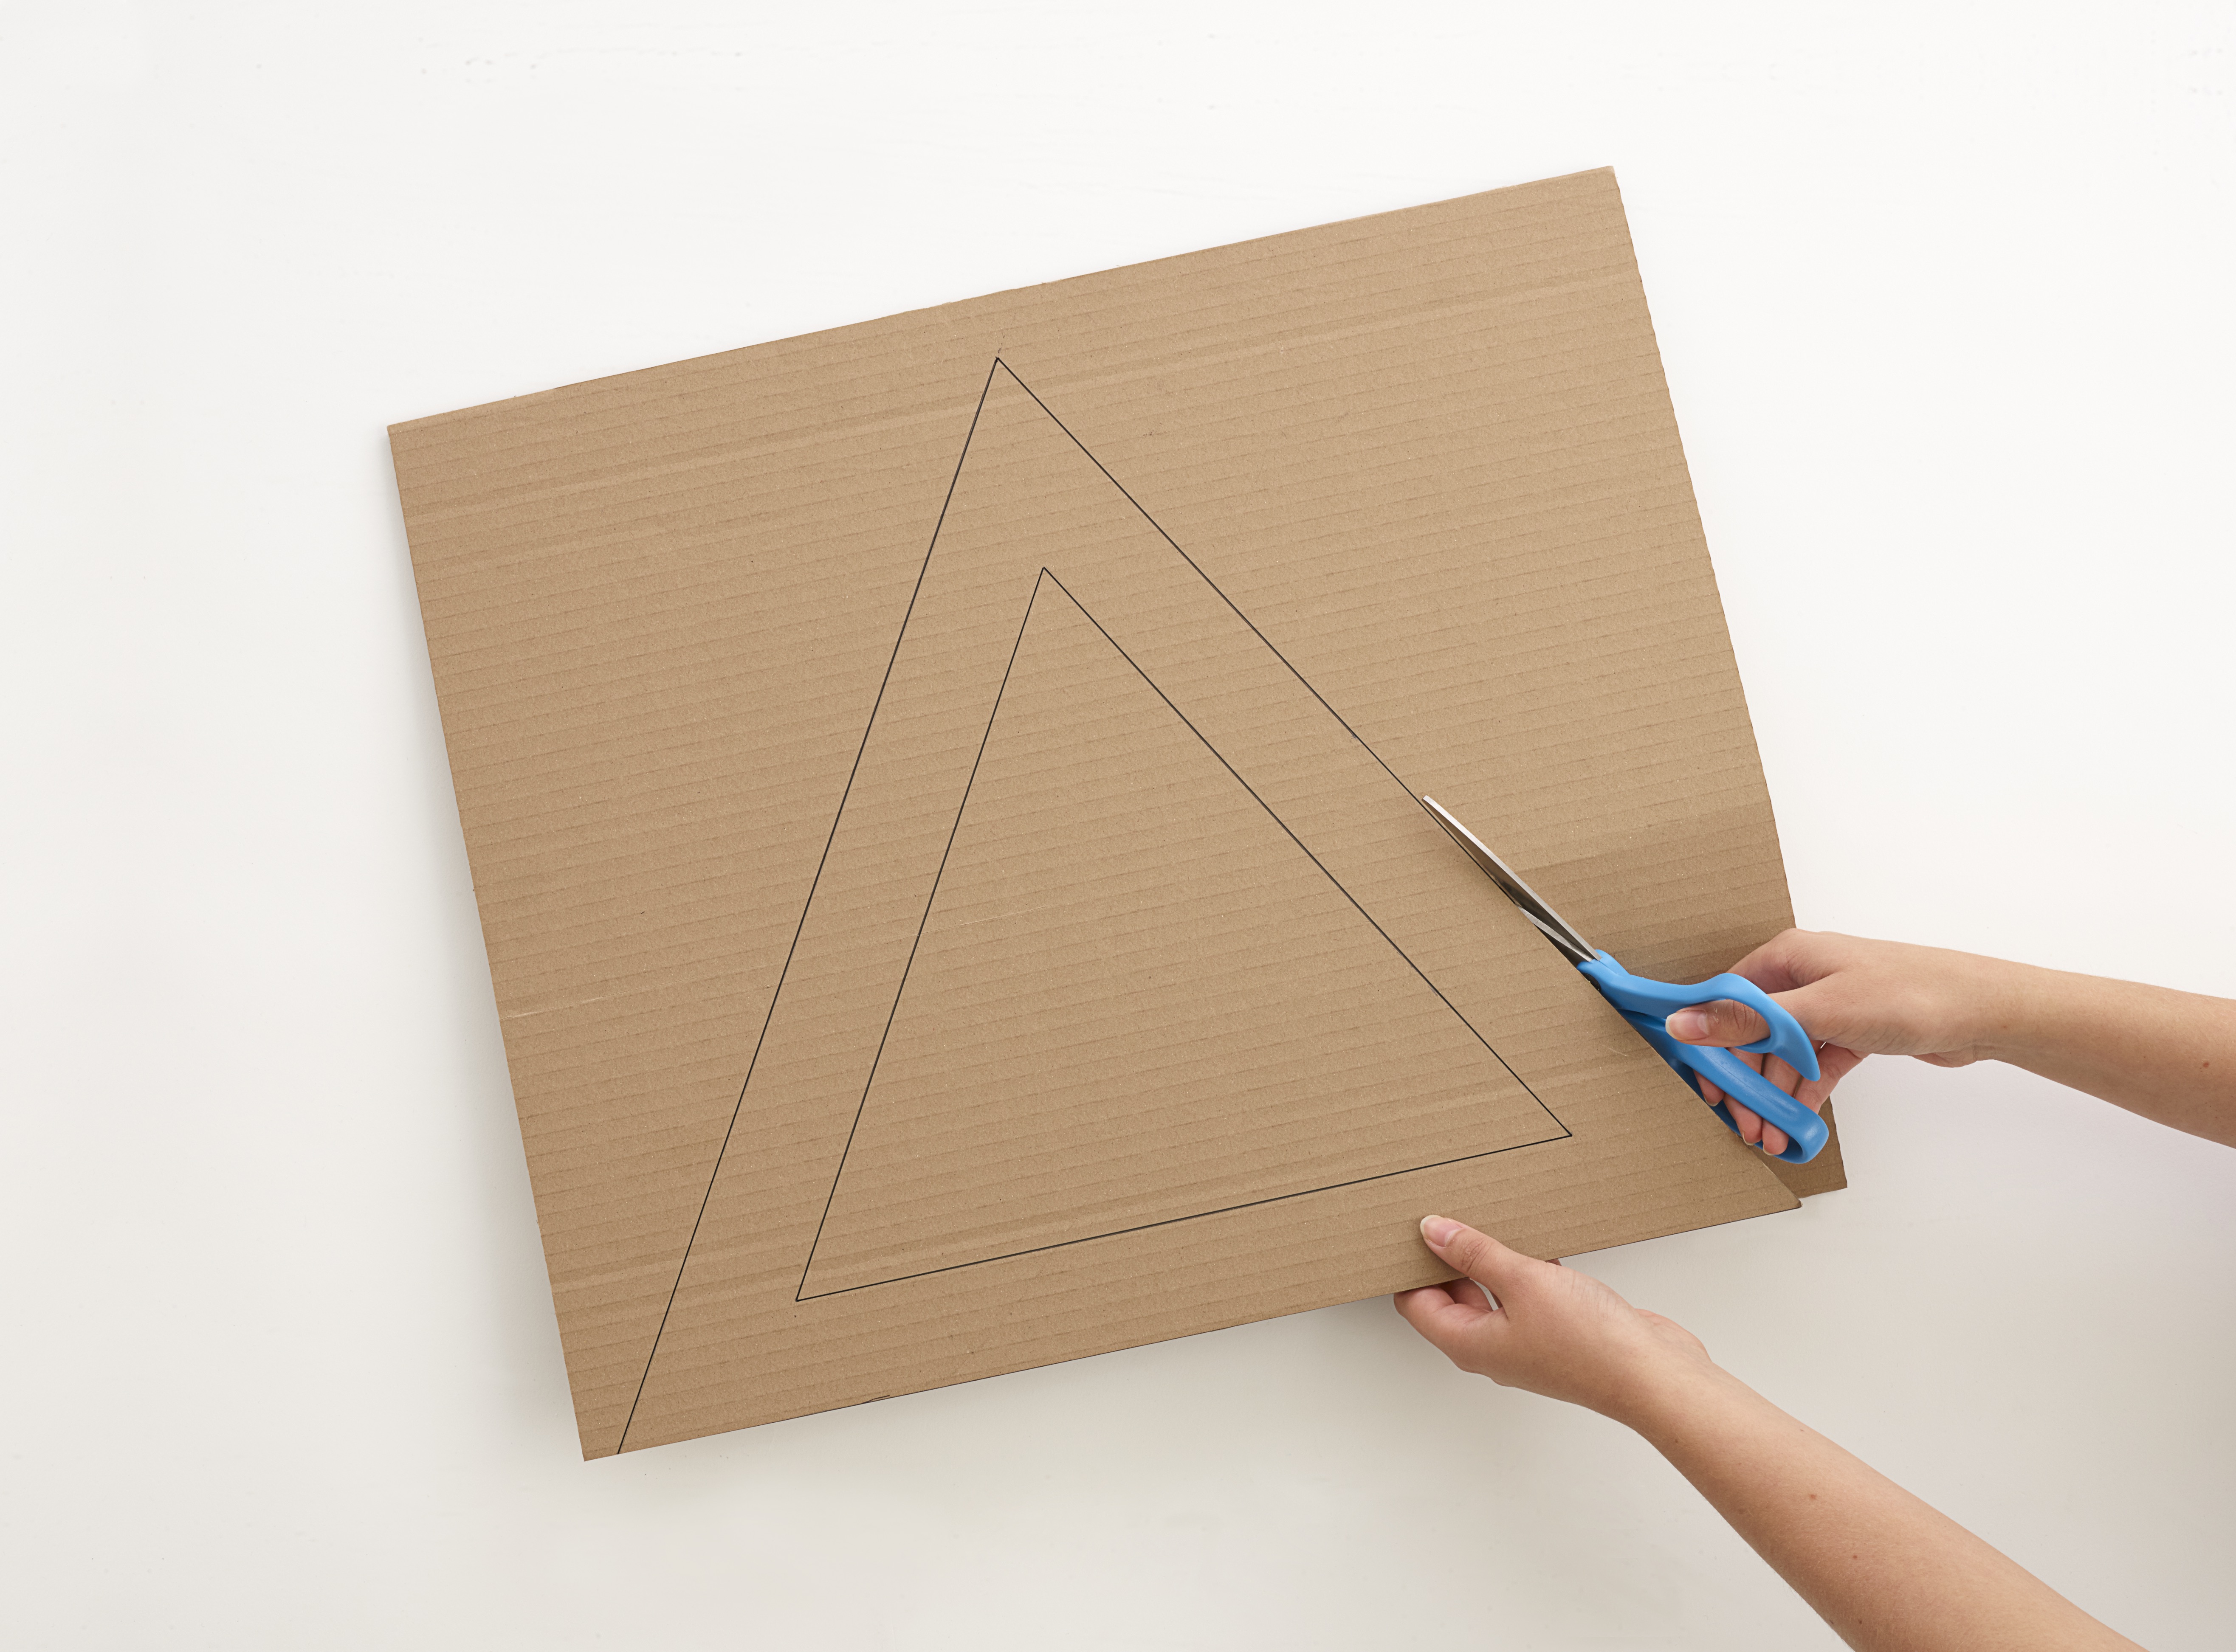
STEP 5
STEP 6


STEP 7
STEP 8

STEP 9
STEP 10
STEP 11
STEP 12
STEP 13
STEP 14
STEP 15
STEP 16
STEP 17
STEP 18
STEP 19
STEP 20
STEP 21
STEP 22
WHAT'S NEXT?
Add fairy lights to the roof of your den to make a starry ceiling, or turn your den into a space base, tortoise, woodland hideout, or igloo!


1.) Use a sharp pencil to pierce holes through all the triangular roof tiles of your dome.
2.) Take a string of battery-powered fairy lights, and push a light through each of the holes in the roof.
3.) Turn the fairy lights on, and the roof of your dome will be filled with twinkling stars!
Space base

Paint your dome gray, then decorate the roof with futuristic designs. Add a satellite and antenna to your space base.
Tortoise

First, paint the dome brown for the shell. Then make the head and legs and tape them to the tabs.
Woodland hideout

Decorate your dome in a green and brown camouflage pattern. Add twigs and leaves for a woodland look!
Igloo
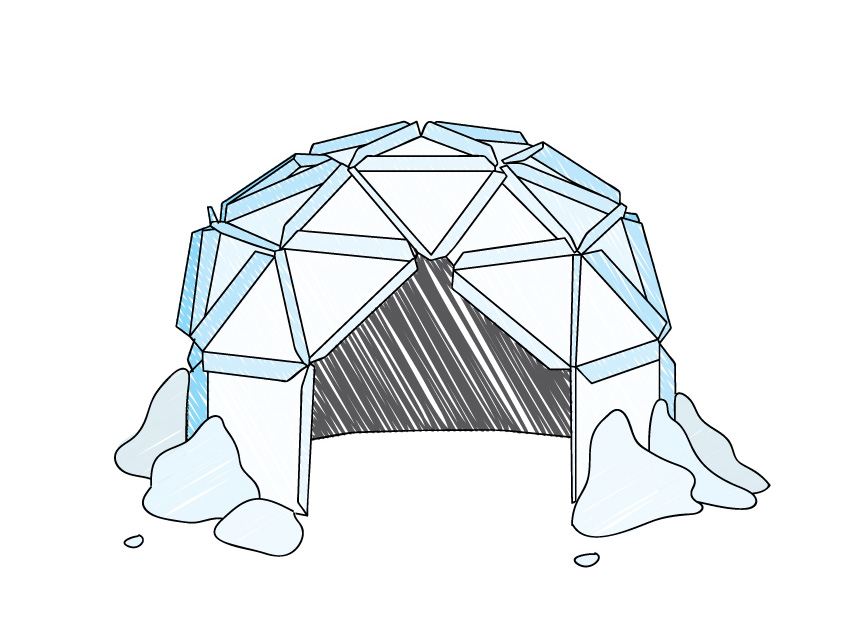
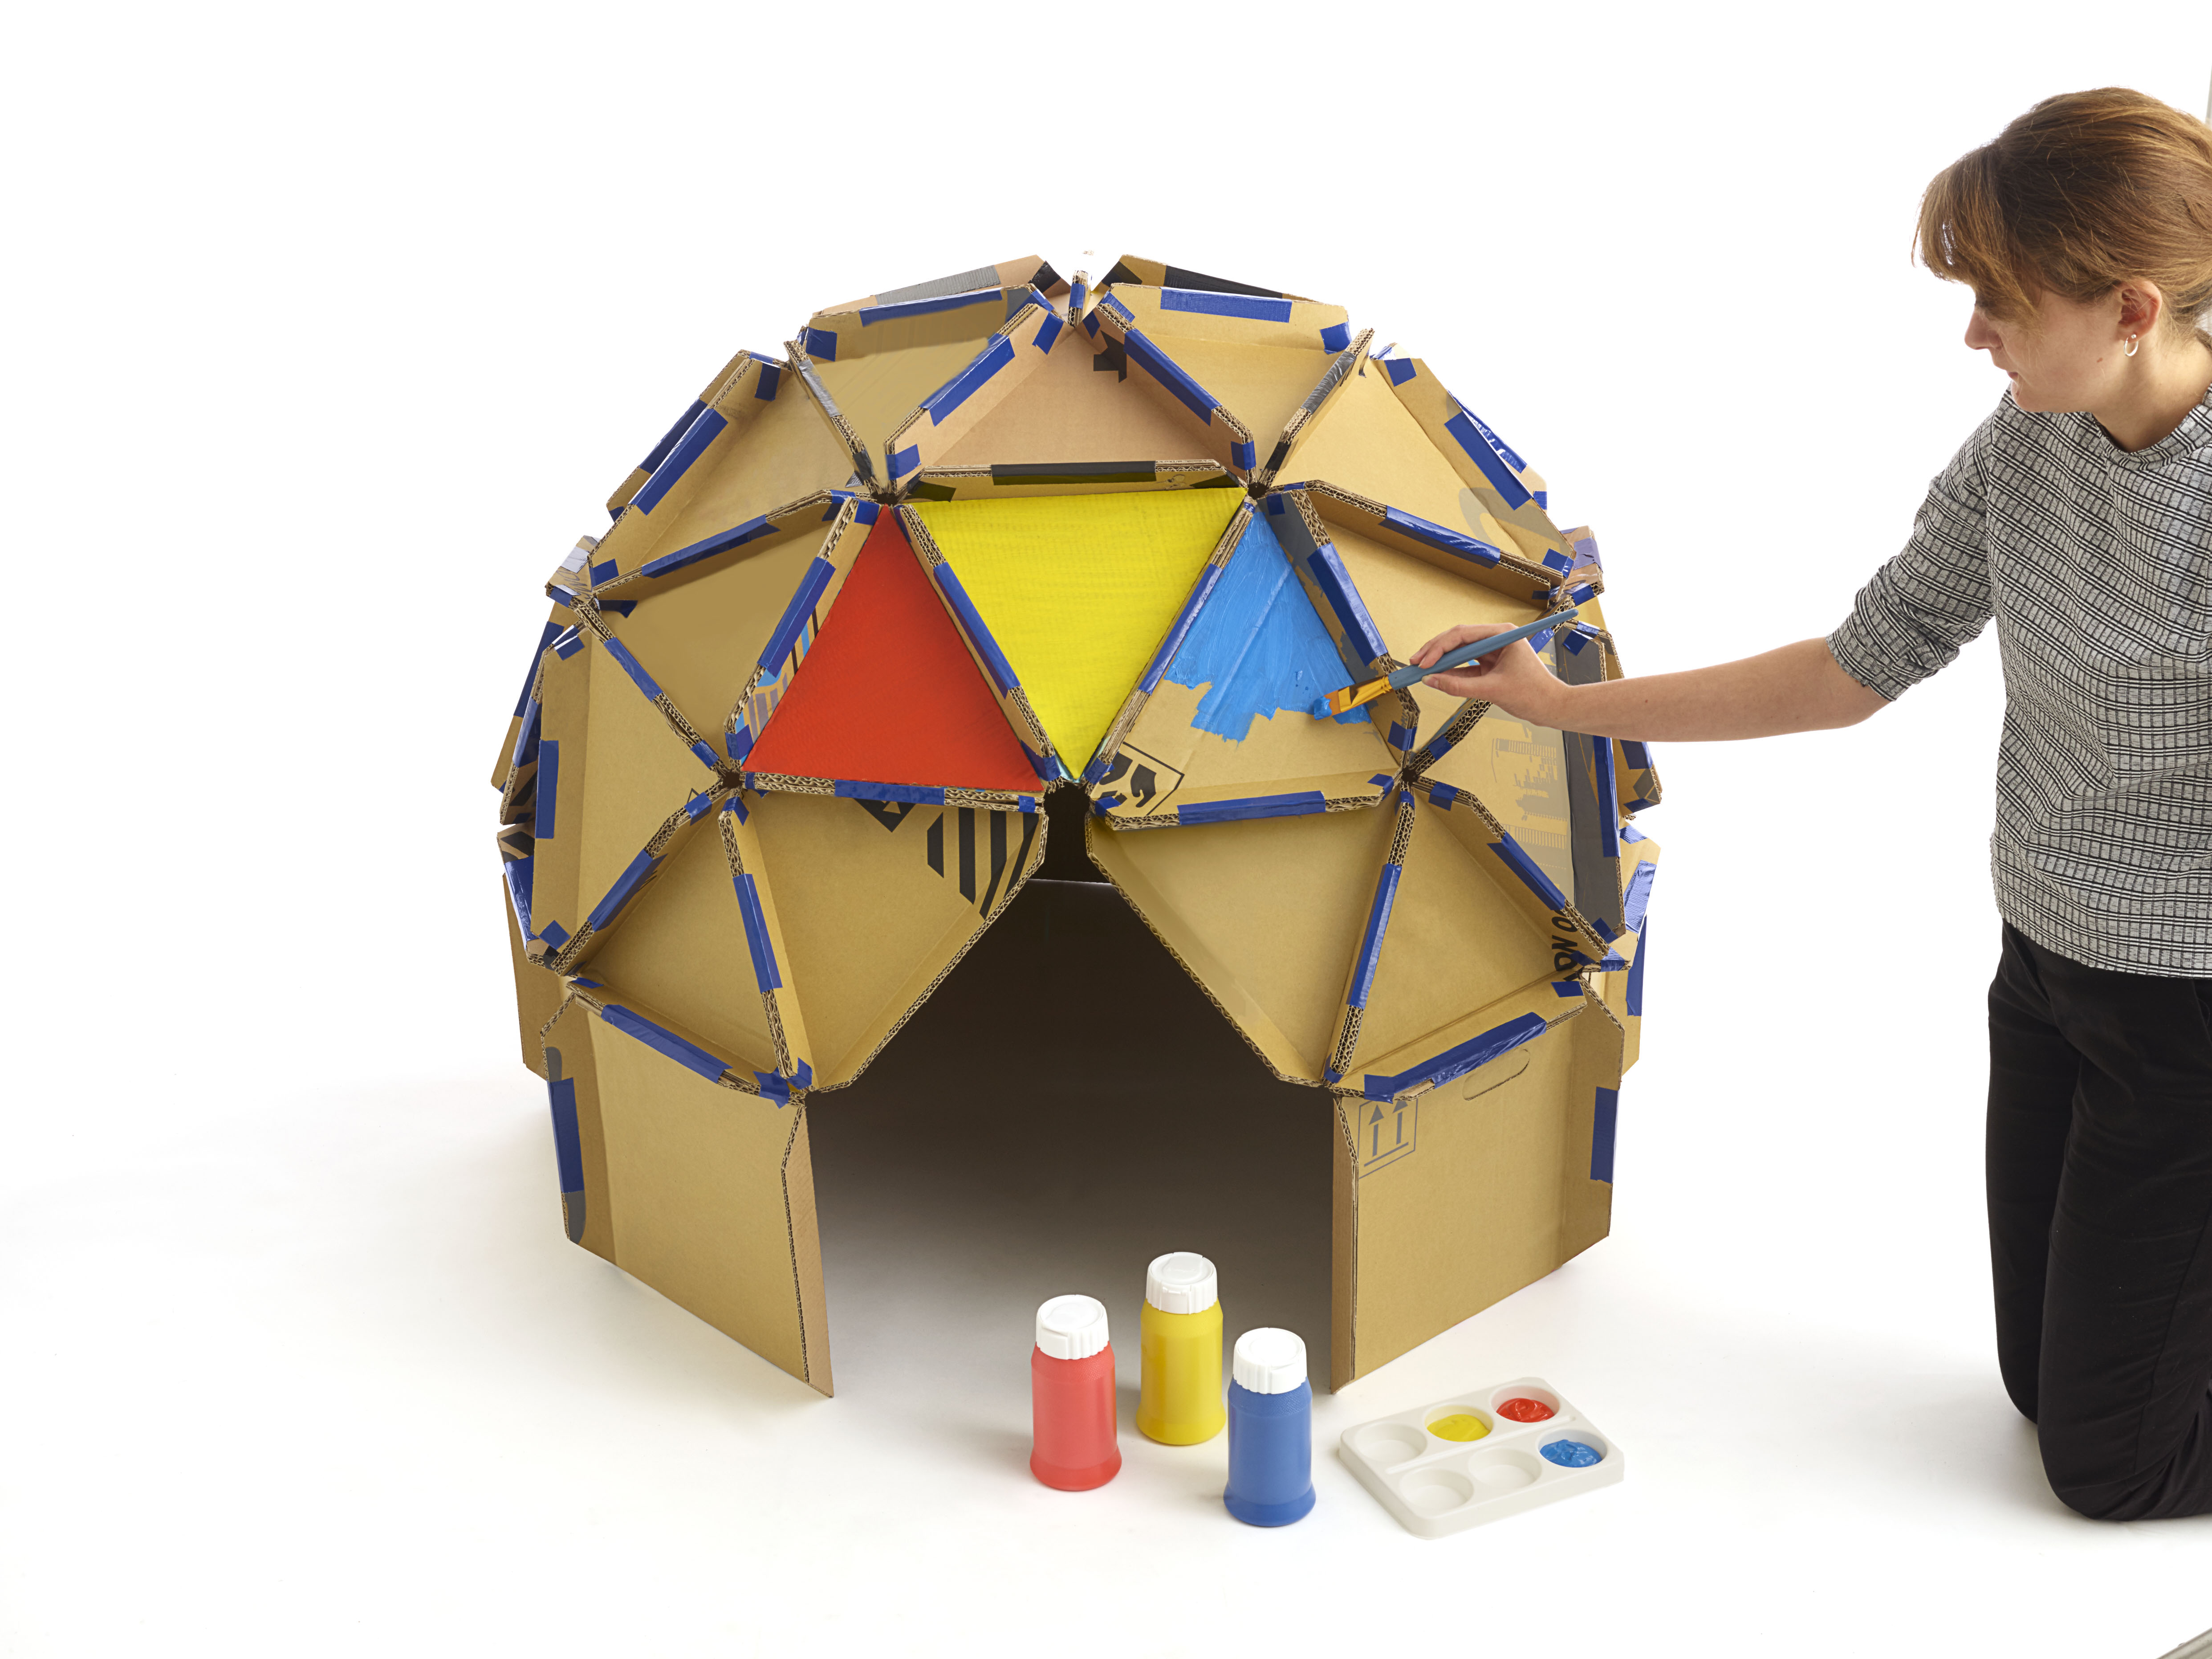
Paint the dome in icy blue and white colors. Then stick iceberg-shaped pieces of cardboard to the outside wall.
Please Note
Your safety is your own responsibility, including proper use of equipment and safety gear, and determining whether you have adequate skill and experience. Power tools, electricity, and other resources used for these projects are dangerous, unless used properly and with adequate precautions, including safety gear and adult supervision. Some illustrative photos do not depict safety precautions or equipment, in order to show the project steps more clearly. Use of the instructions and suggestions found in Maker Camp is at your own risk. Maker Media, Inc., disclaims all responsibility for any resulting damage, injury, or expense.
