
Dazzling Kaleidoscope

TIME TO COMPLETE
30 min. to an hour
WHAT WILL YOU MAKE?
You will learn to build a classic kaleidoscope
WHAT WILL YOU NEED?
- Beads
- Cardboard
- Crafting Materials
- Paper
- Tape (Duct, masking, etc)
- Yarn/string
STEP 1
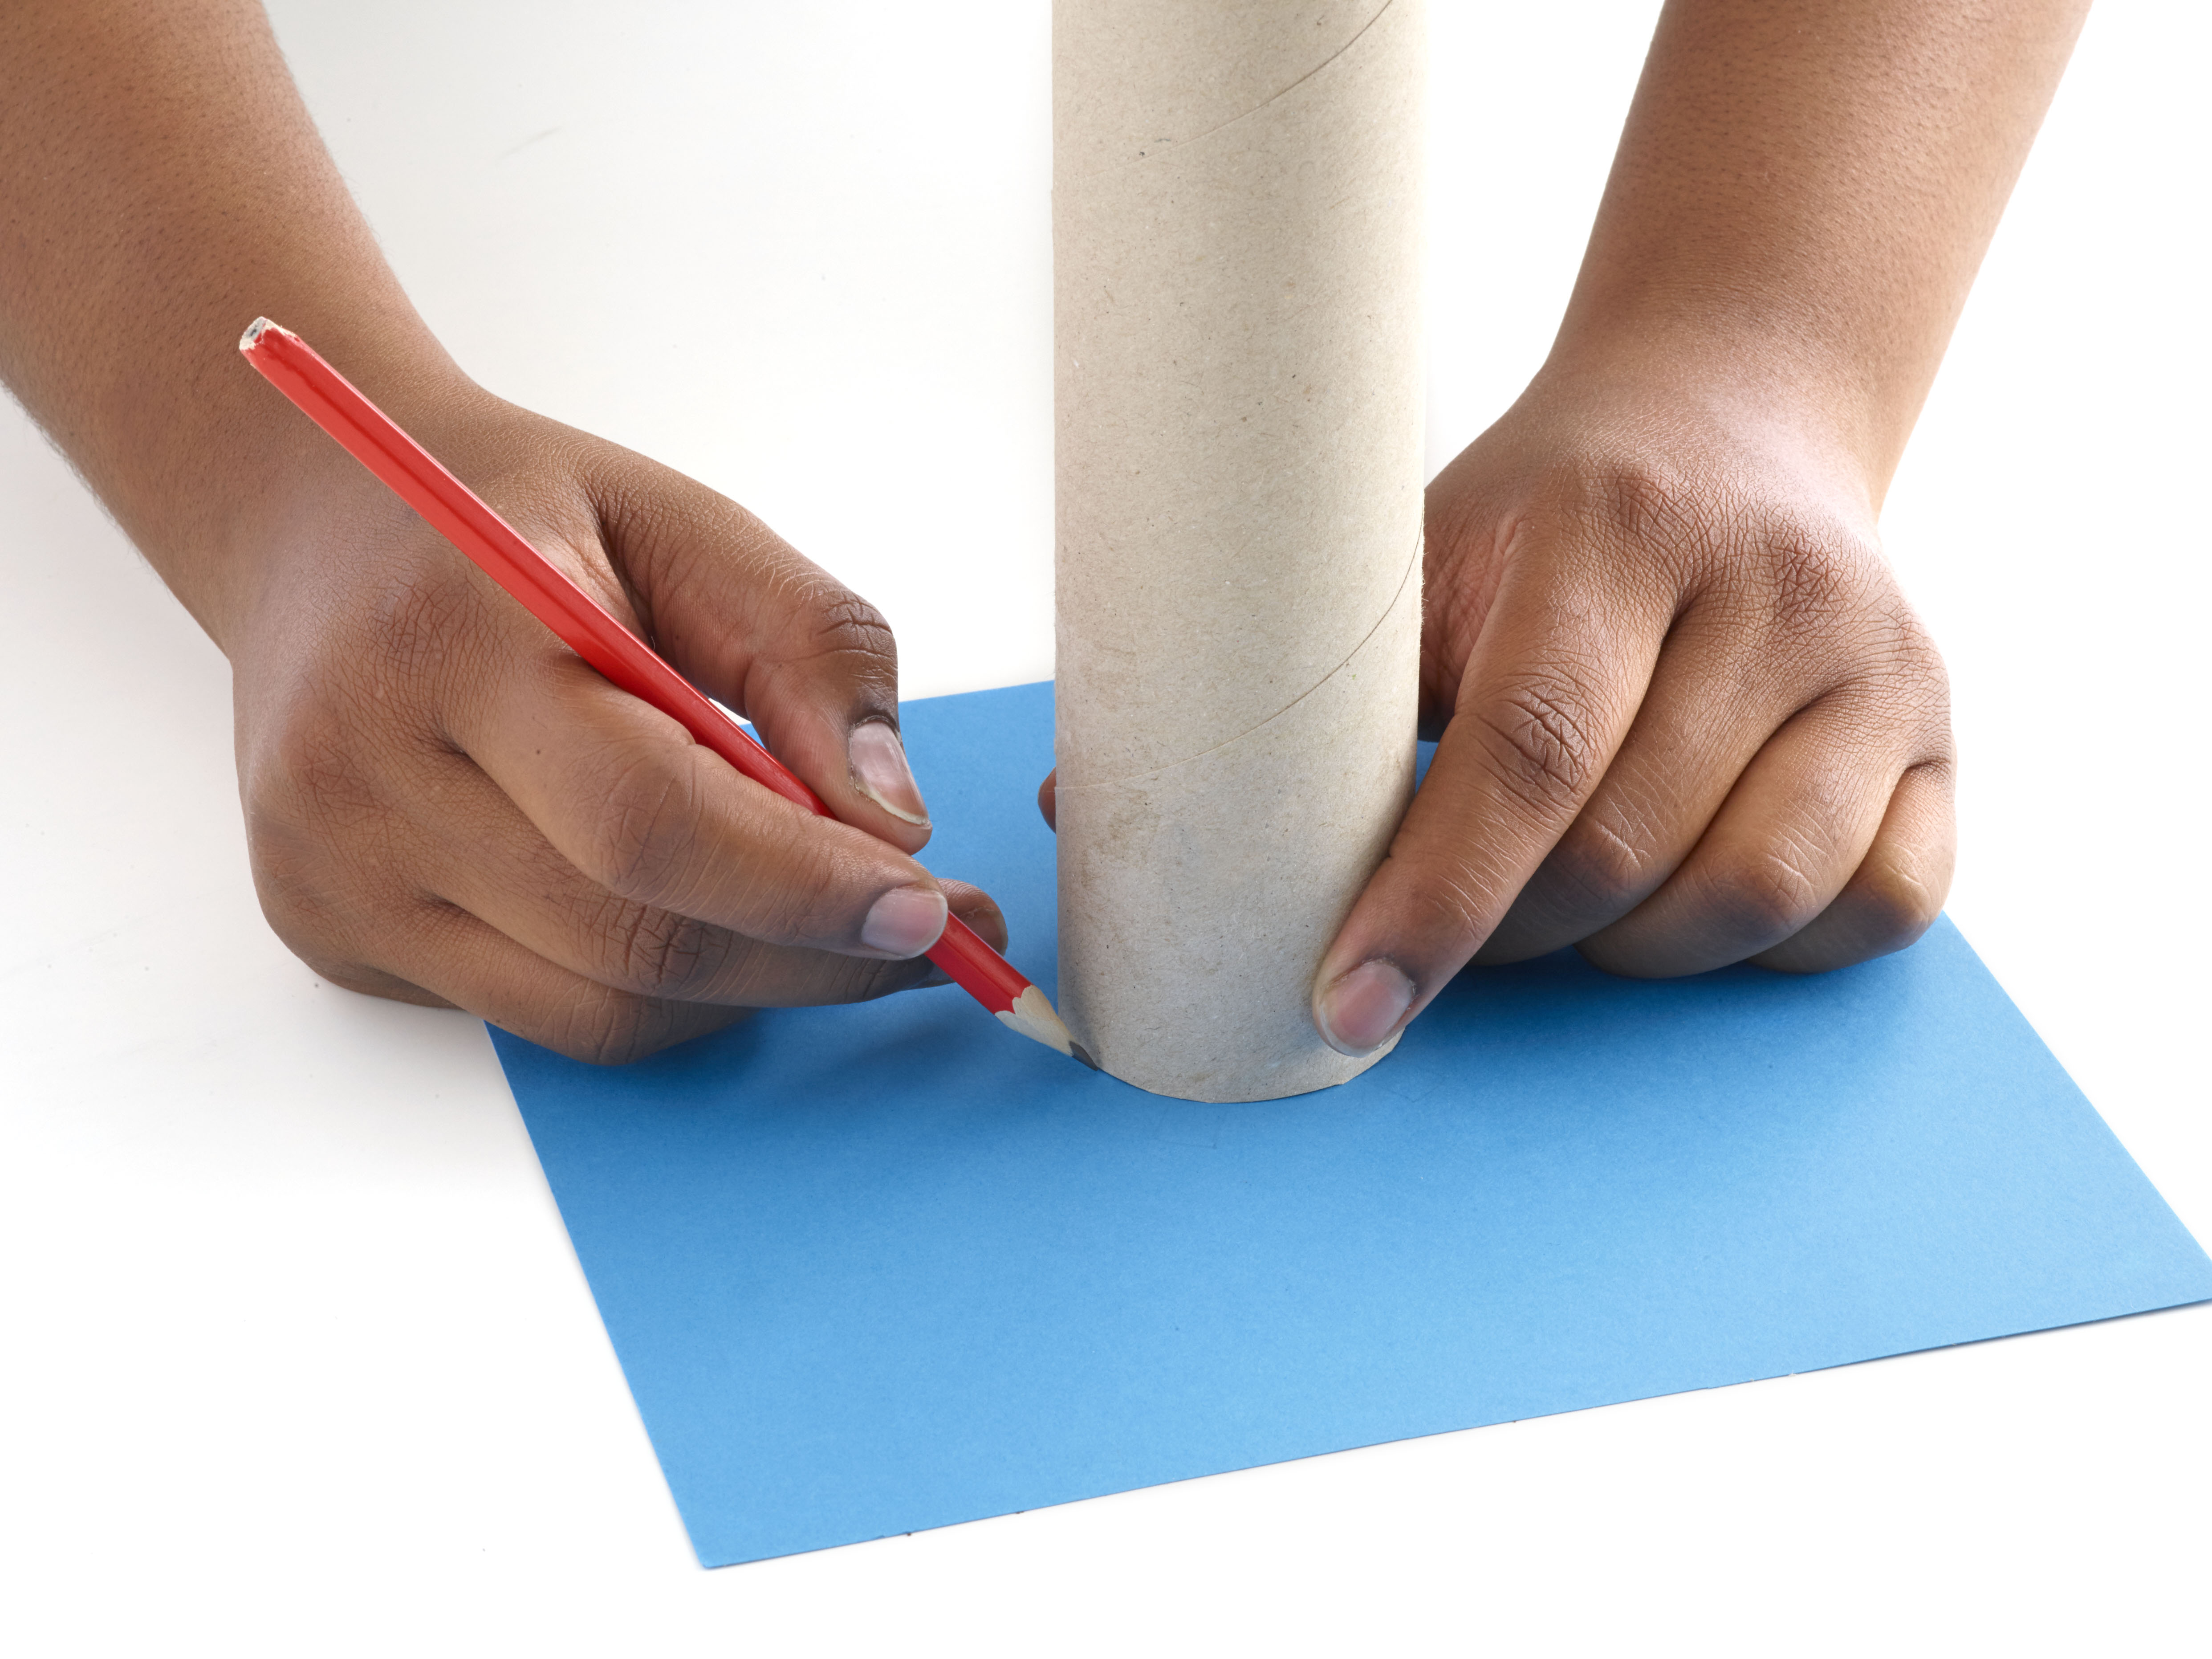
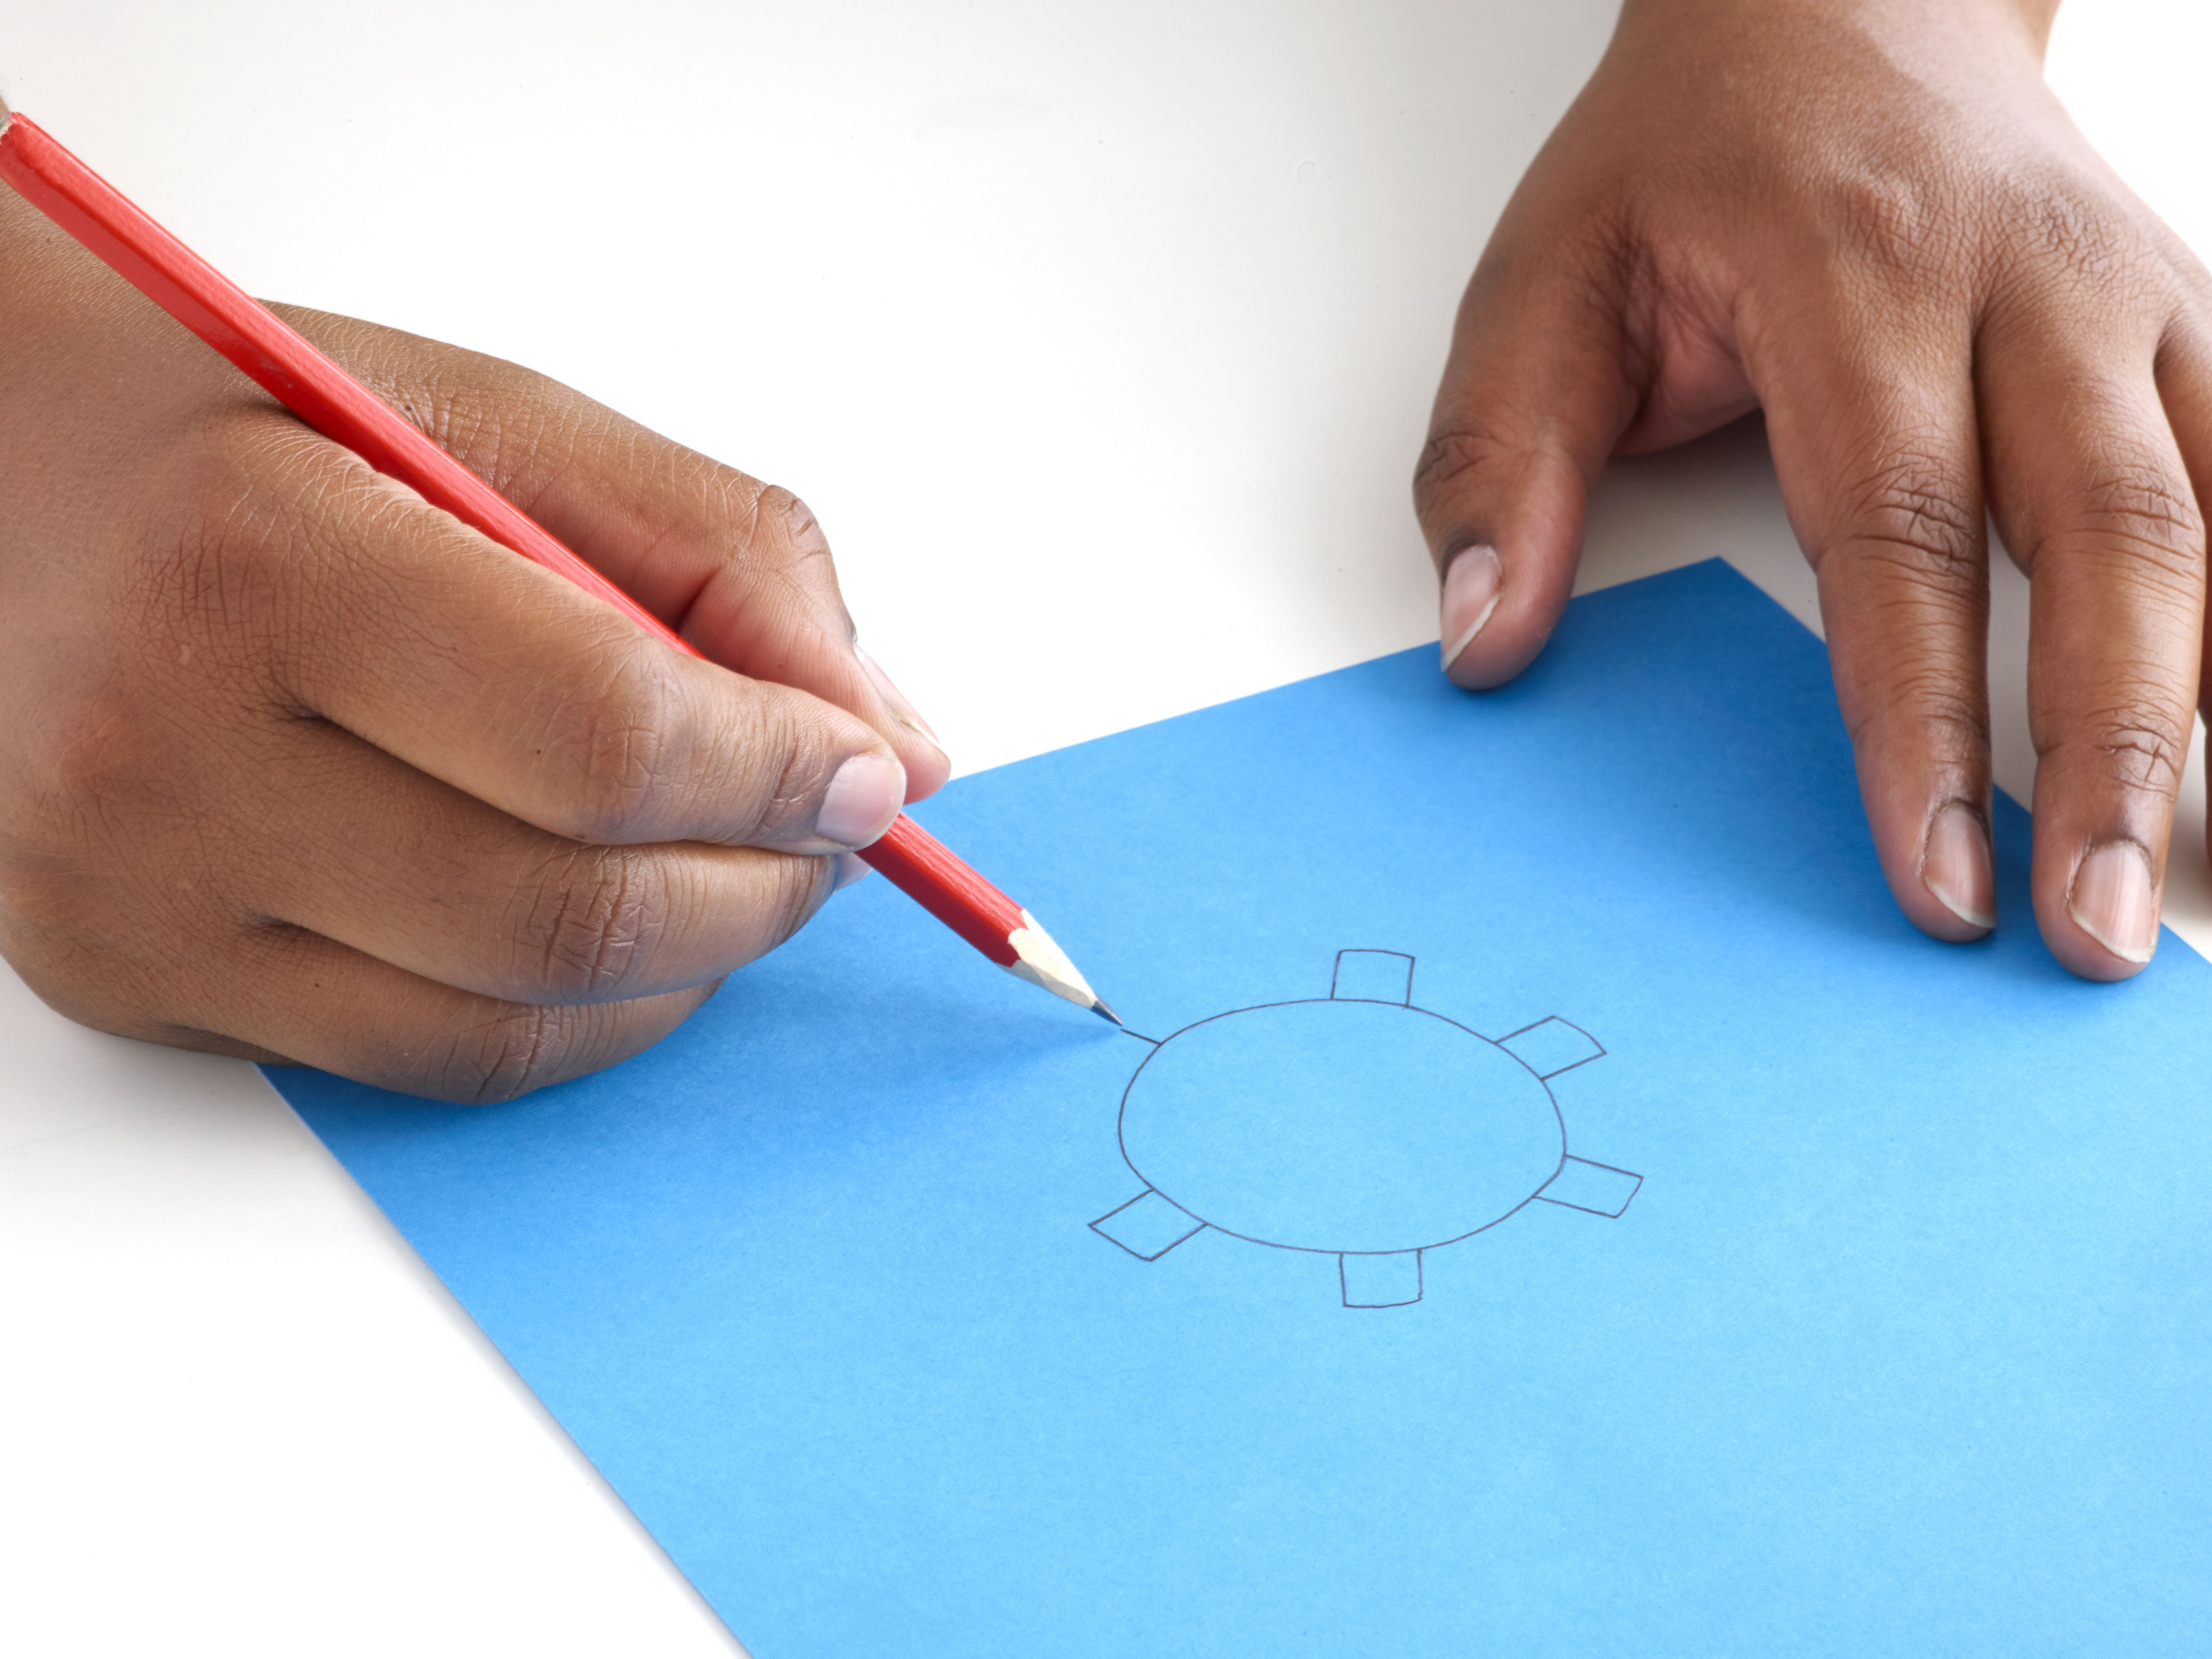
Stand the cardboard tube upright on one of the pieces of colored paper, and draw around the end of the tube. Put the tube to one side, and draw six tabs around the outside edge of the drawn circle. Cut out the circle with the tabs.

STEP 2
Place the circle over one end of the tube. Stick down the tabs with tape. Make a hole in the center of the circle with the pencil point. Measure the tube's length and the diameter (width) of the circle.
STEP 3
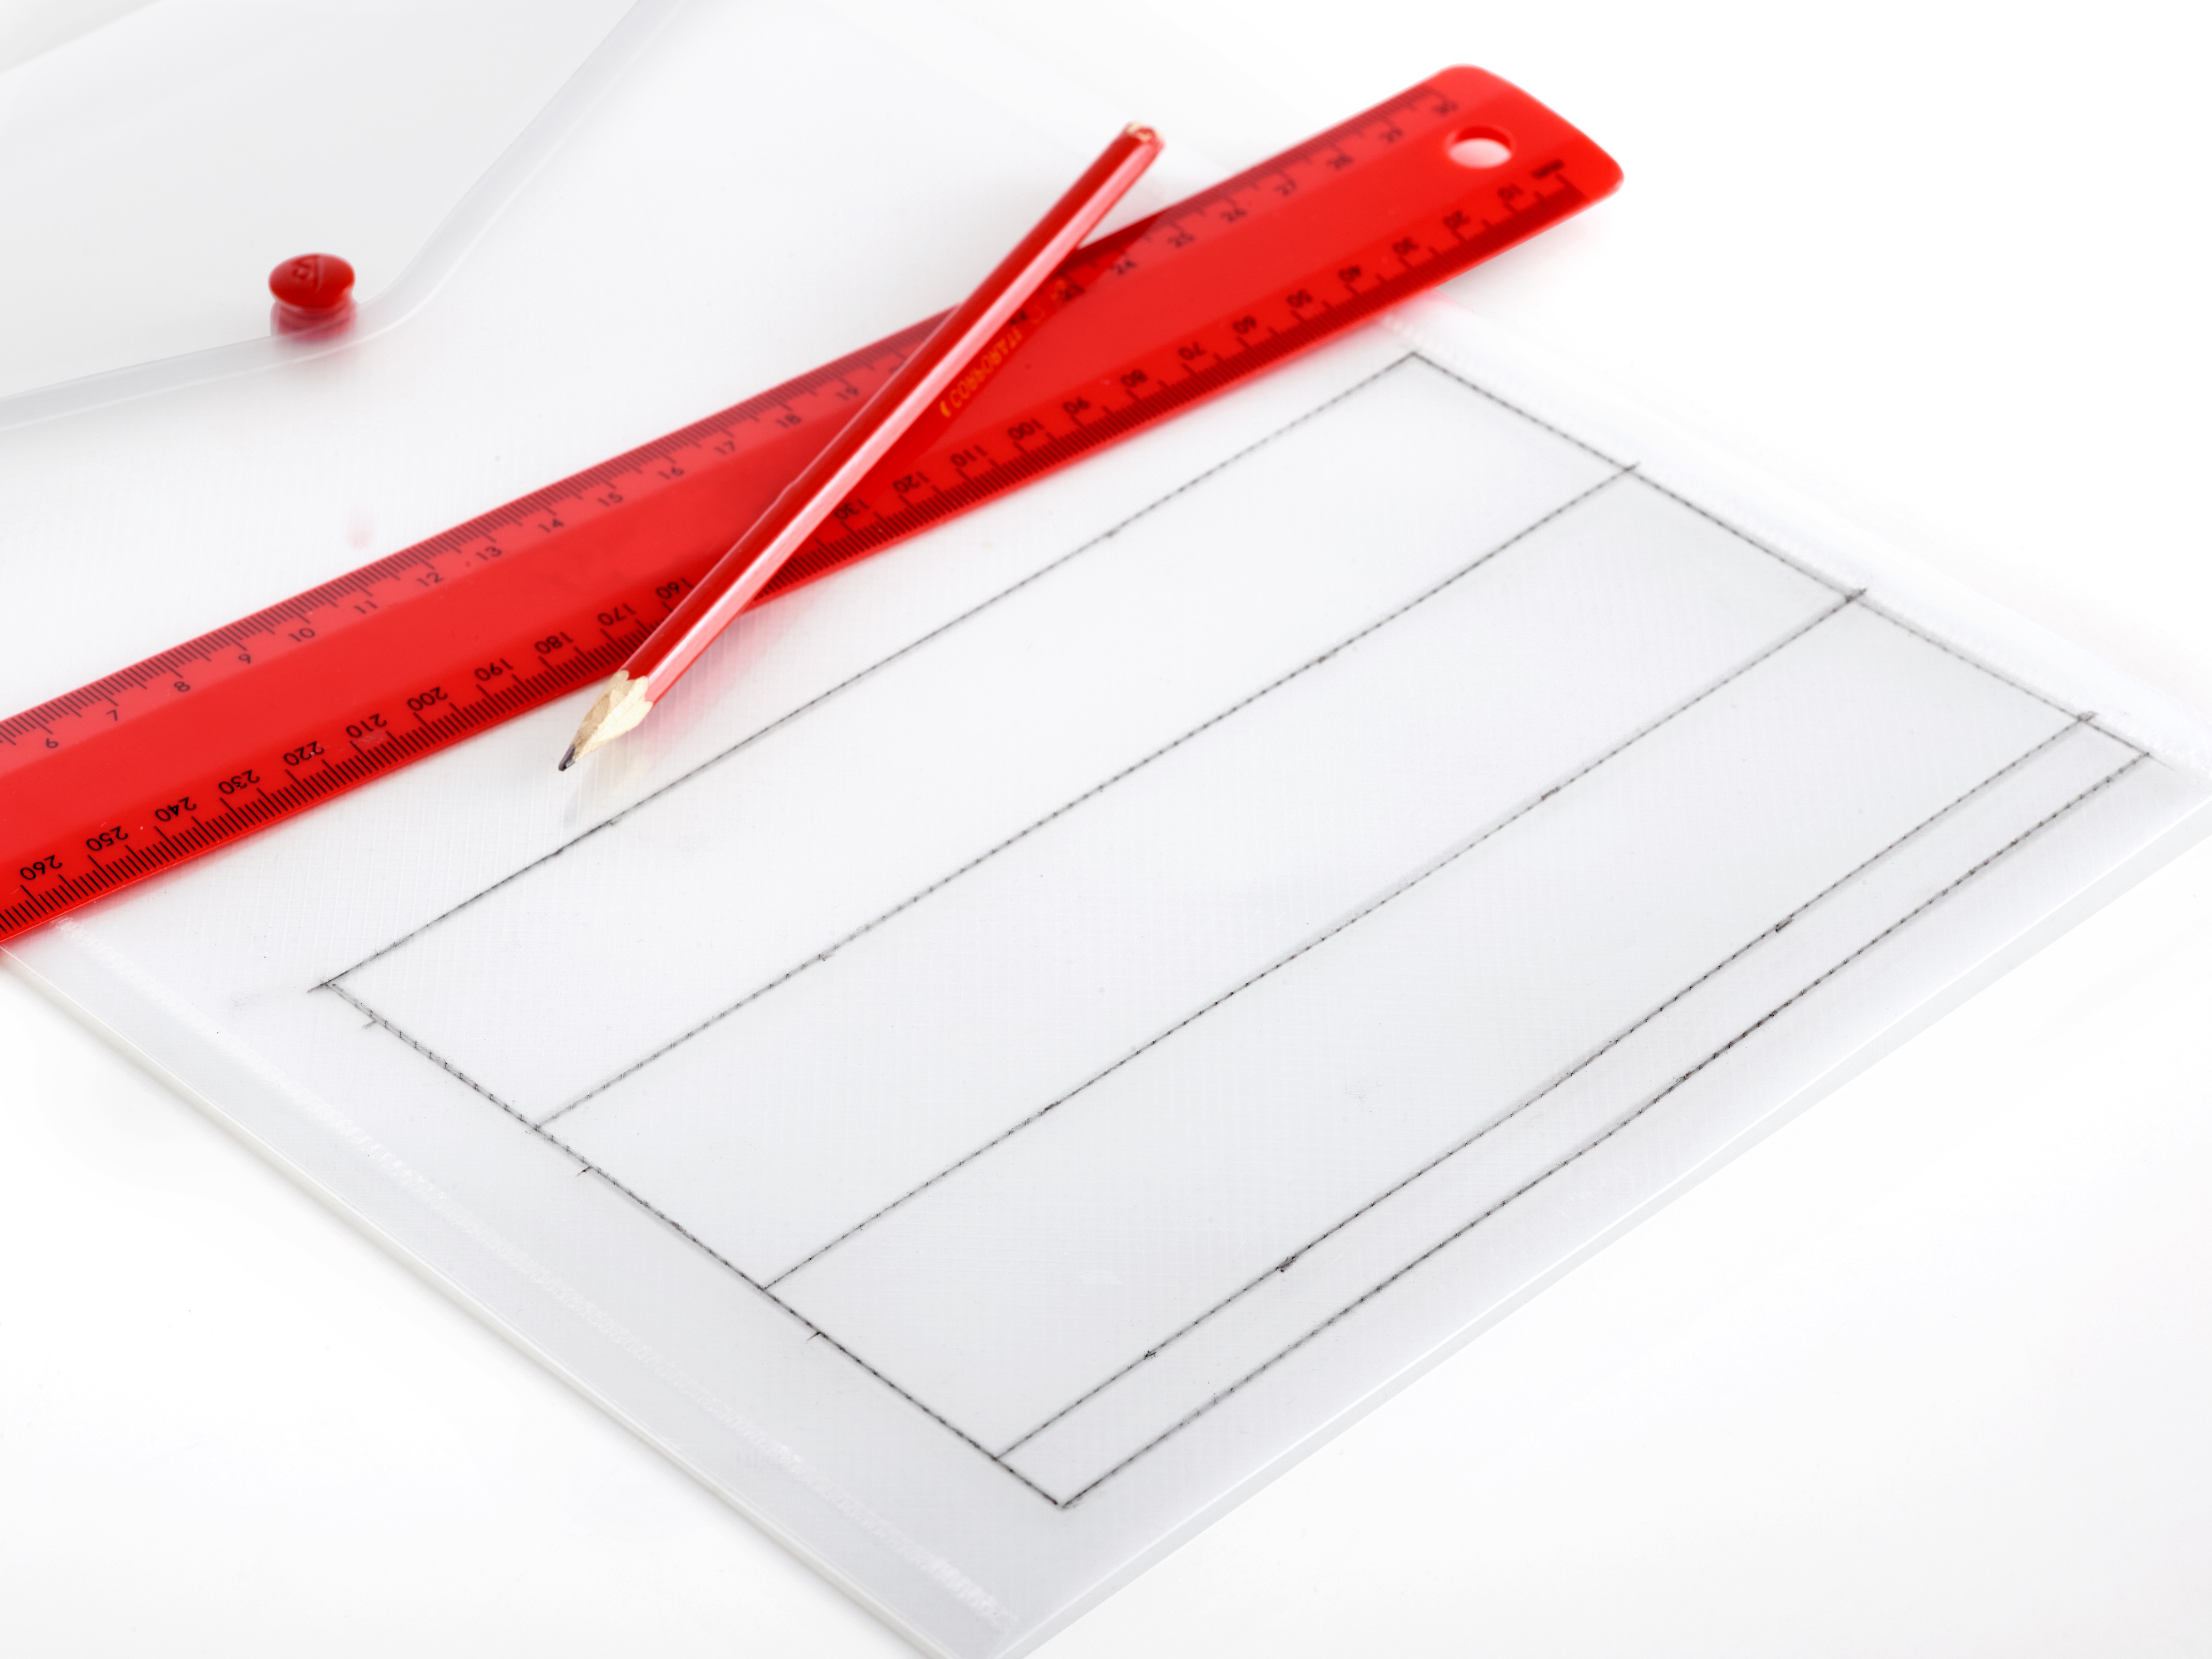
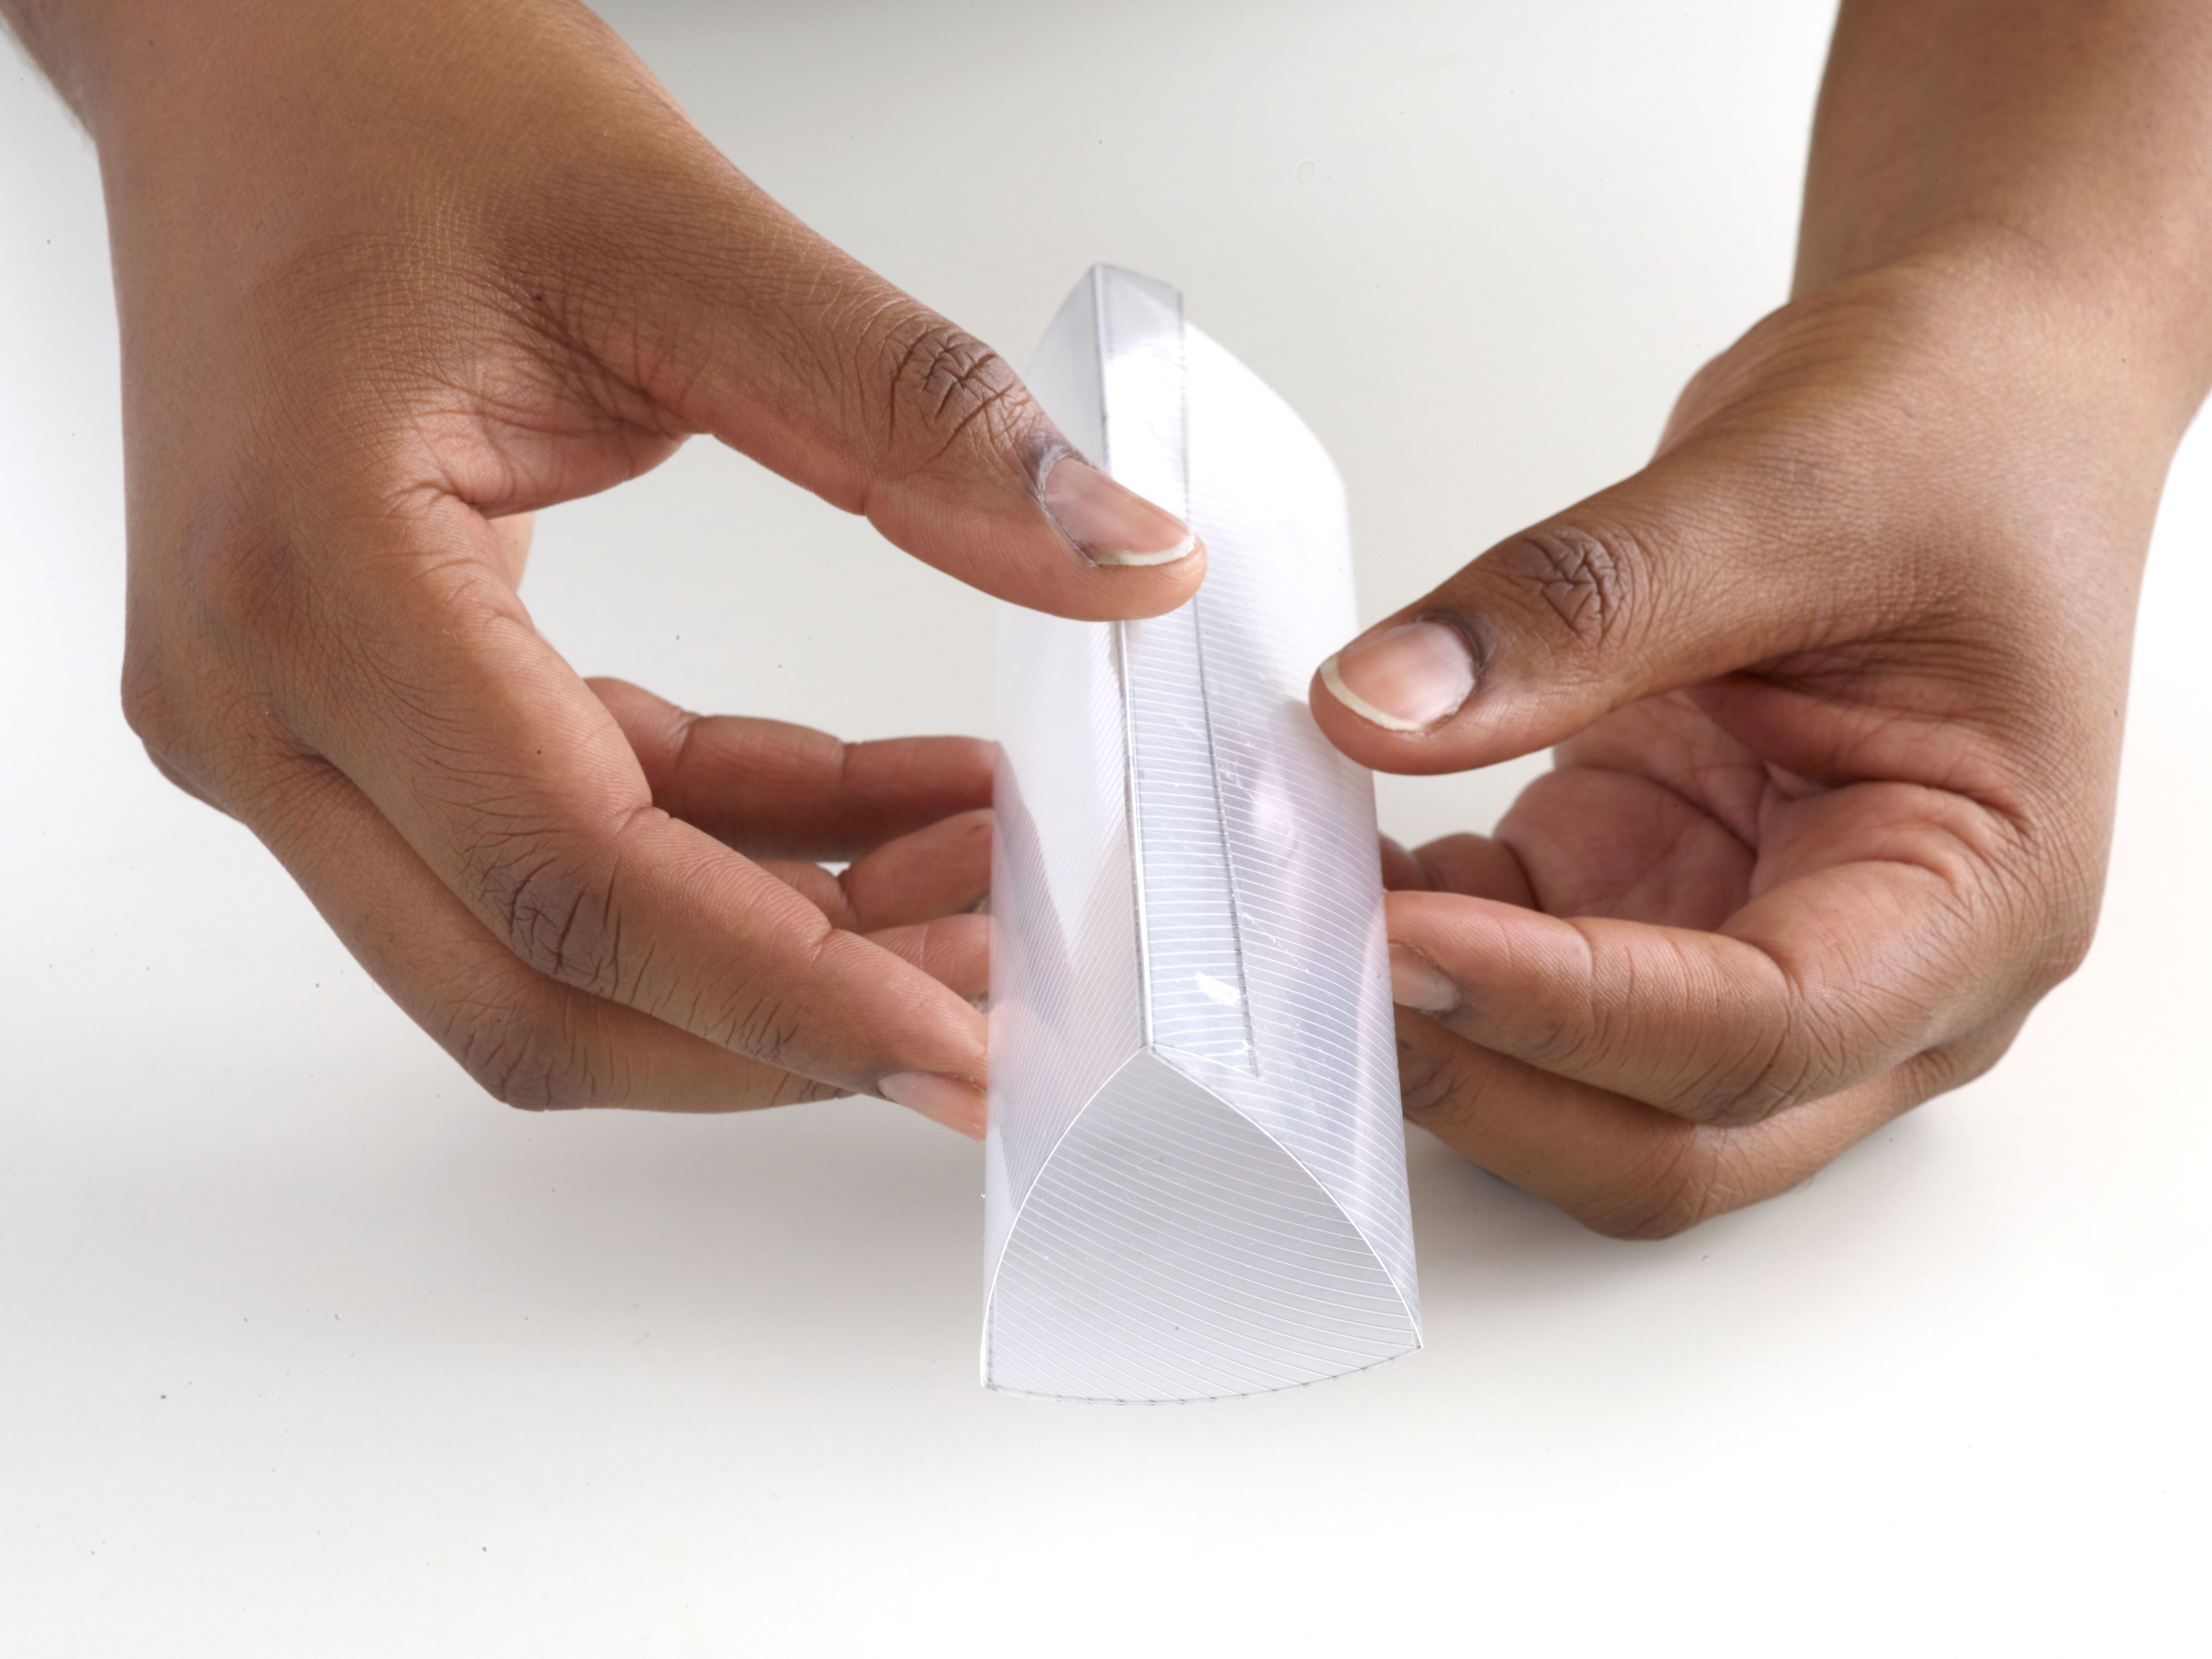
On the plastic folder, draw a rectangle . as long as the tube and two and a half times as wide as the tube's diameter. Draw lines to divide the rectangle into three equal parts. Draw a narrow tab on one side.
STEP 4
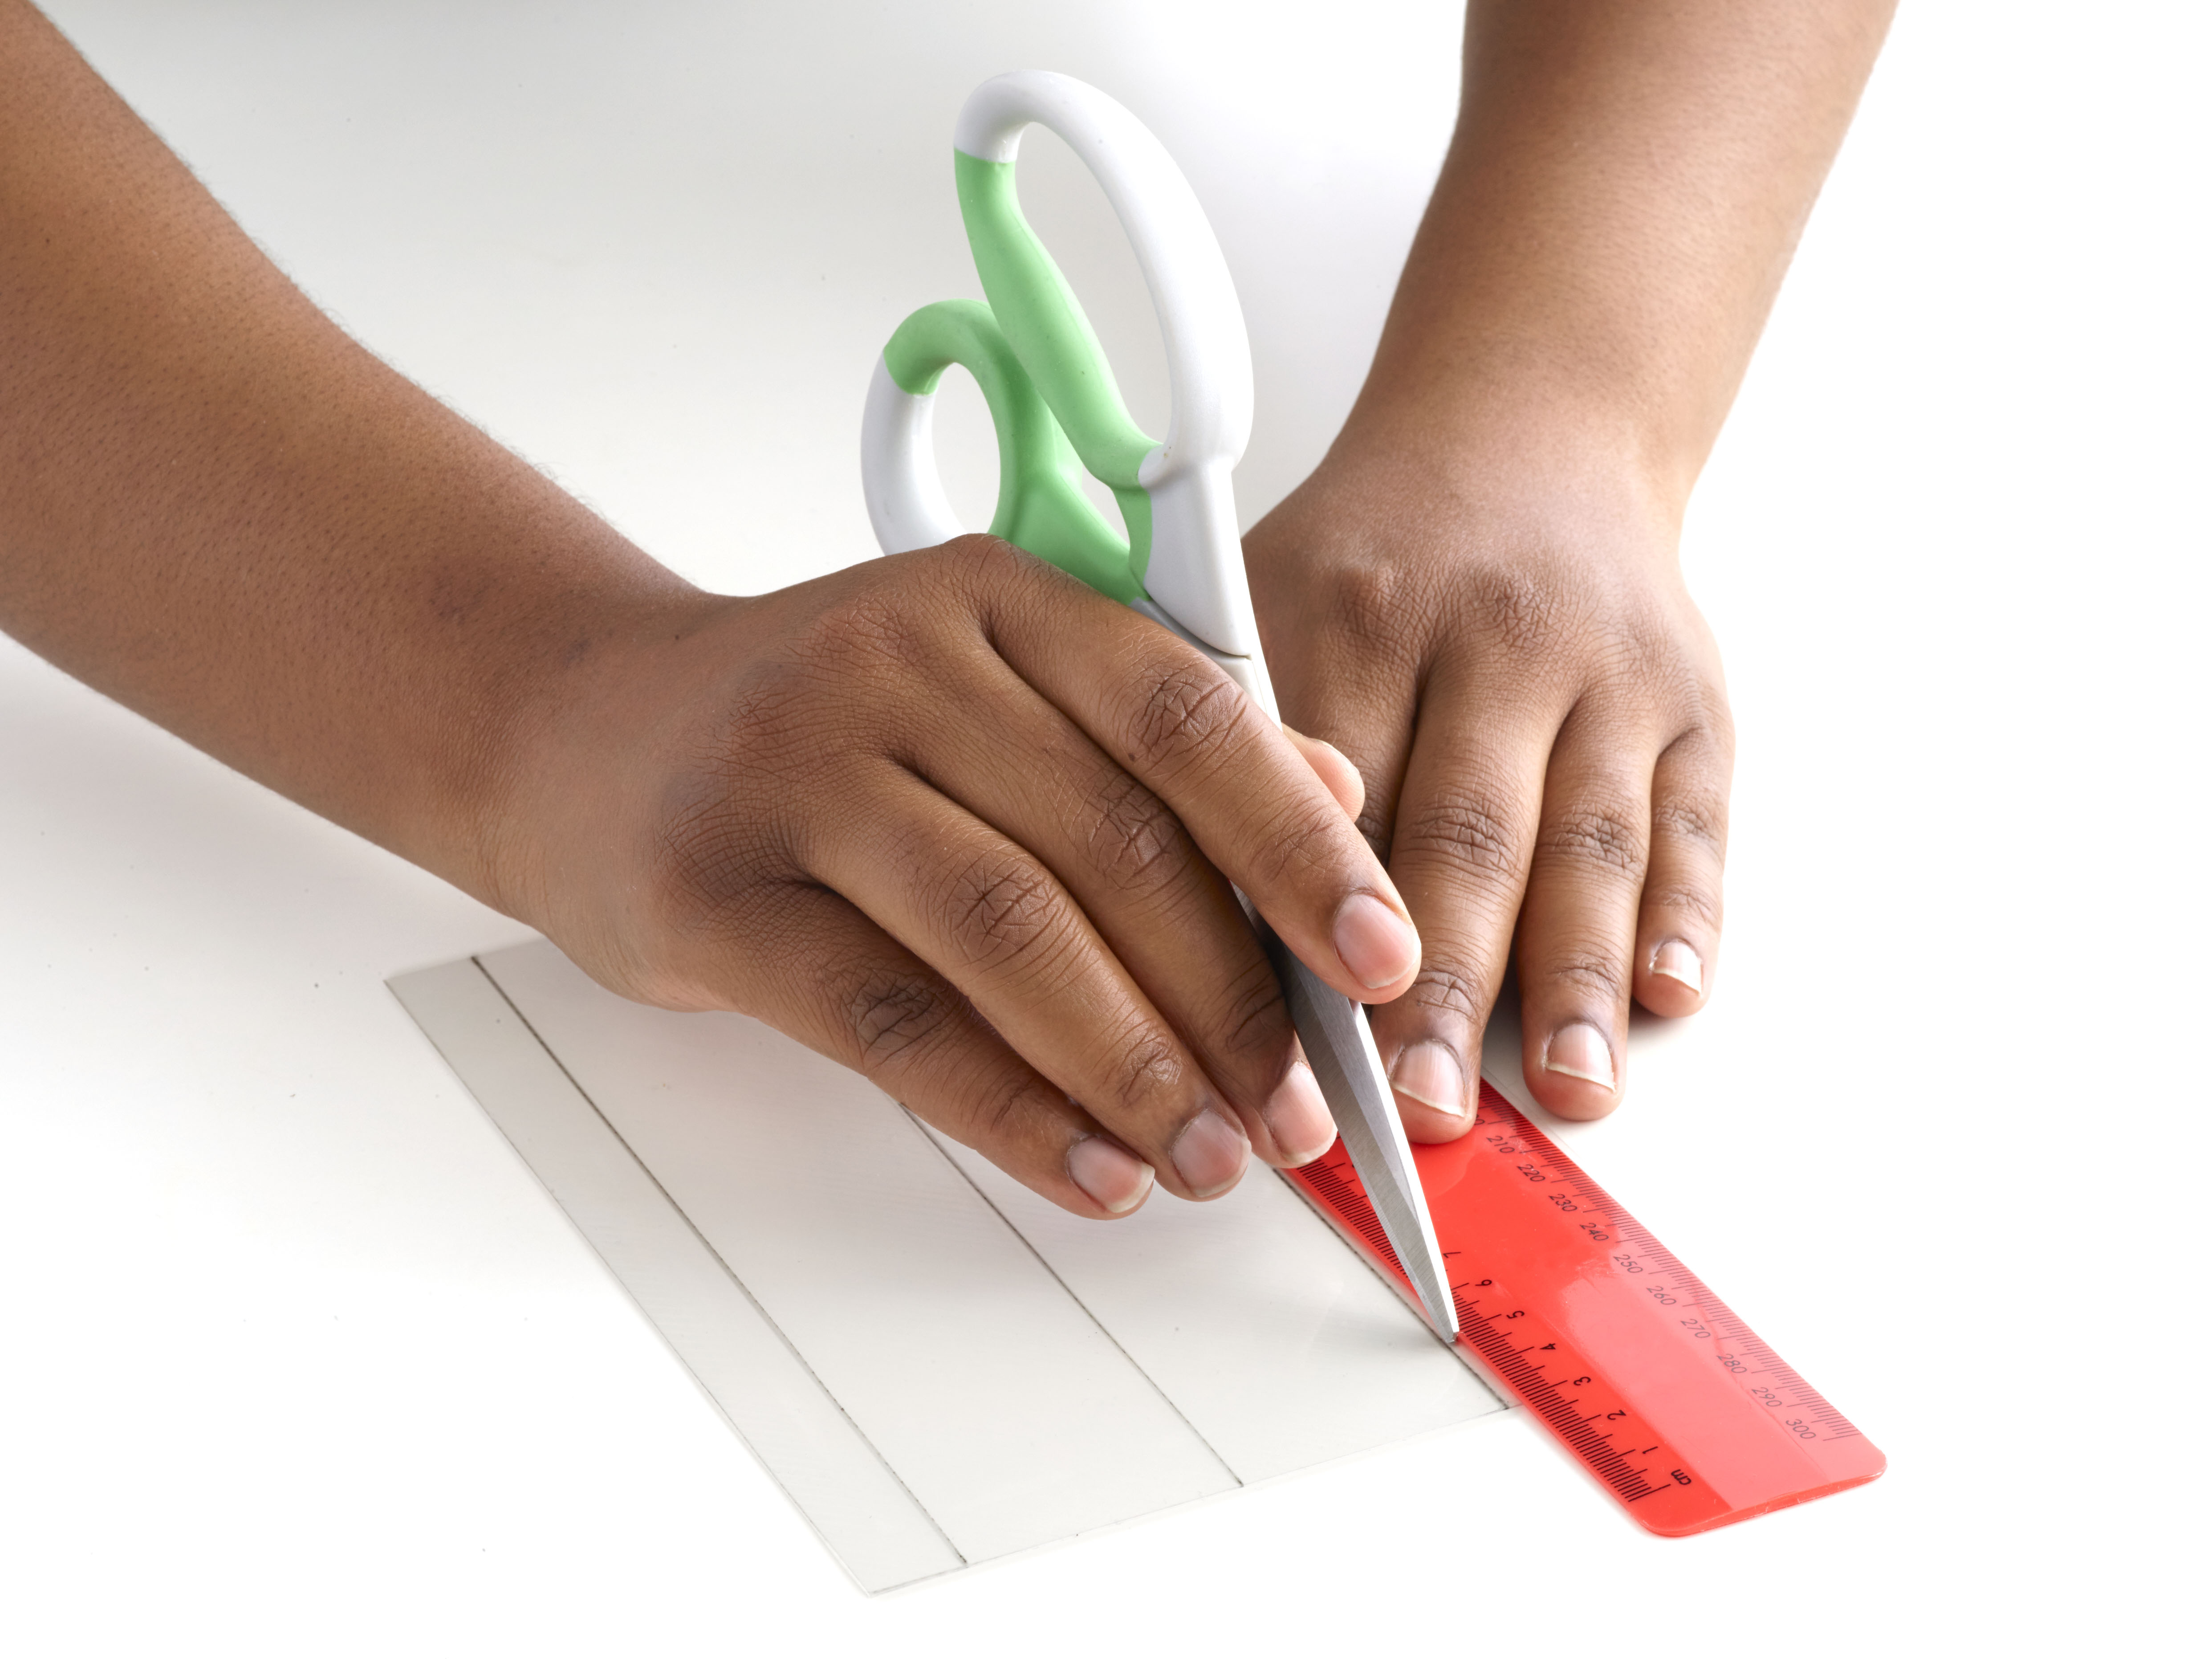
Cut out the rectangle, then score along the three inside lines with the scissors, using the edge of the ruler. Fold along the scored lines to make a triangular prism. Stick down the tab with tape.
STEP 5
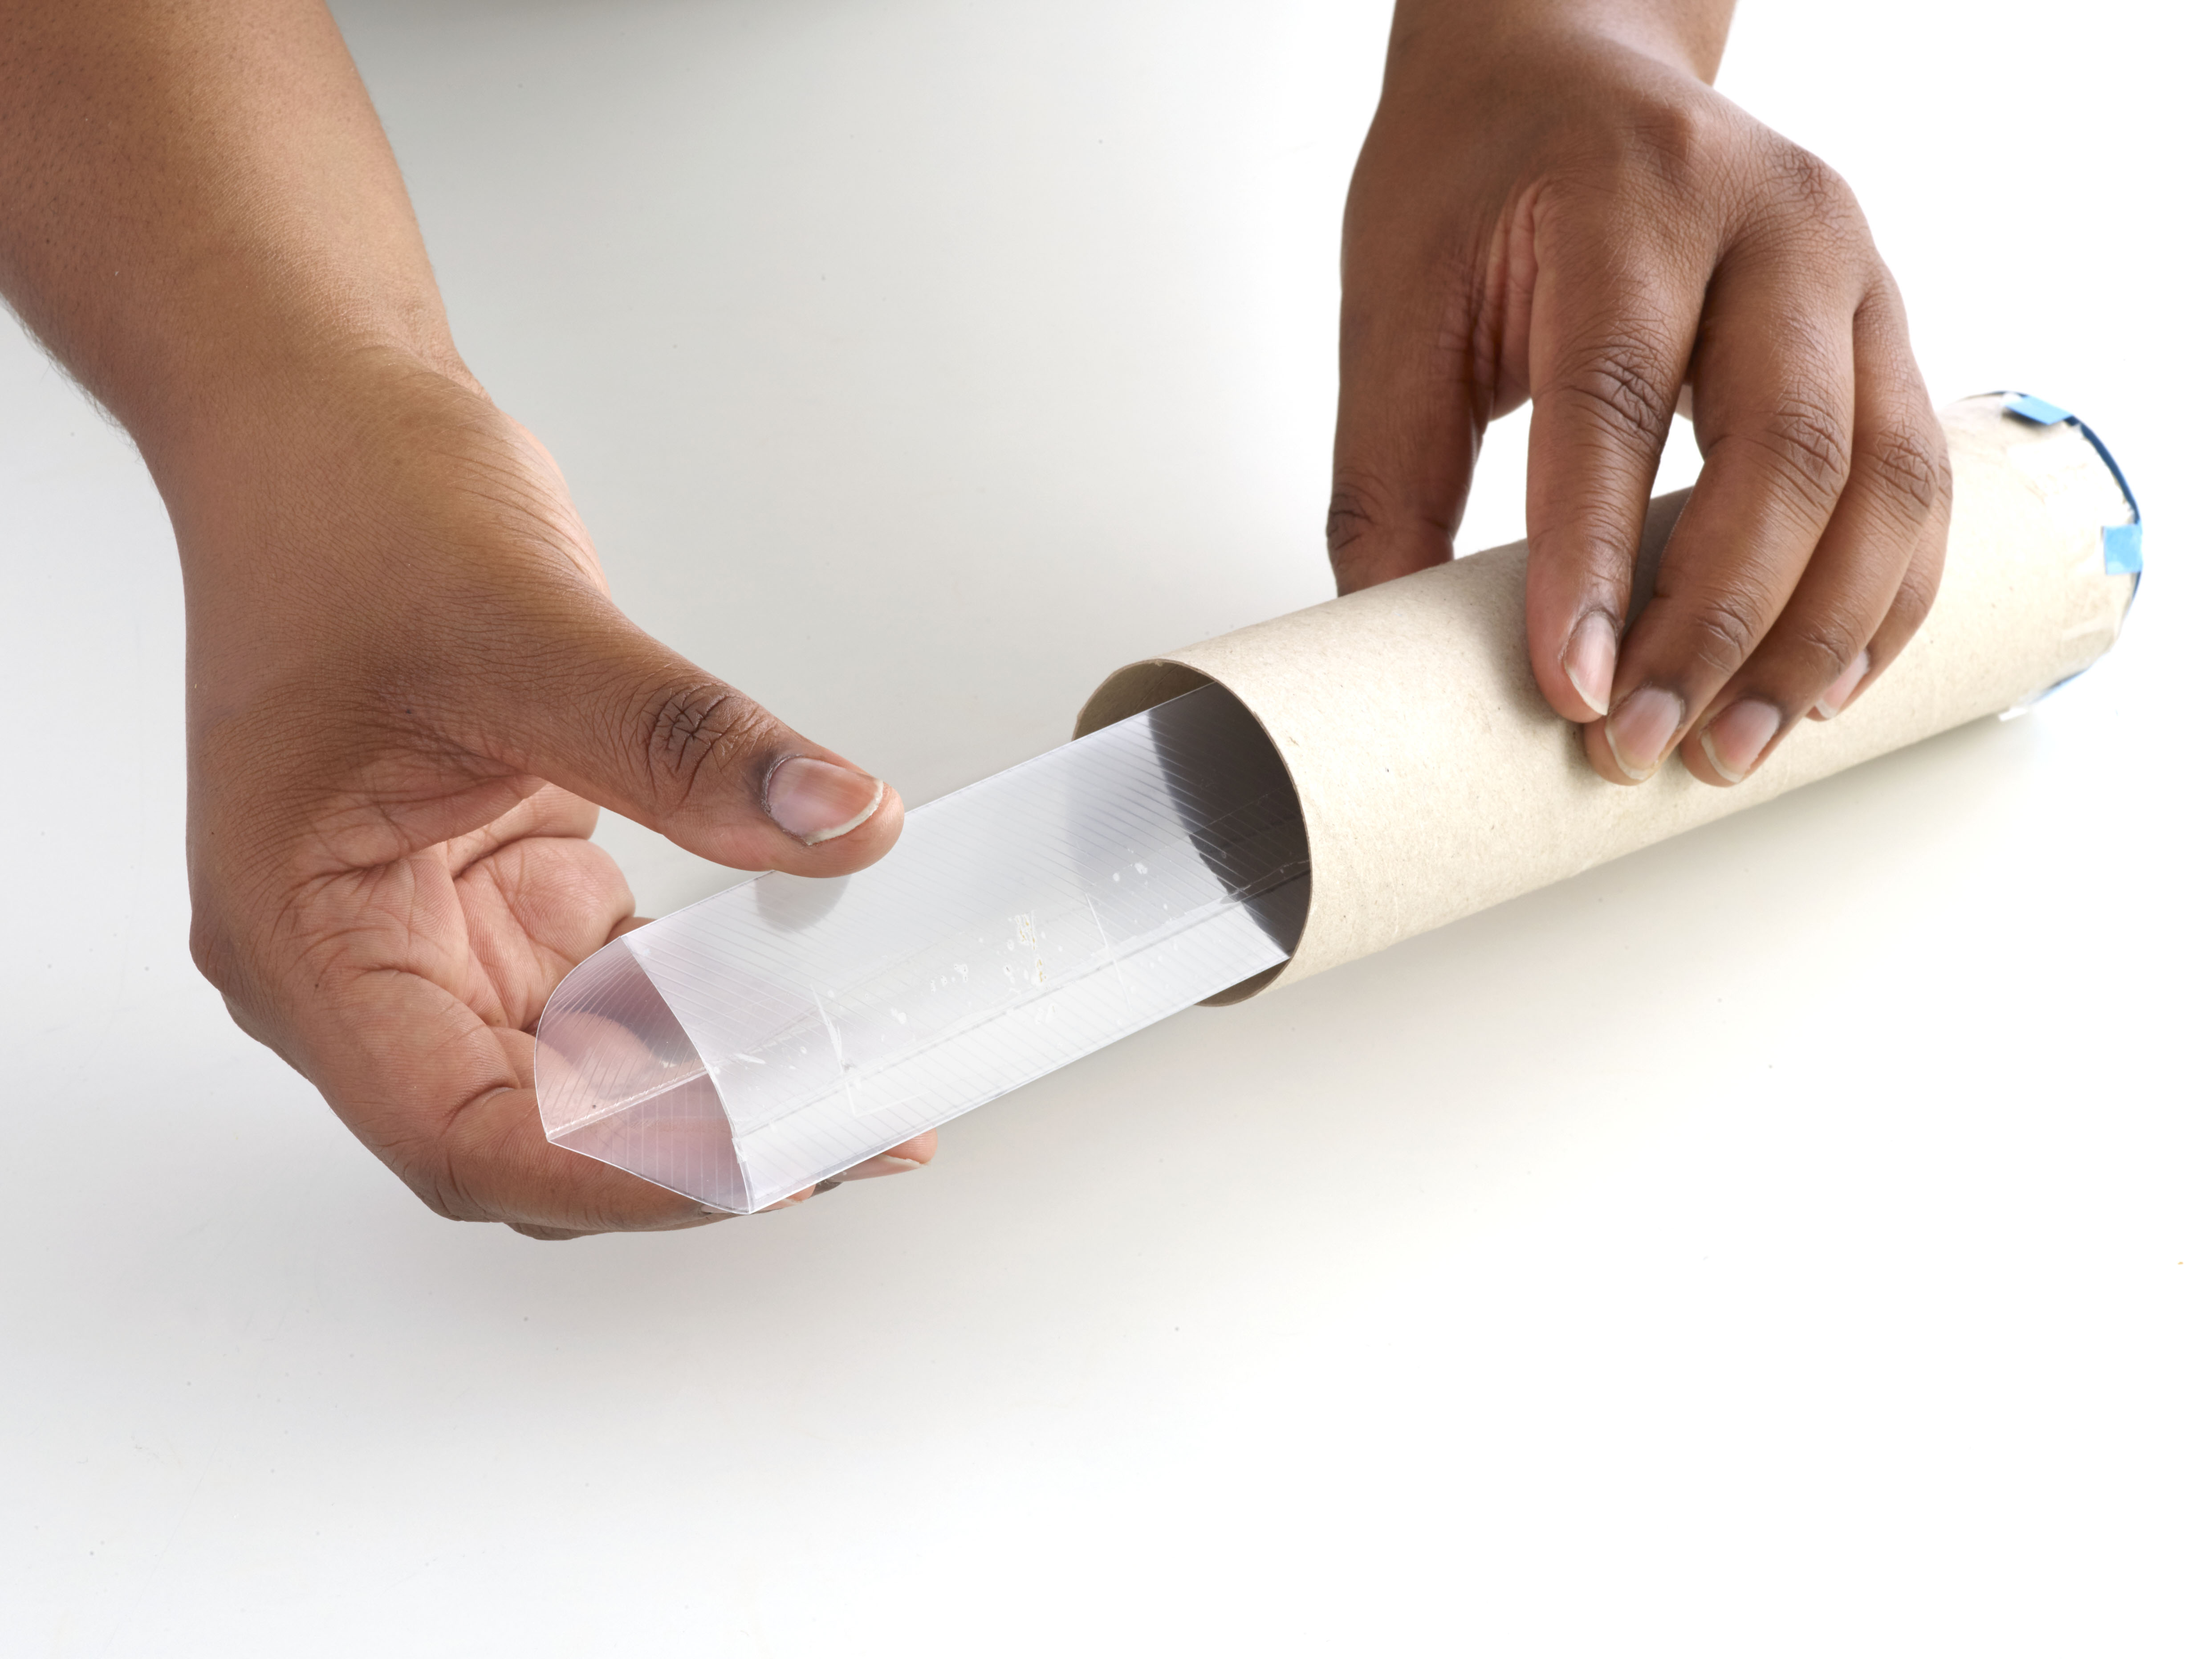
Insert your prism into the cardboard tube, so that it rests against the paper circle at the end. It should fit snugly, but if not, use small pieces of tape to secure it in place.

STEP 6
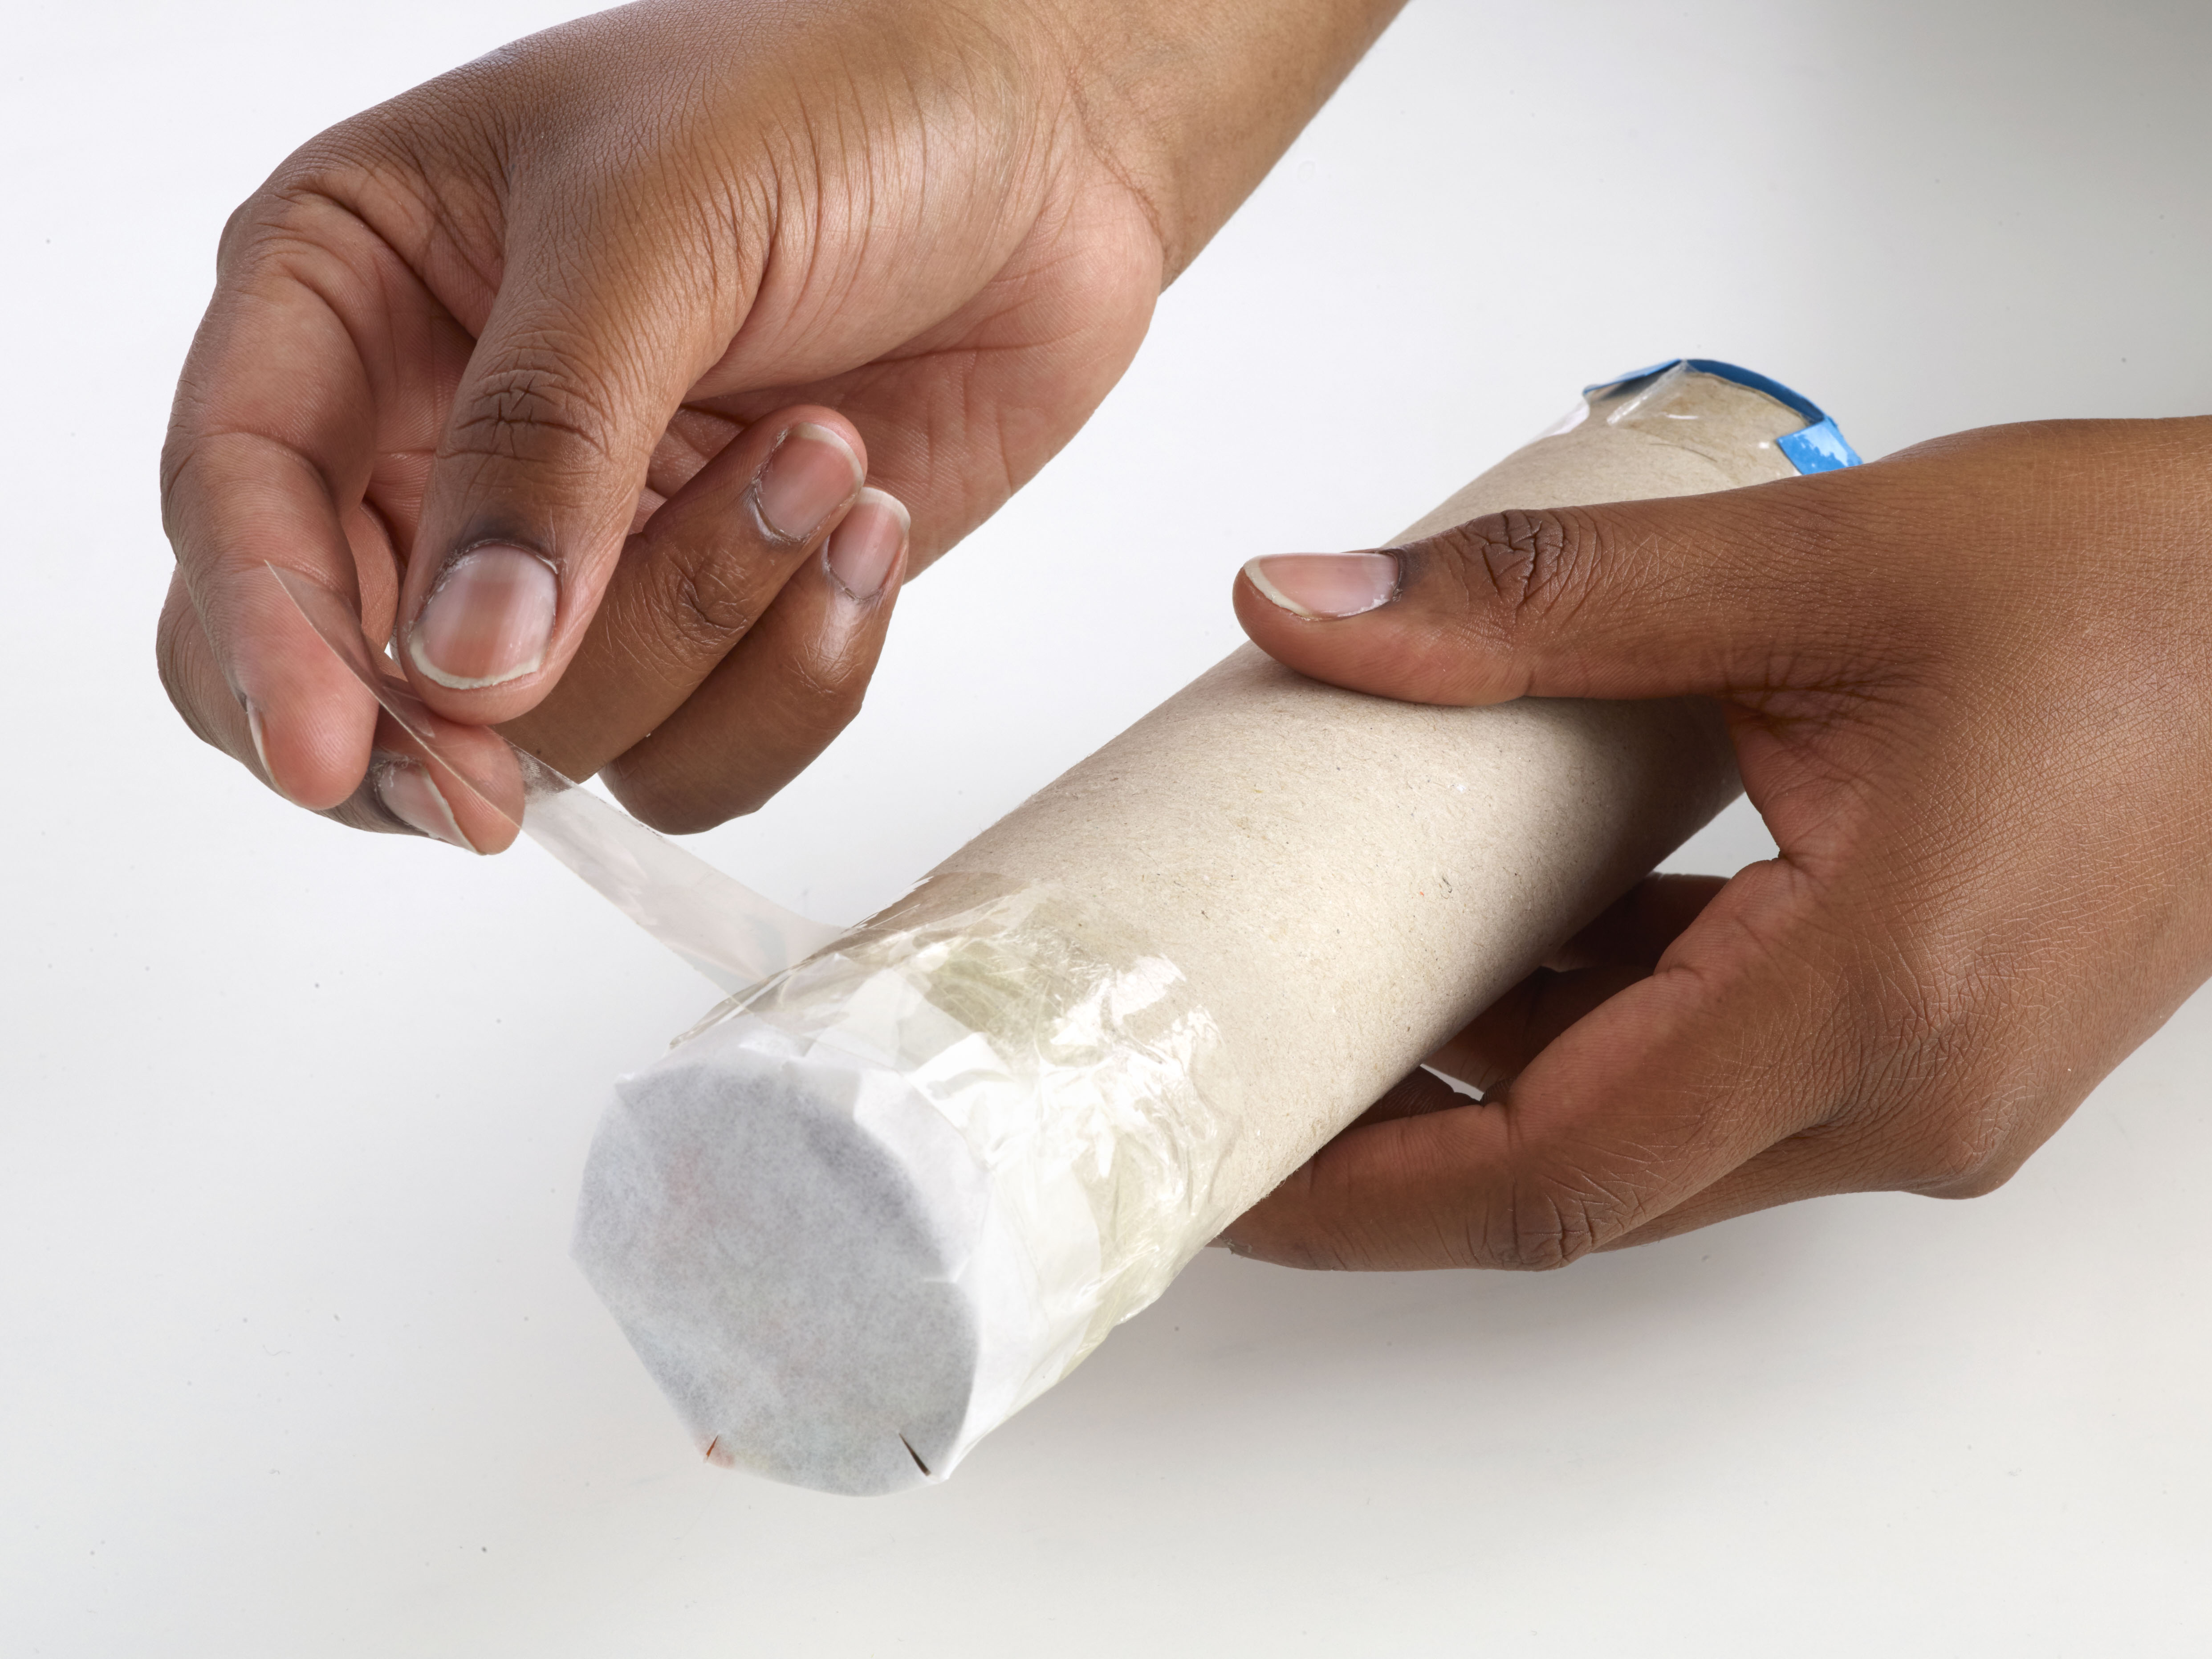
Place plastic wrap loosely over the open end of the tube, and stick it in place with tape. Now put some colored beads on top of the plastic wrap.
STEP 7
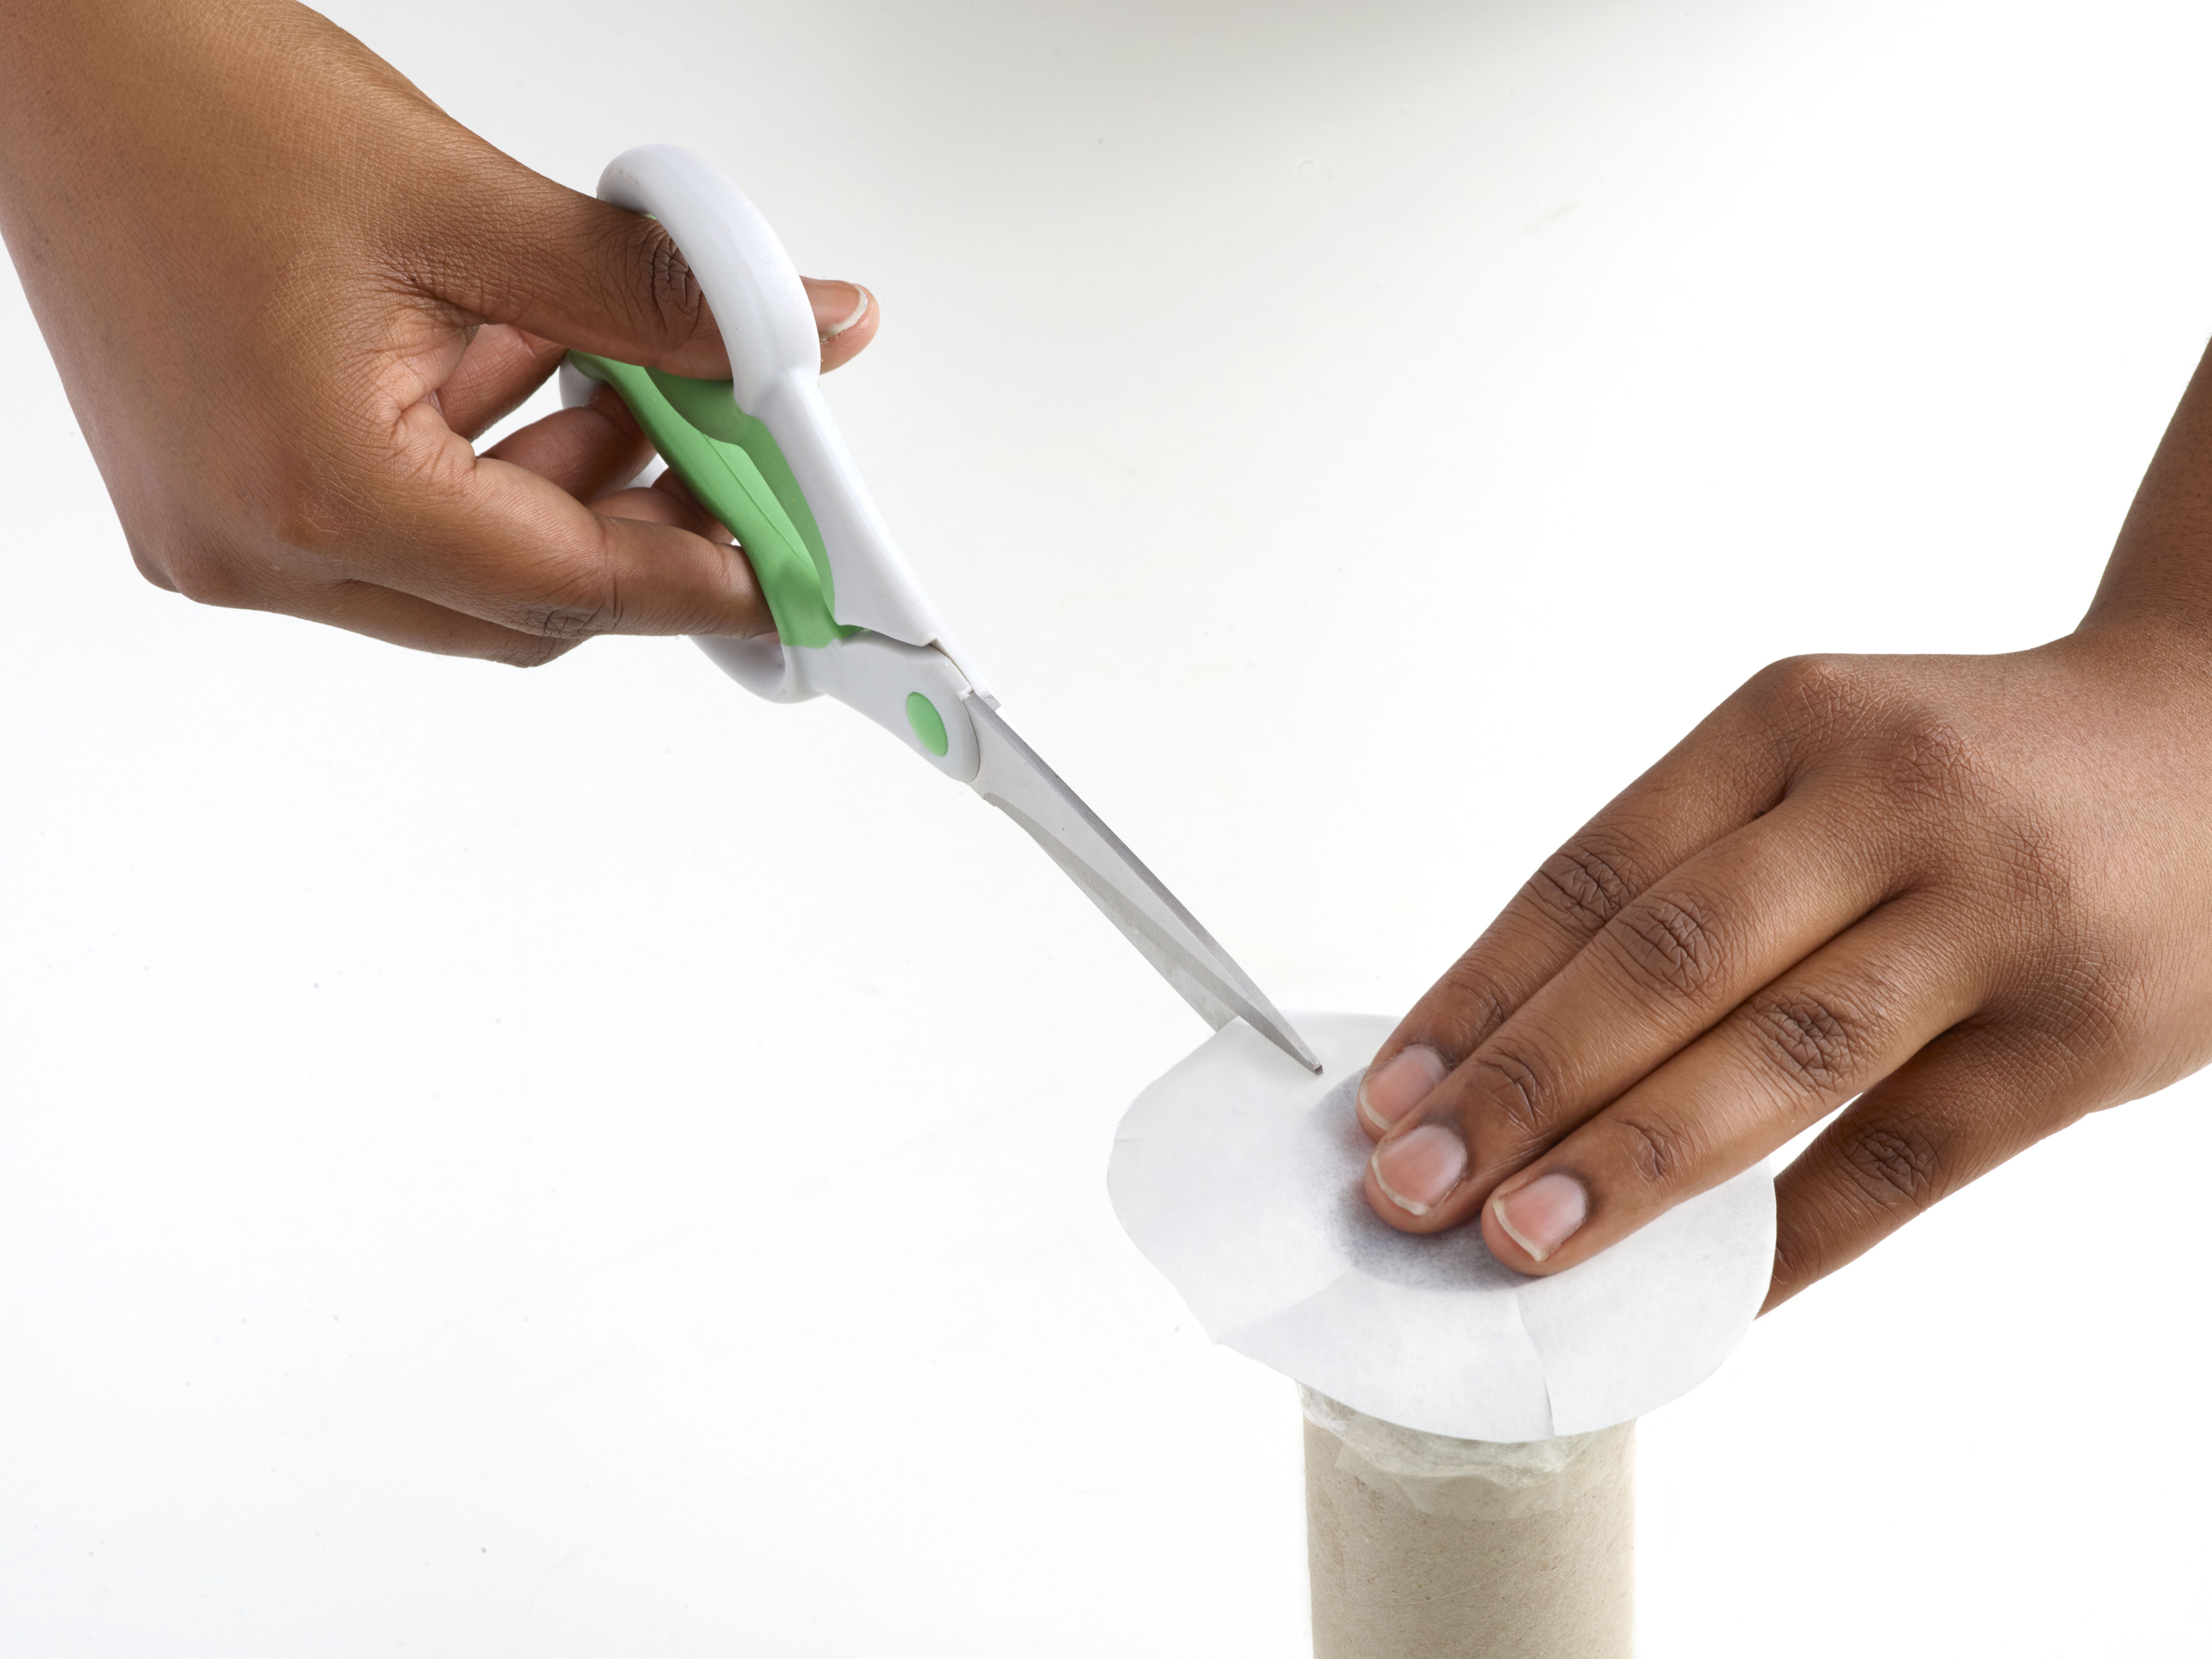
Cut a circle of wax paper, wider than the tube. Place it over the beads, then cut slits in the edge of the paper and tape it to the tube.
STEP 8
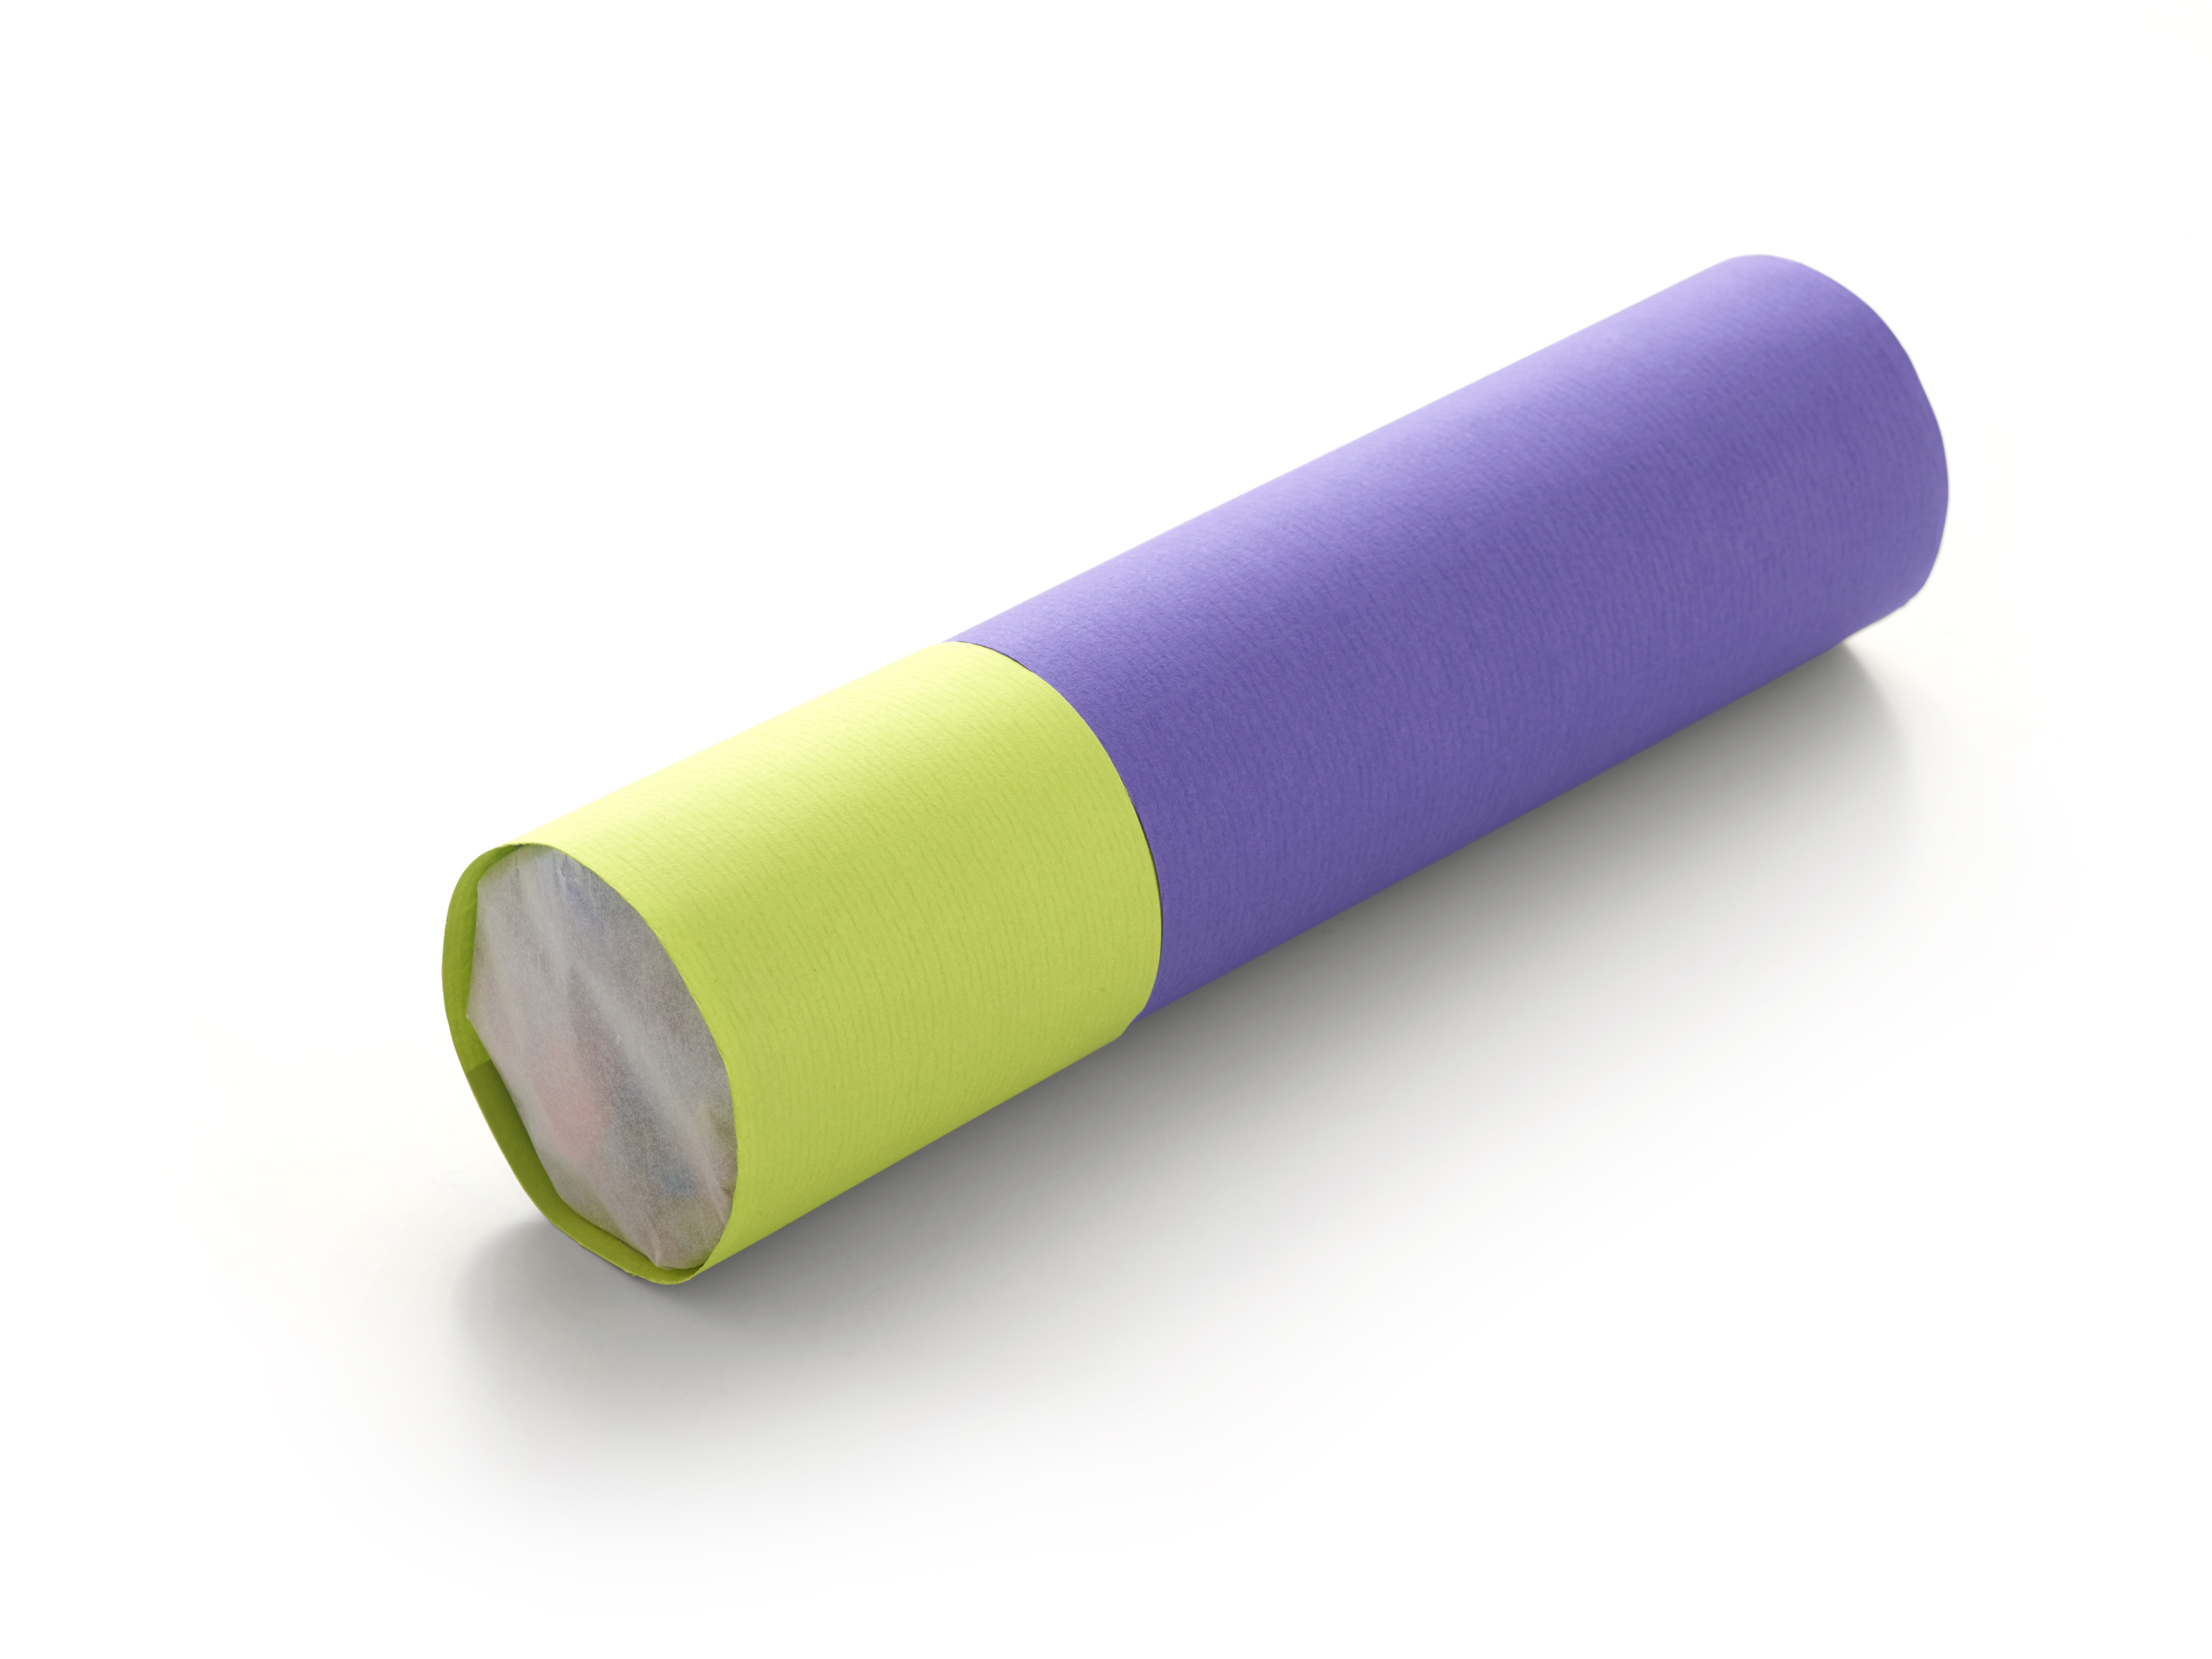
Decorate the tube, if you like. Now look through the hole in the paper circle. Point the tube toward a window or light and turn it around. Enjoy the show!
Please Note
Your safety is your own responsibility, including proper use of equipment and safety gear, and determining whether you have adequate skill and experience. Power tools, electricity, and other resources used for these projects are dangerous, unless used properly and with adequate precautions, including safety gear and adult supervision. Some illustrative photos do not depict safety precautions or equipment, in order to show the project steps more clearly. Use of the instructions and suggestions found in Maker Camp is at your own risk. Maker Media, Inc., disclaims all responsibility for any resulting damage, injury, or expense.
