
Cardboard Prototypes

TIME TO COMPLETE
Less than 30 min.
WHAT WILL YOU MAKE?
You will learn about the design process and iteration.
WHAT WILL YOU NEED?
- Cardboard
- Crafting Materials
- Other Materials
- Tape (Duct, masking, etc)
- Upcycled / Recycled materials
- Wood
STEP 1
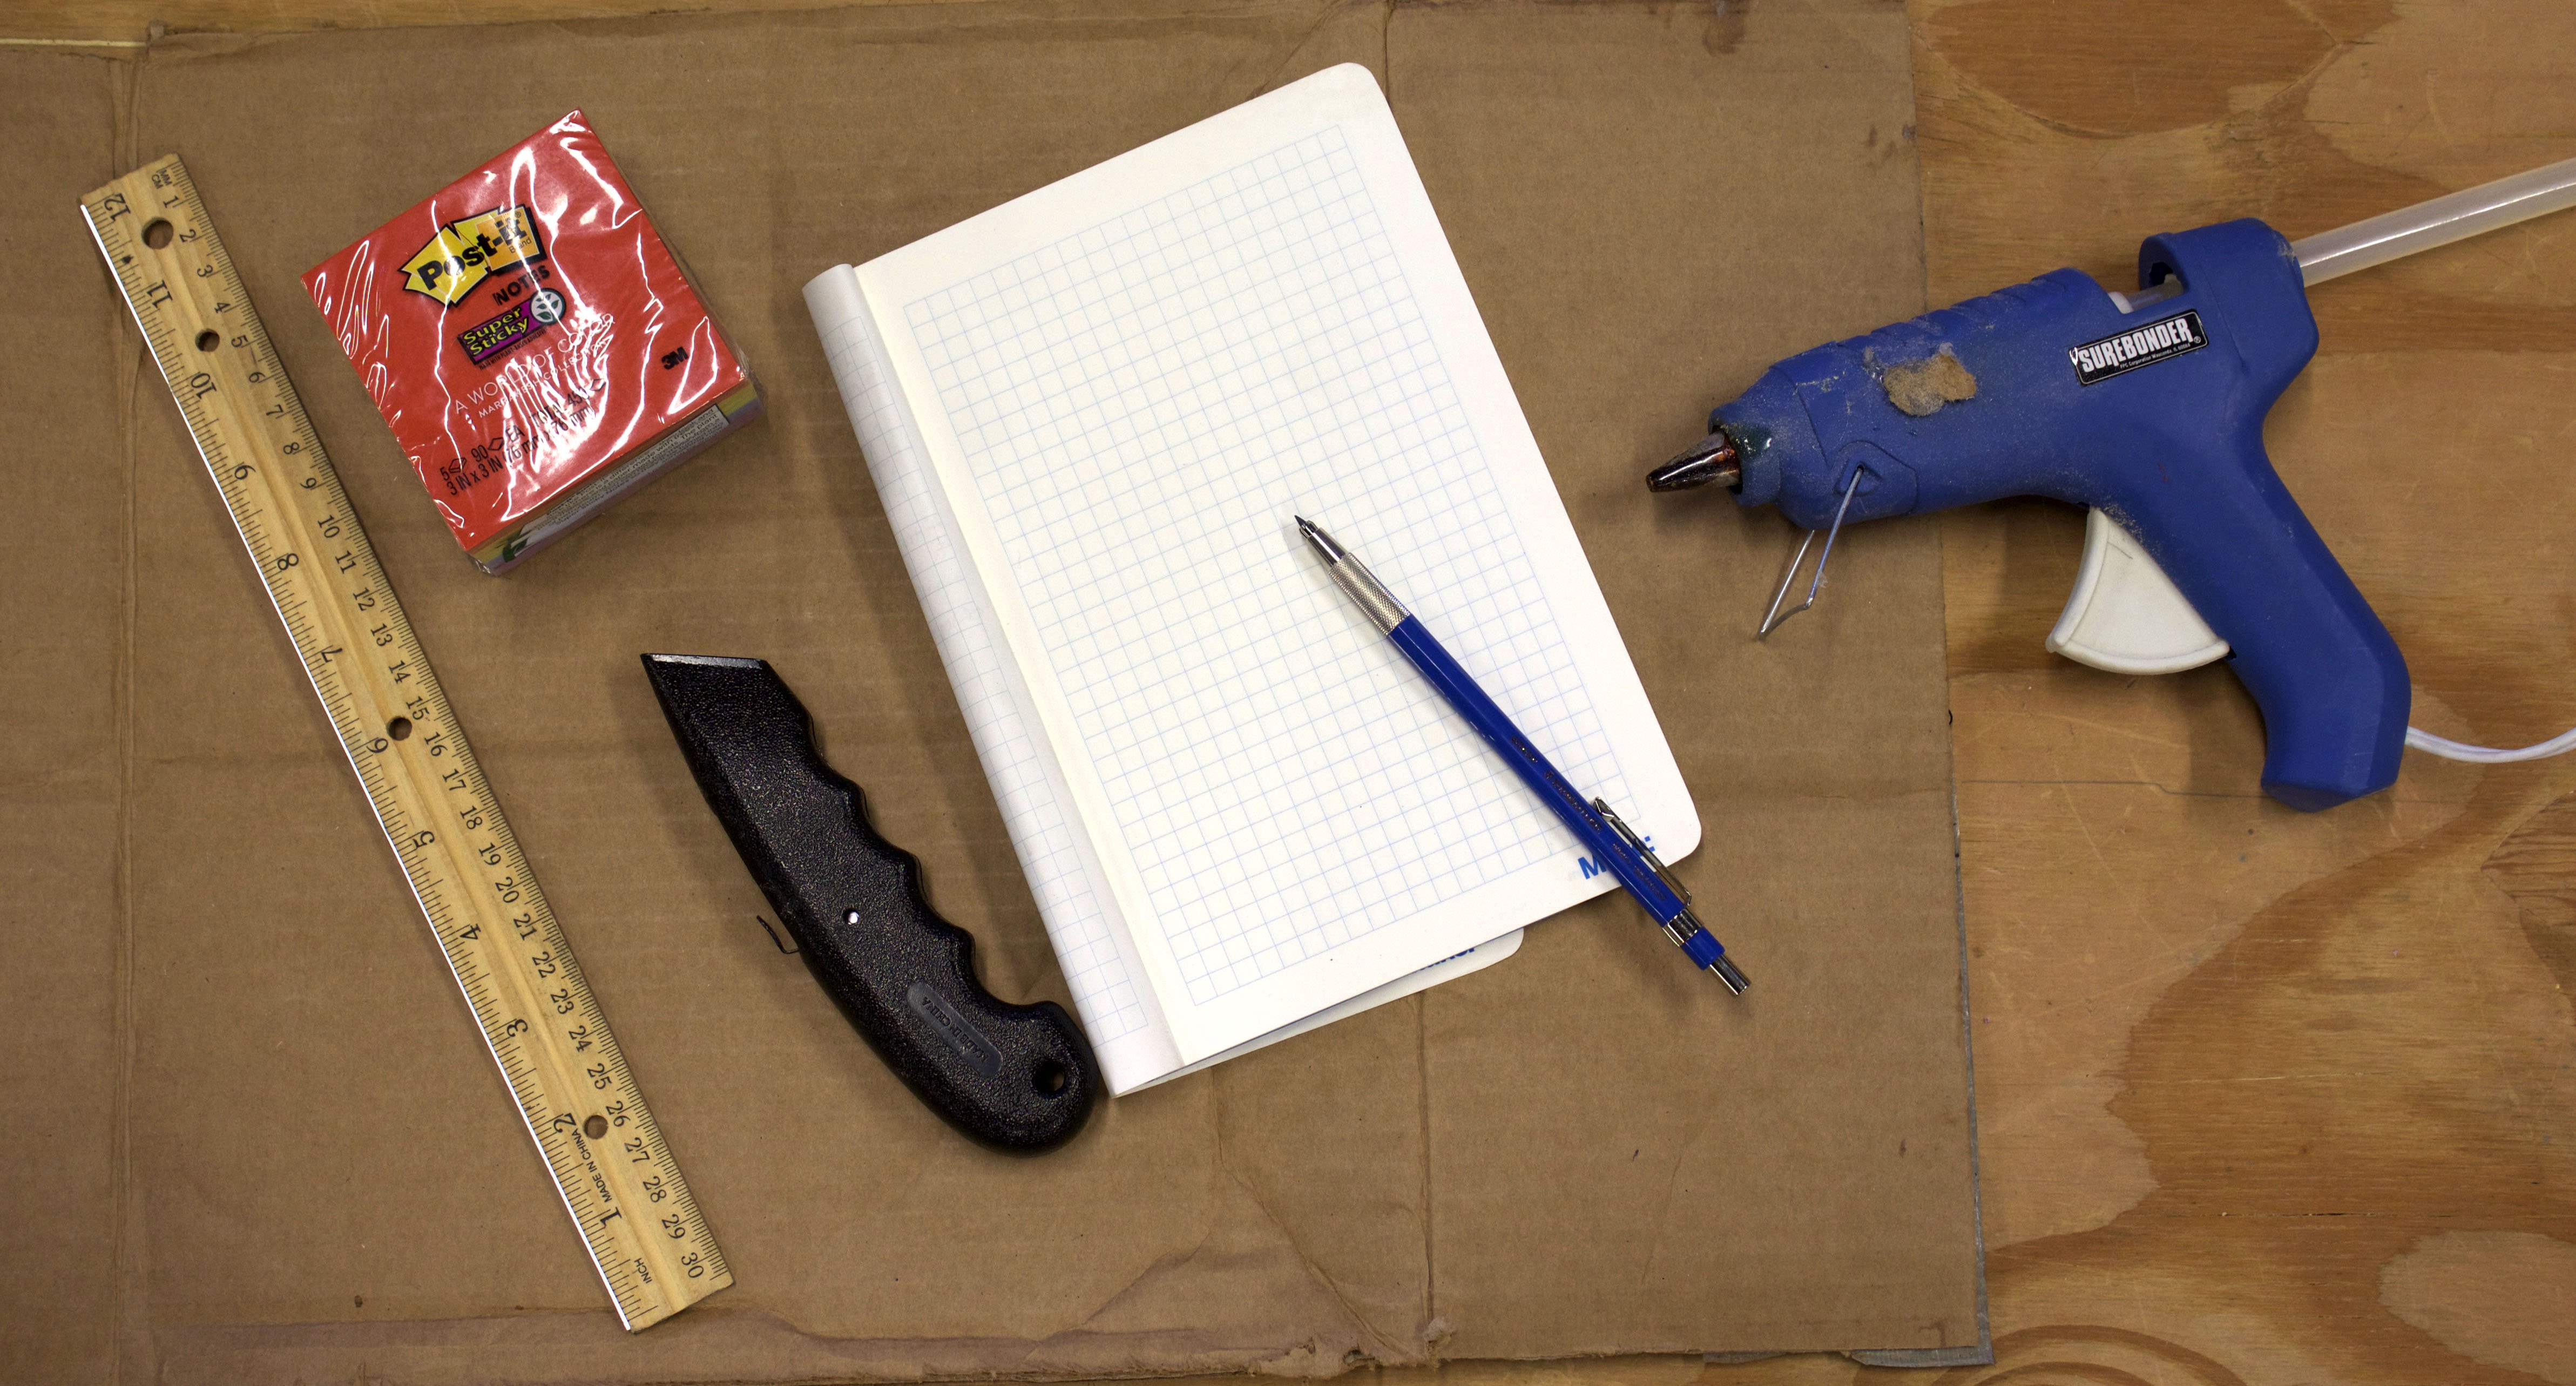
Prepare for prototyping!
STEP 2
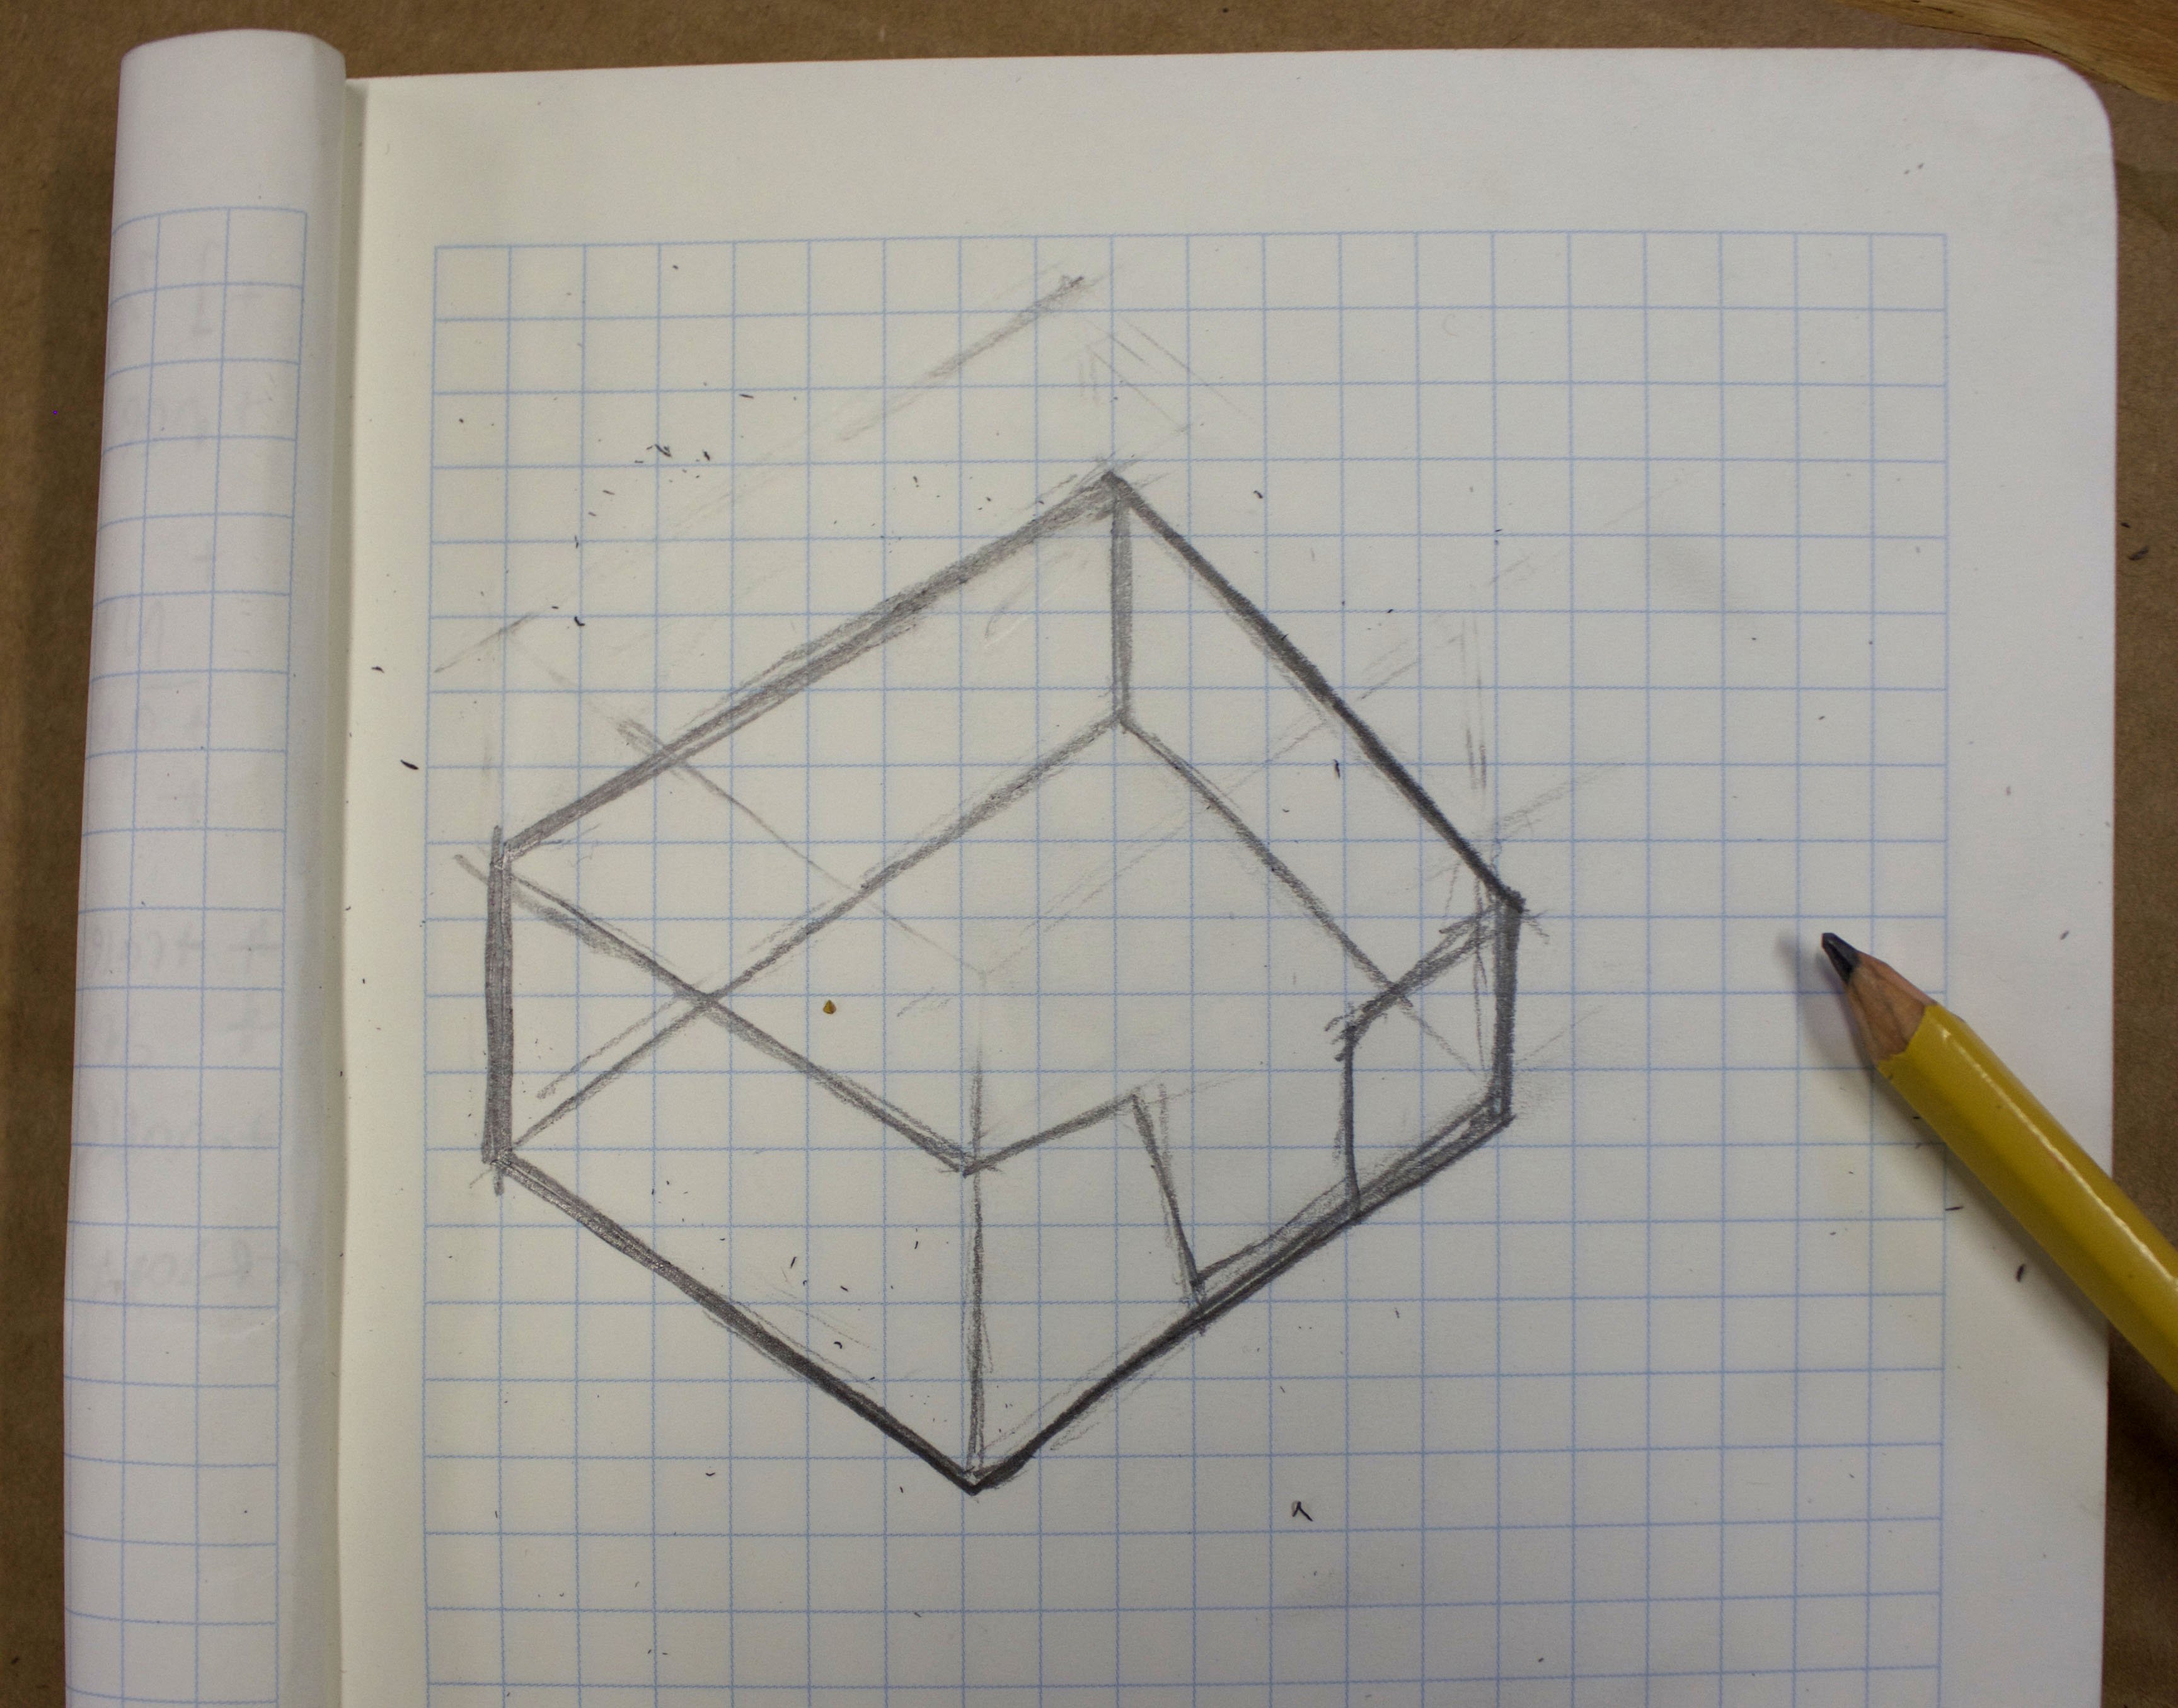
Sketch your idea
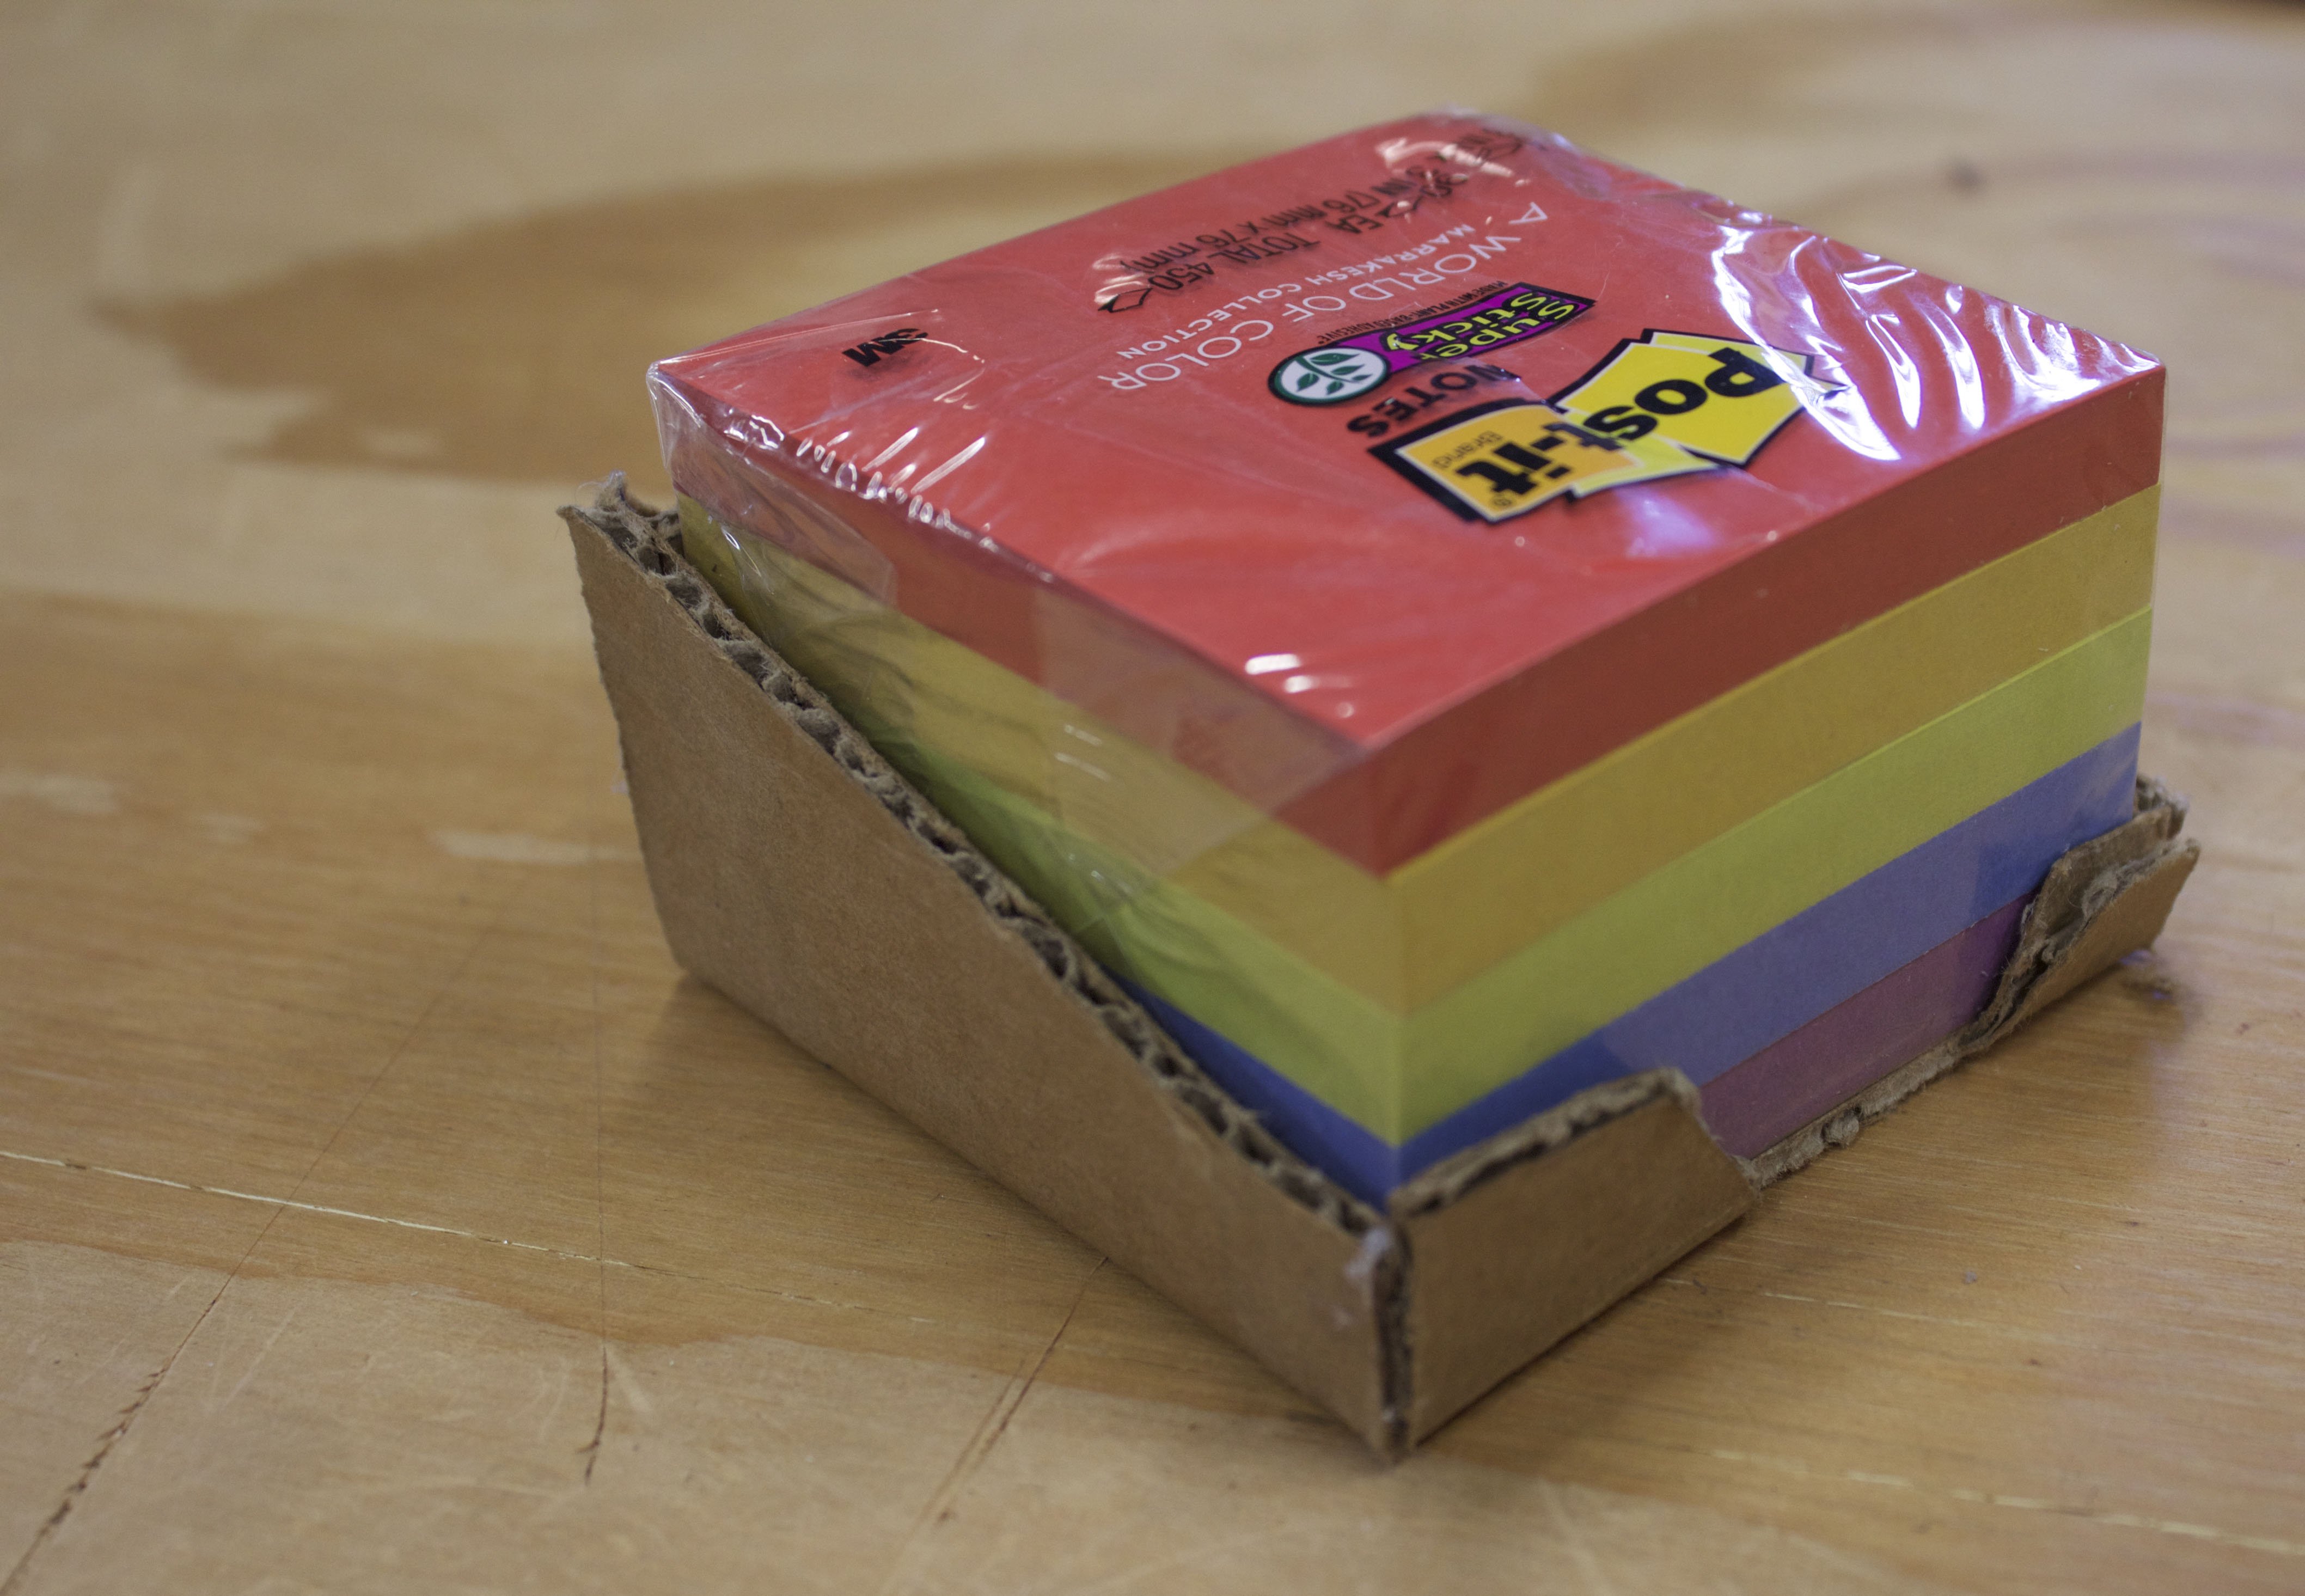
Choose an item to make a box for. We chose a stack of Post-It notes because it was nice and square. After looking at your item, do a quick sketch on of what you want your box to look like.
STEP 3
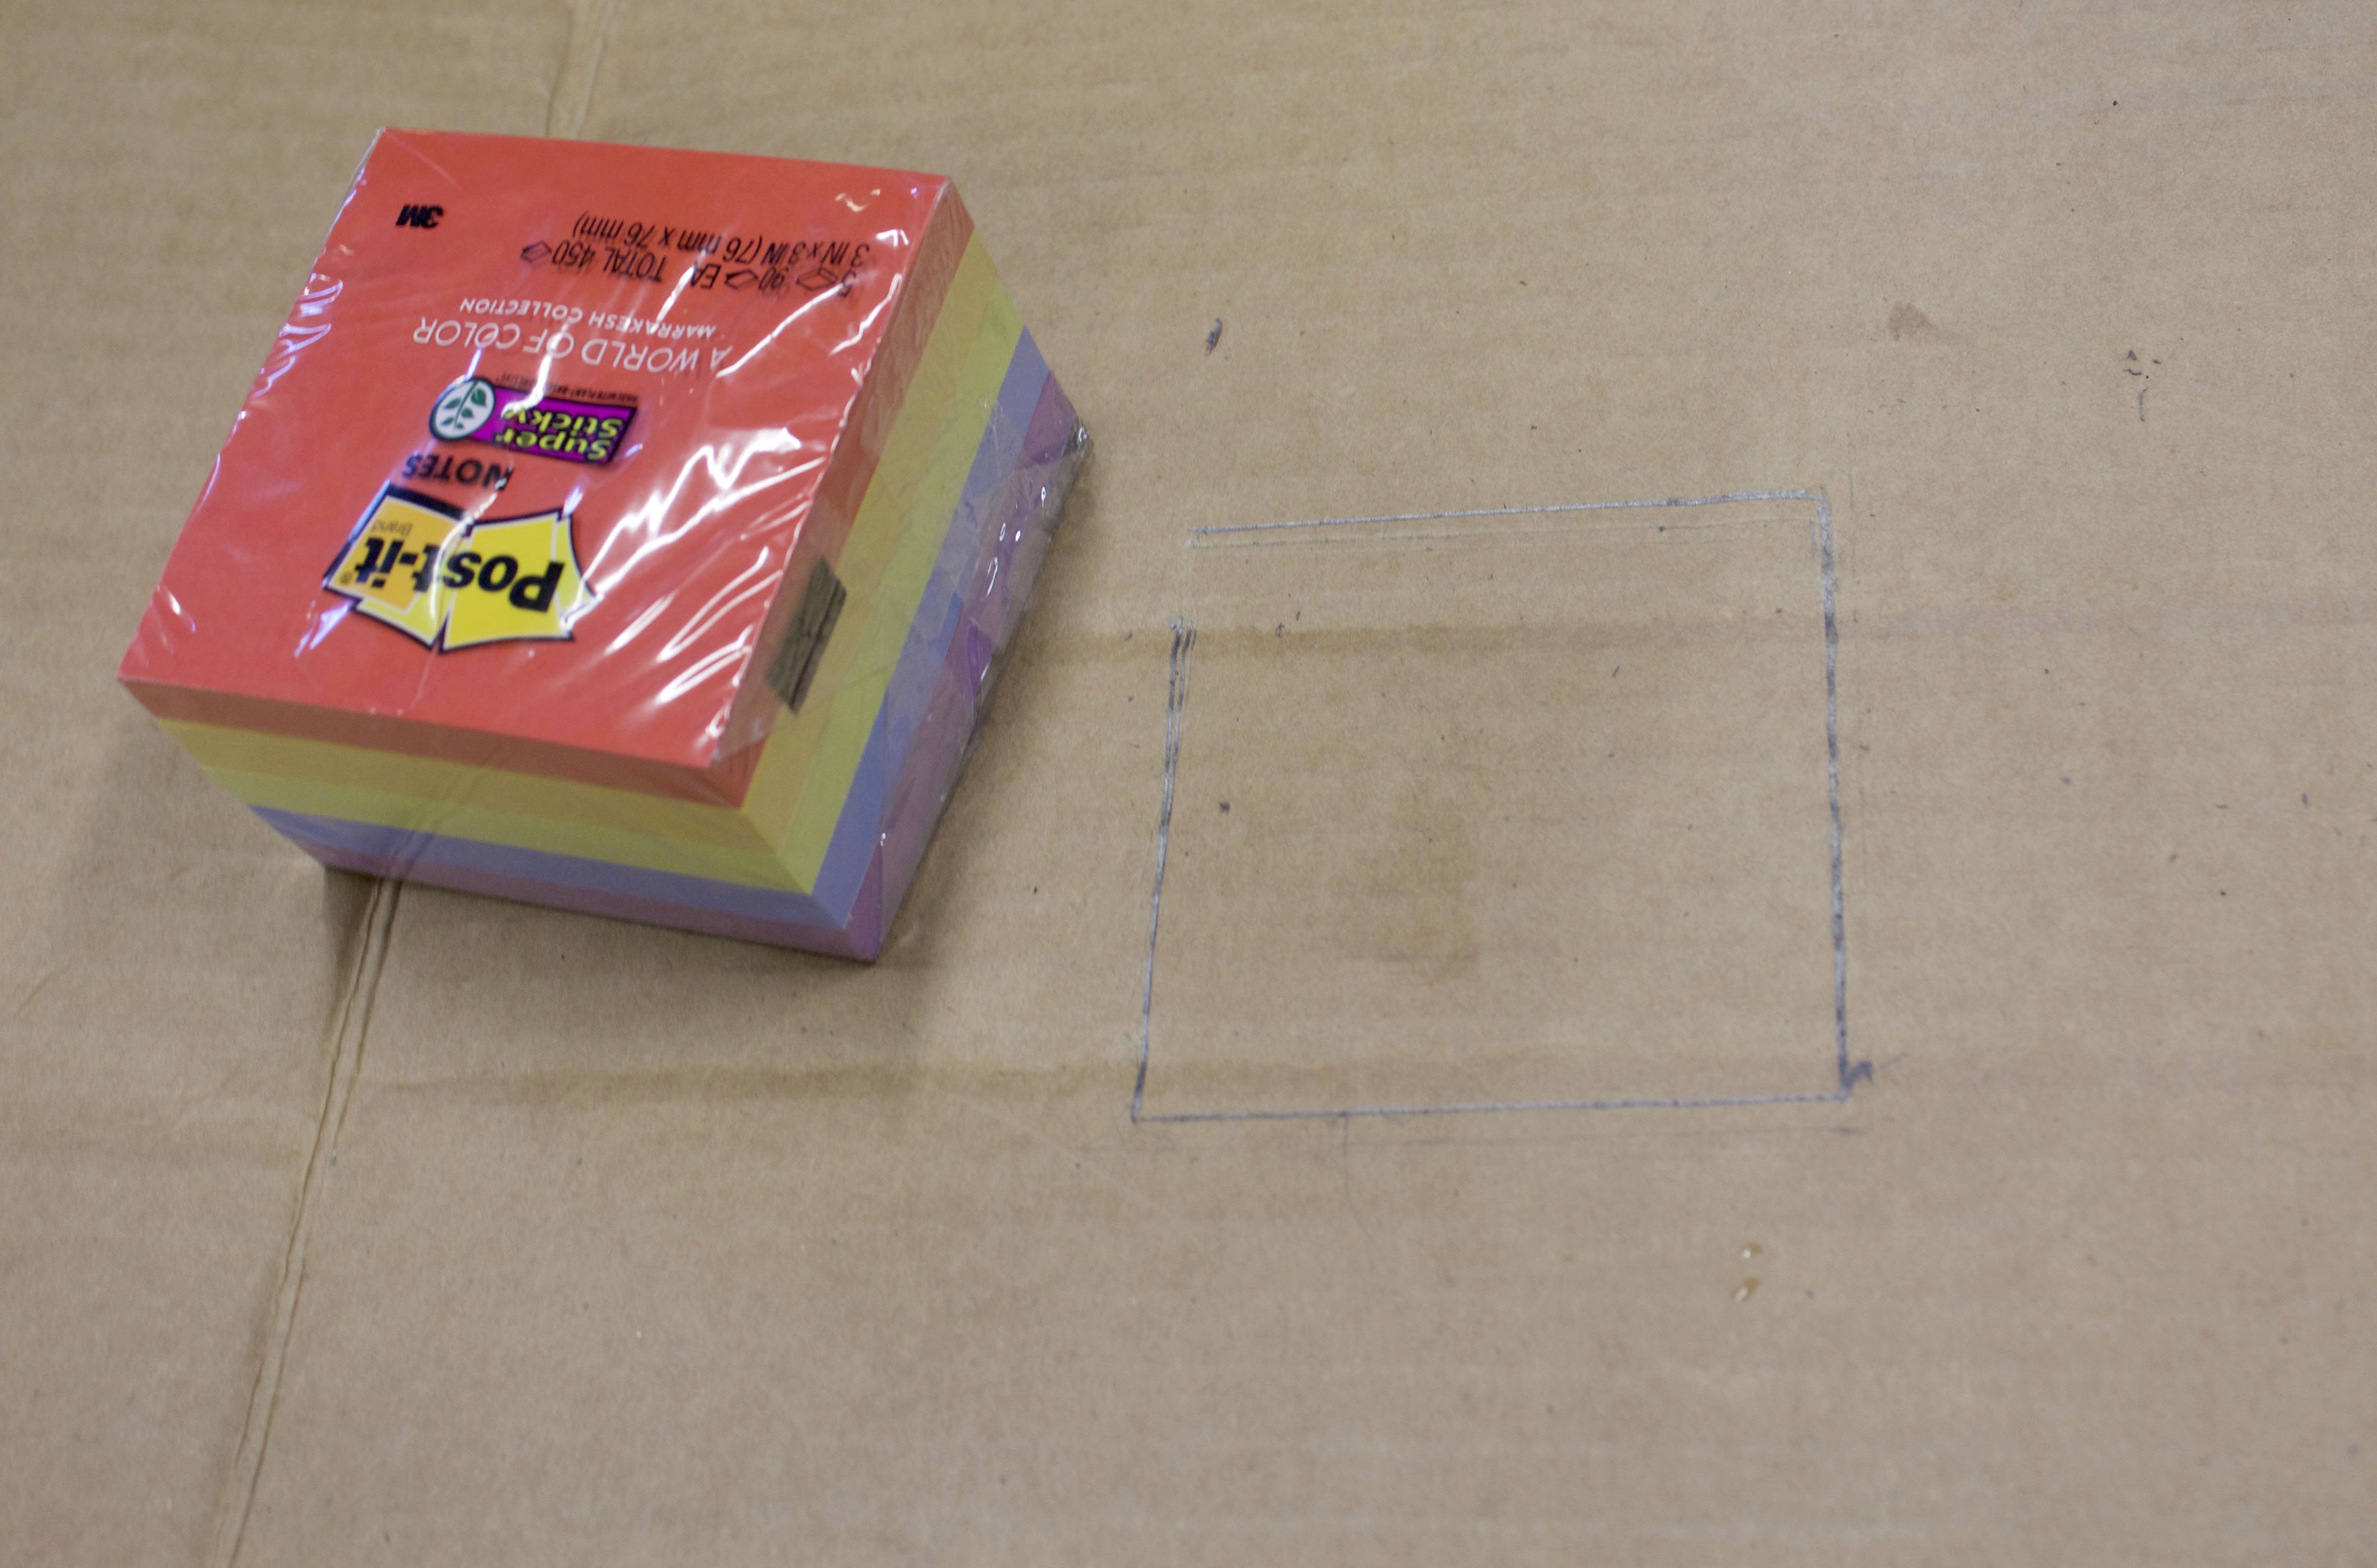
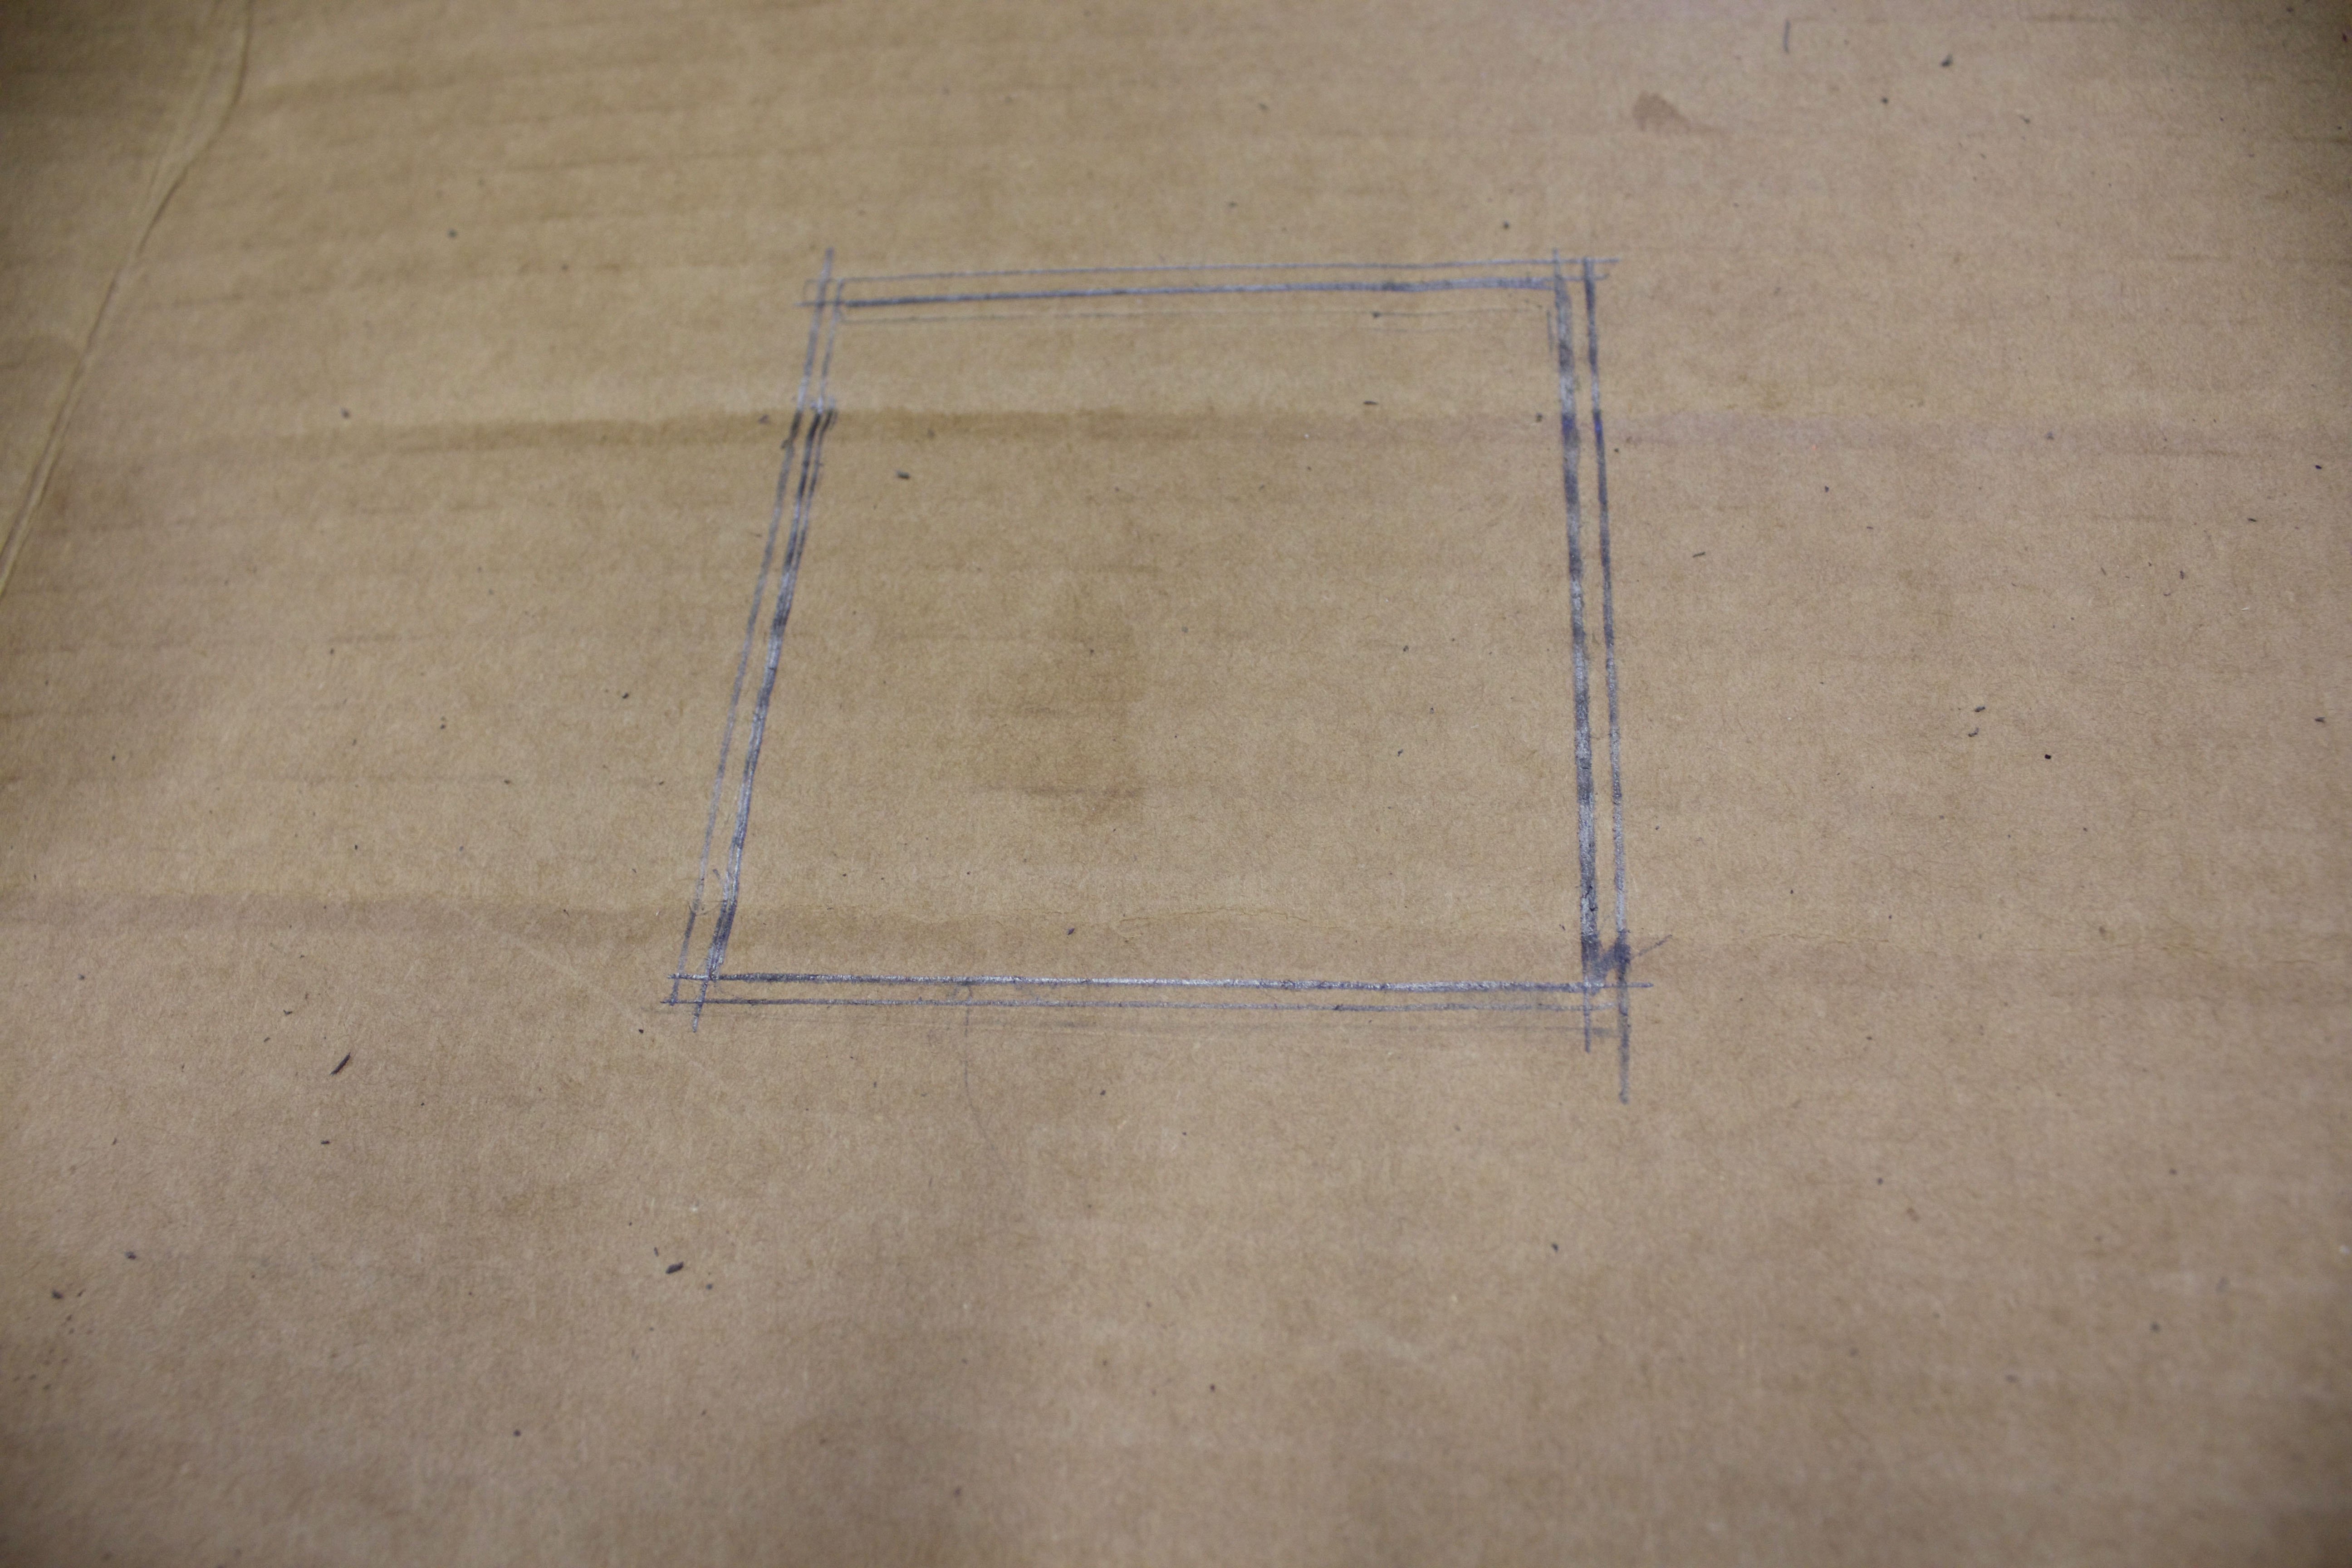
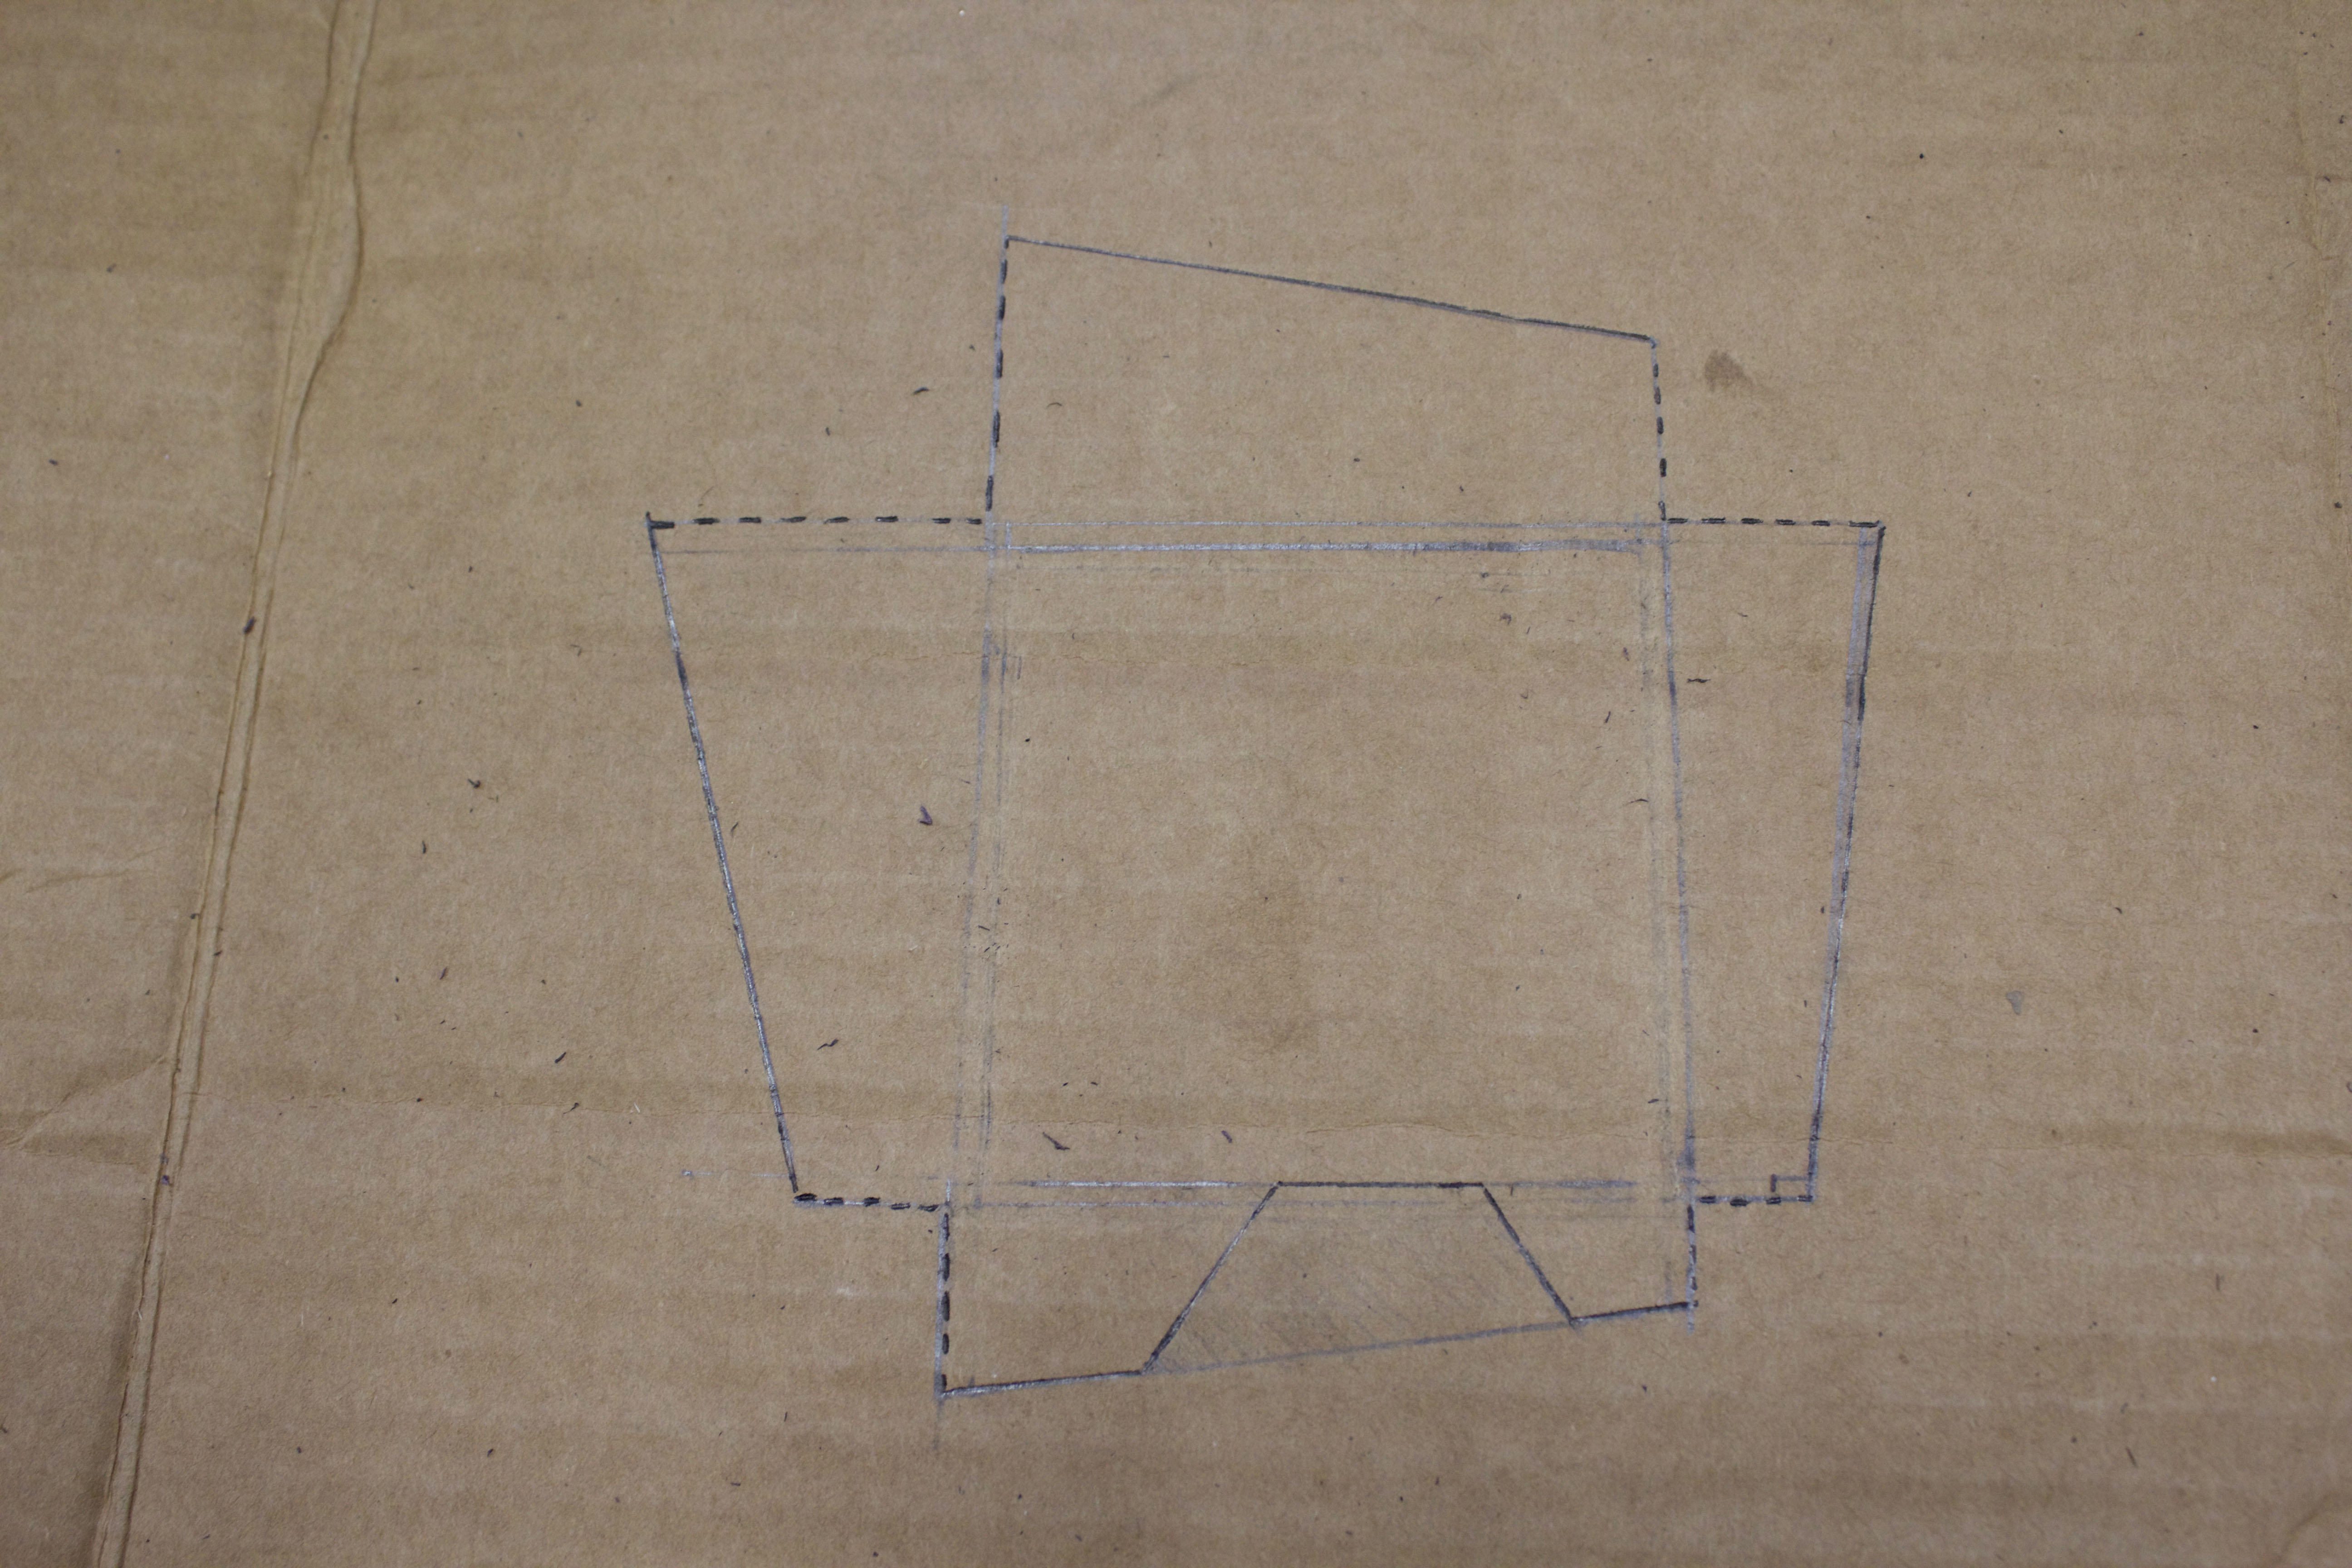
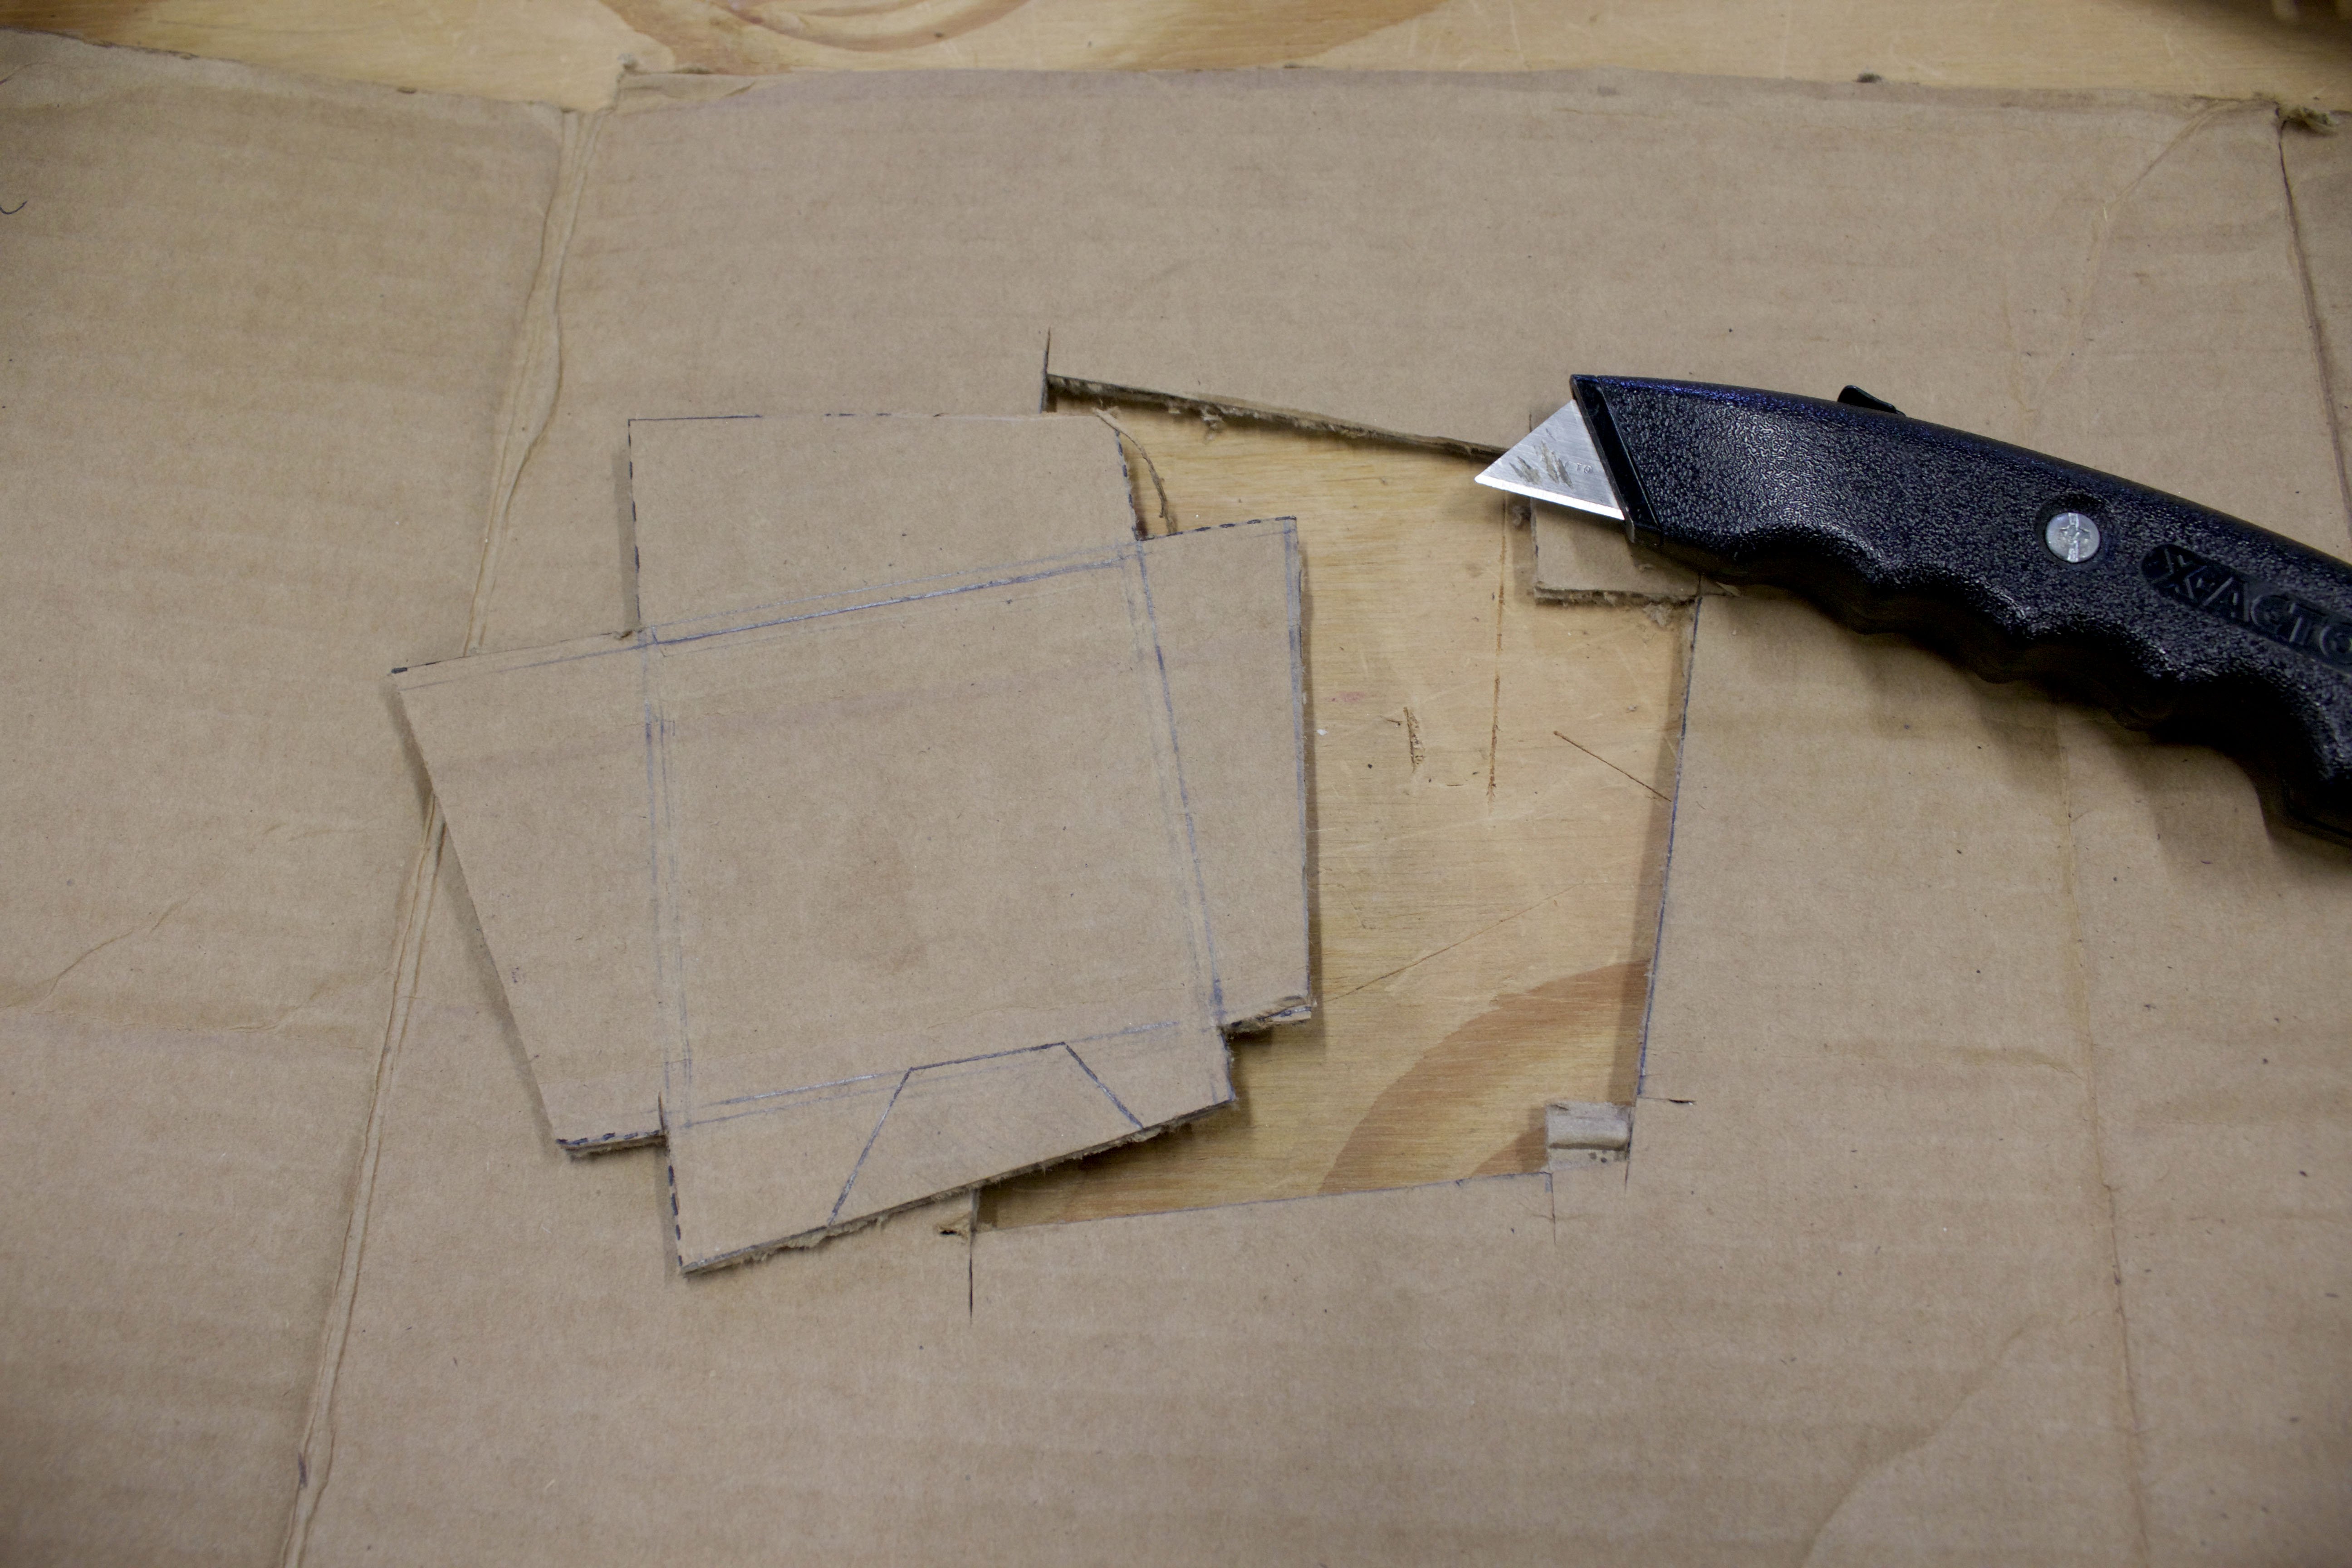
Trace your object on the cardboard
STEP 4
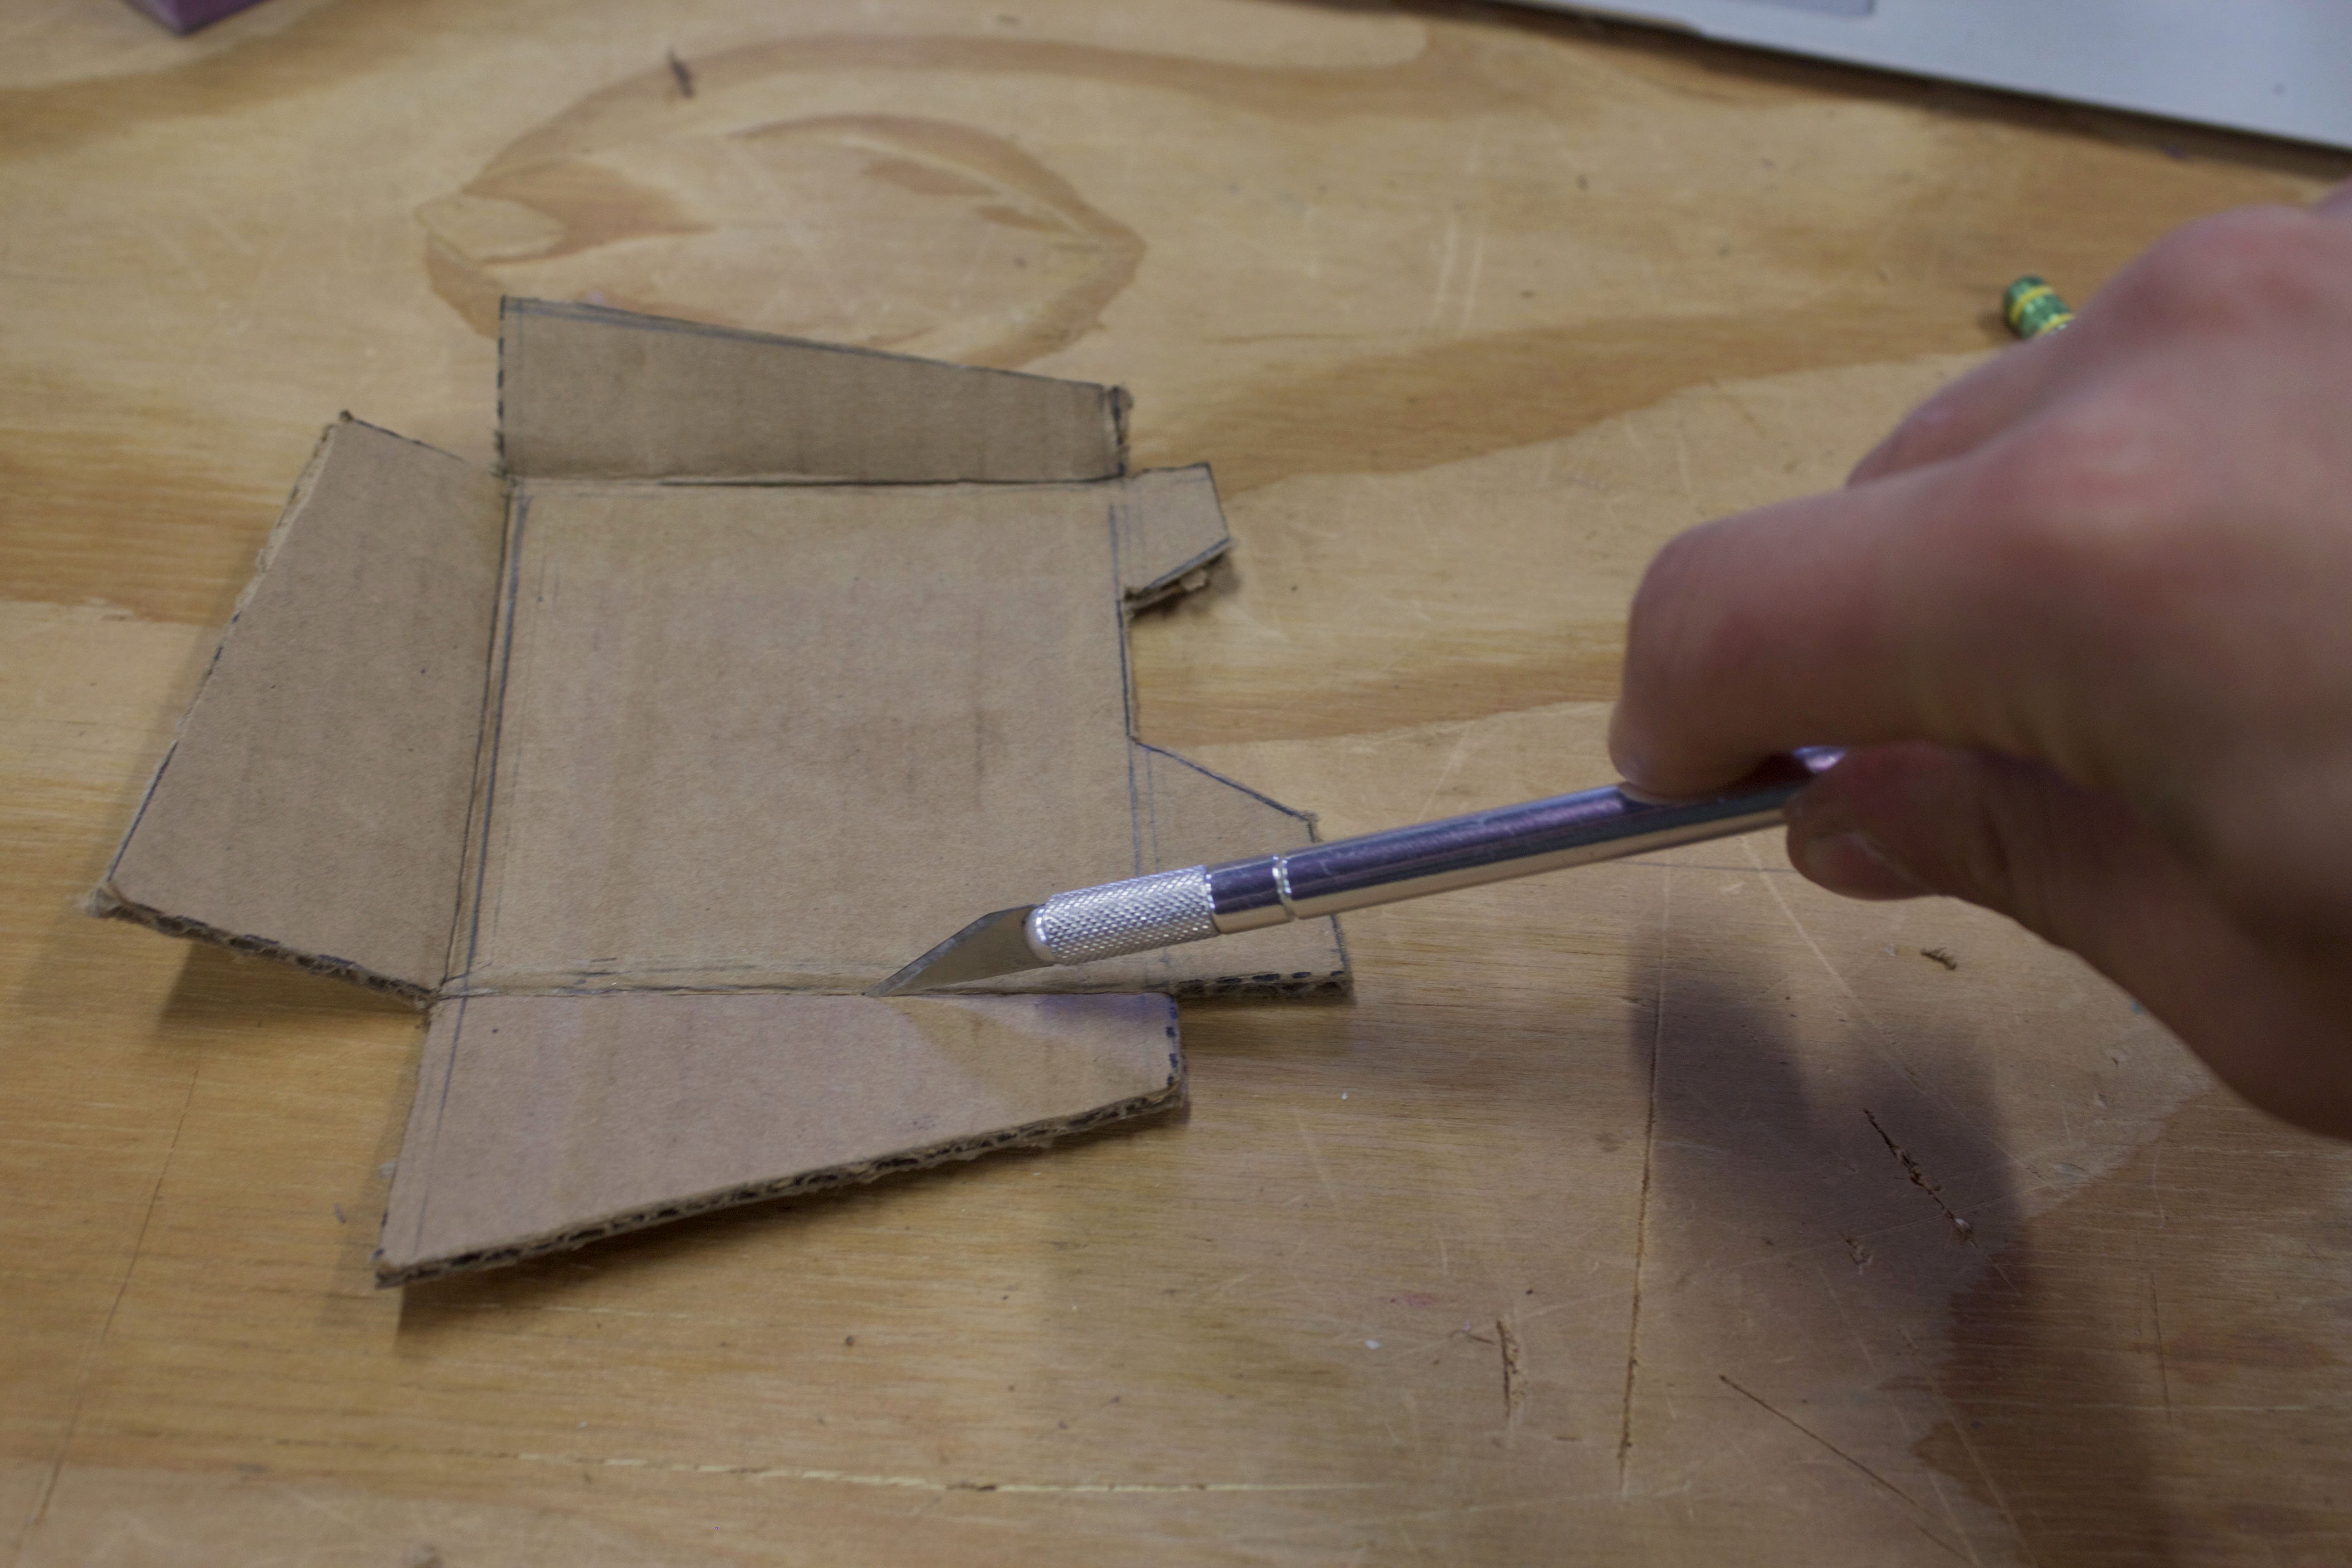
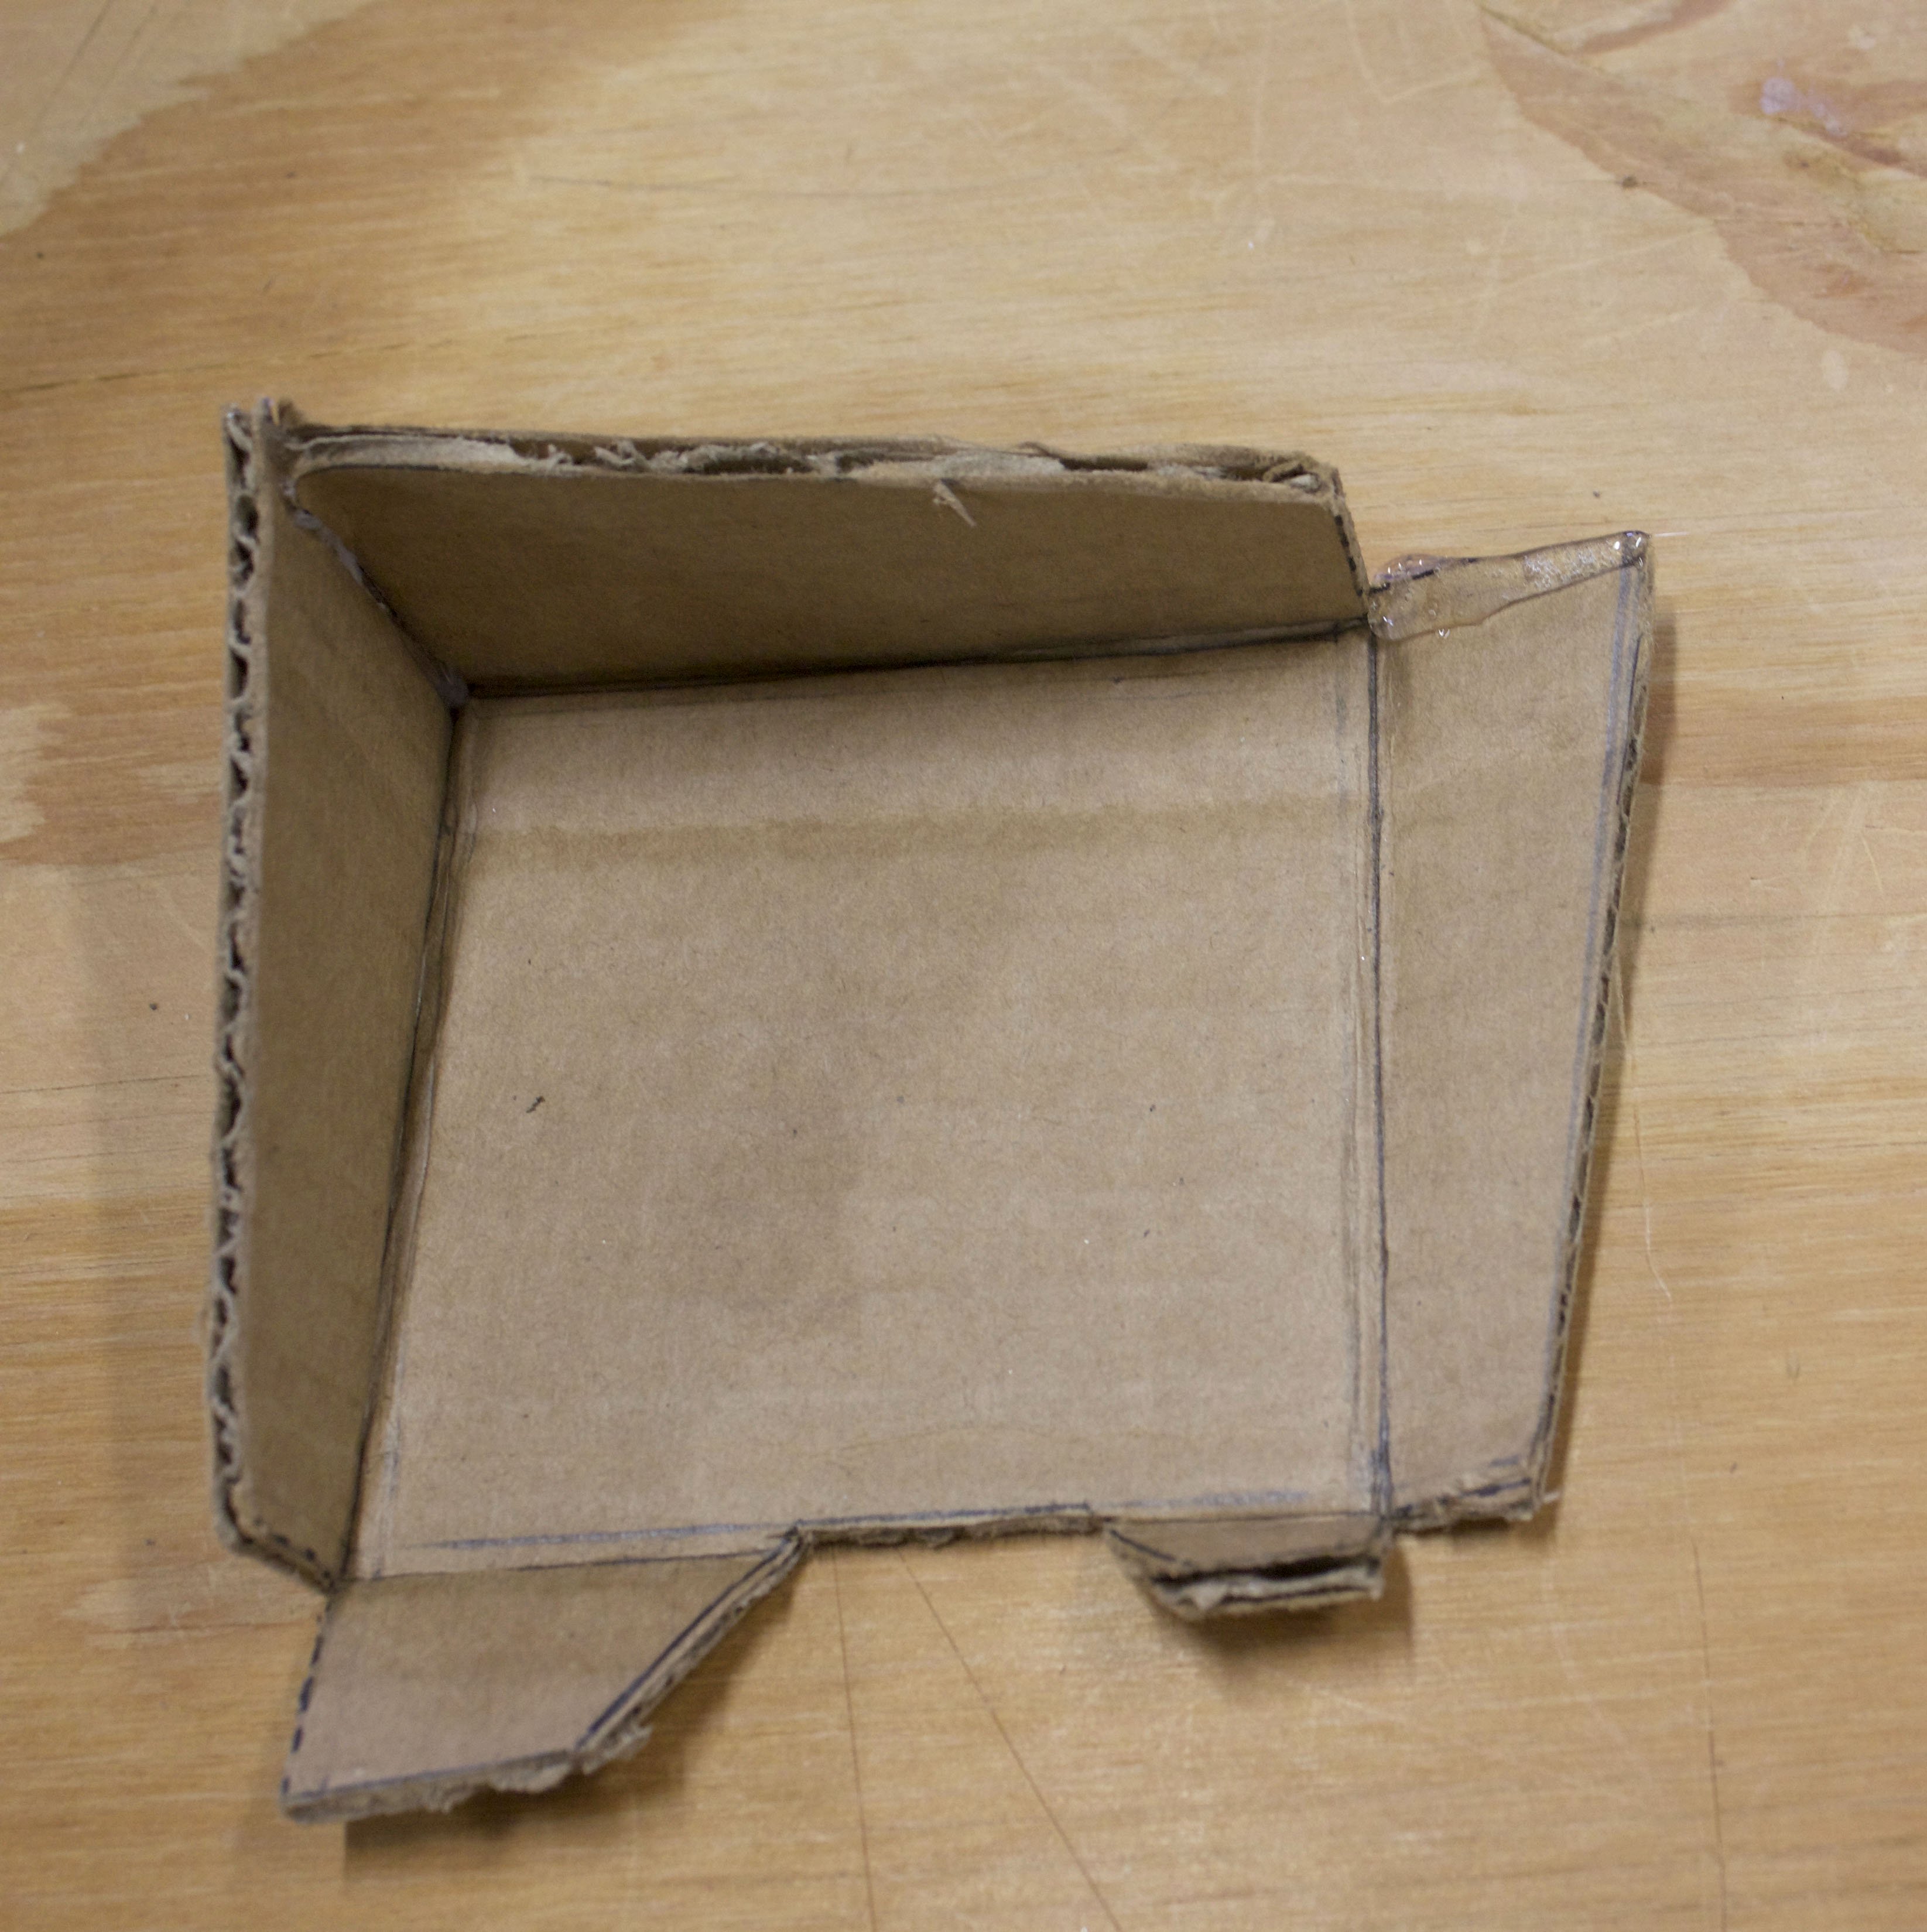
Add sides
STEP 5
Build your box
STEP 6
Fit your items
Put your item into your prototype. How does it fit? Too loose or too tight? If it's not quite right, add or subtract space around the traced foot print in Step 3 and repeat the process until your object fits! Once you have the right fit, you can take the cardboard dimensions and use them to design your final box using different materials. Or hot glue the sides of your cardboard box and use it as is.
WHAT'S NEXT?
Once you’ve constructed a basic box that fits Spider-Man’s needs, enhance the box¬†with a lid, a latch, a handle – whatever your imagination chooses. Be sure to decorate it, too.
Please Note
Your safety is your own responsibility, including proper use of equipment and safety gear, and determining whether you have adequate skill and experience. Power tools, electricity, and other resources used for these projects are dangerous, unless used properly and with adequate precautions, including safety gear and adult supervision. Some illustrative photos do not depict safety precautions or equipment, in order to show the project steps more clearly. Use of the instructions and suggestions found in Maker Camp is at your own risk. Maker Media, Inc., disclaims all responsibility for any resulting damage, injury, or expense.
