
Cardboard Mask

TIME TO COMPLETE
An hour or two
WHAT WILL YOU MAKE?
You will learn to build a custom-fitted cardboard mask with various cardboard engineering techiques including scoring, hinges, t-folds, and more.
WHAT WILL YOU NEED?
- Cardboard
- Crafting Materials
- Other Materials
- Tape (Duct, masking, etc)
- Upcycled / Recycled materials
- Wood
STEP 1
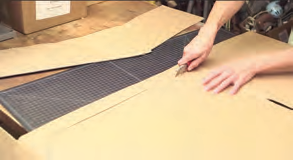
Cut out the Crown
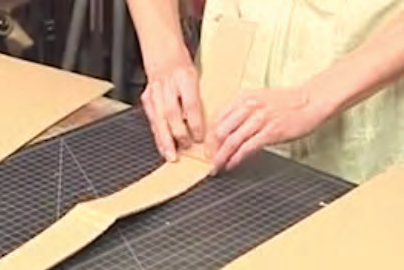
- Cut a cardboard strip 1-2" wide, a little longer than can wrap around your head.
- Bend it.
STEP 2
Build the Crown
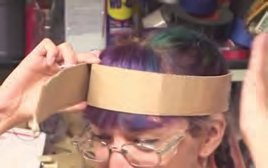
- Wrap the strip around your head, across your upper forehead without touching your ears.
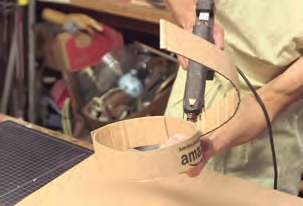
- Hold it together with one hand while taking it off your head to glue it.
- Once the glue dries, put the ring of cardboard back on your head
- Cut another strip about 8" long.
- Wrap the second strip from one ear, past the lower back of your head/top of your neck over to your other ear.
- Hold the pieces together and glue them together - away from your head!
STEP 3
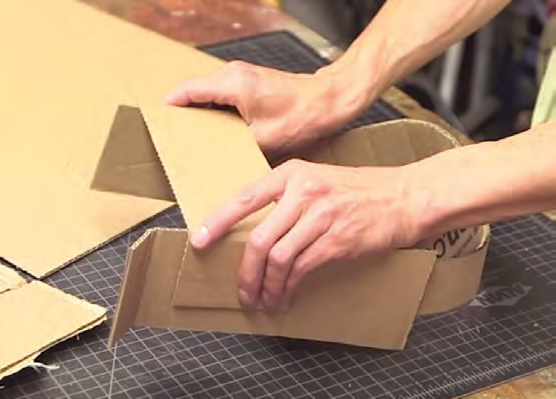
Build the "H" Bridge
- Cut two 2" strips, 8" long.
- Glue them to the sides of the crown like stubby antennae above your ears so that they stand out past your forehead at about 30° upward.
- Fold the last inch of these into tabs.
- Cut a crosspiece 2-3" wide and a few inches longer than will take to cross these two antennae like an "H."
- Glue it to give the "H" structure.
STEP 4
Make the face
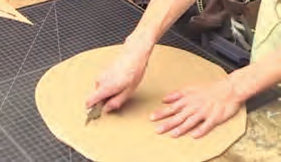
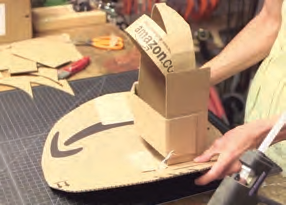
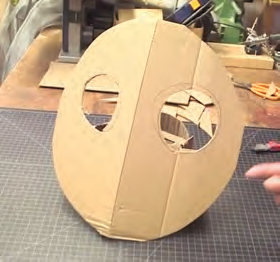
- Cut a large oval from cardboard, larger than your own face.
- Score the center.
- Bend it about 15°, and glue it to the "H" bridge. It will stand off your forehead a bit, facing slightly upward.
STEP 5
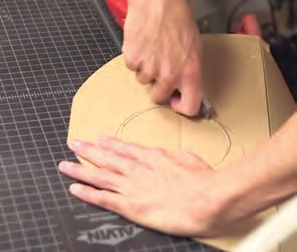
Eyes!
STEP 6
Add Other Features
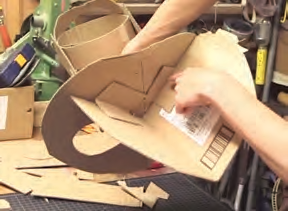
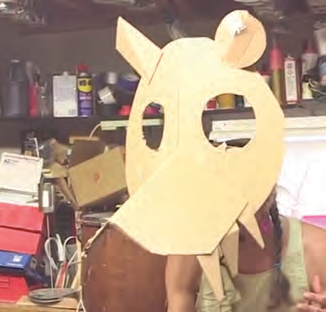
- Cut a large rectangle for a snout to glue to the middle of the mask below the eyes, sticking straight out.
- Add extras like triangles for teeth, ears, horns, etc., folding them before gluing them to give your mask dimension (instead of sticking them on flat.)
- Paint over it, or don't.
STEP 7
Perform!
- Put it on.
- Hunch over so the mask is straight.
- Stalk around the room.
- Make wild sounds! Scare your friends, family, monsters under the bed, etc.
Please Note
Your safety is your own responsibility, including proper use of equipment and safety gear, and determining whether you have adequate skill and experience. Power tools, electricity, and other resources used for these projects are dangerous, unless used properly and with adequate precautions, including safety gear and adult supervision. Some illustrative photos do not depict safety precautions or equipment, in order to show the project steps more clearly. Use of the instructions and suggestions found in Maker Camp is at your own risk. Maker Media, Inc., disclaims all responsibility for any resulting damage, injury, or expense.
