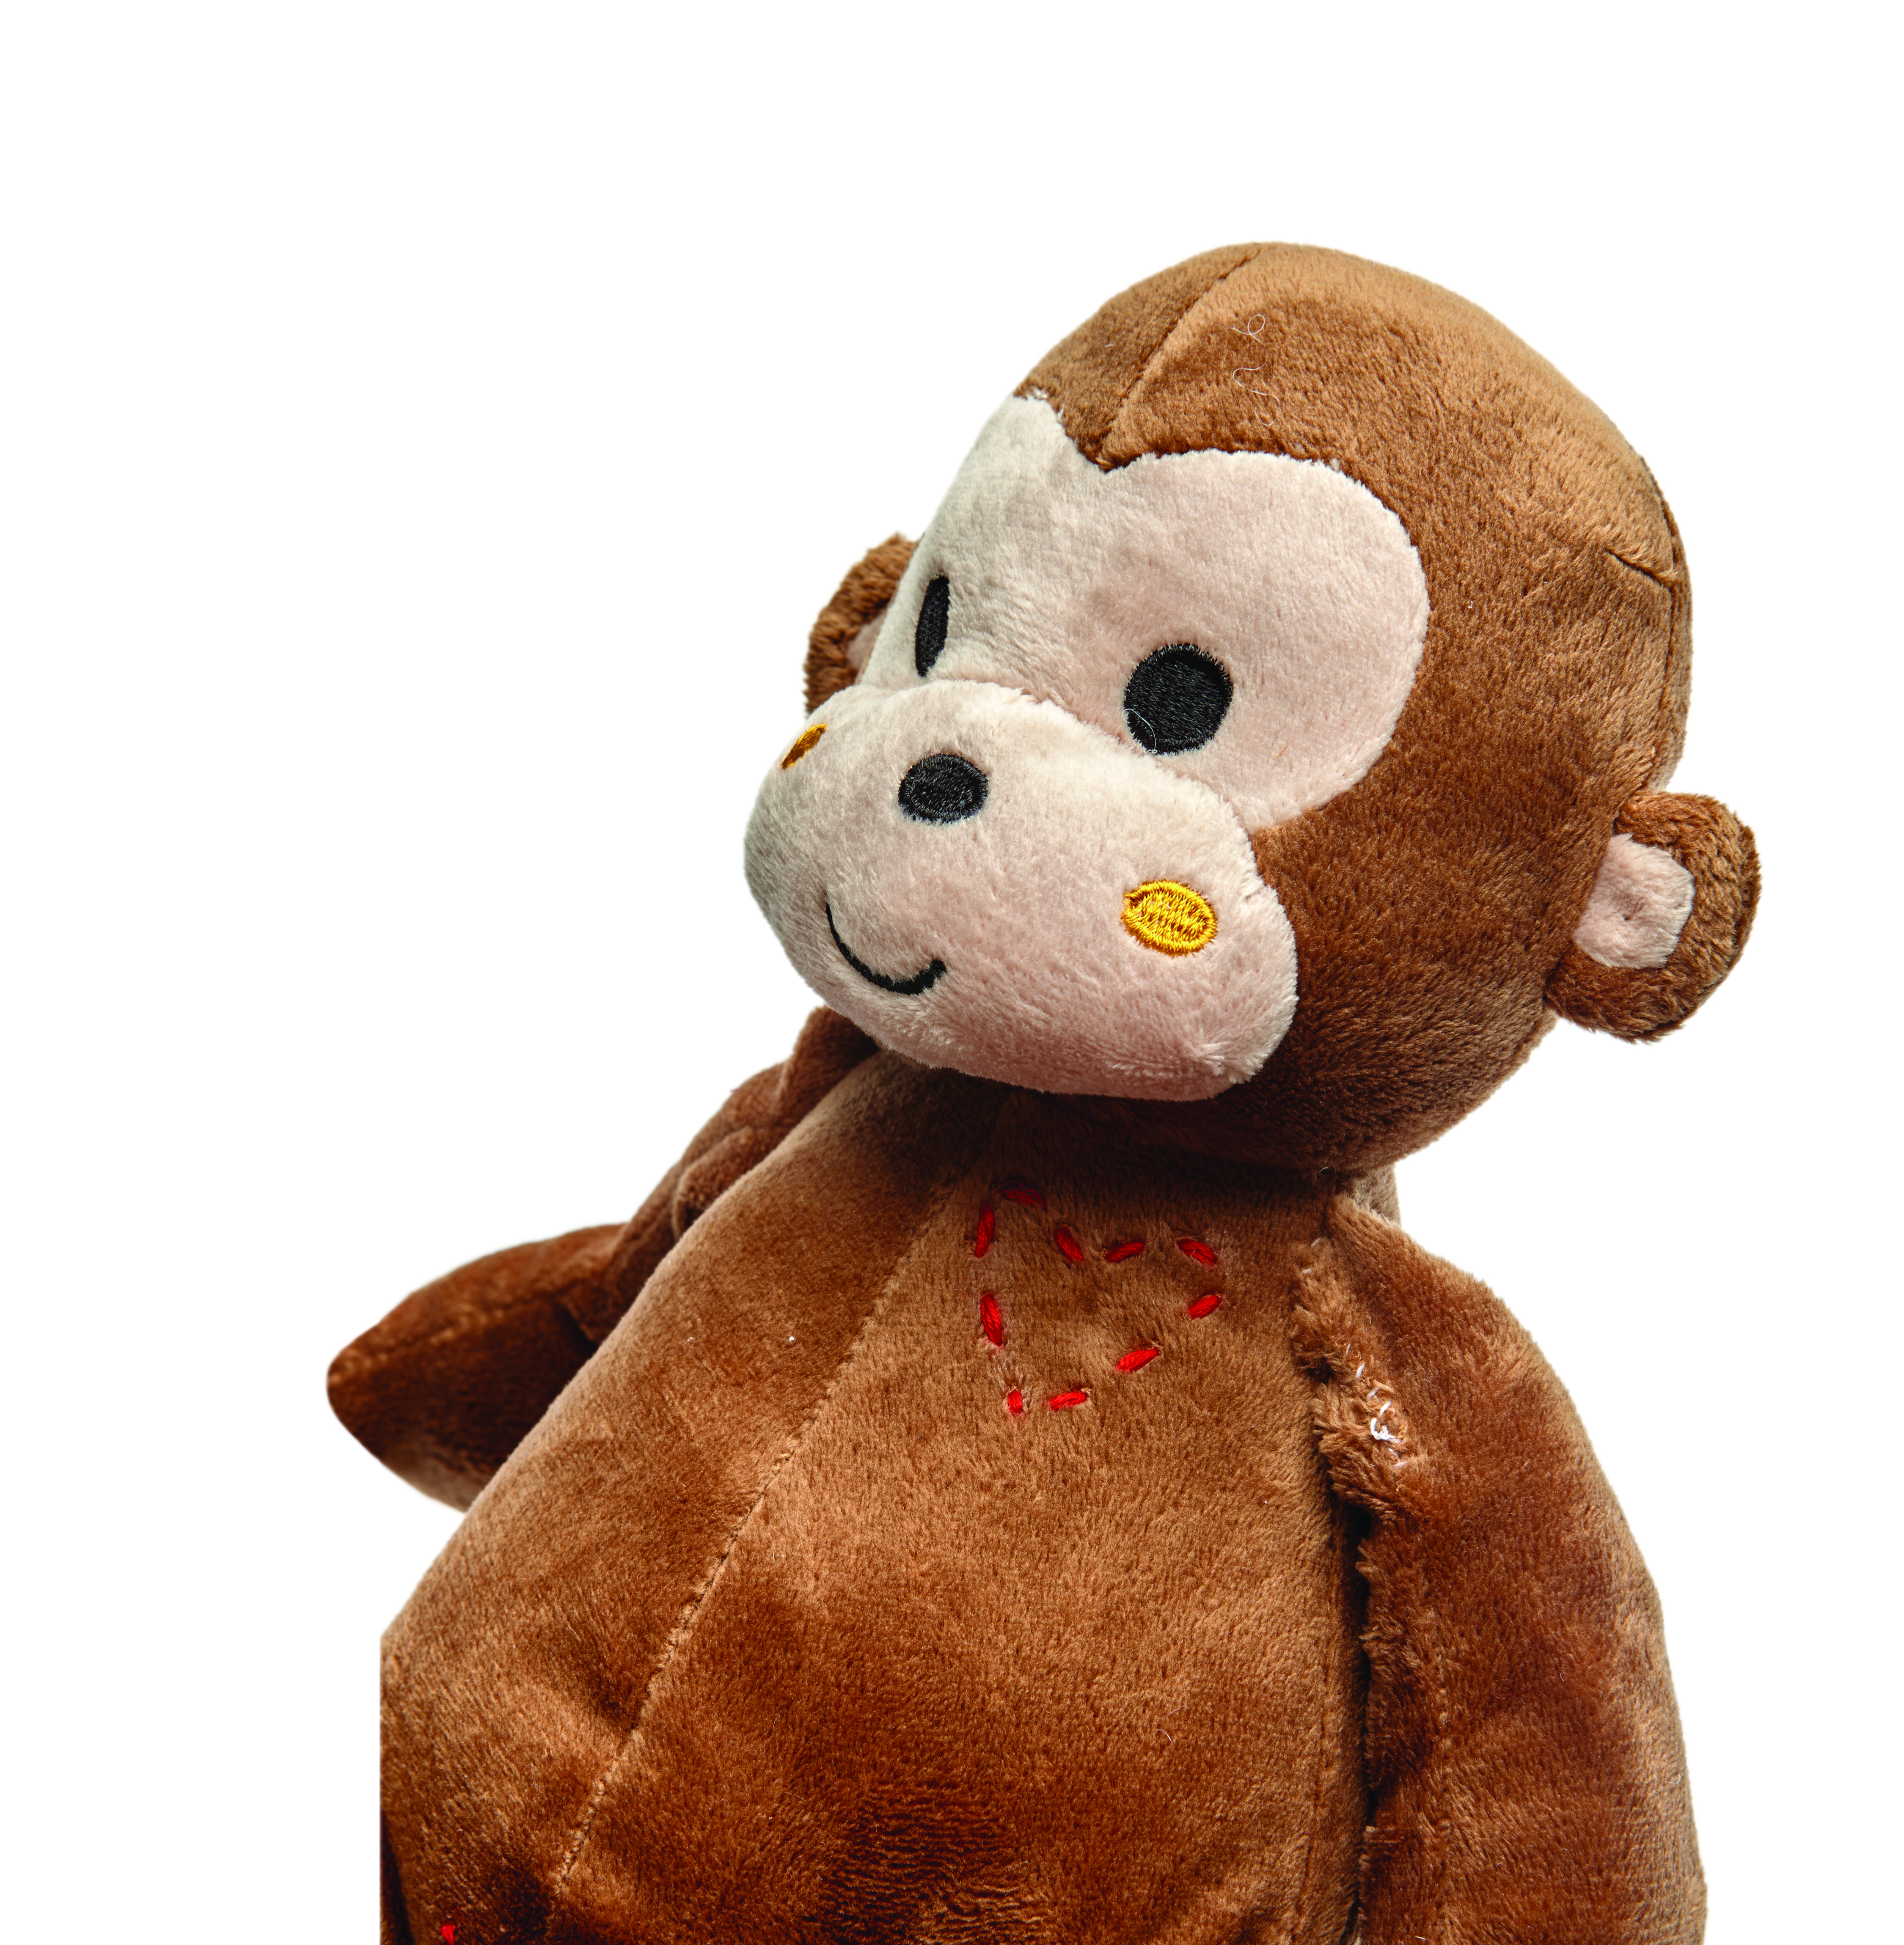
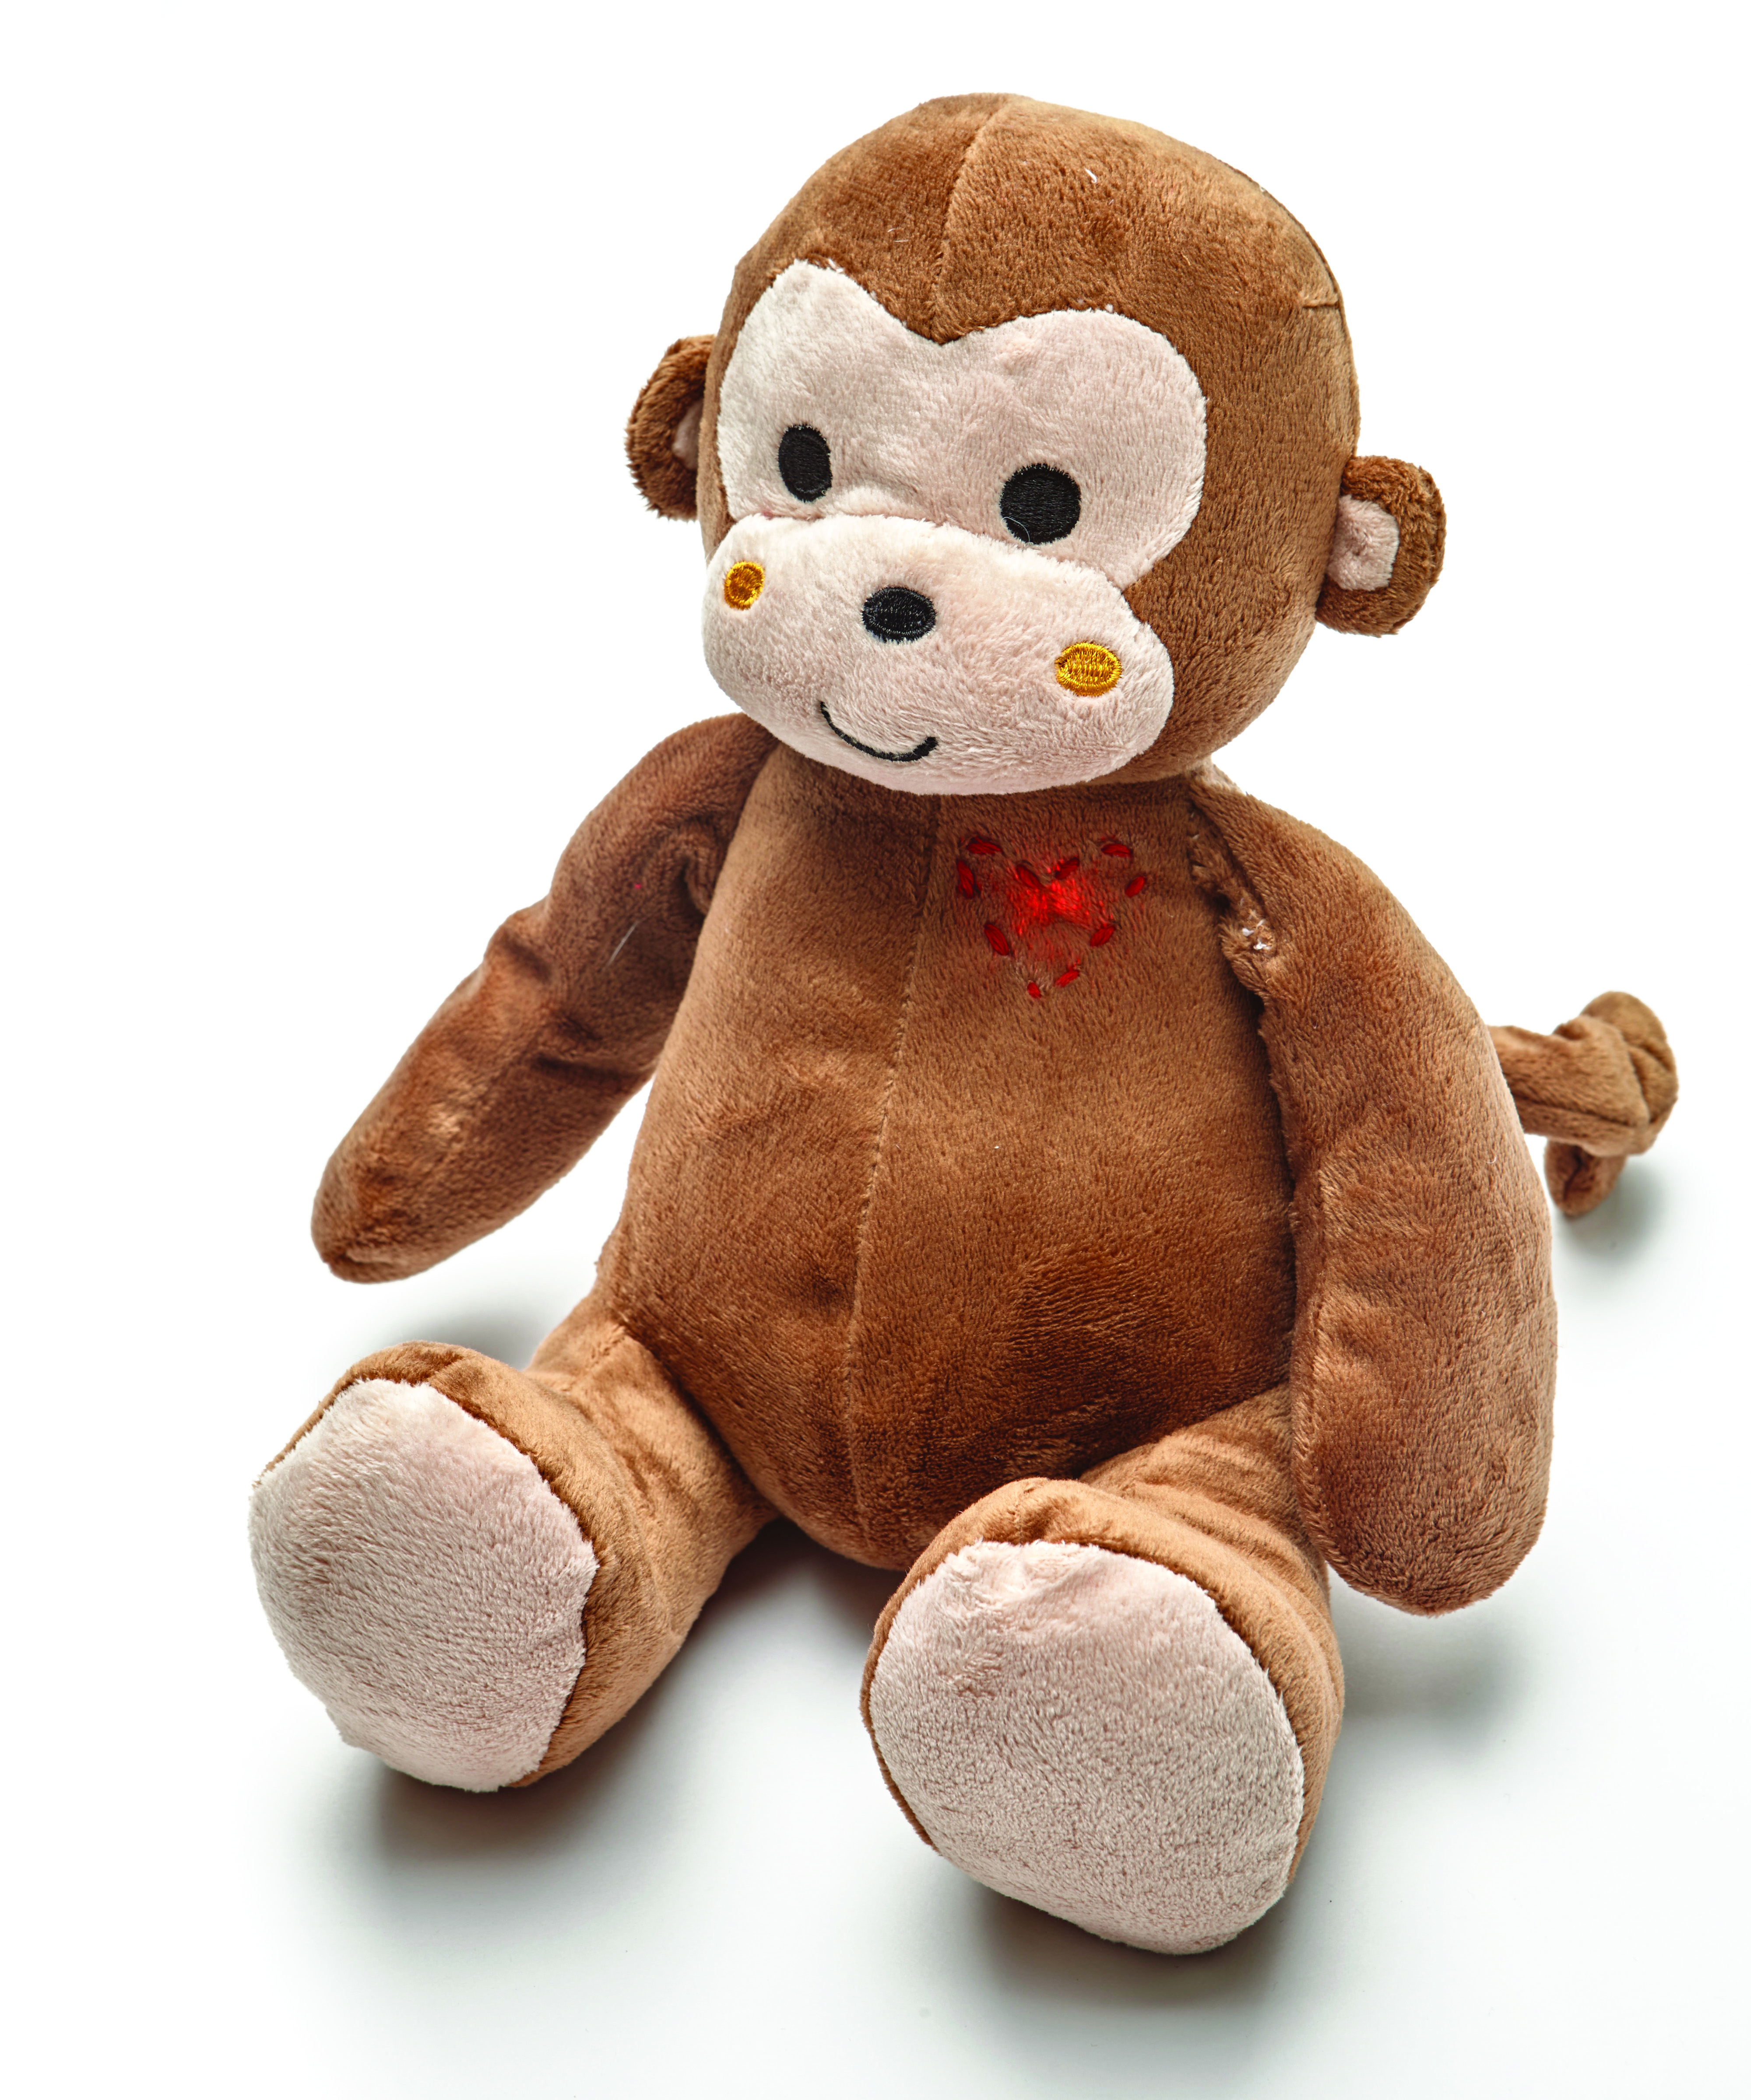
I ❤️ My Stuffie

TIME TO COMPLETE
About 3 hours
WHAT WILL YOU MAKE?
You will learn to construct a simple circuit with sewn on/off swtich
WHAT WILL YOU NEED?
- Conductive Tape
- Crafting Materials
- Electronics
- General Hand Tools
- LEDs
- Micro:bit
- Soldering Iron
- Tape (Duct, masking, etc)
- Textiles
- Tools

STEP 1
With the scissors or craft knife, open a small hole in your stuffie's arm. Cut along a seam, if you can, so the arm will be easier to sew back together. Then feed the head of the tactile switch down into the arm so the leads are sticking out. (If you need to remove a bit of poly-fill to get the switch in, just stuff it back in when you're done.)
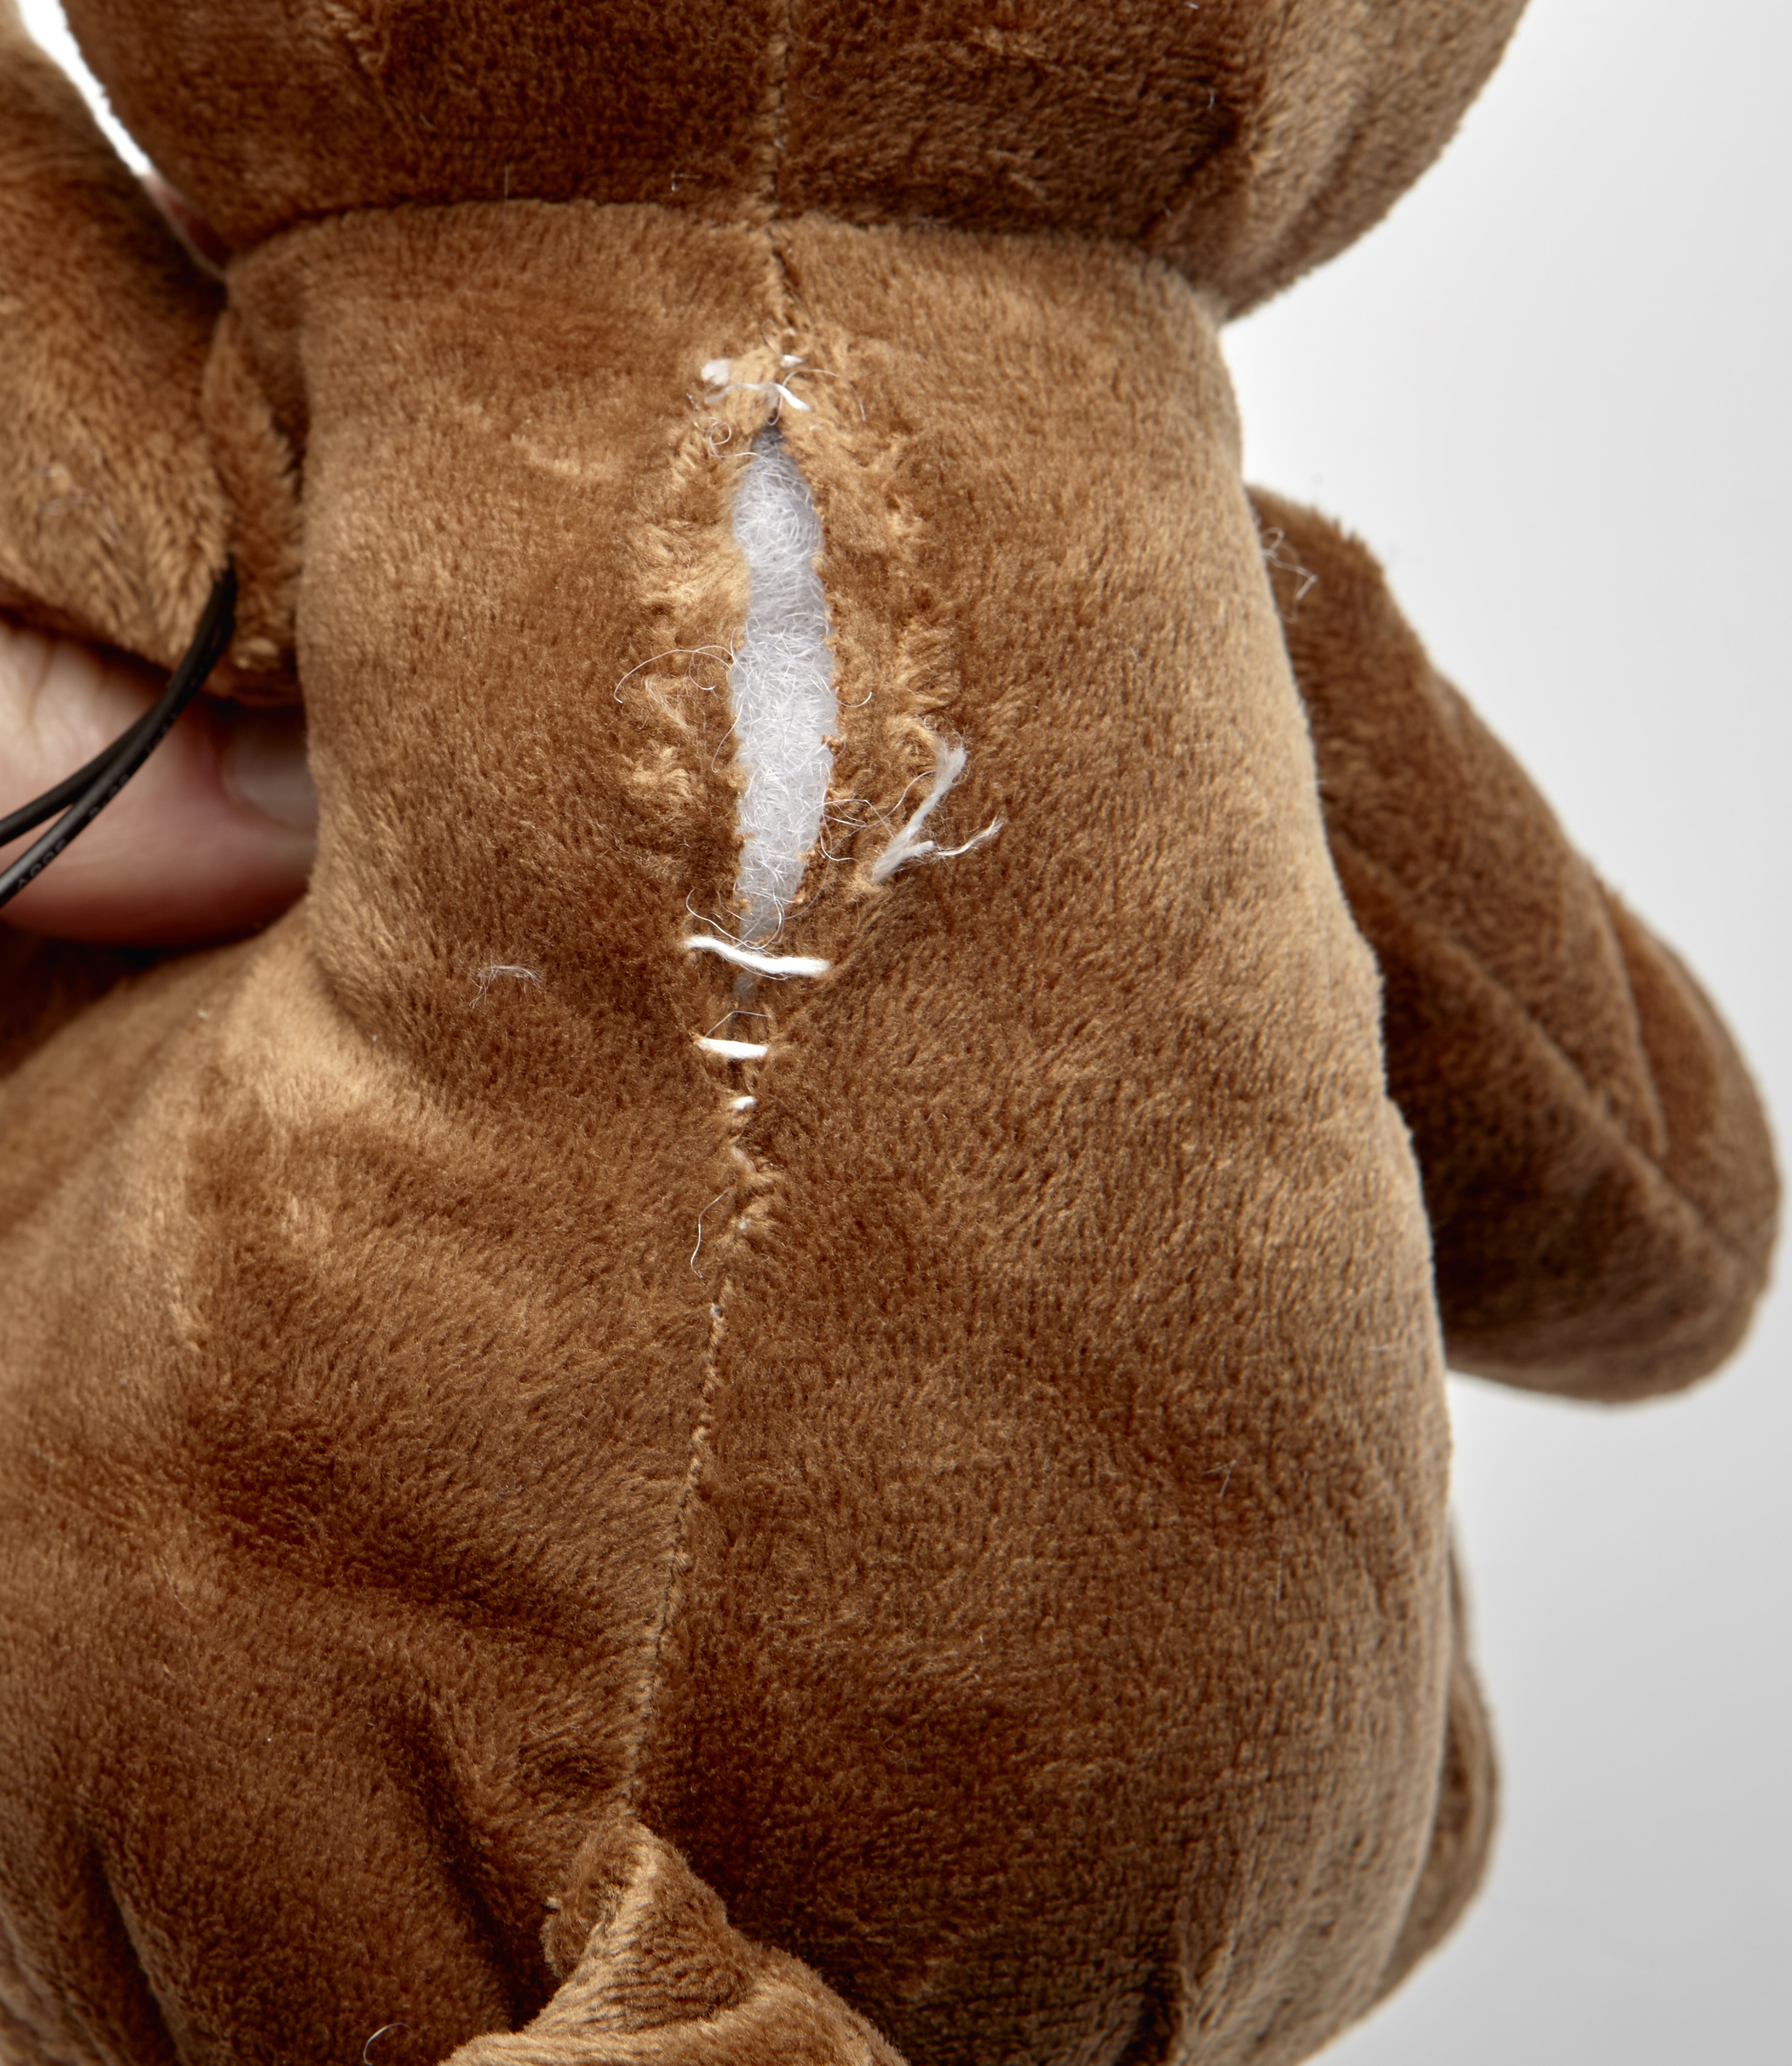
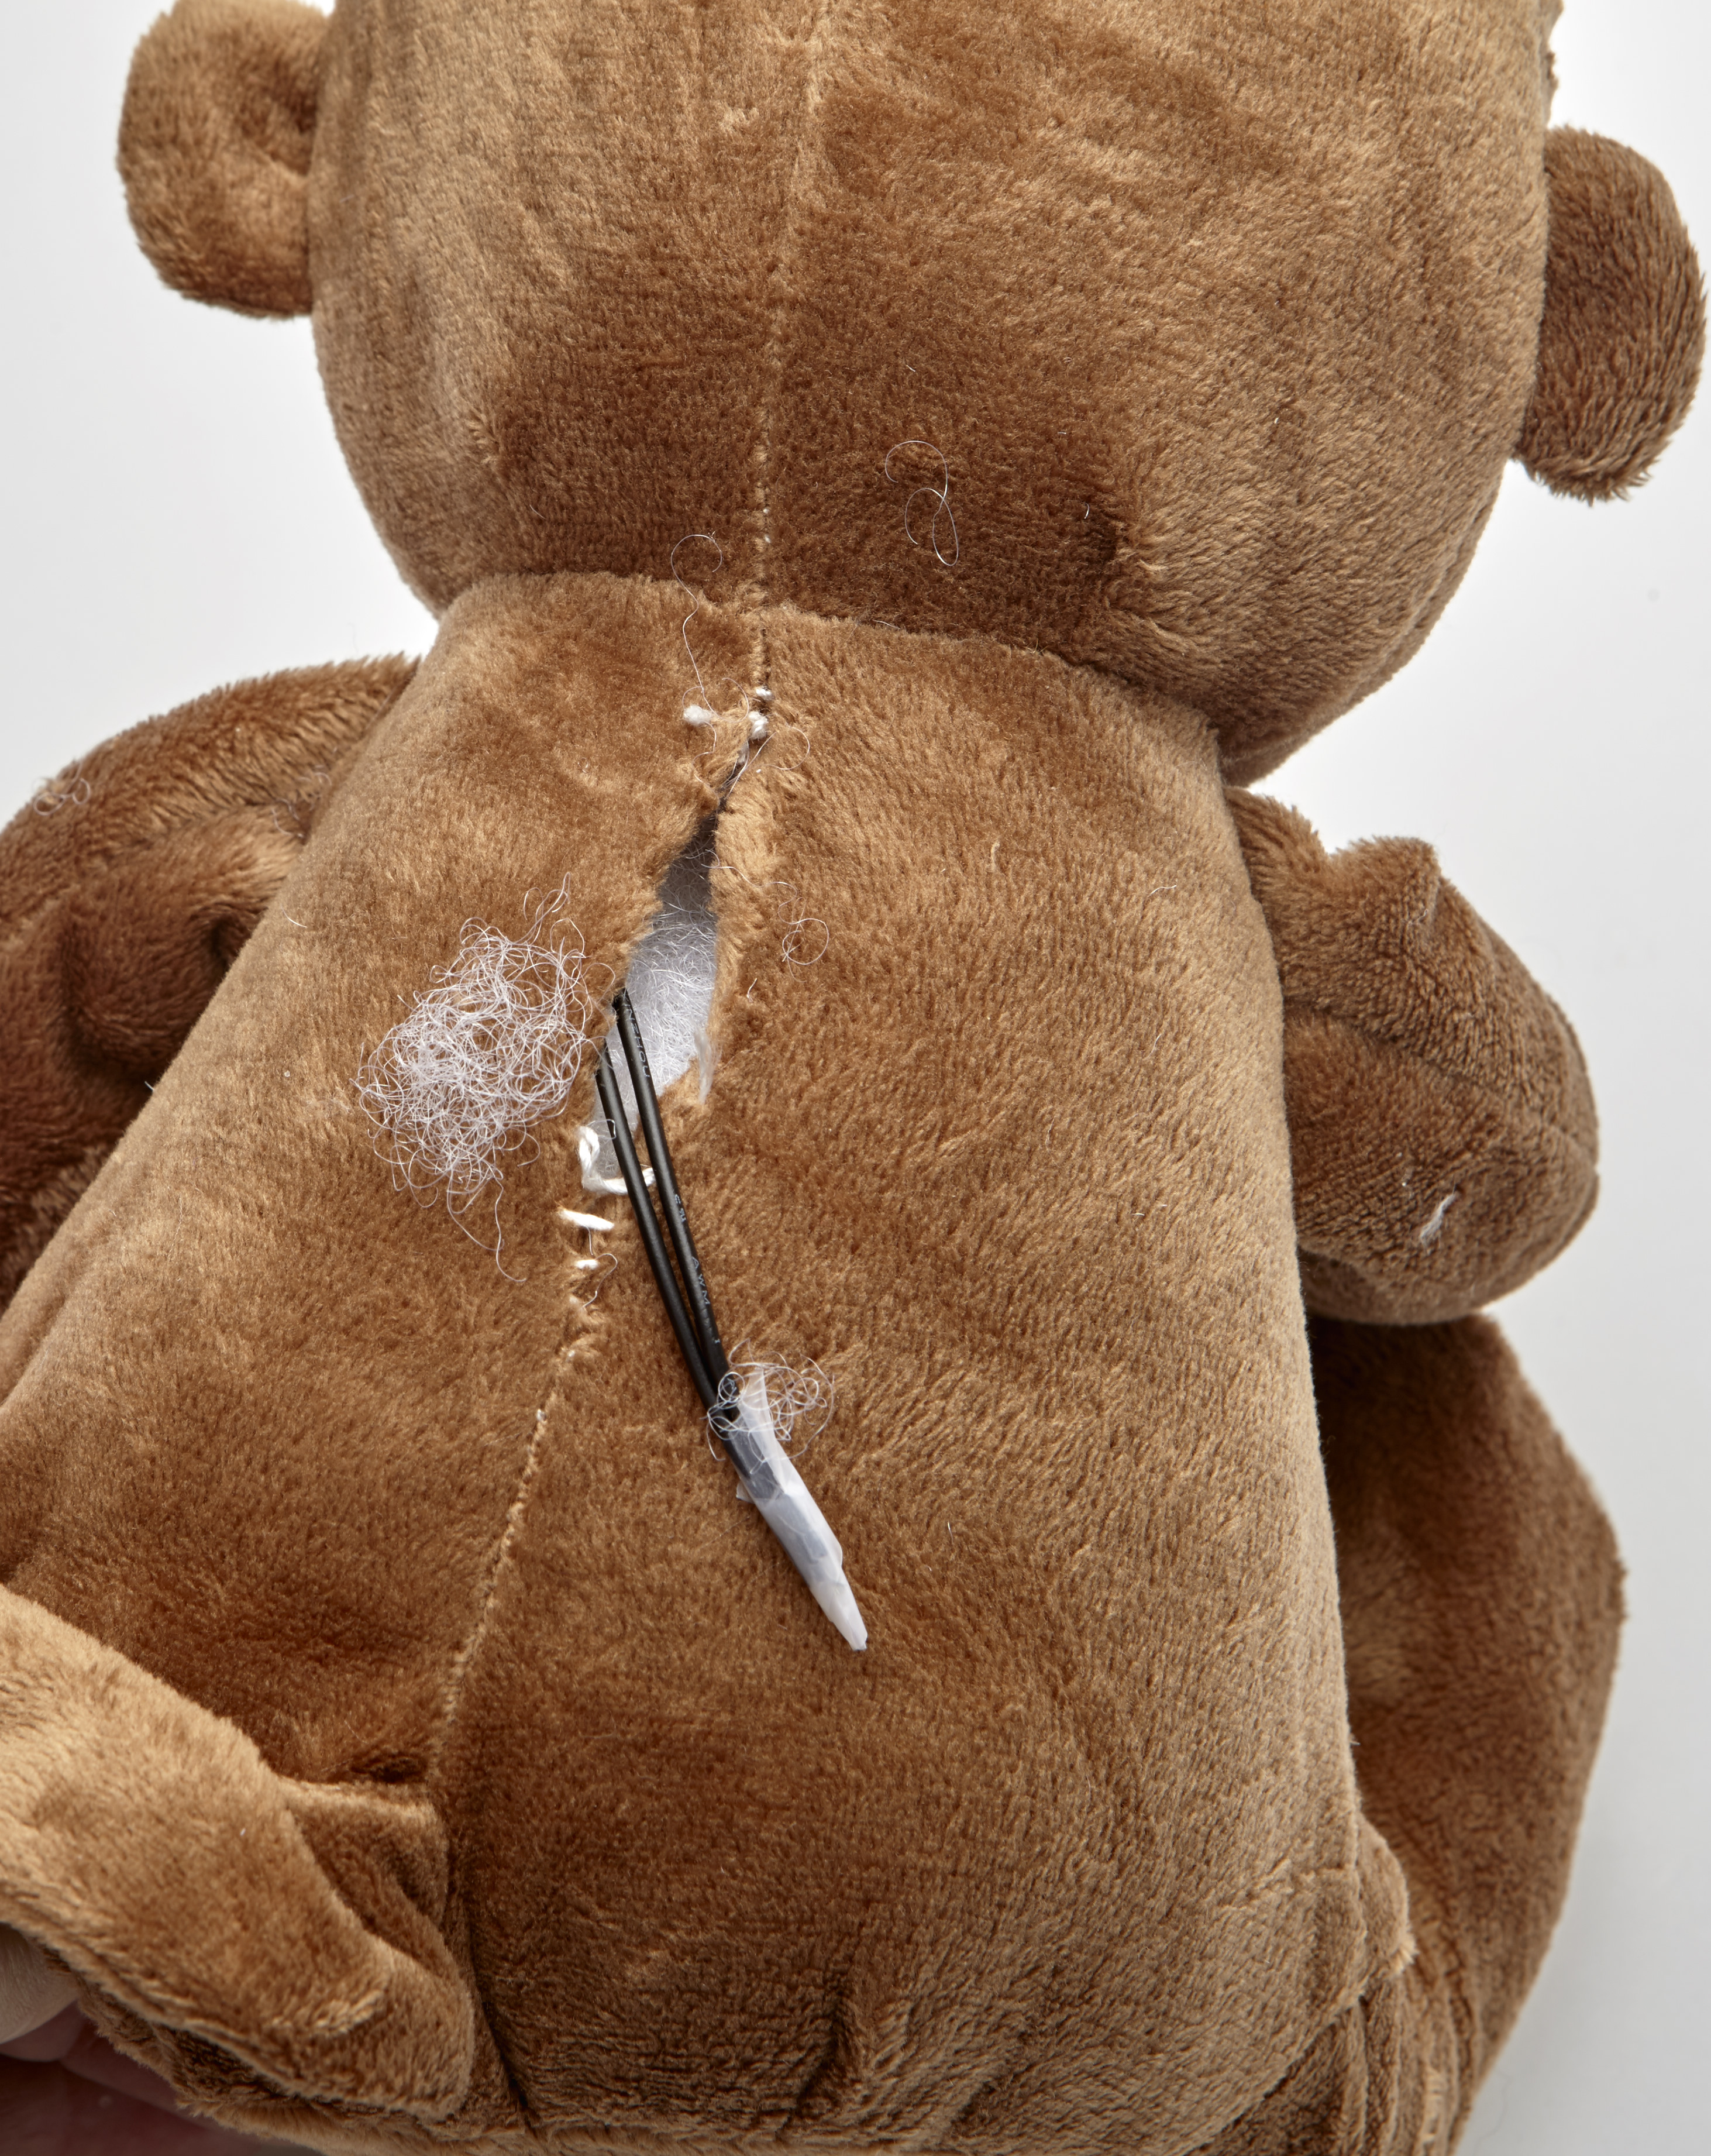
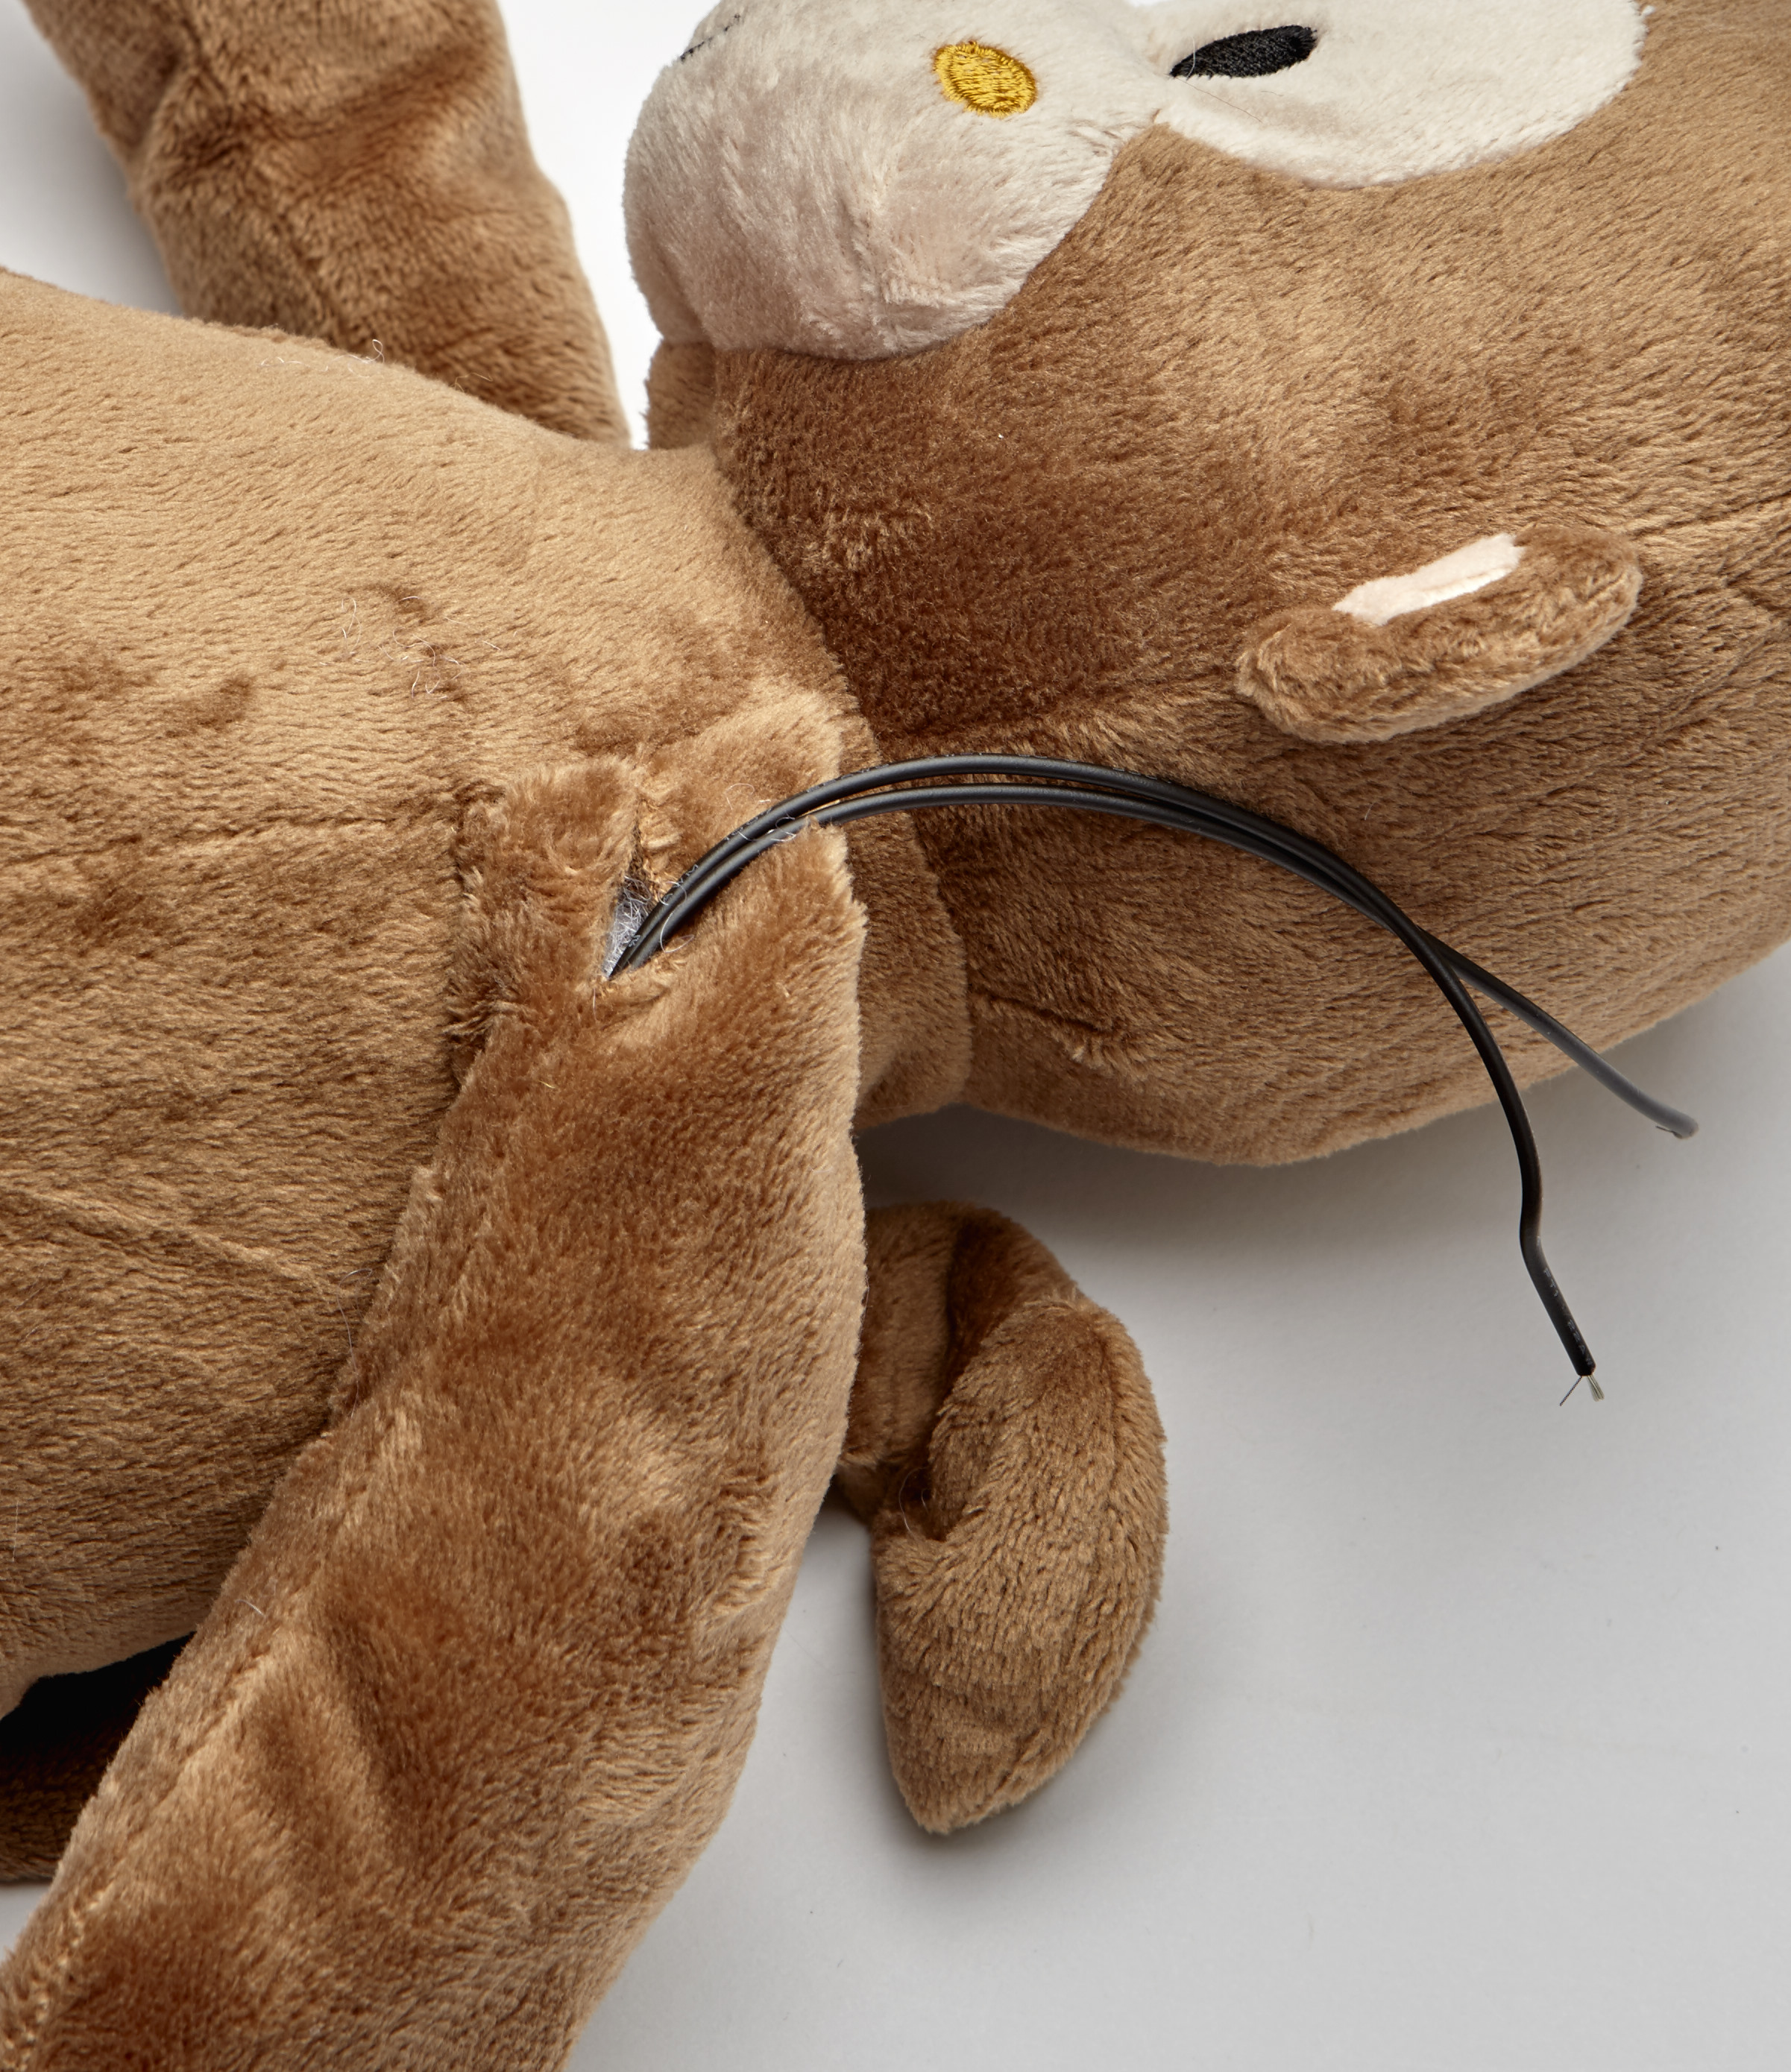
STEP 2
Carefully snip another hole in the back of your stuffie (again, on a seam, if possible). Using transparent tape, tape together the ends of the leads sticking out your stuffie's arm and thread them, like a shoelace, through the stuffie and out the back. Set your stuffie aside.
STEP 3
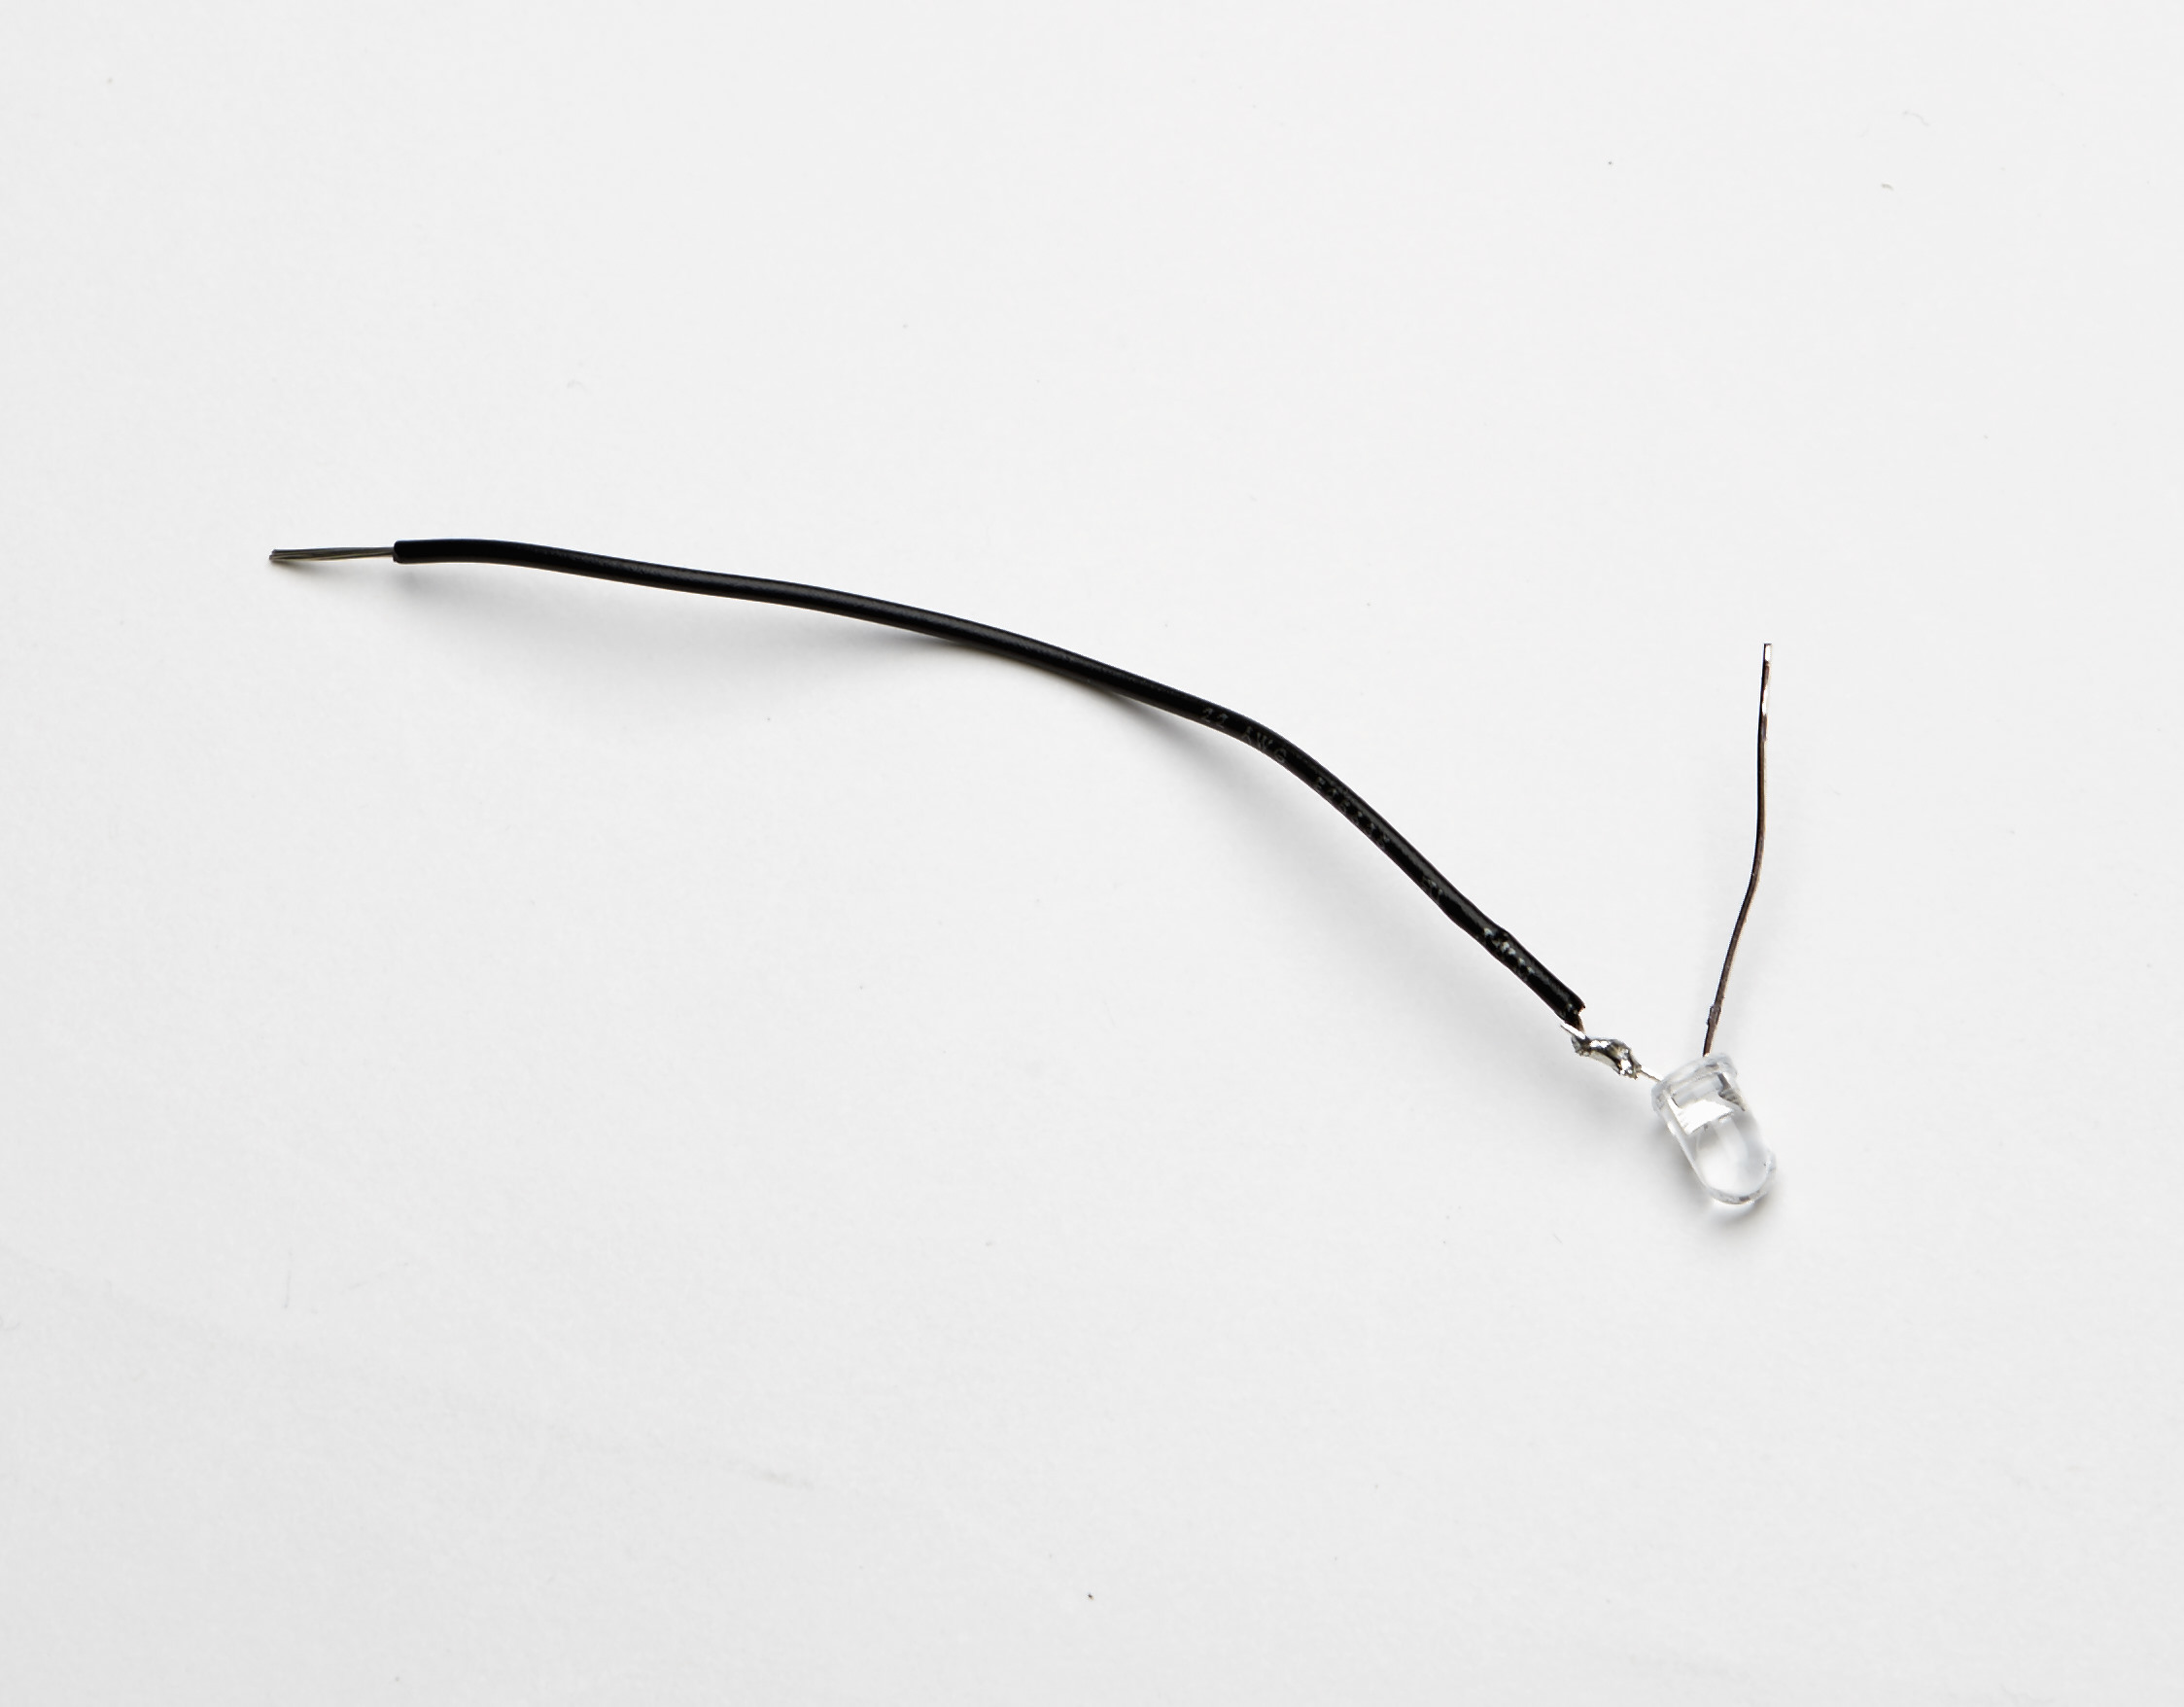
Mark the long, positive (+) leg of your LED with the black marker. Then gently bend the legs of the LED apart. With the wire strippers, cut a 4" length of hookup wire and strip about half an inch off both ends. Using the soldering iron, solder one end to the negative (-) leg of your LED.
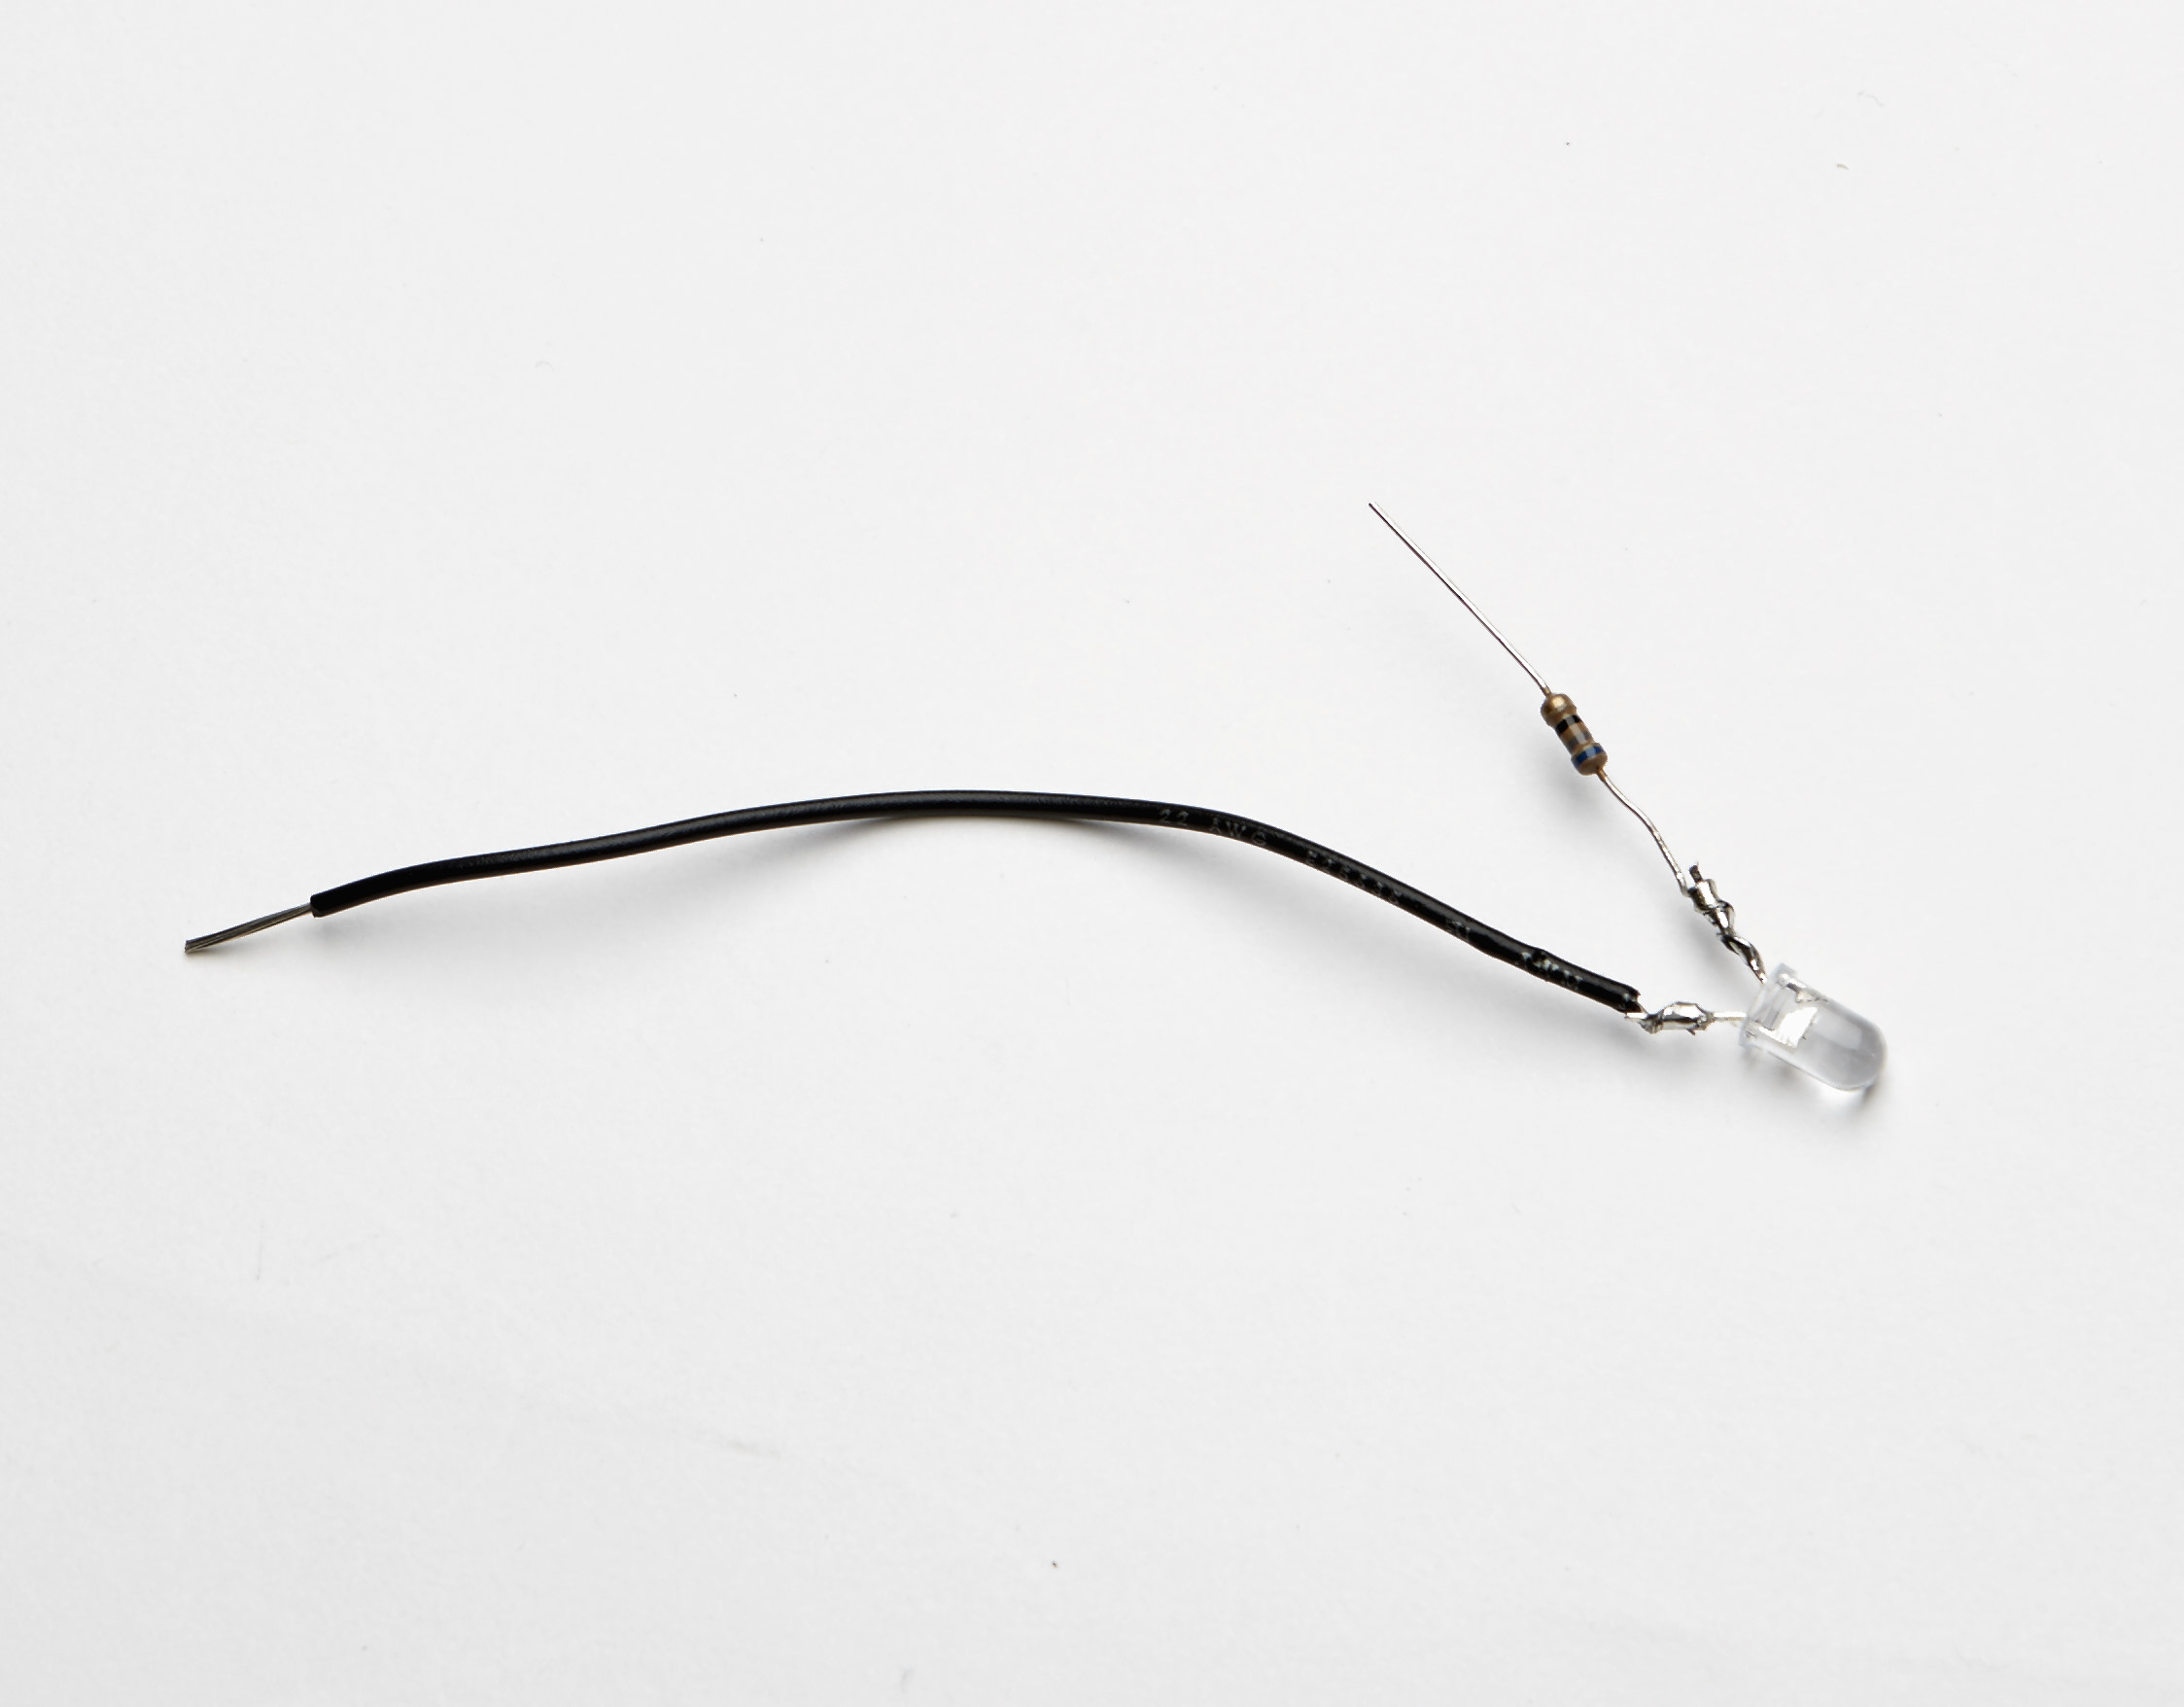
STEP 4
With your wire strippers, snip the positive leg of the LED to shorten it (this will keep the wire from flexing and breaking). Twist one end of the resistor (either end will work) onto the shortened LED leg, and solder in place. As before, use the third-hand tool to help hold the pieces.
STEP 5
Using wire strippers, snip one lead of your switch (it doesn't matter which one) to shorten about an inch. Then strip that wire, twist it to the resistor's free side, and solder in place.
STEP 6
Wrap electrical tape around both sides of the LED, covering the resistor and all solder points. Using a hot-glue gun, place glue to cover the connections on both sides of the LED to prevent breaks and short circuits.
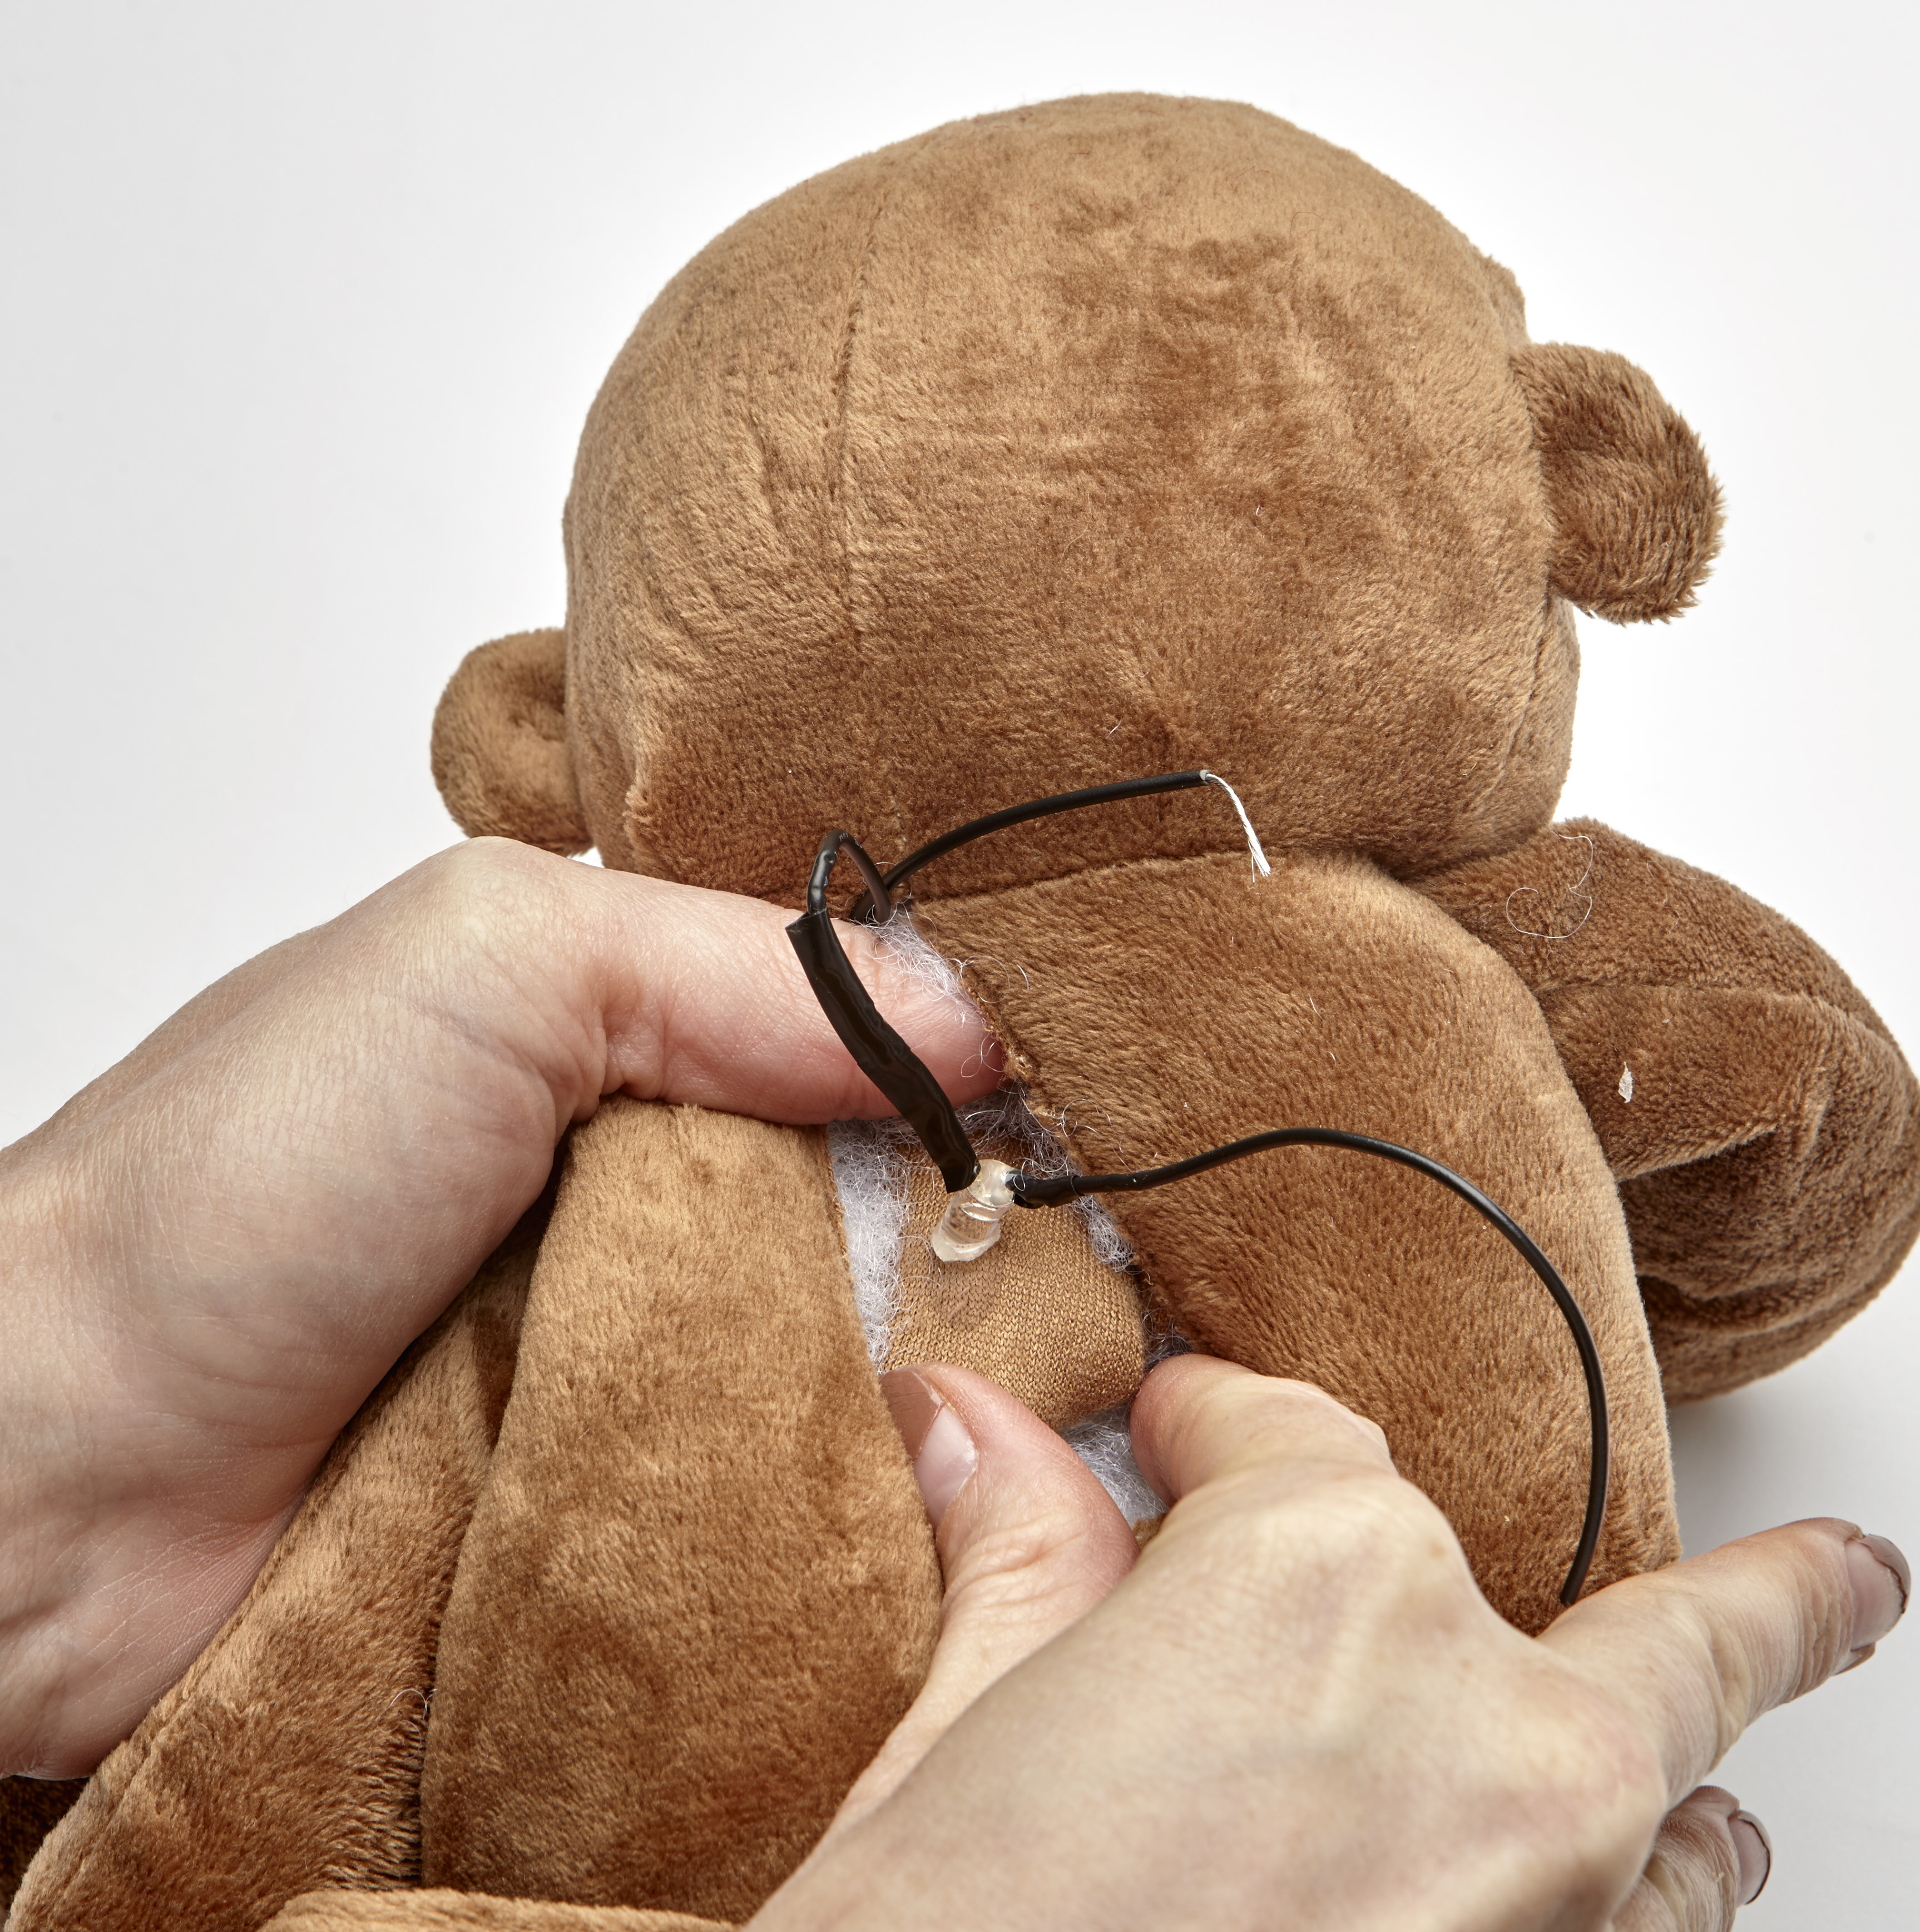
STEP 7
Wiggle your fingers inside your stuffie and figure out where its heard (your red LED) should go. Use a pencil or piece of chalk to mark the spot inside, so the mark doesn't show through to the front. Using the hot-glue gun, put a blob of glue there, wait until it's tacky, and then set the LED in place, right up against your stuffie's chest. Hold until dry.
STEP 8
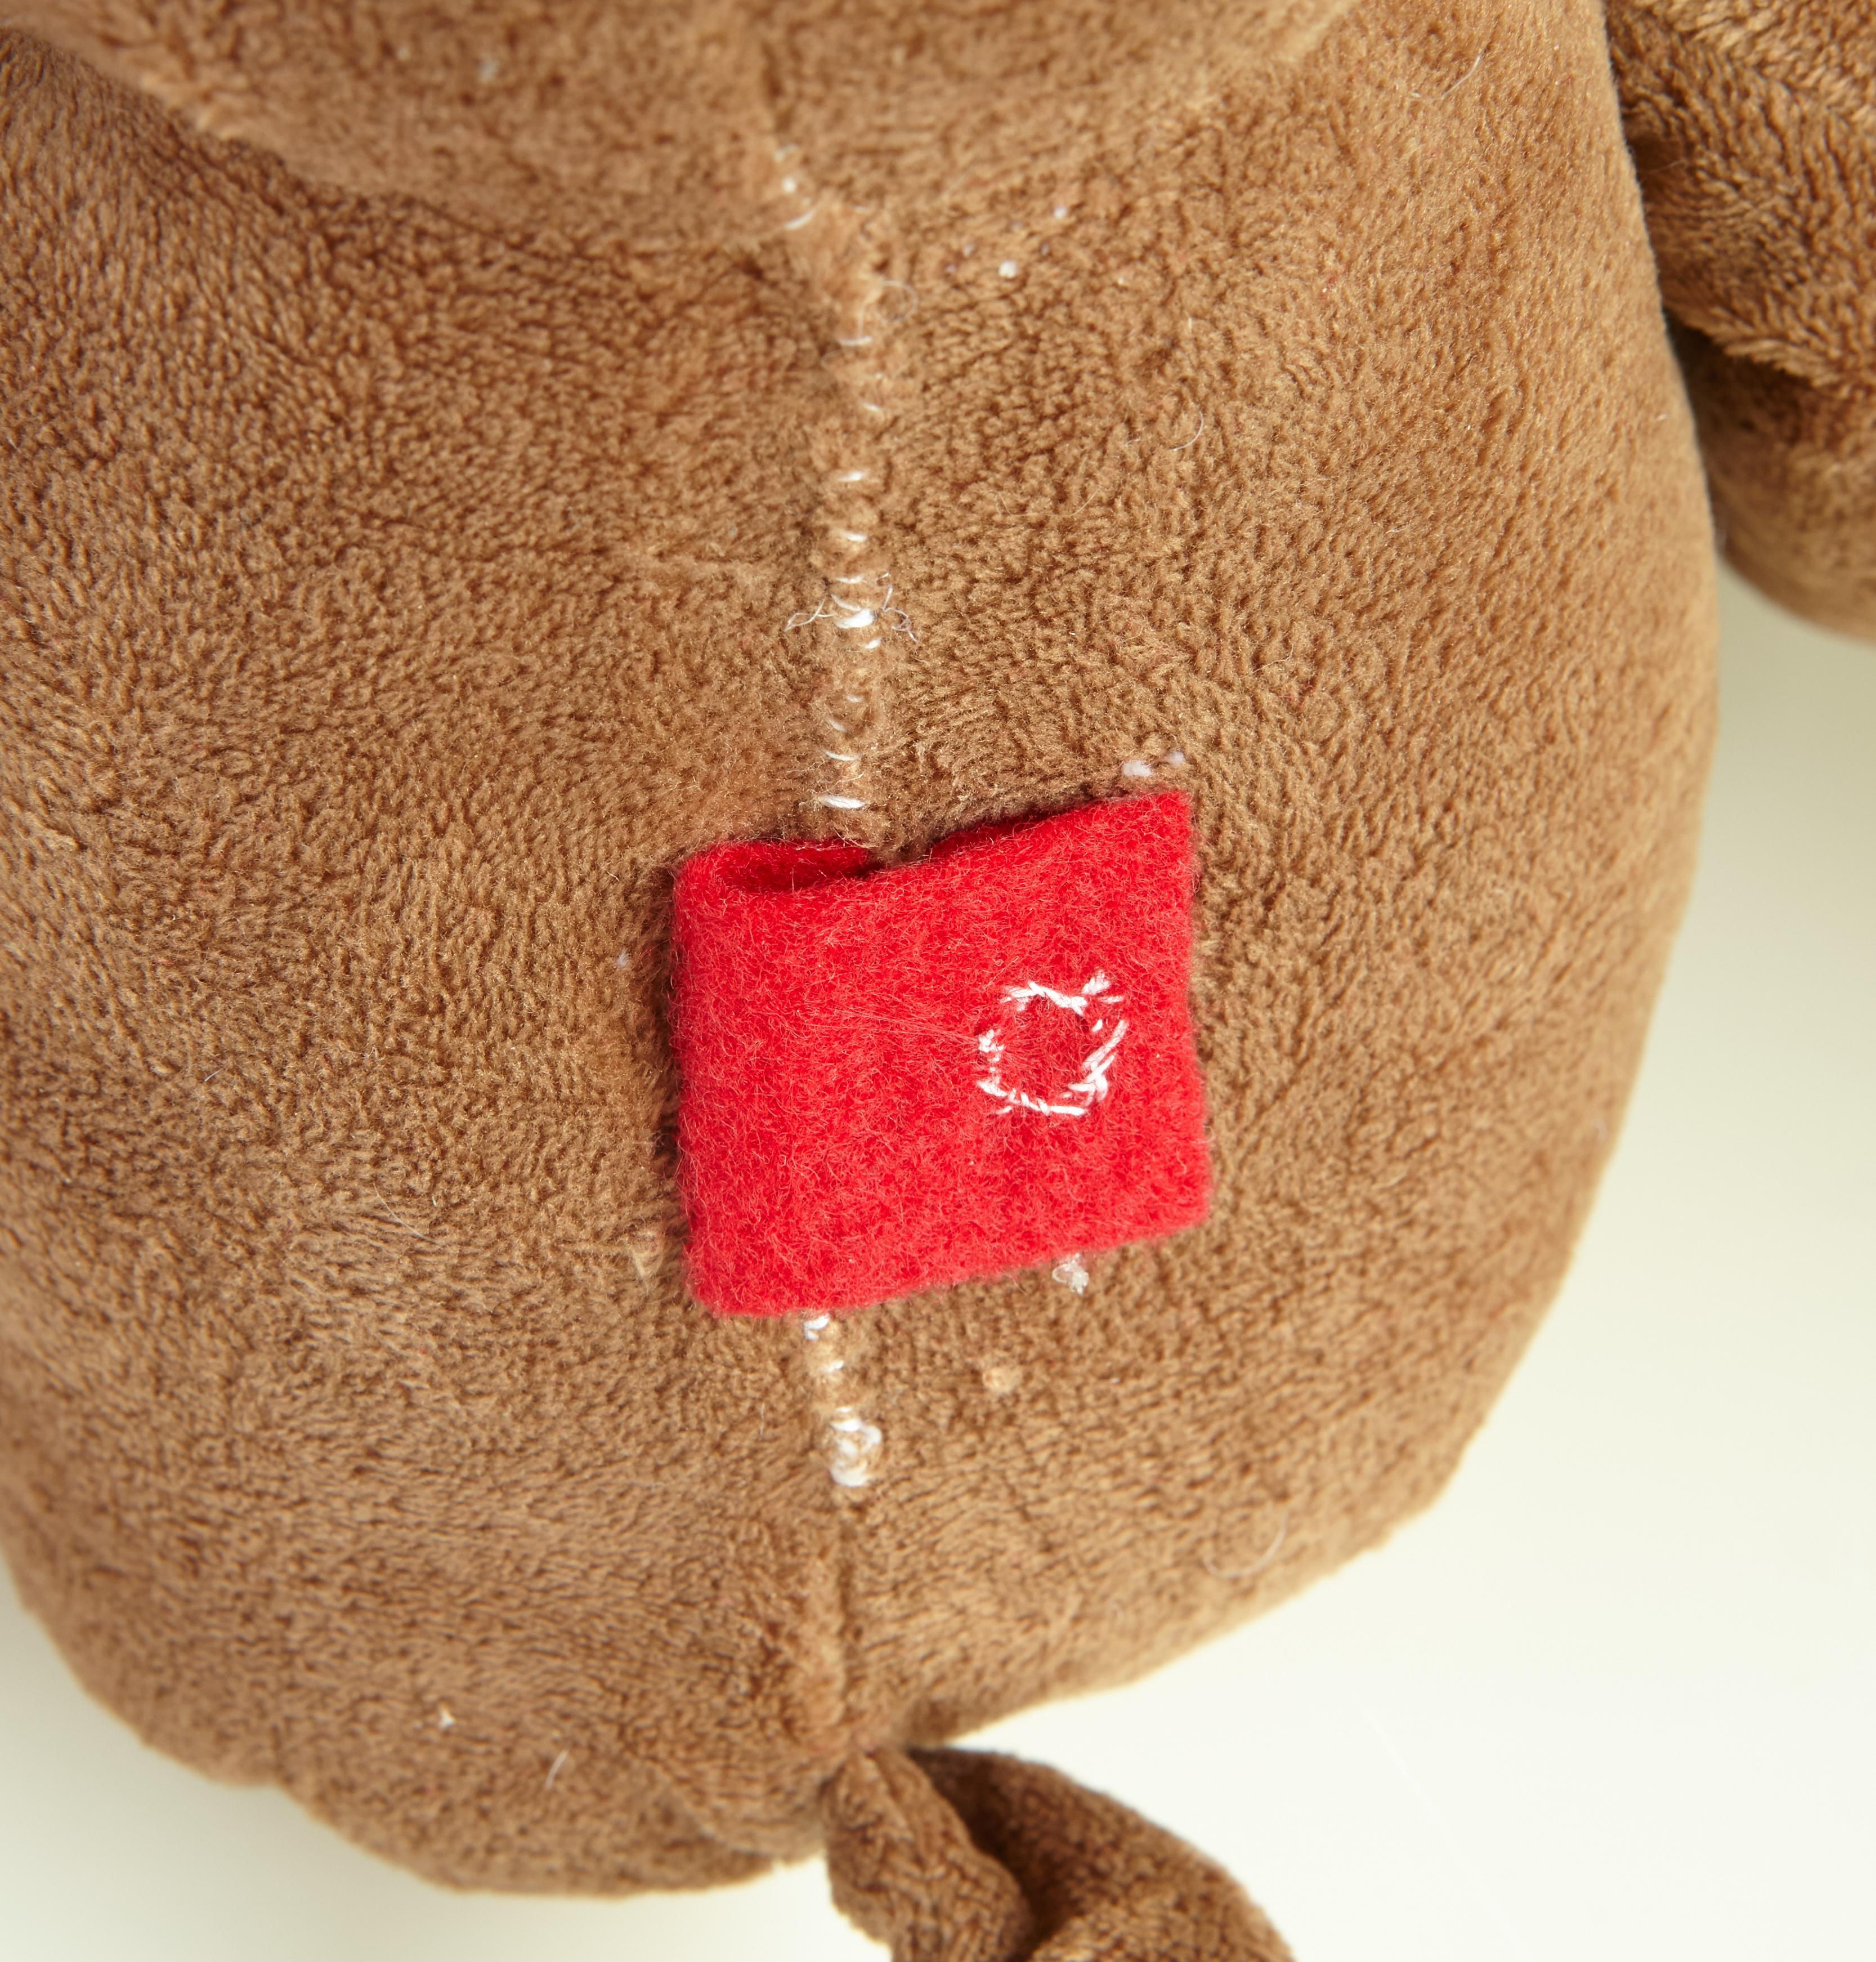
If you want, as a guide while sewing, use a pencil to draw a heart shape around the LED on the inside of your stuffie. Then, thread a needle with doubled-up red embroidery thread. Start from the inside so you can hide the knots, and carefully stitch a heard around the LED on the outside of your stuffie's chest
STEP 9
Use sewing thread and a needle to sew up your stuffie's open arm. Knot and cut the thread.
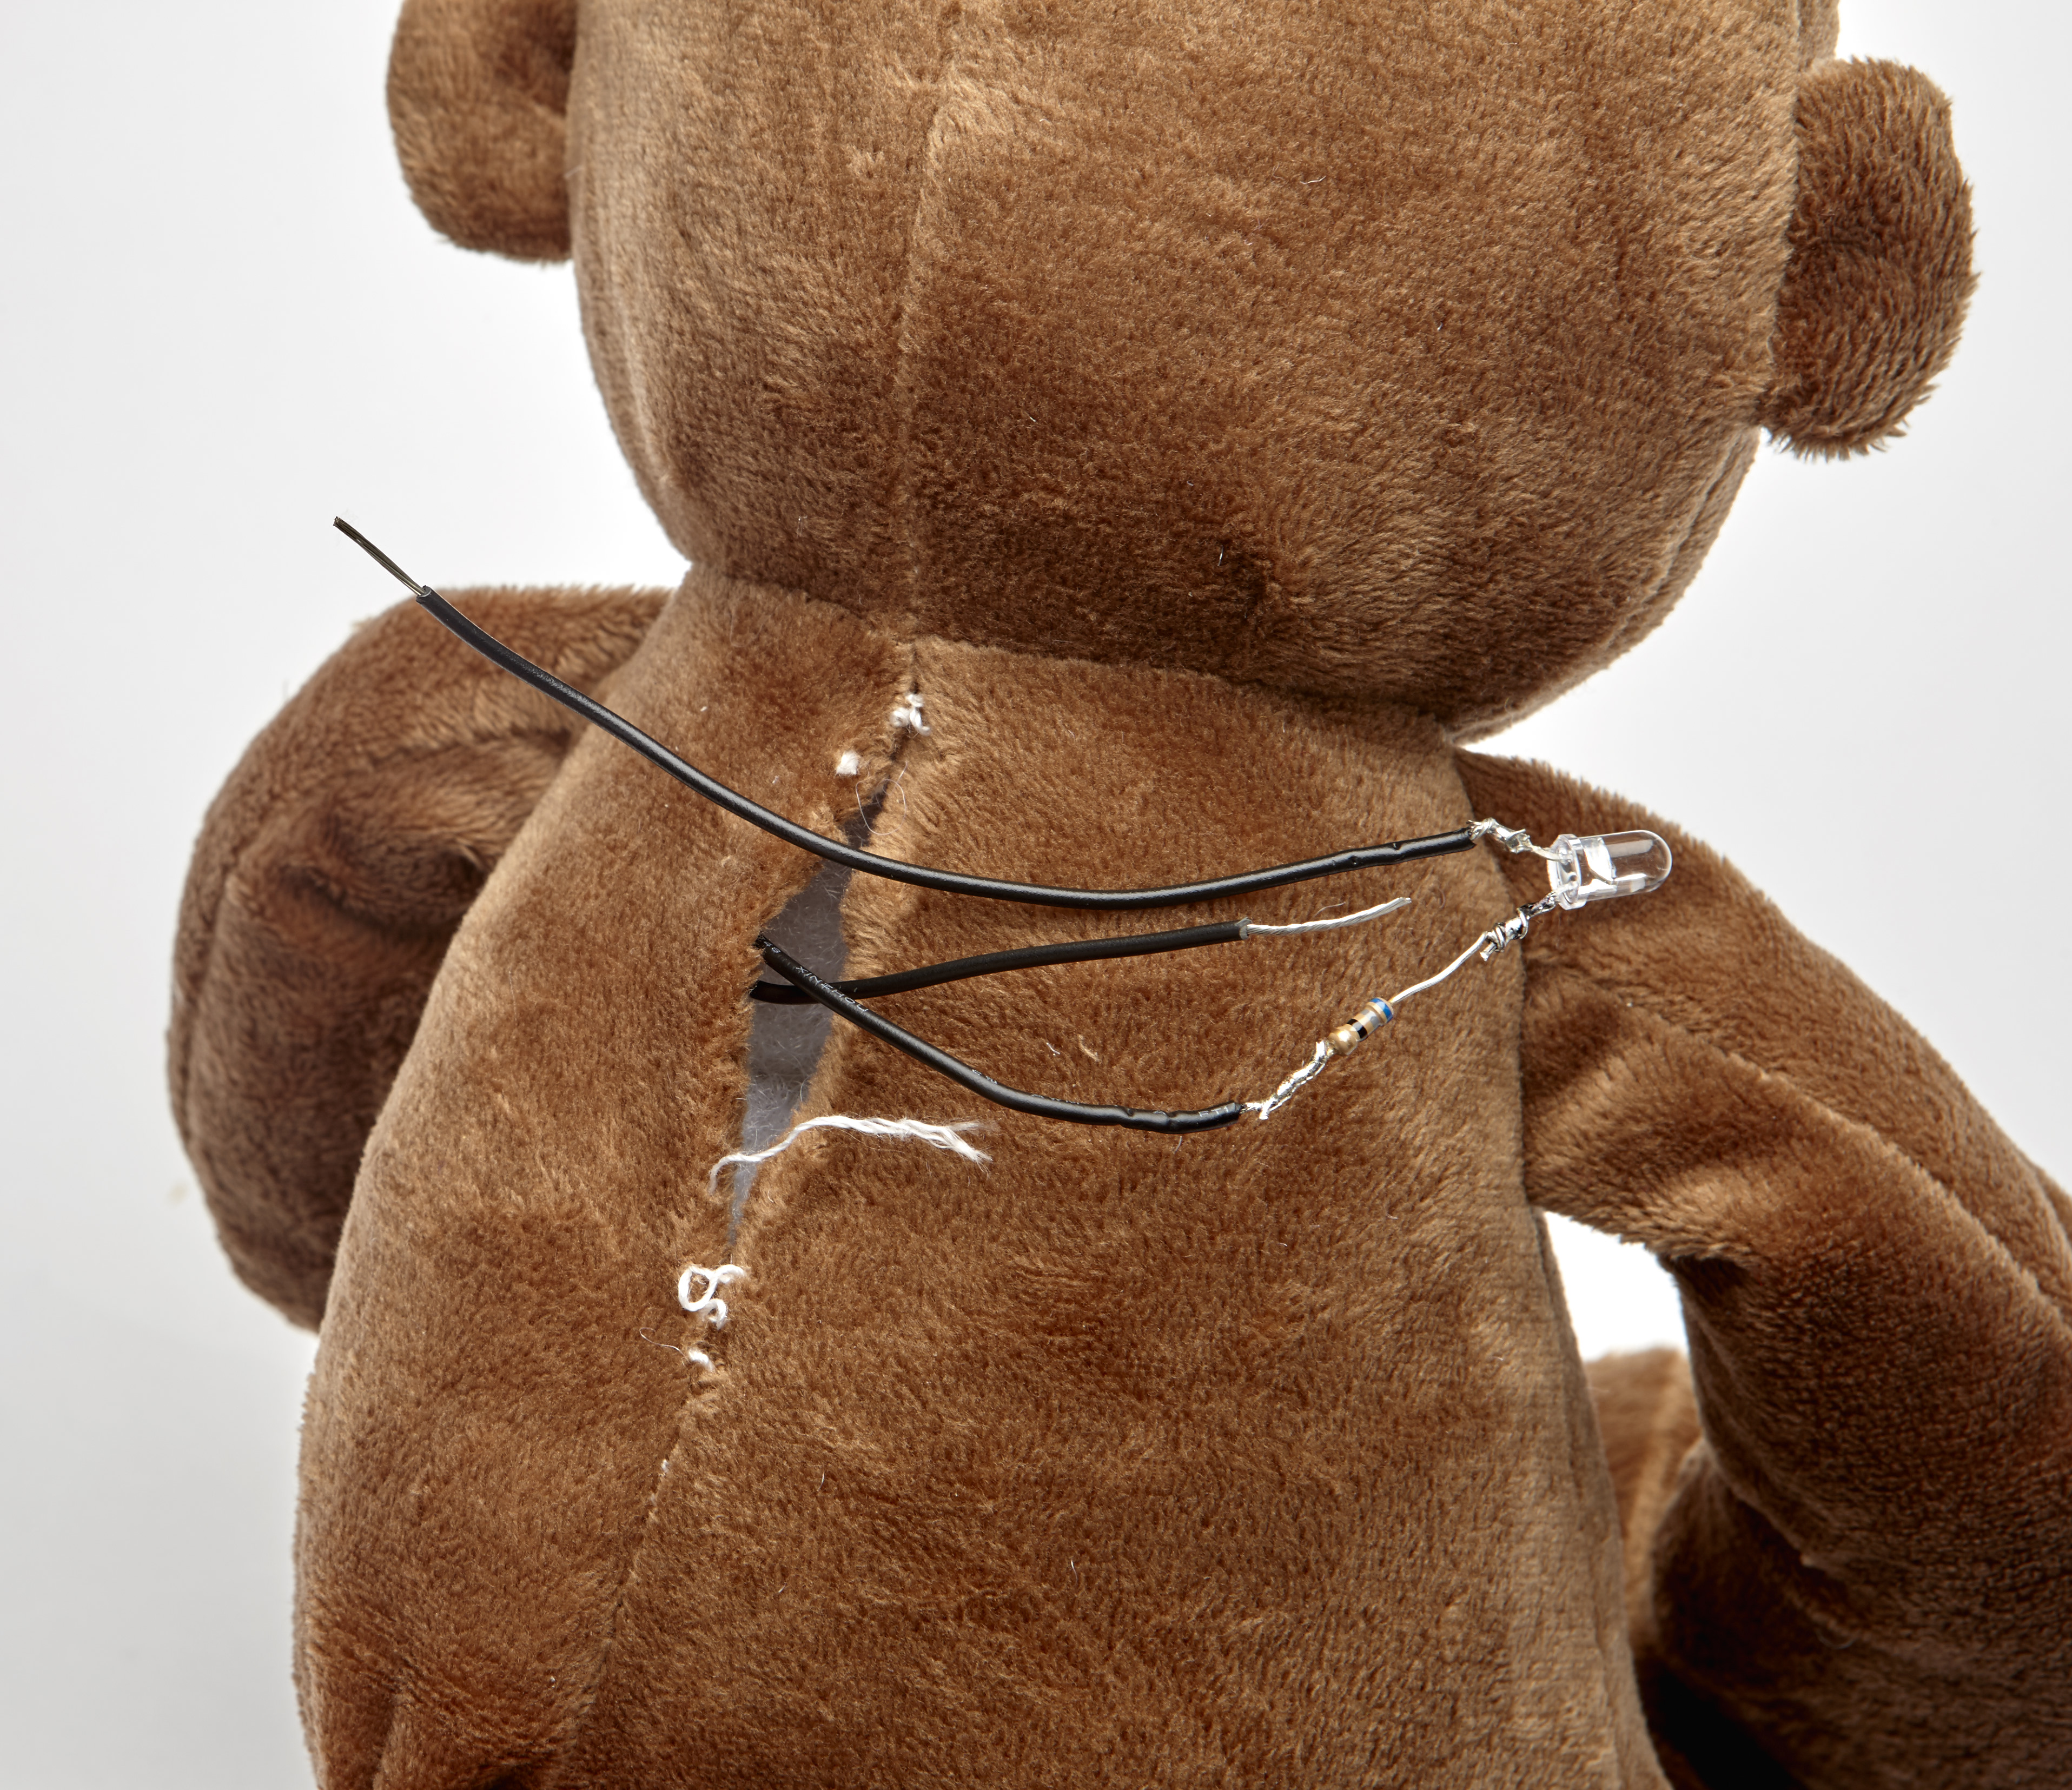
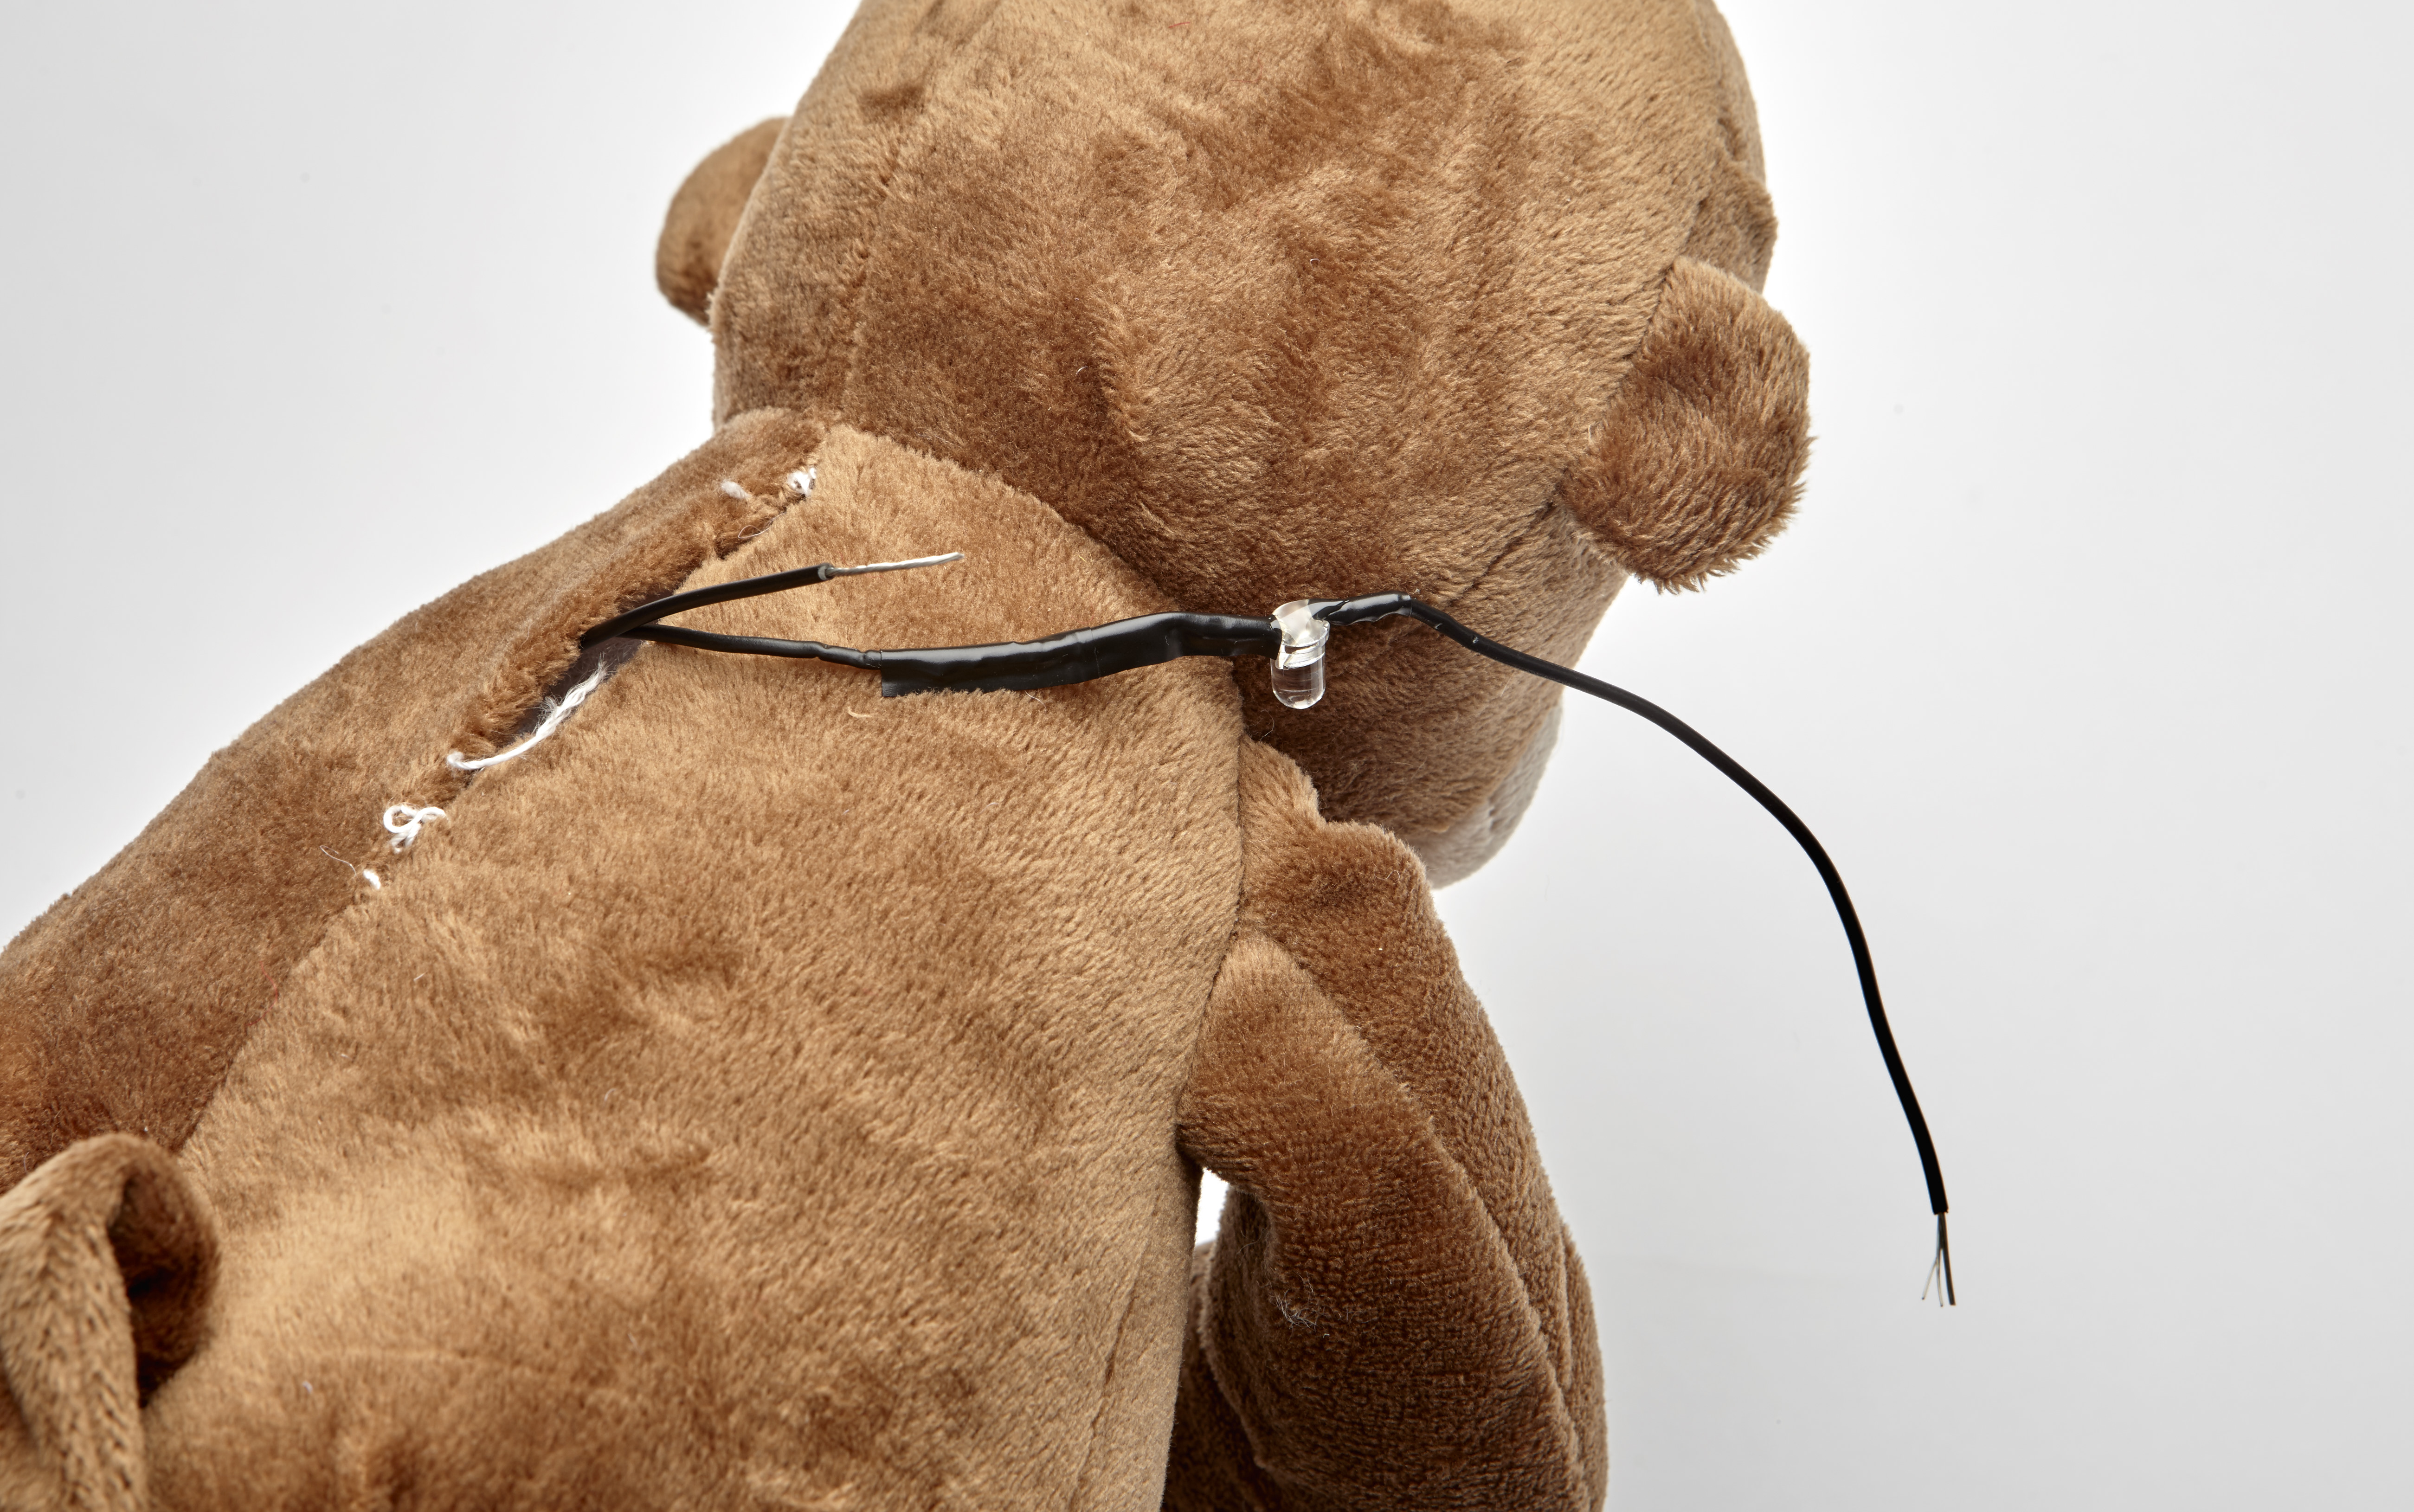
STEP 10
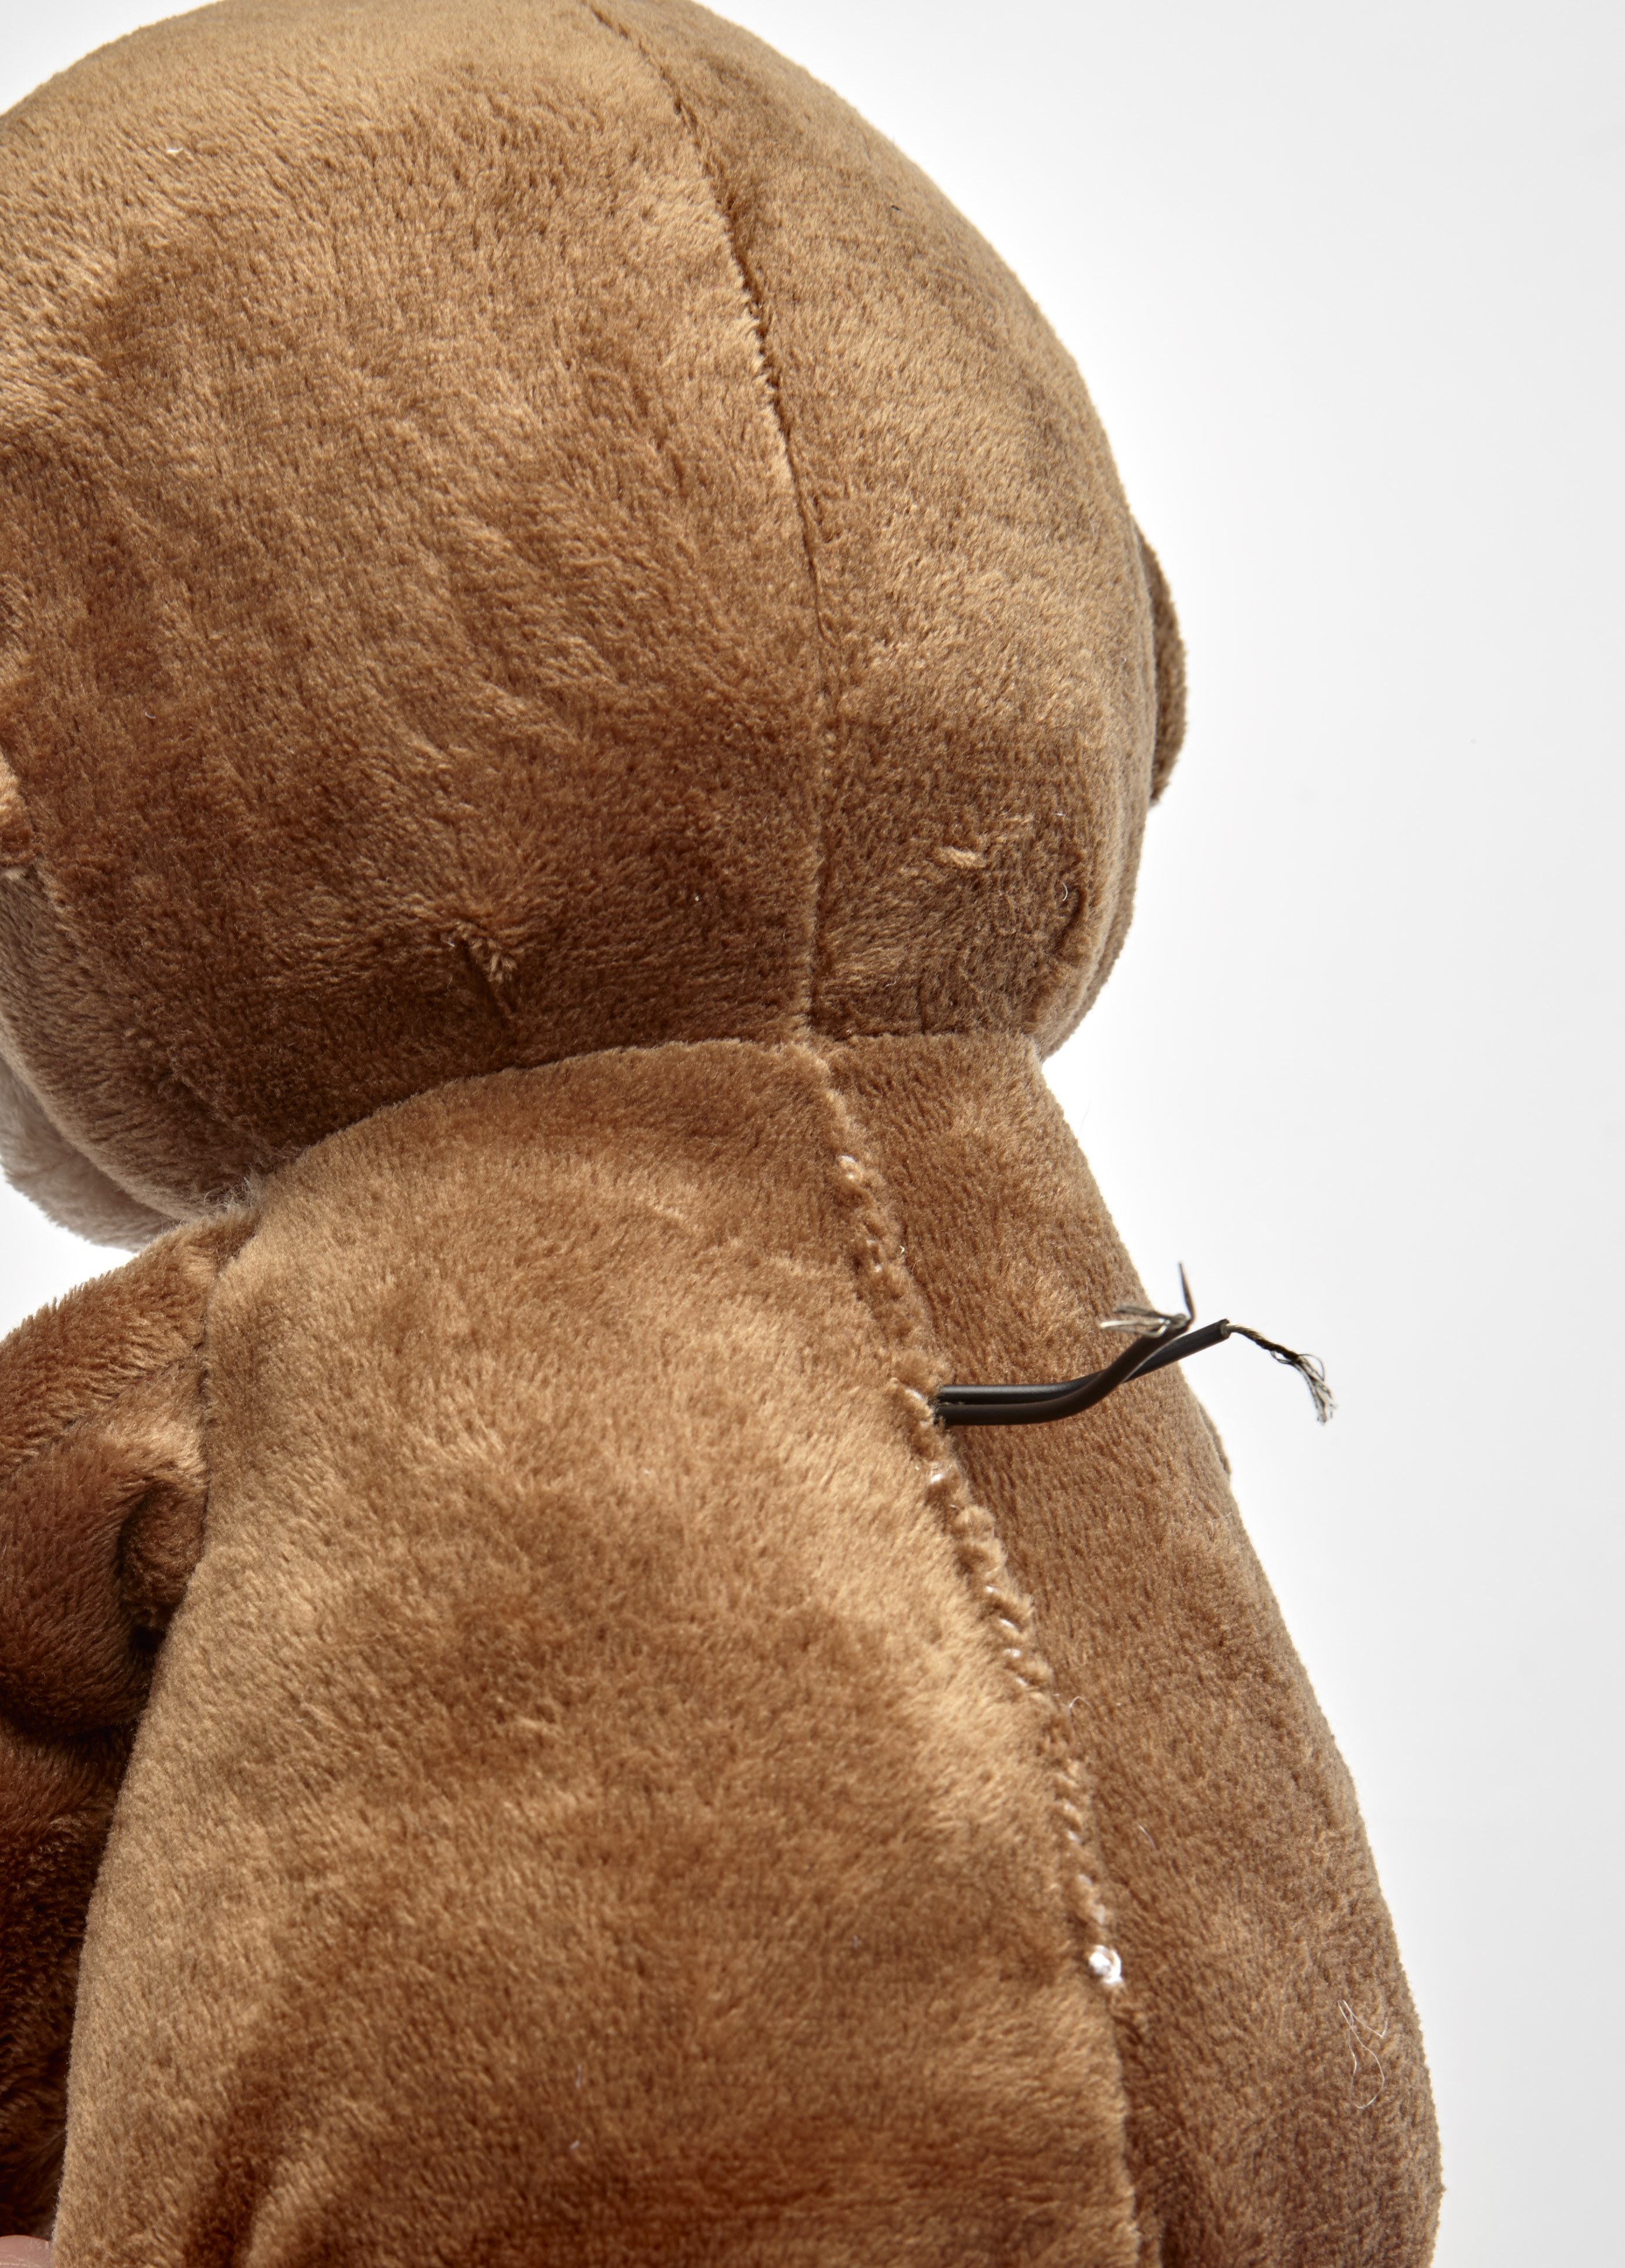
Use sewing thread and a needle to sew up your stuffie's back. Sew around the wires, leaving them sticking out, and leave an opening of about an inch so you'll always have access to the battery. Be sure to knot and secure the threads above and below the opening.
STEP 11
Hold or temporarily tape the battery between the two wires. Does the LED light up on the front of your stuffie? If not, switch the battery around. When the LED lights up, note which wire is against the positive (+) side of the battery and which is against the negative (-) side. That will tell you how to orient the battery holder.
STEP 12
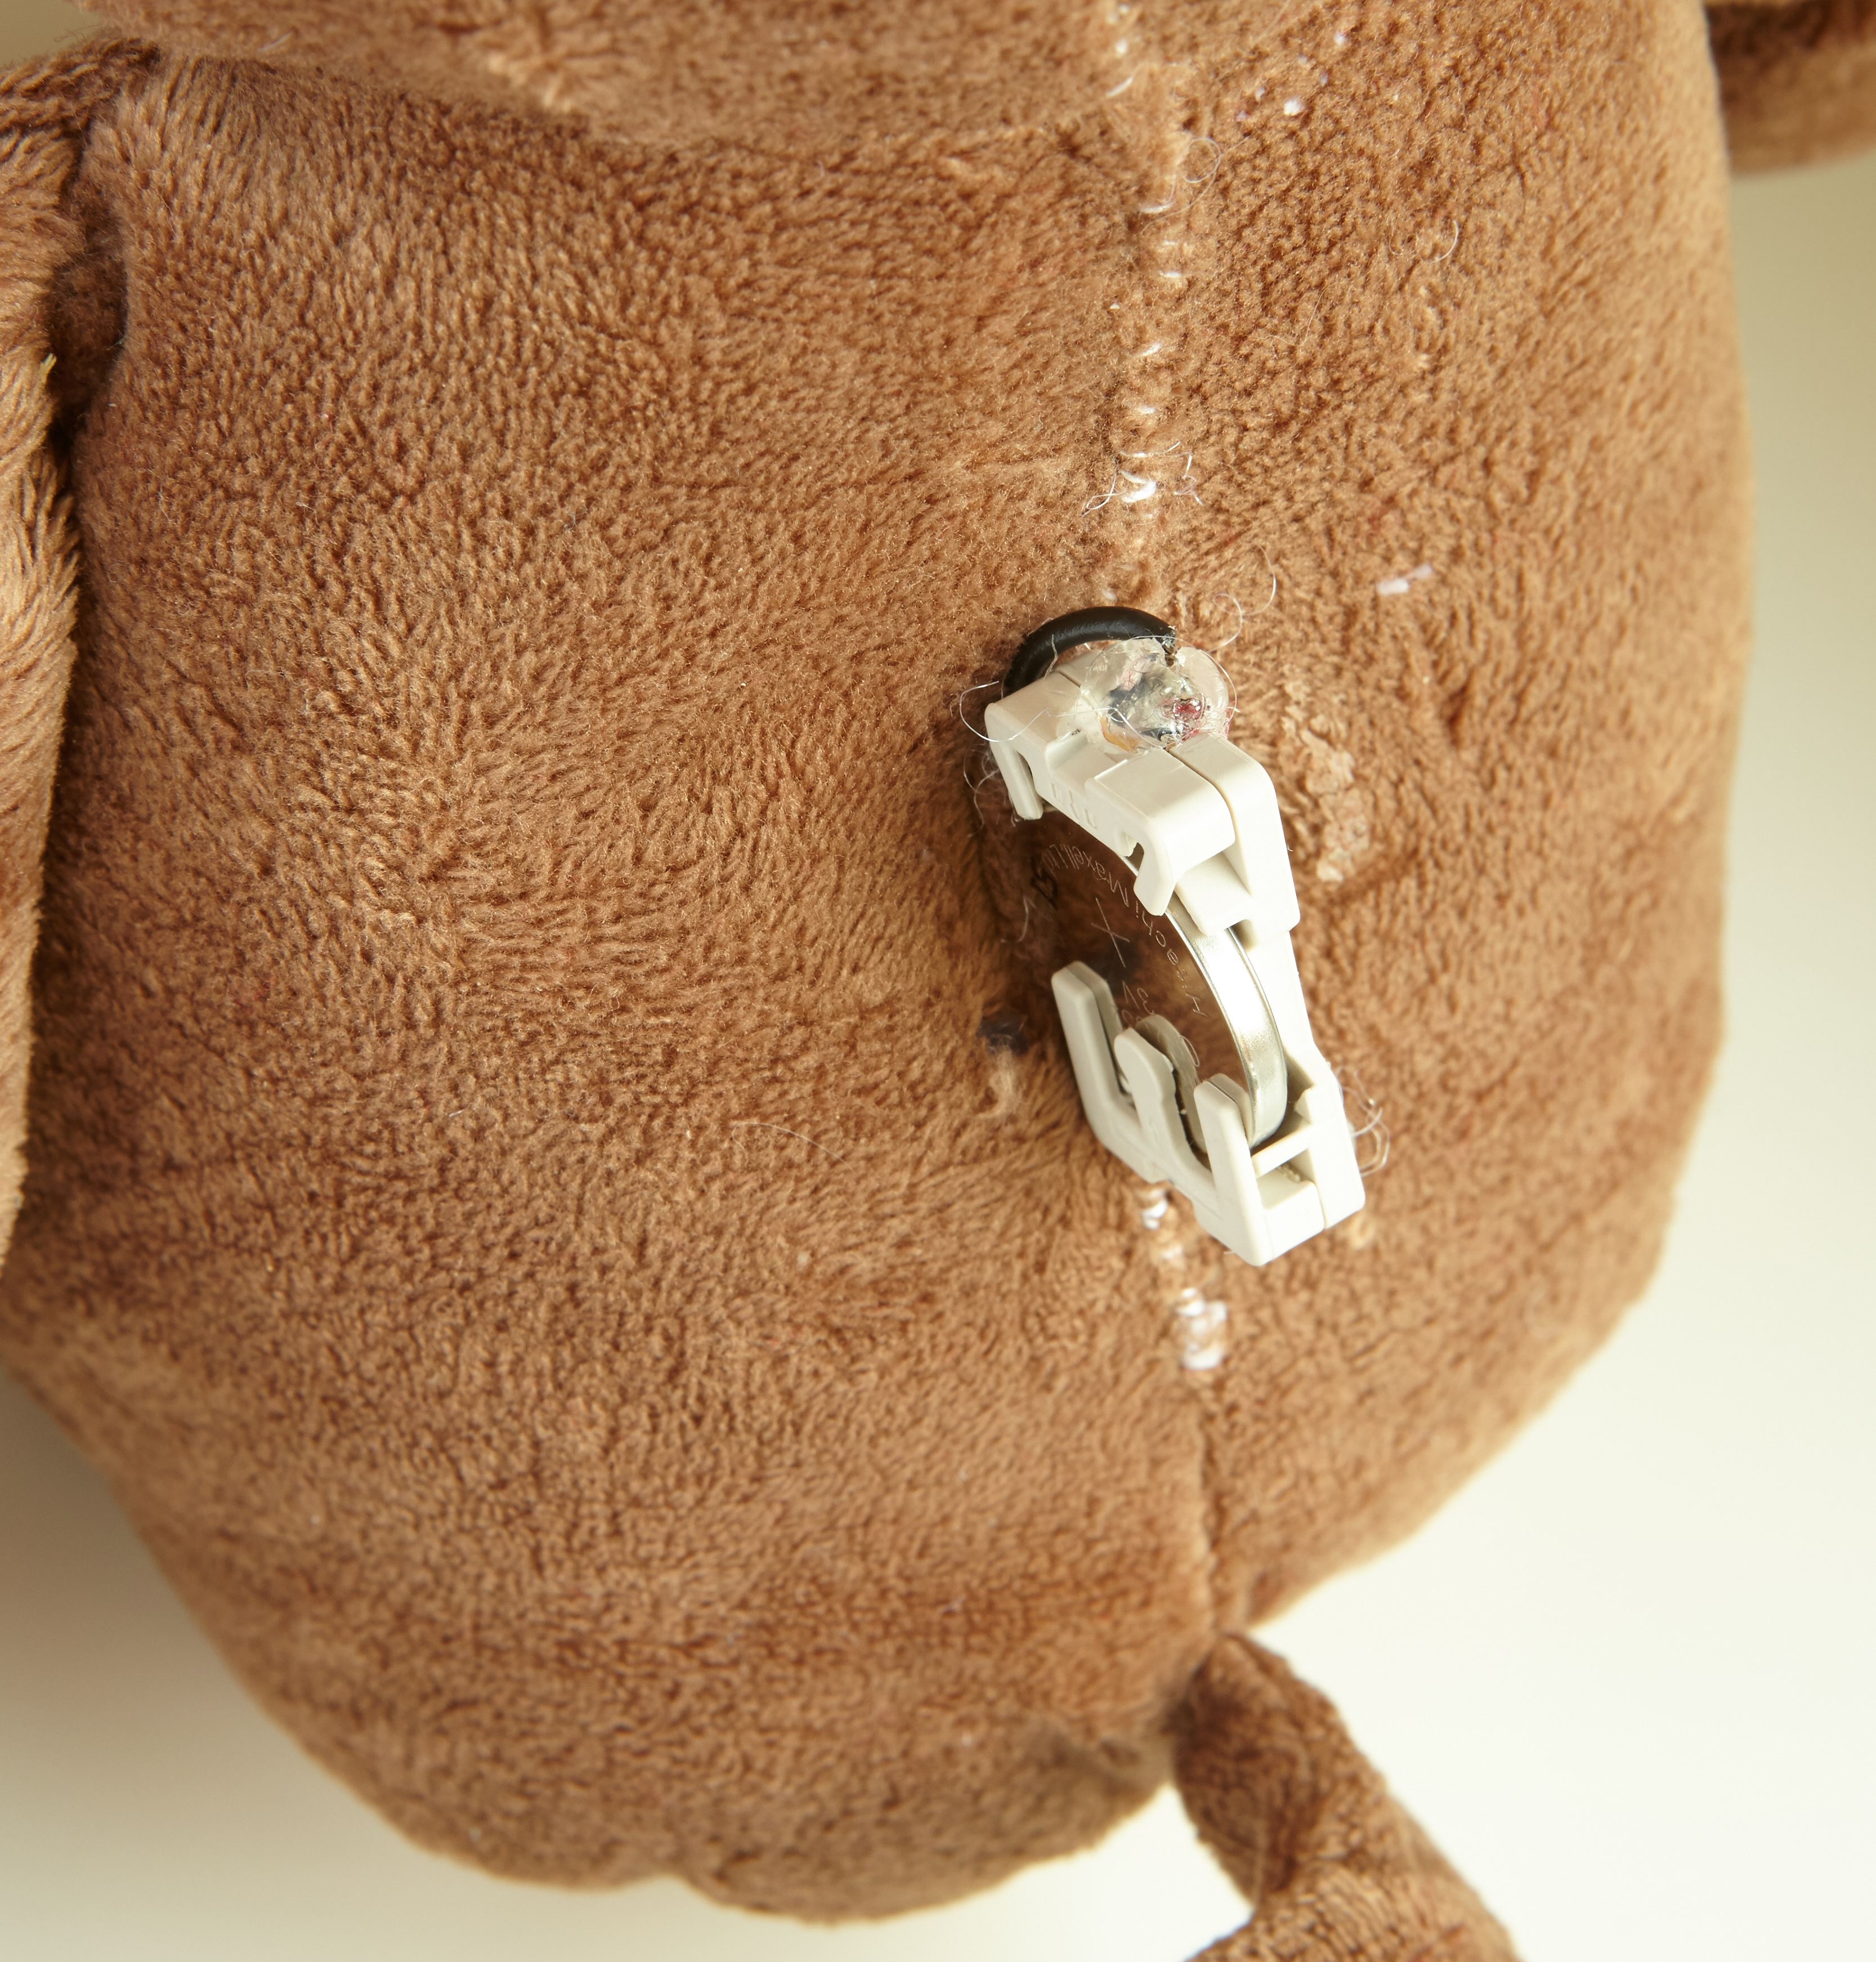
Twist the wires into the battery holder, top and bottom, connecting positive (+) to positive (+) and negative (-) to negative (-). (On our monkey, the top wire was the positive wire.) Slip in the battery to be sure the LED is working. When everything is oriented correctly, reinforce both joints. Using the soldering iron, solder the wires in place, and using the hot-glue gun, cover them with hot glue. Then carefully stuff the battery and battery holder into the opening.
STEP 13
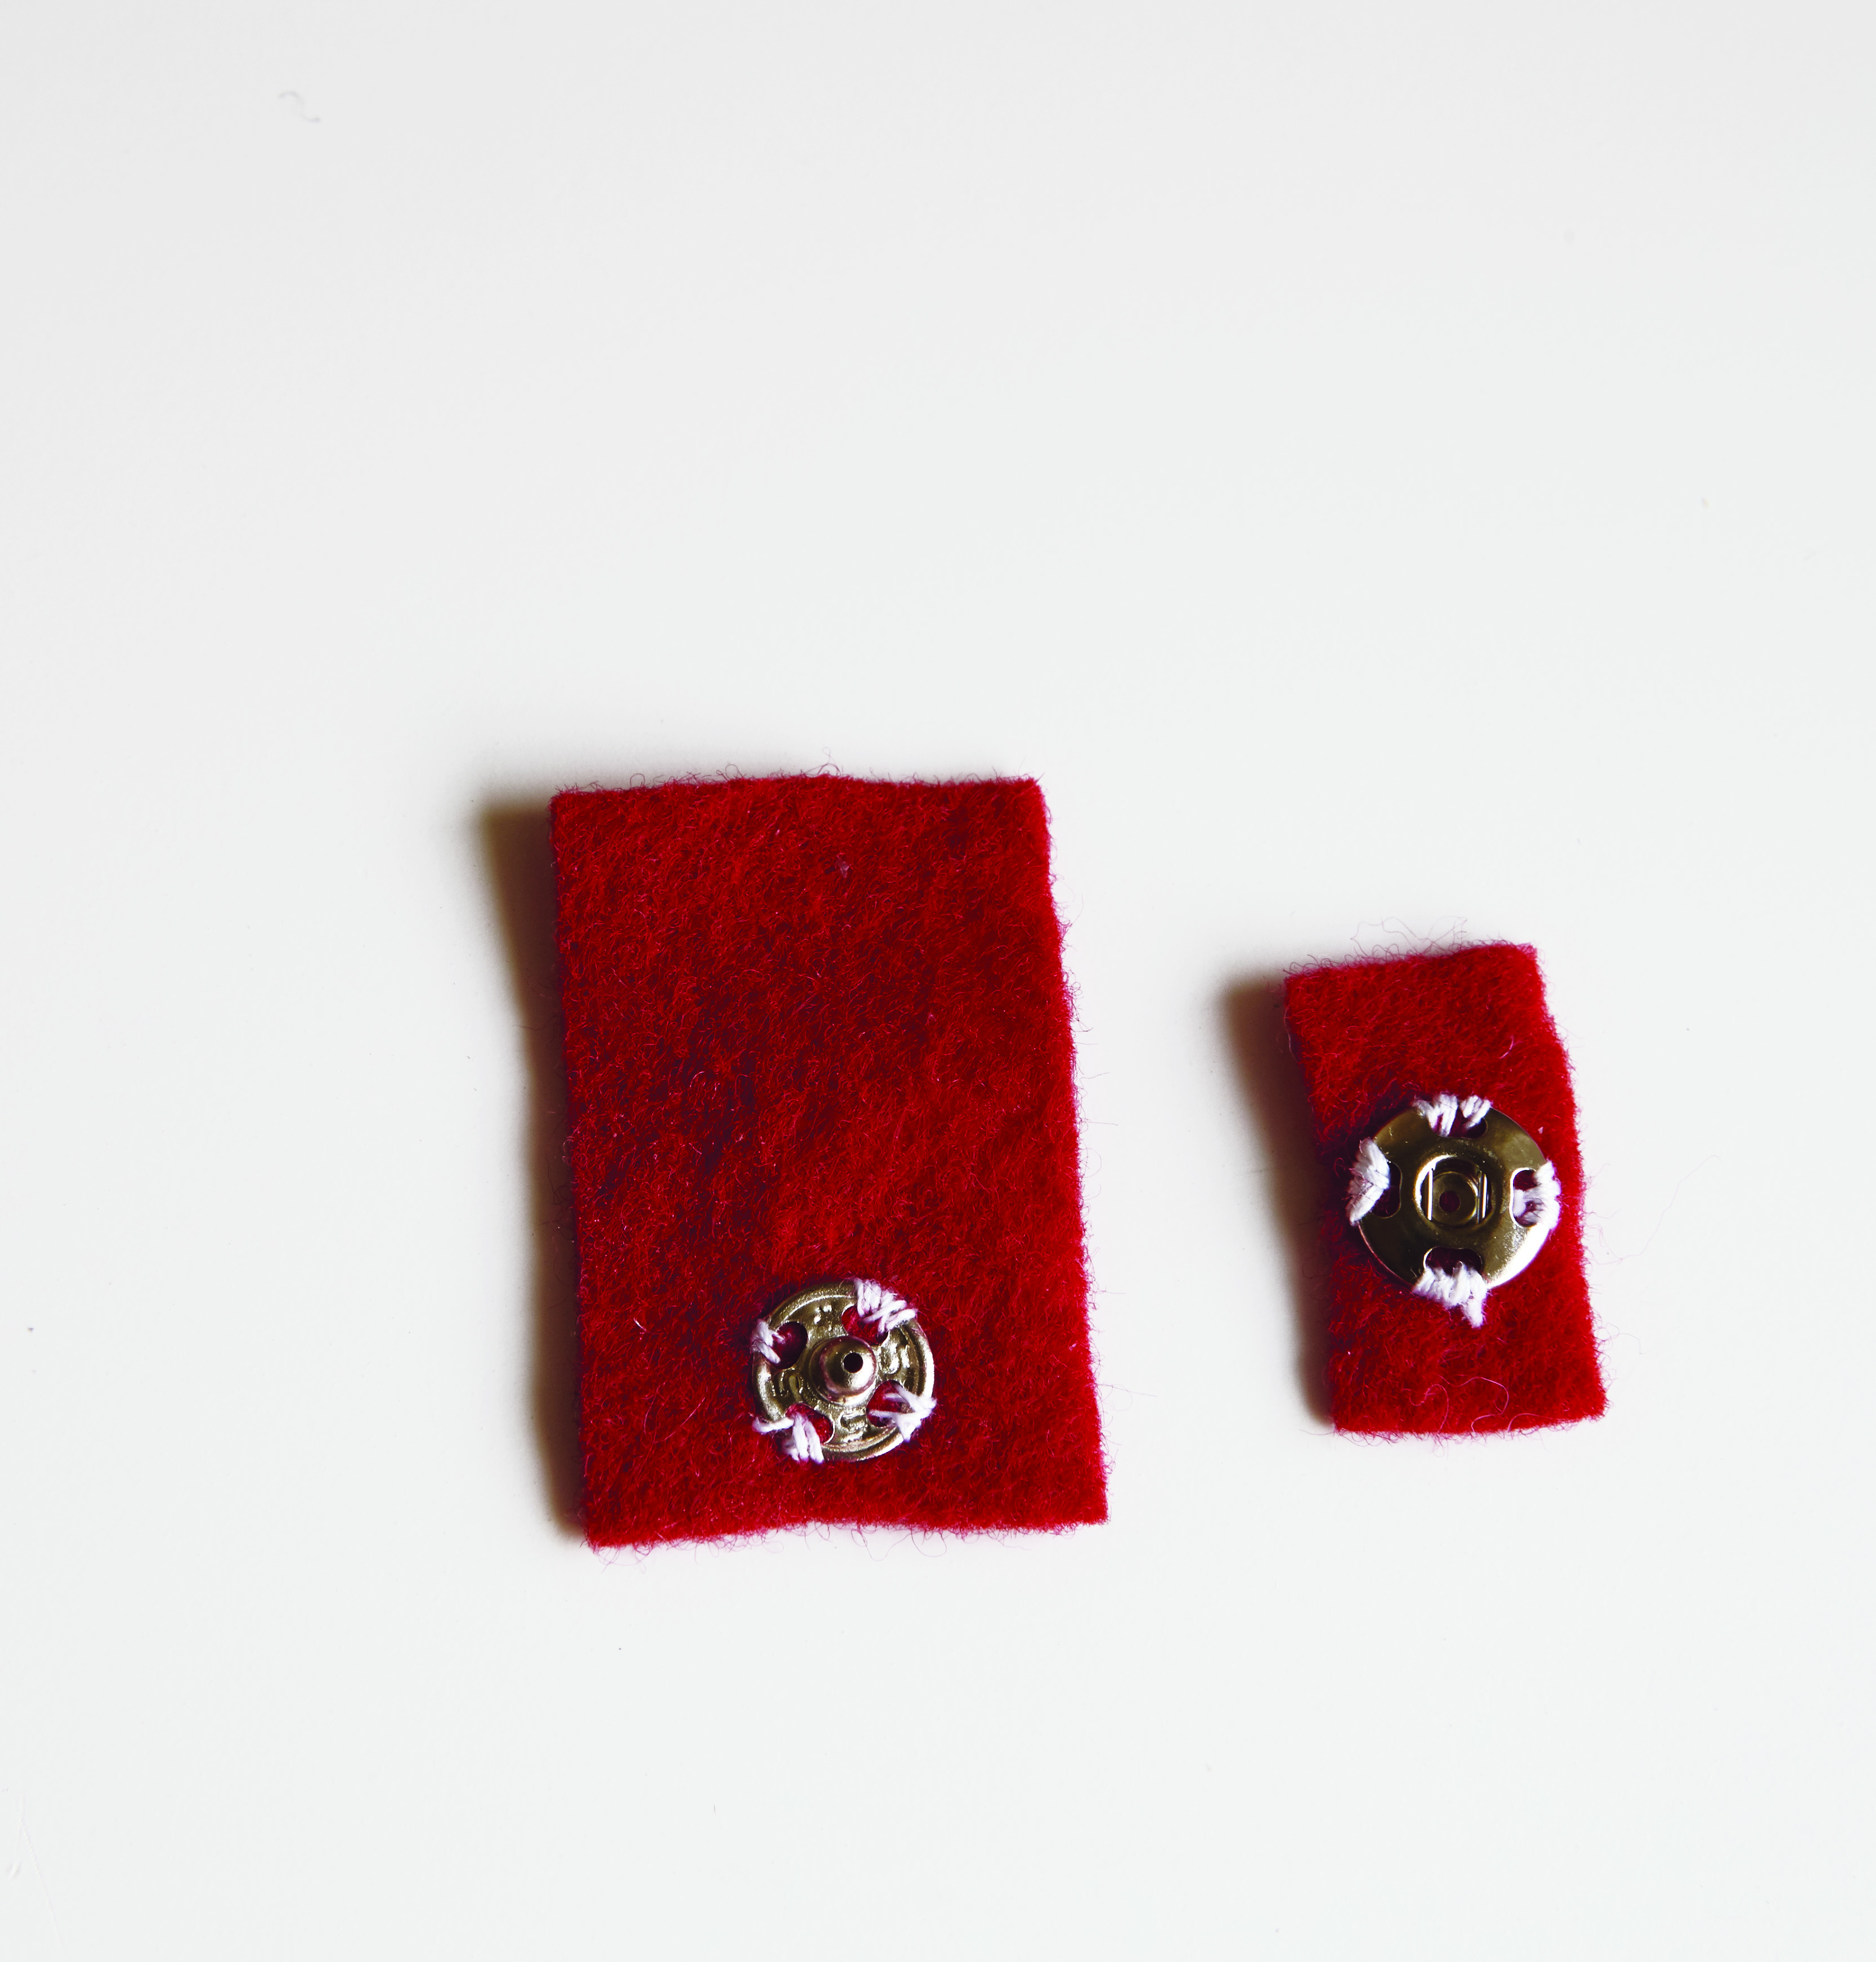
Using a needle and sewing thread, sew one half of the snap in the center of the small piece of felt, and the other half of the snap centered at the edge of felt.
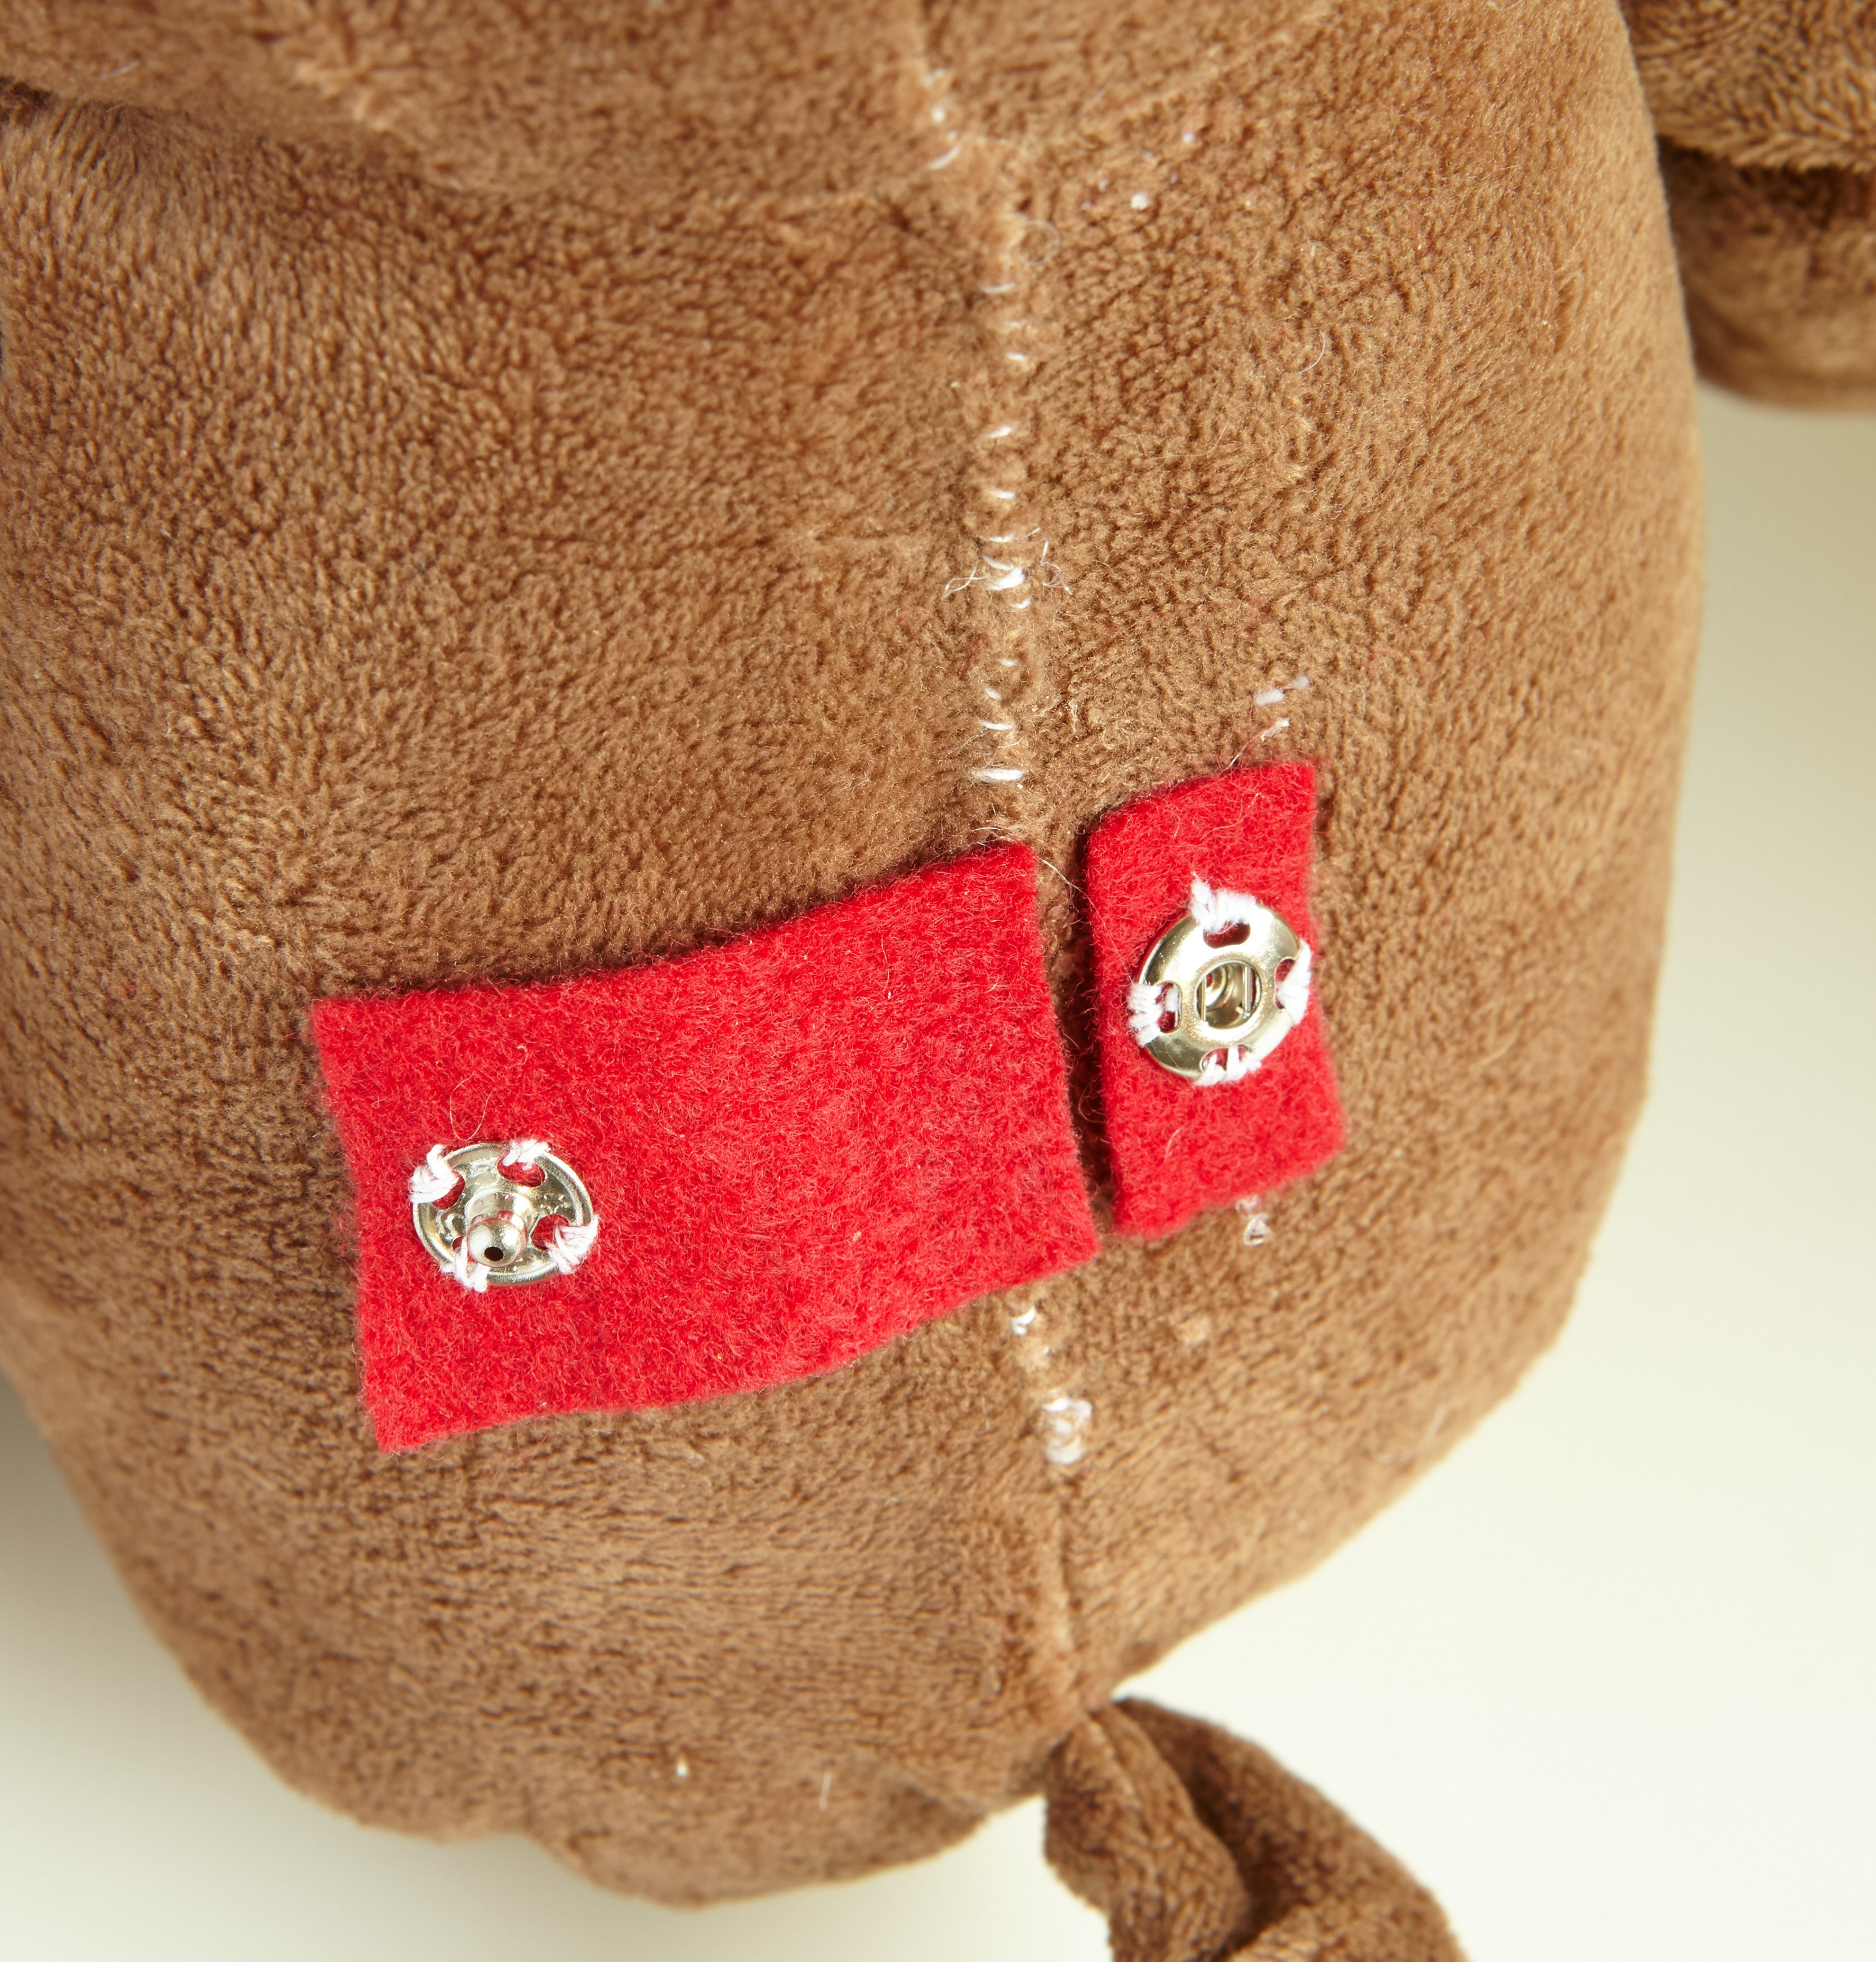
STEP 14
Using the hot-glue gun, glue the small piece of felt (snap side out) on one side of the 1" opening. Then, making sure the two halves of the snap align, glue the free edge of the larger piece of felt to the other side of the opening, as shown. Fold to snap the two halves together.
STEP 15
Press the tactile switch in your stuffie's arm to turn on its beating heart, and give it a heartfelt hug.
Please Note
Your safety is your own responsibility, including proper use of equipment and safety gear, and determining whether you have adequate skill and experience. Power tools, electricity, and other resources used for these projects are dangerous, unless used properly and with adequate precautions, including safety gear and adult supervision. Some illustrative photos do not depict safety precautions or equipment, in order to show the project steps more clearly. Use of the instructions and suggestions found in Maker Camp is at your own risk. Maker Media, Inc., disclaims all responsibility for any resulting damage, injury, or expense.
