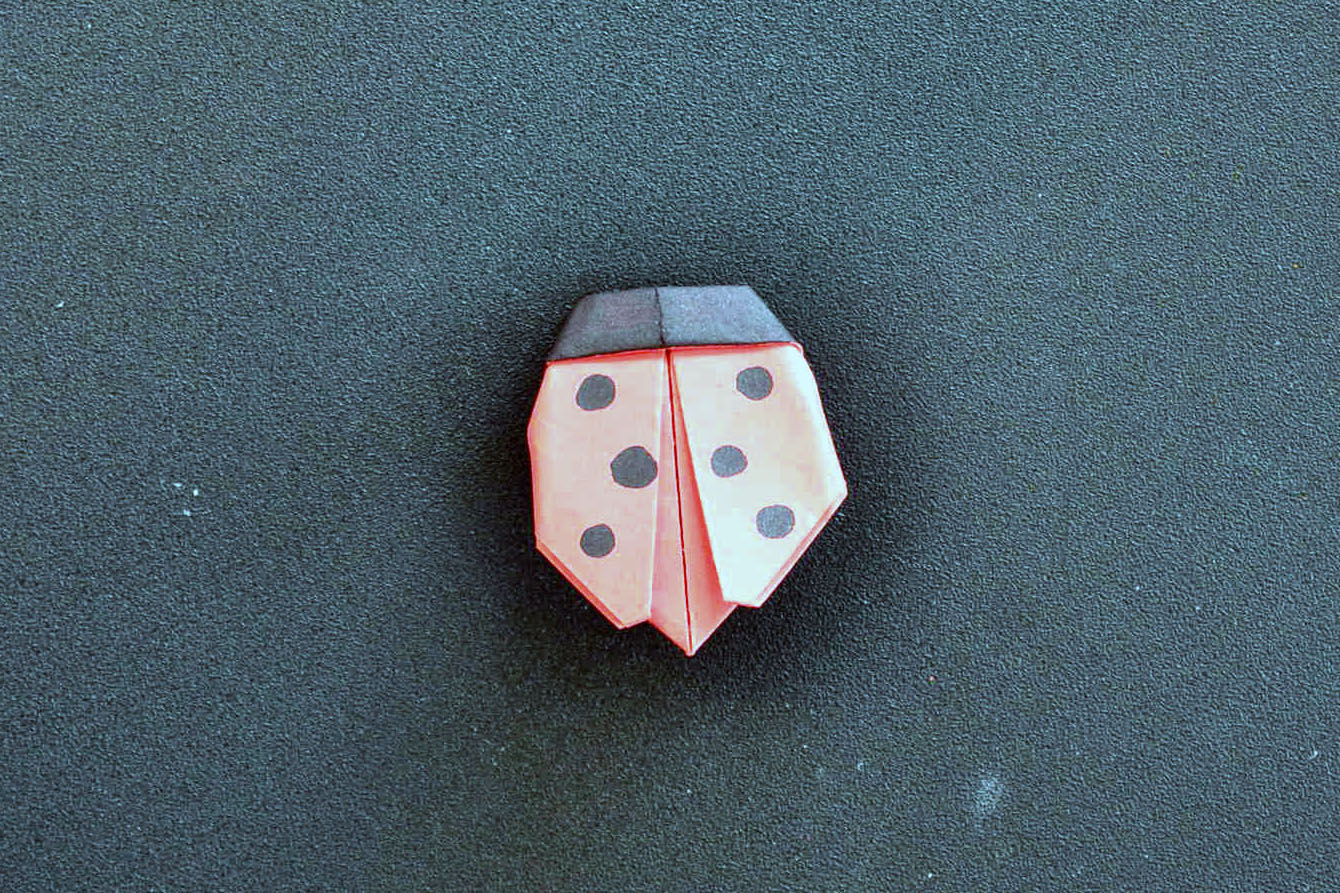
Ladybug Vibrobot

TIME TO COMPLETE
Less than 30 min.
WHAT WILL YOU MAKE?
Use origami to fold a cute ladybug. Then add a small vibrating motor so that is skitters around. This is a really fun, easy variation on a vibrobot.
WHAT WILL YOU NEED?
- Conductive Tape
- Crafting Materials
- Electronics
- Origami Paper


STEP 1
First Folds

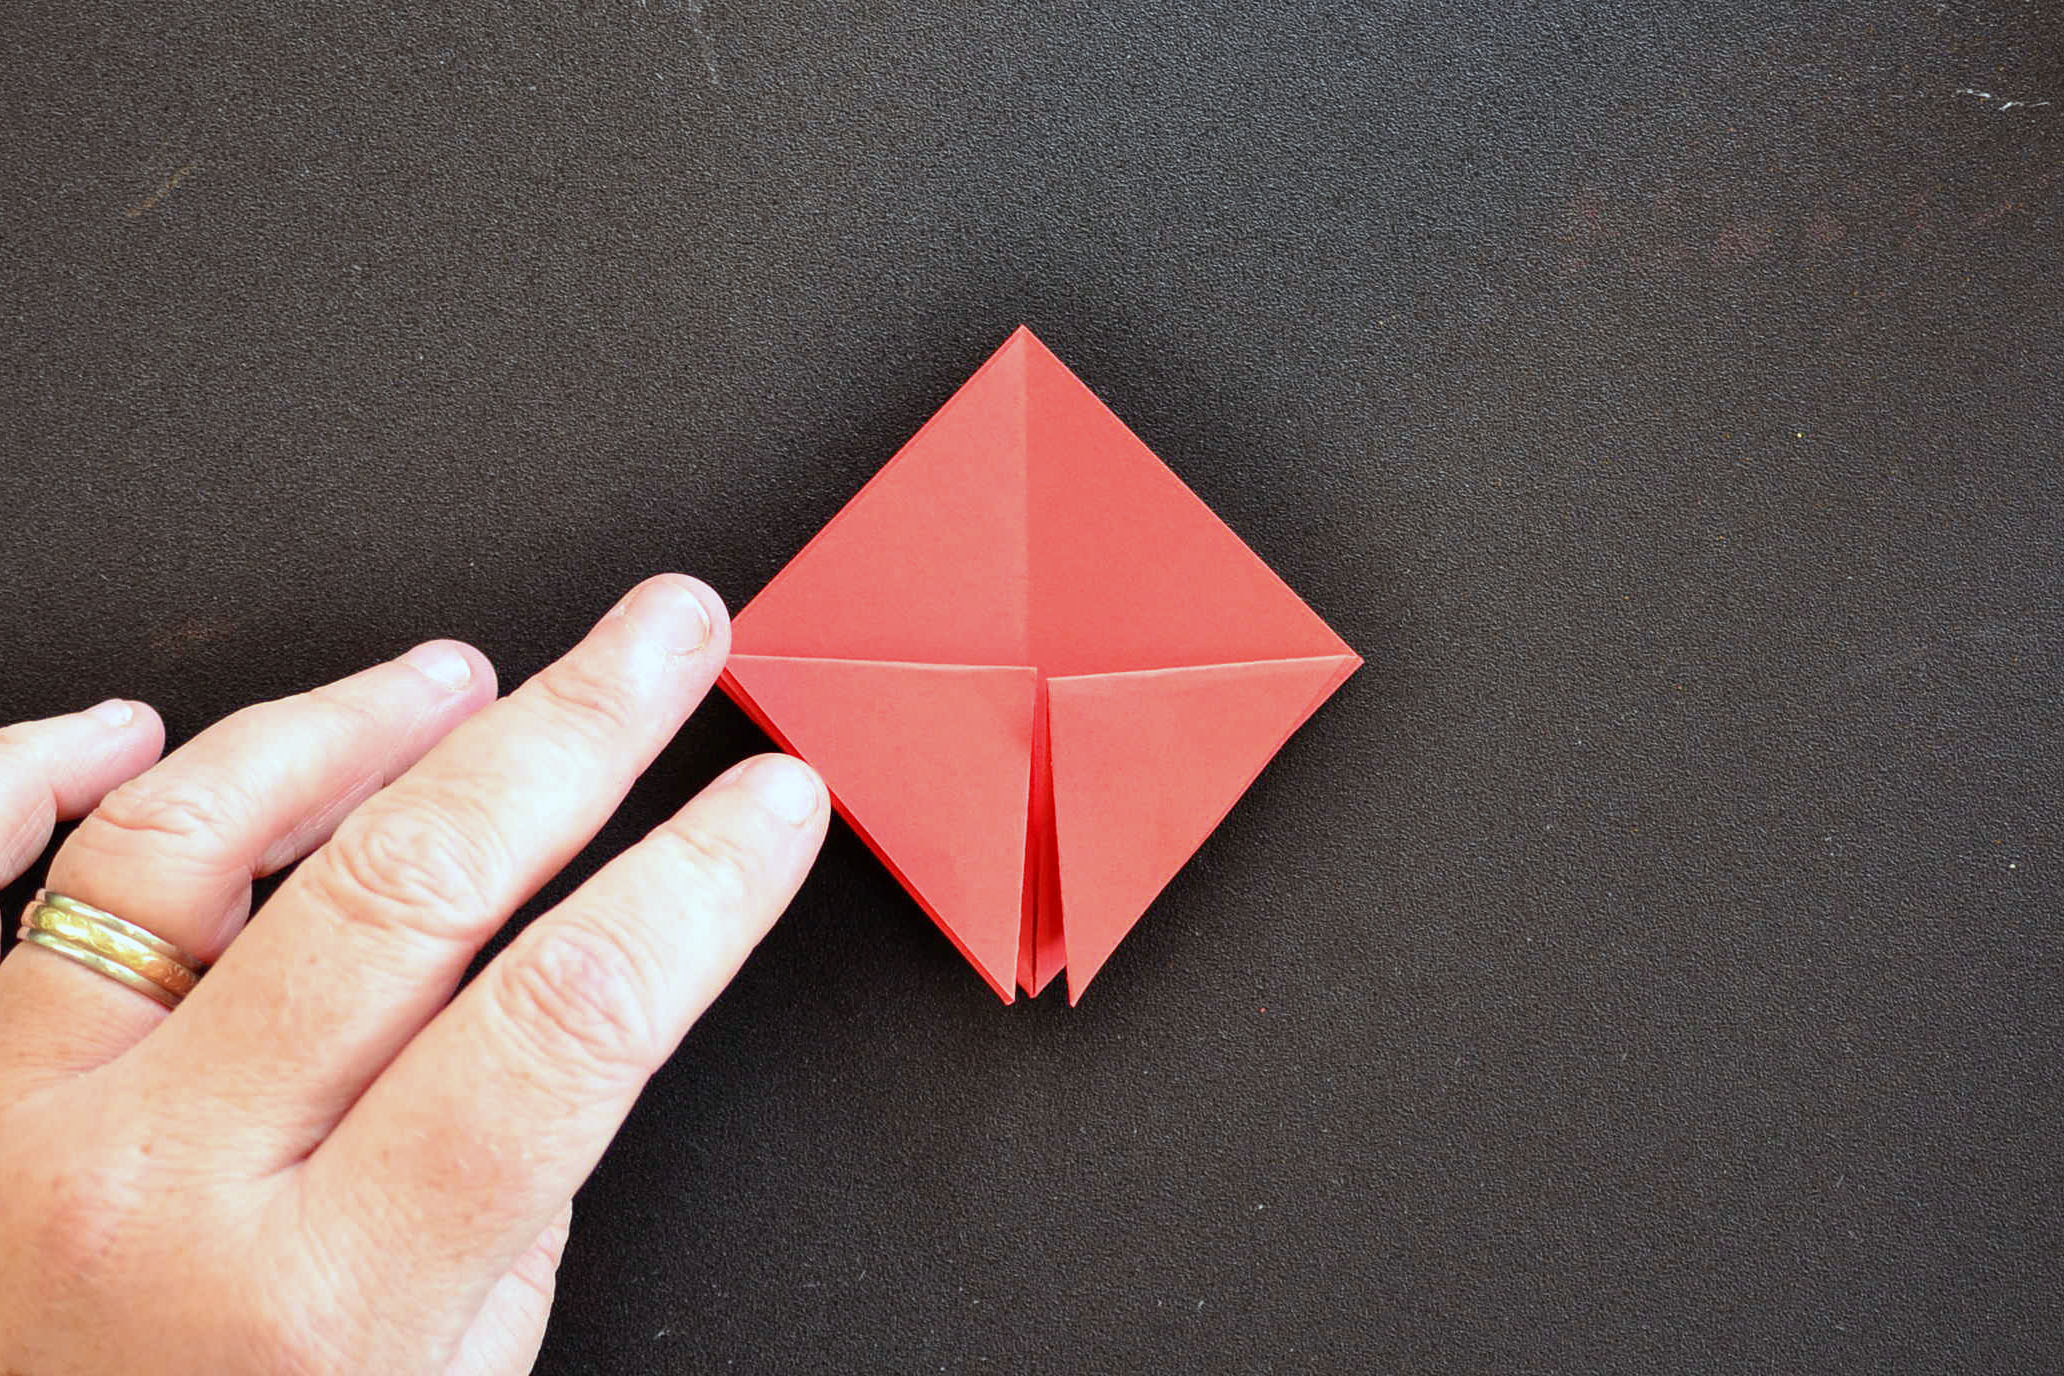
STEP 2
Fold the Wings

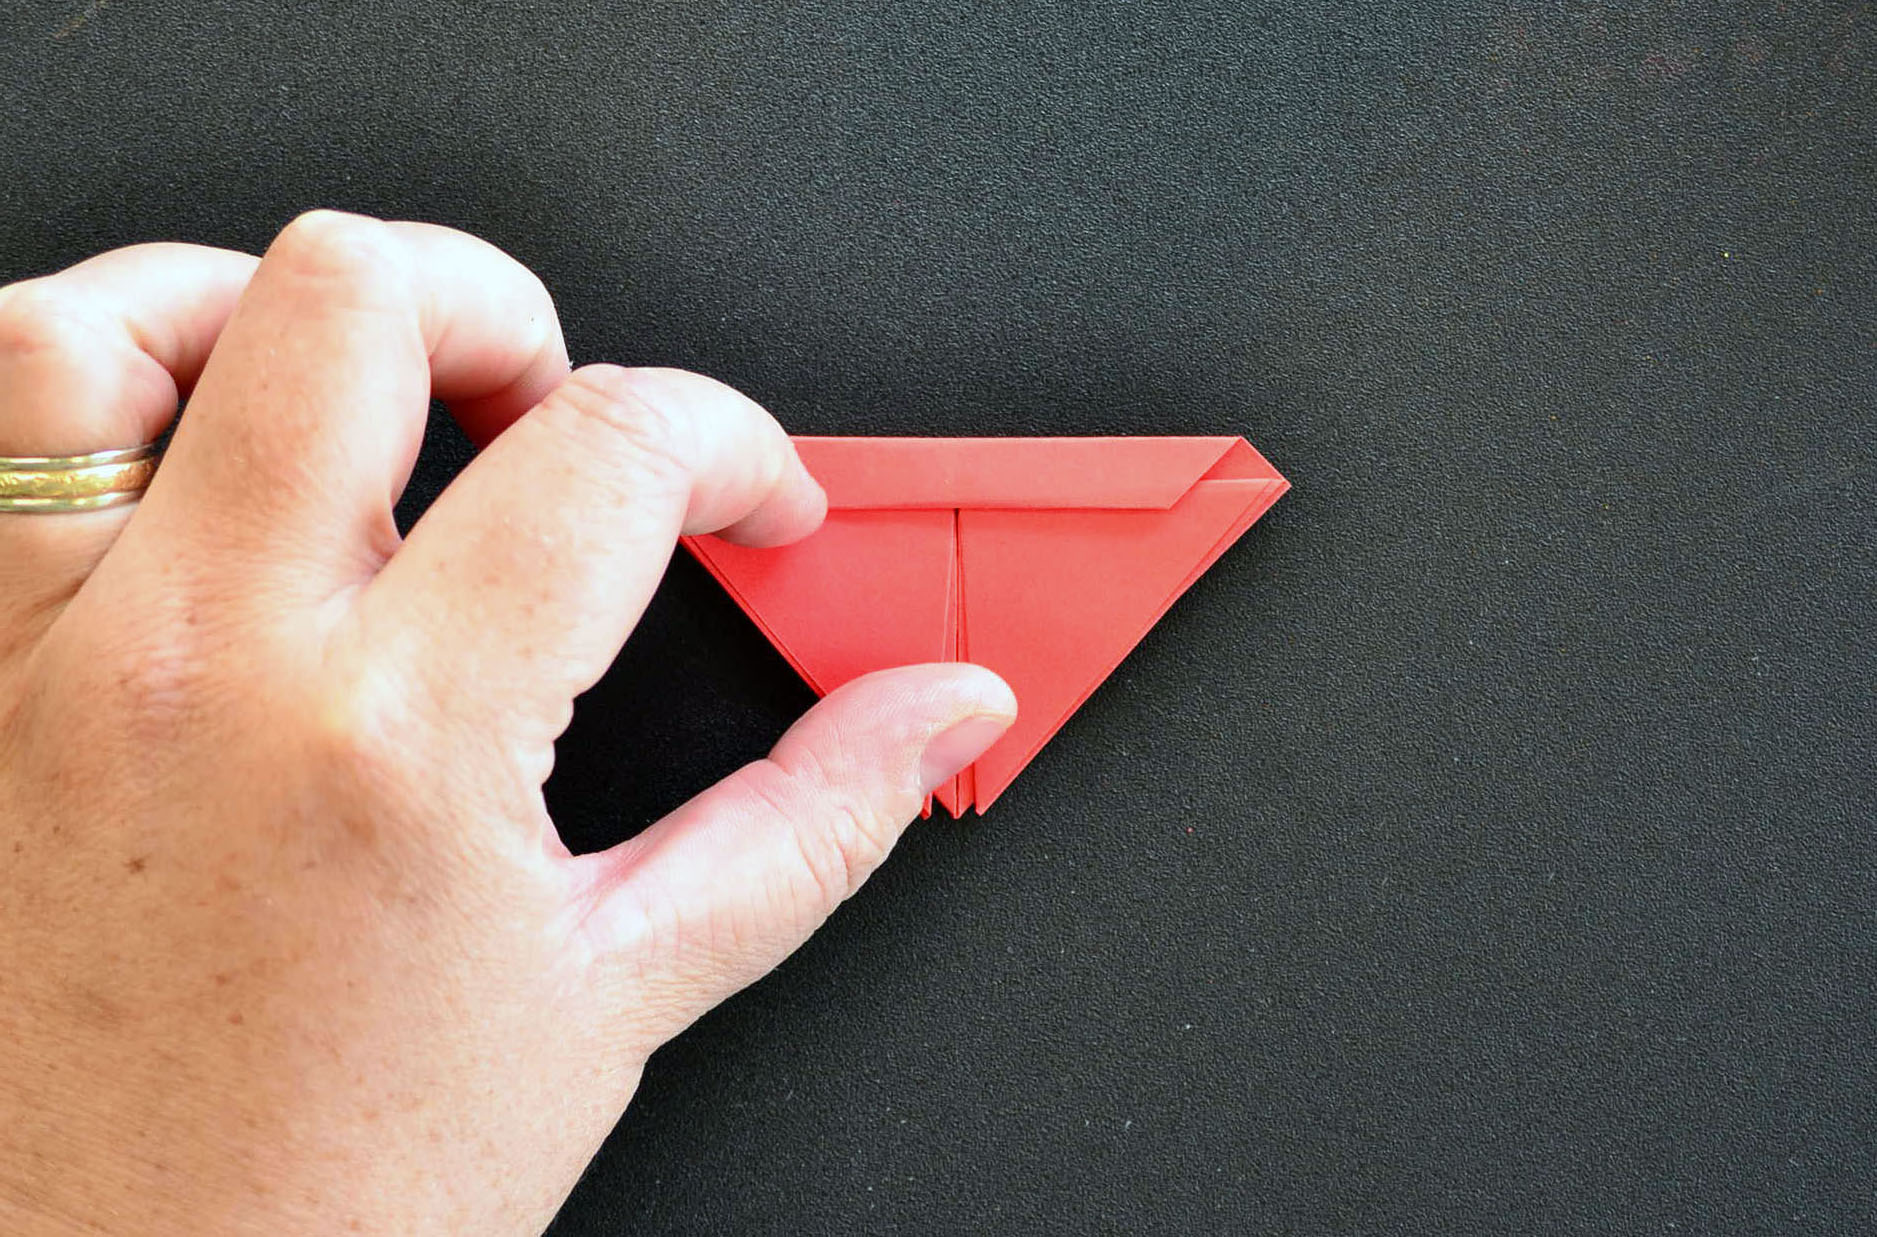
STEP 3
Fold the Head
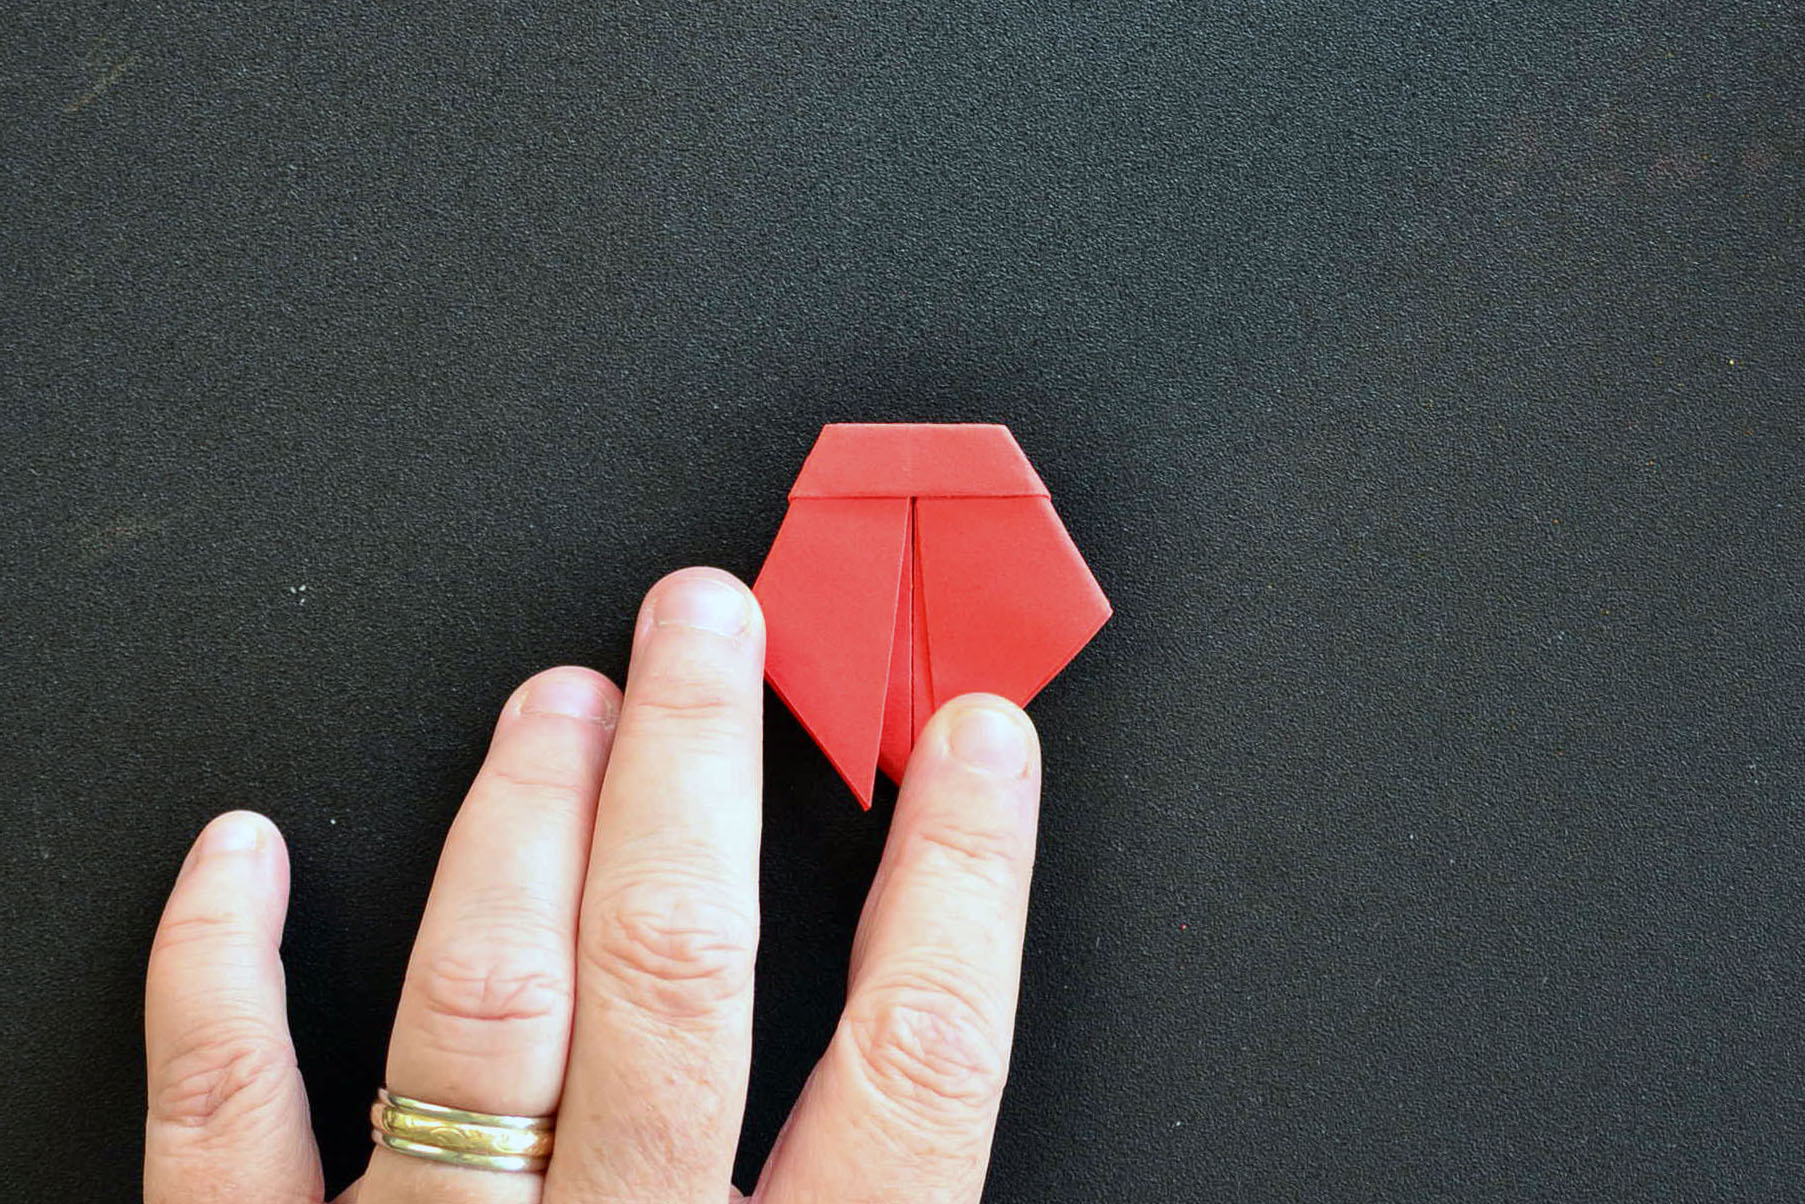
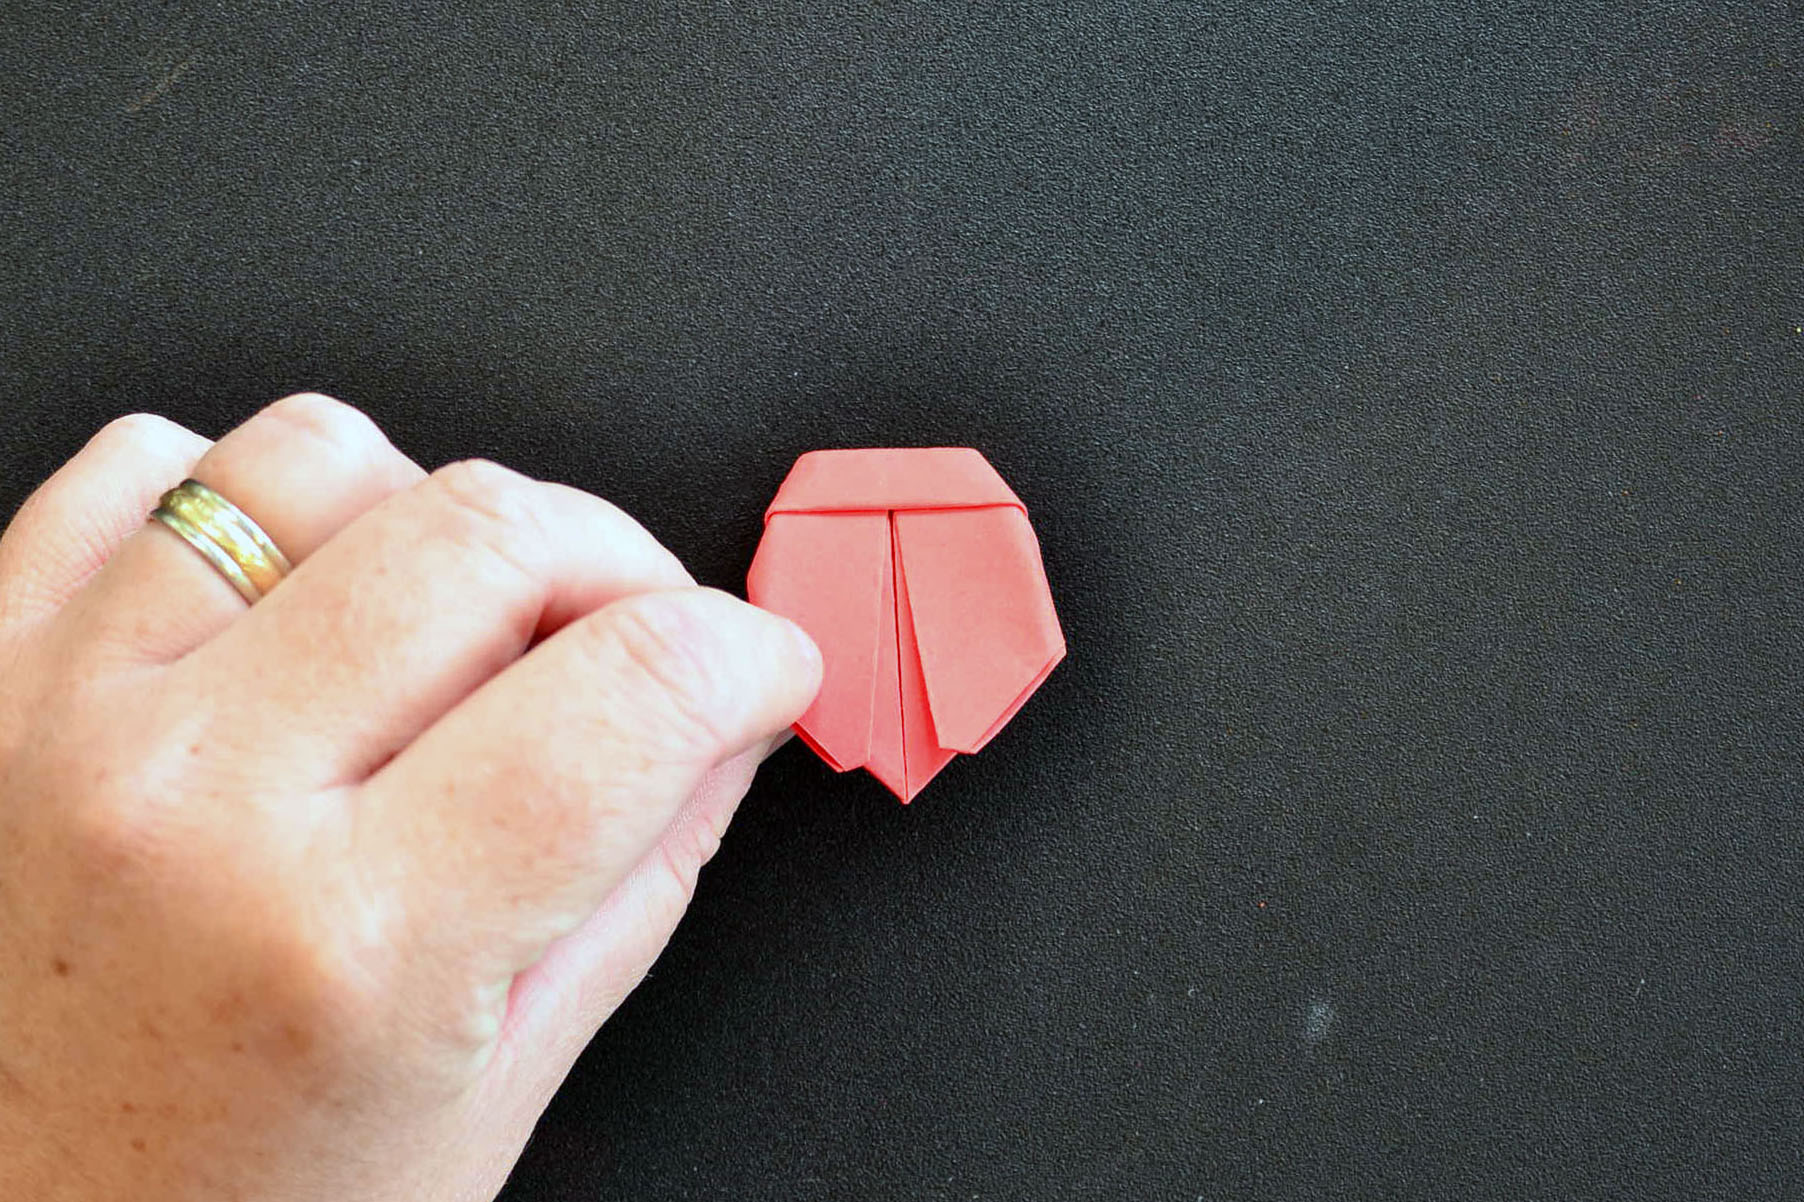
STEP 4
Shape the Body
STEP 5
Decorate the Ladybug
STEP 6
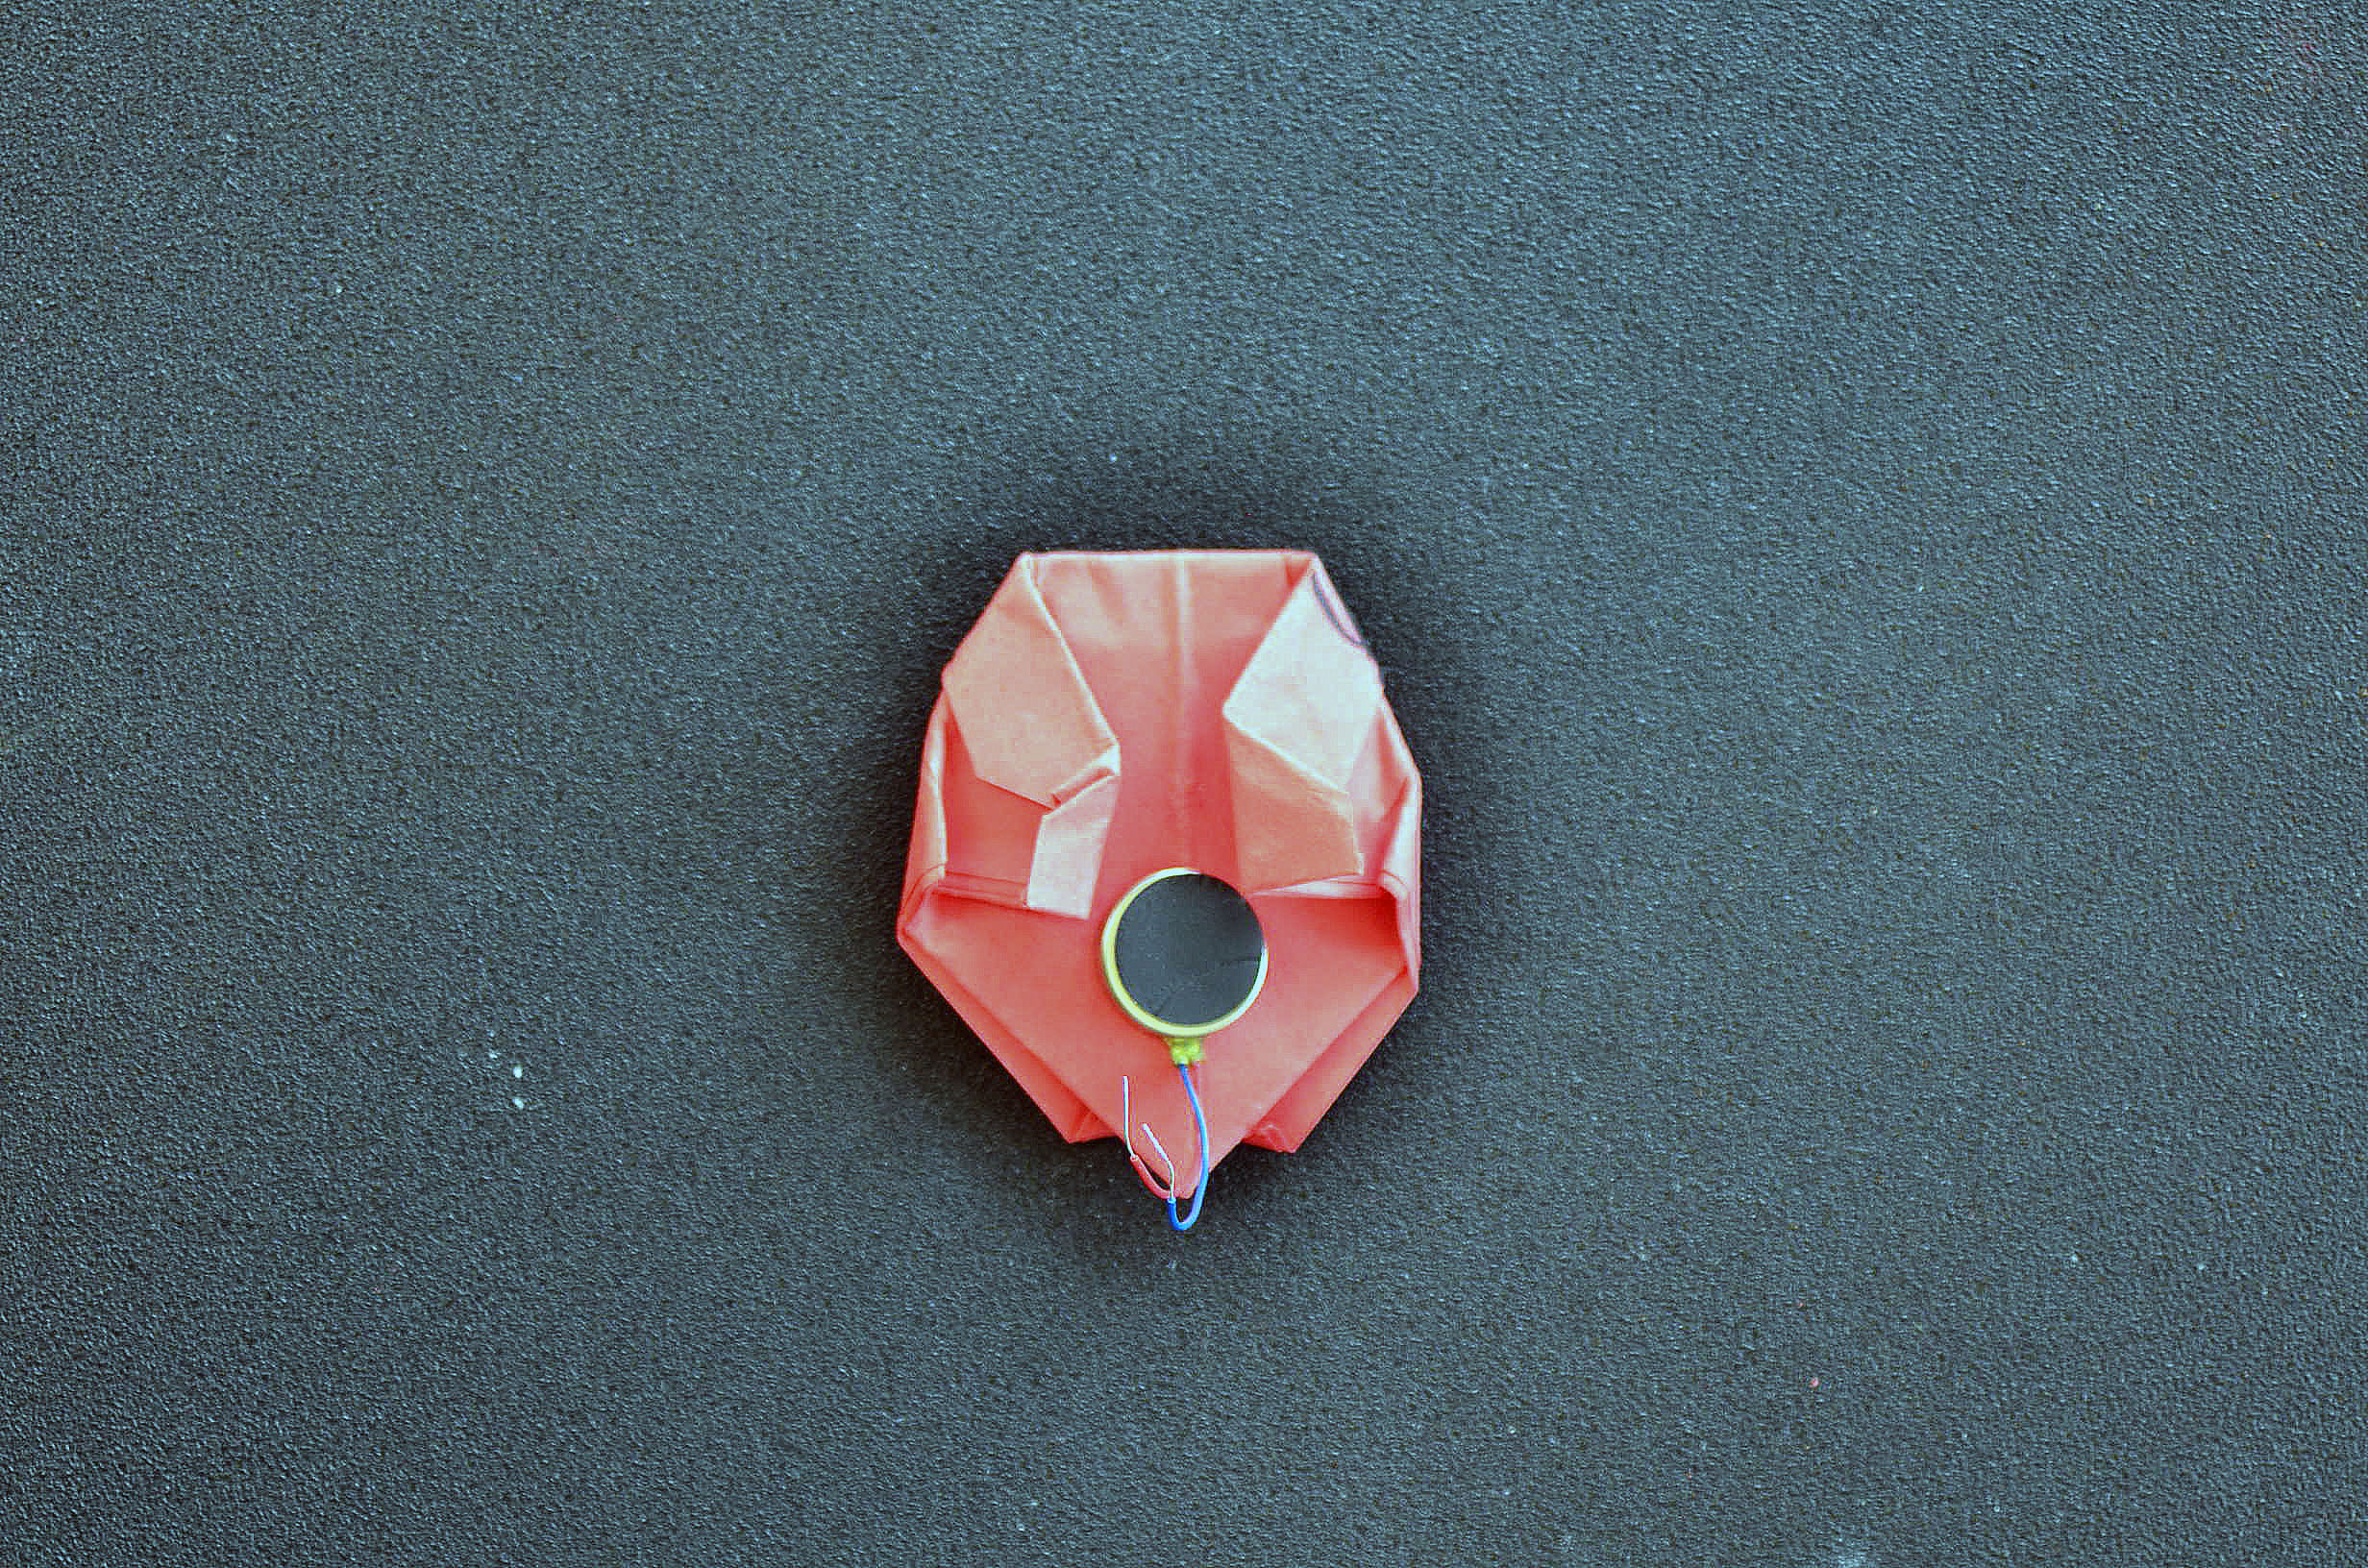
Add the Motor
STEP 7
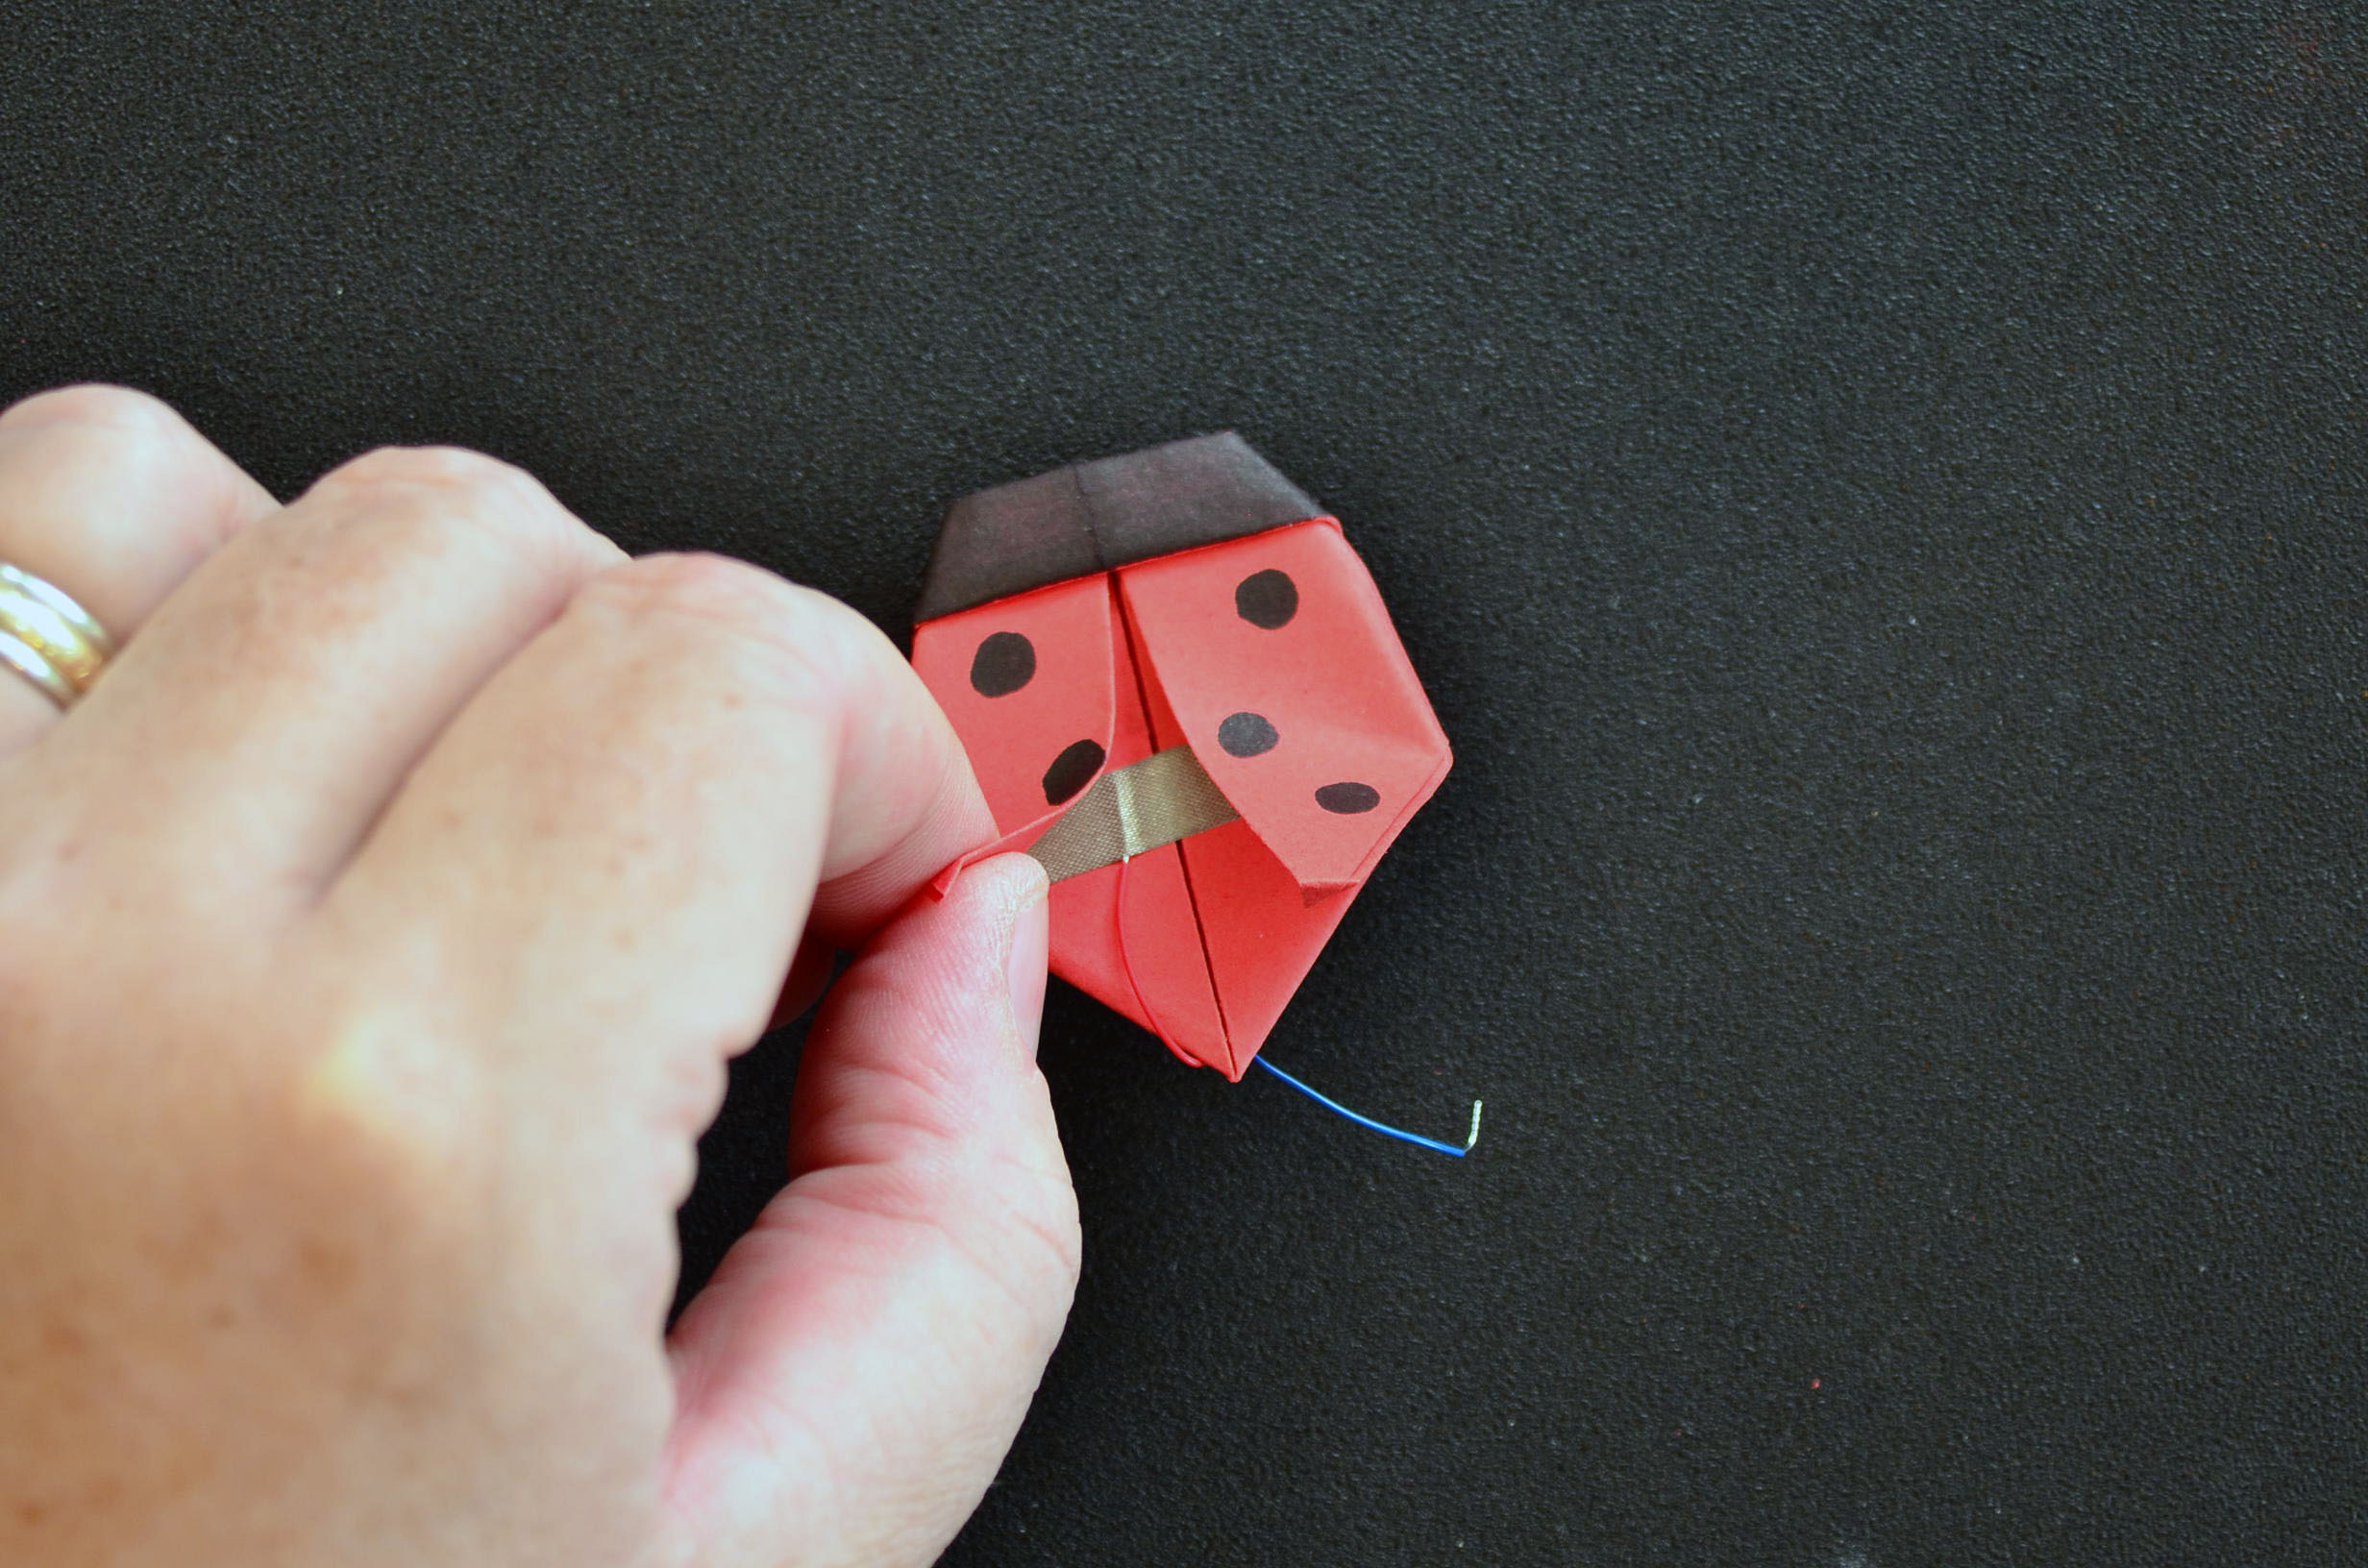
Wire the Positive Lead
STEP 8
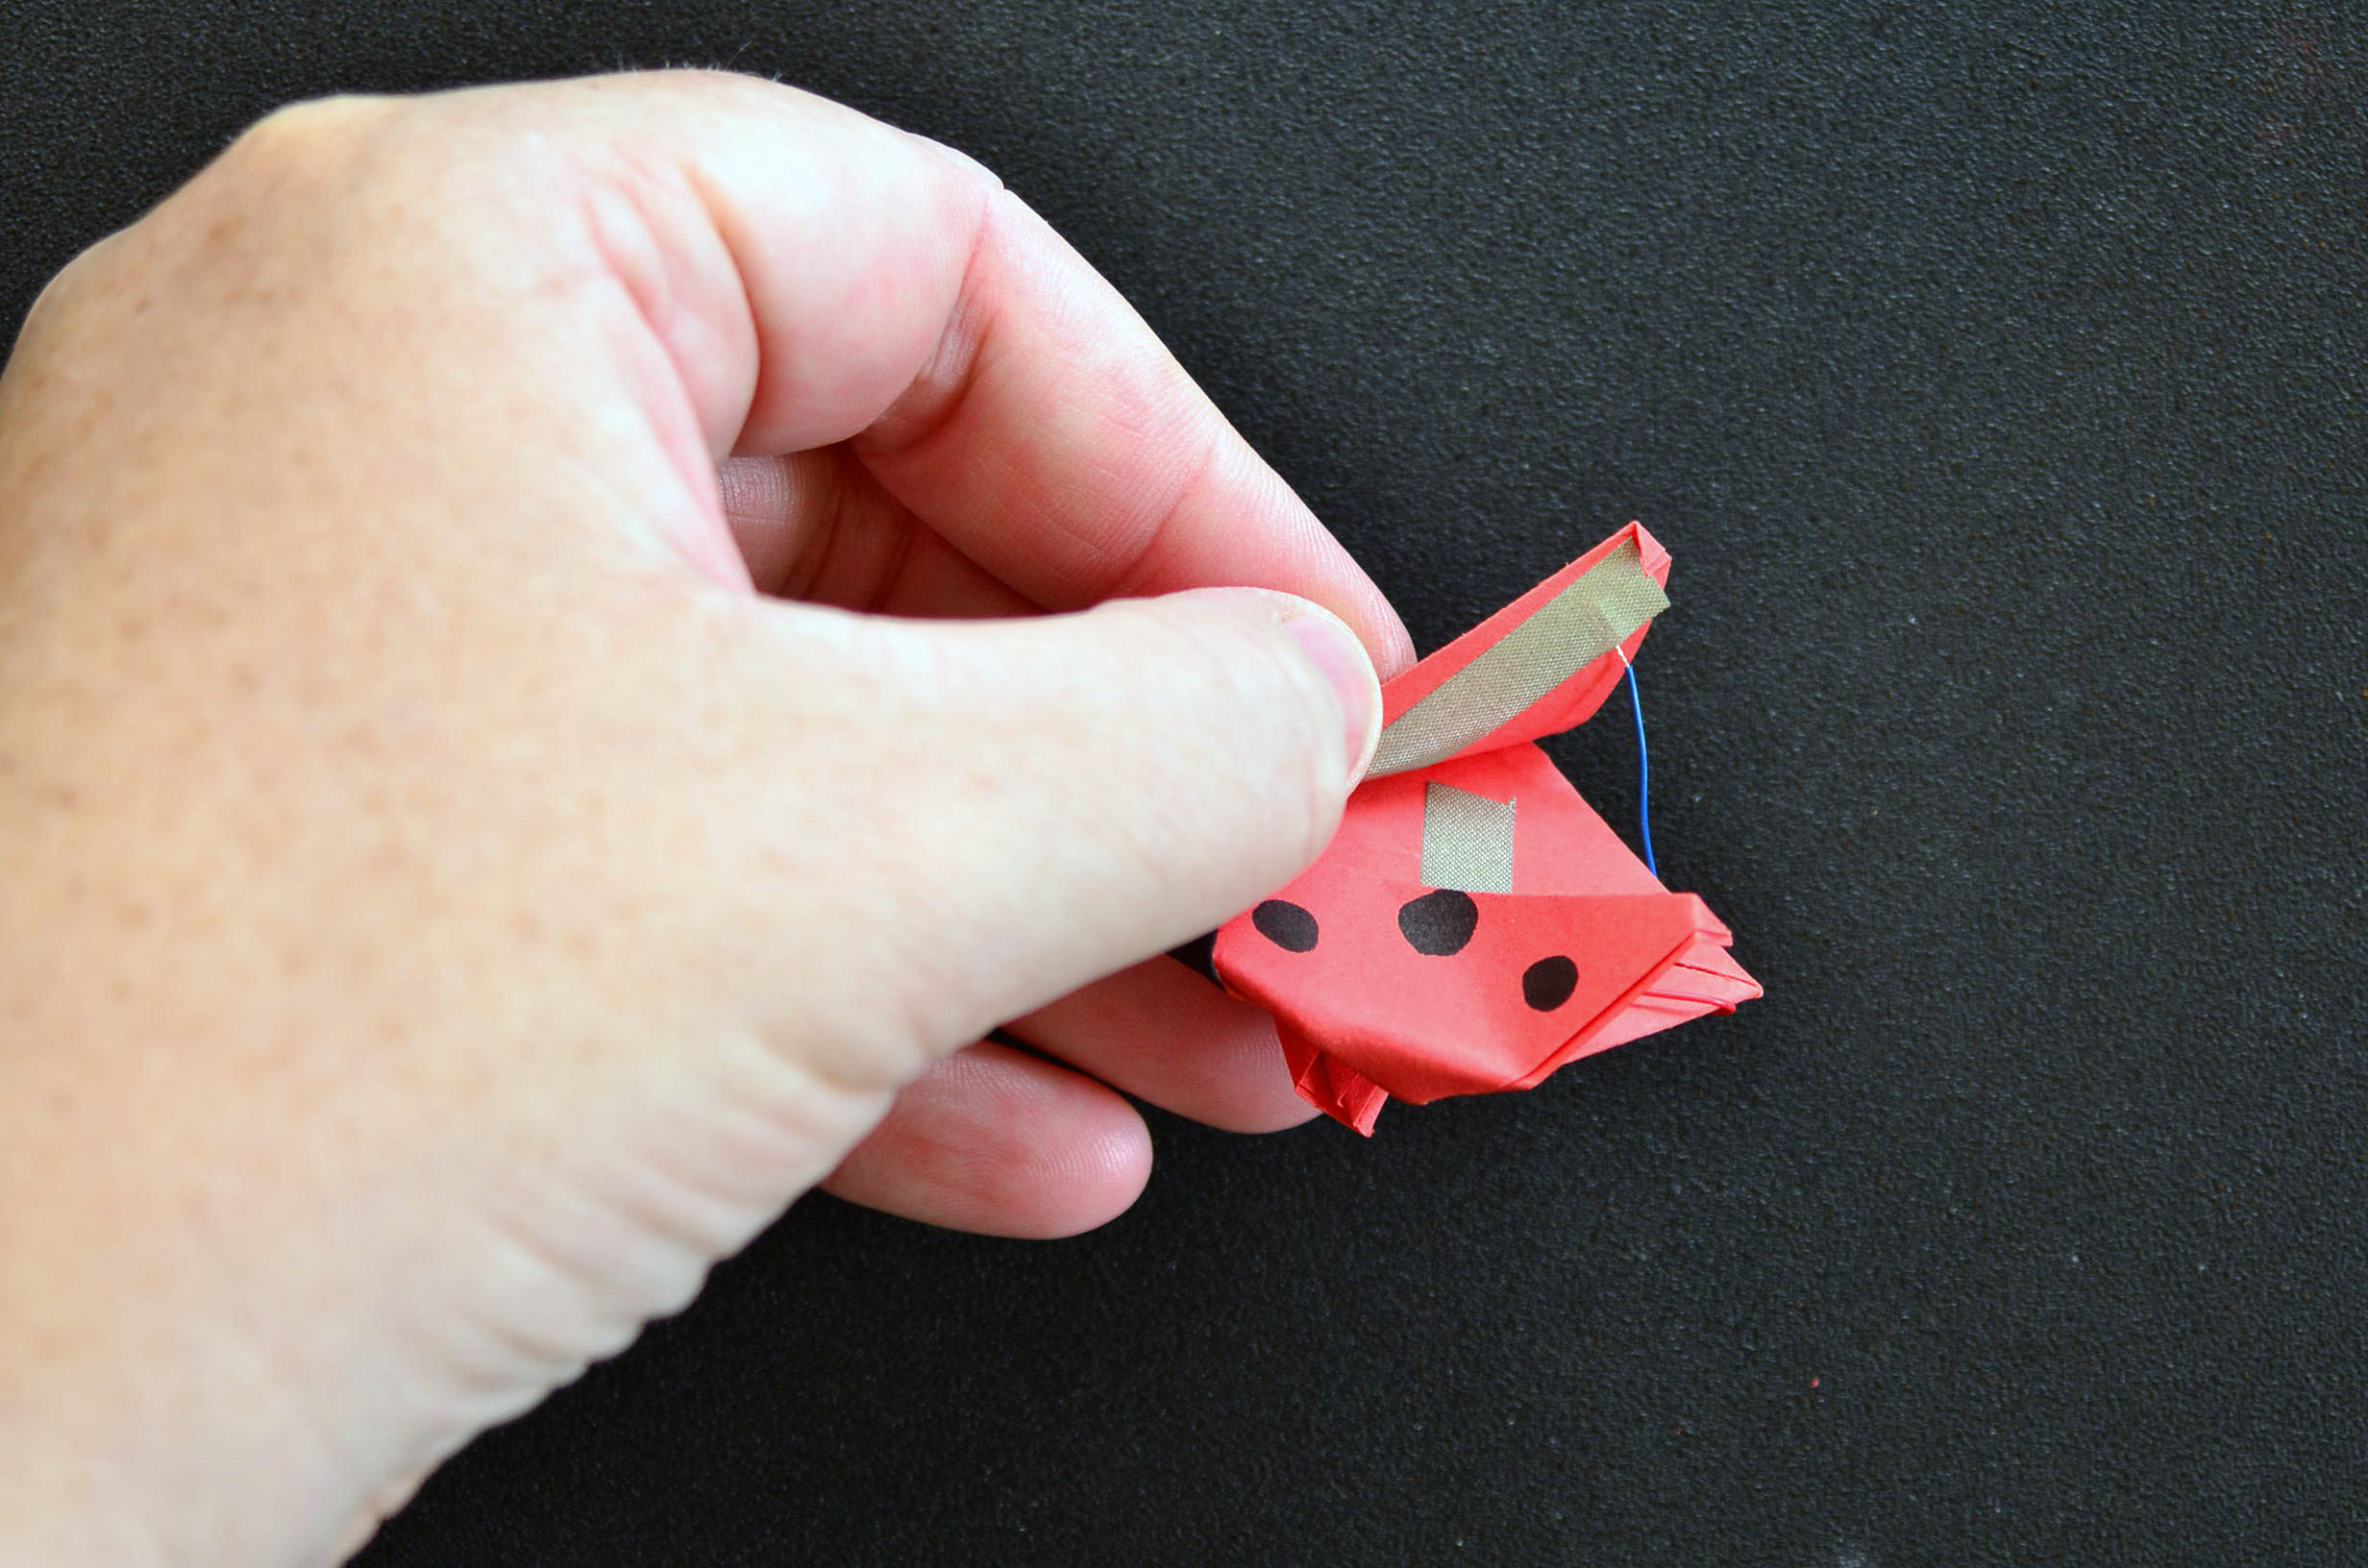
Wire the Negative Lead
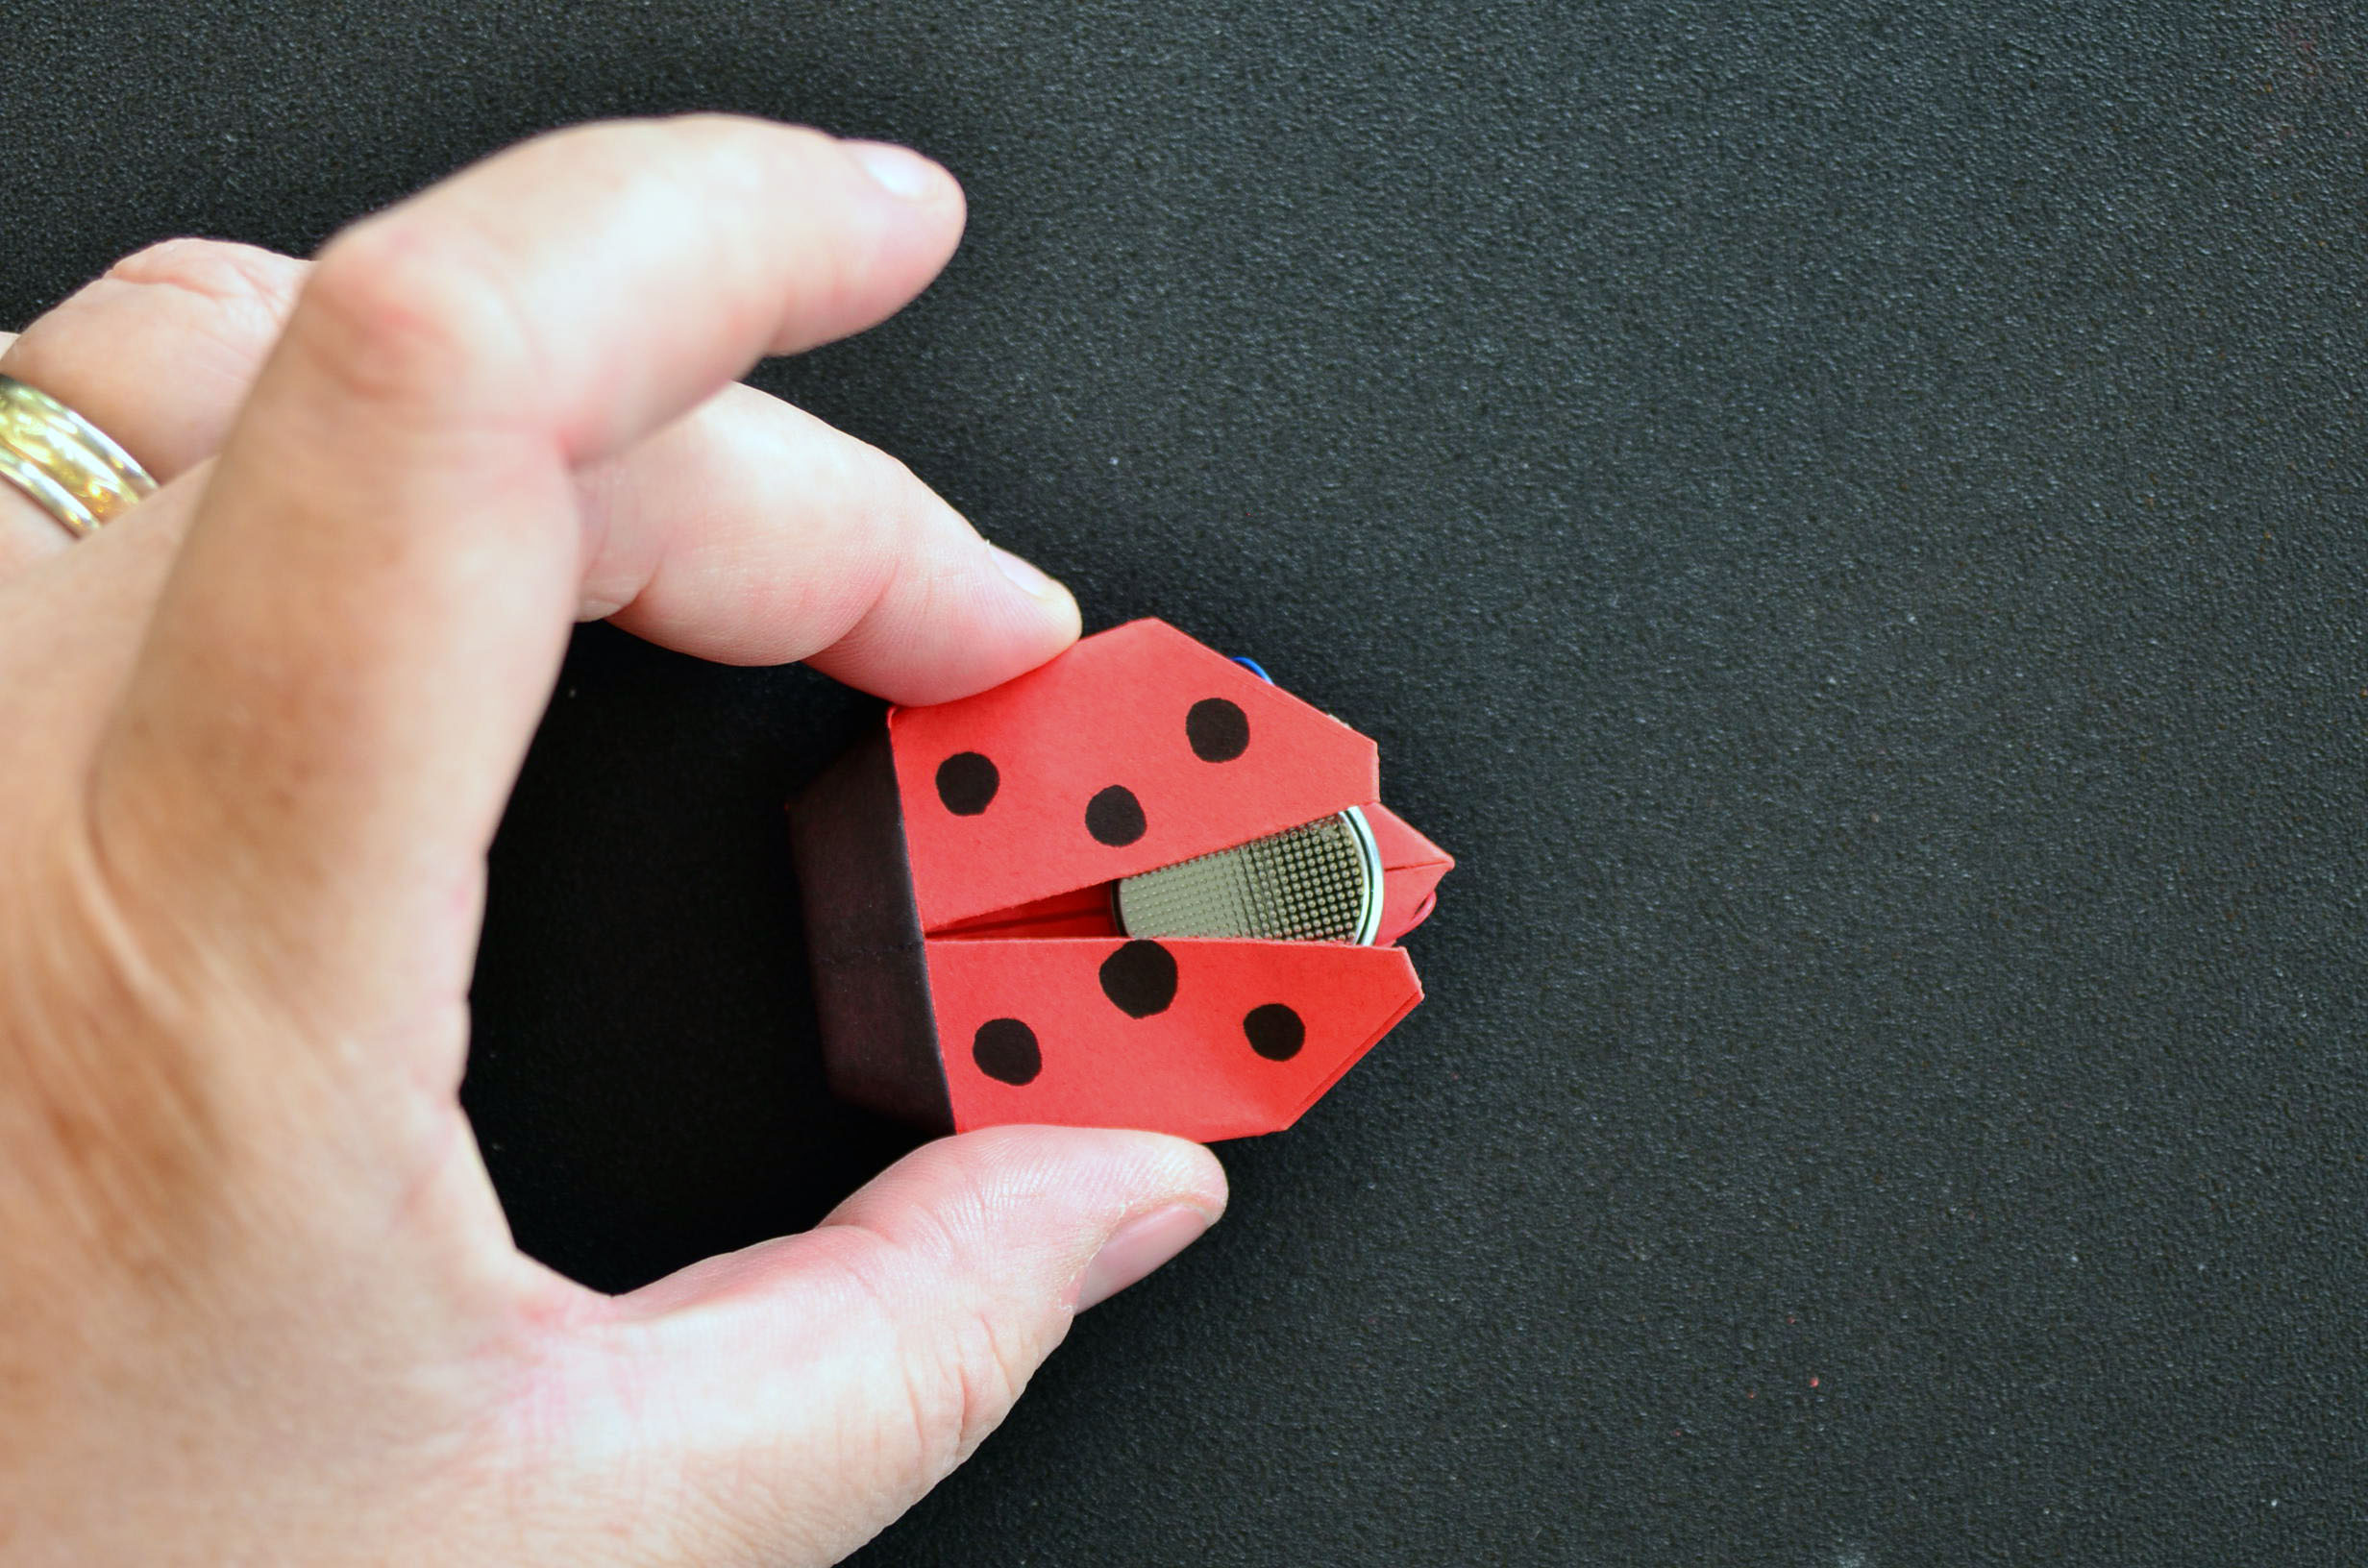
STEP 9
Add the Battery
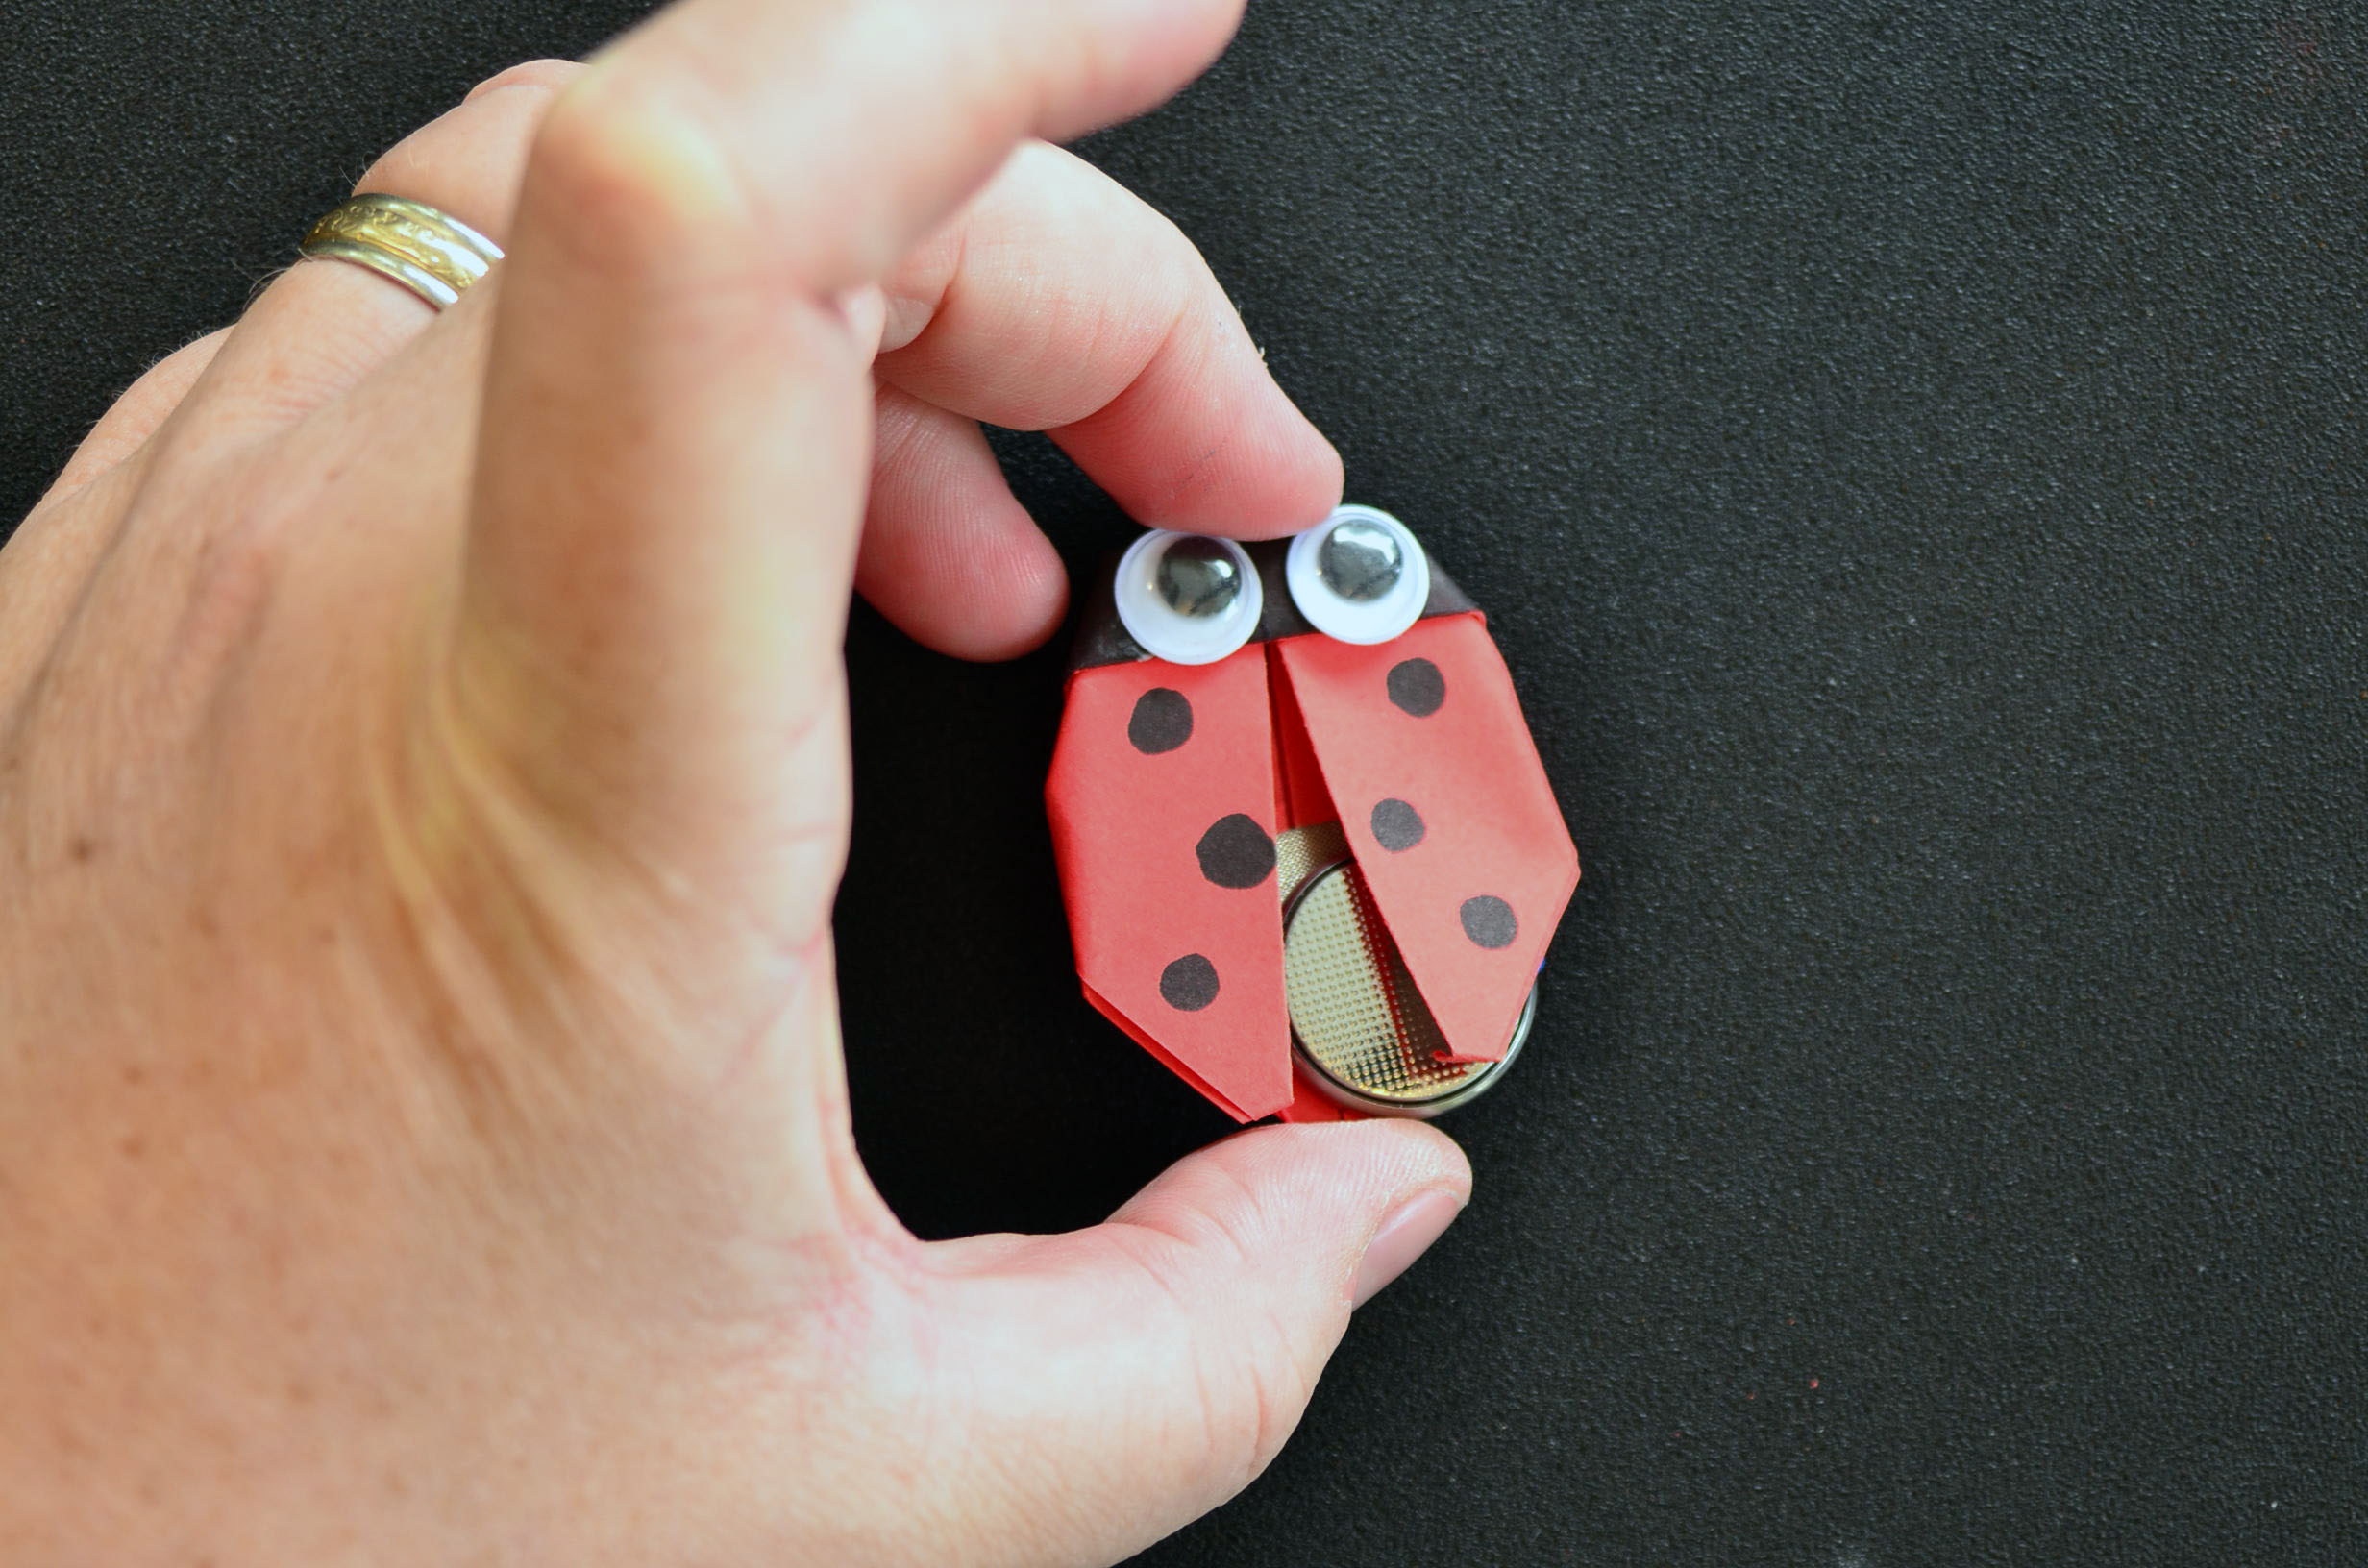
STEP 10
Add the Google Eyes
WHAT'S NEXT?
Check out the other light up origami projects and much more in The Big Book of Maker Camp Projects!
Please Note
Your safety is your own responsibility, including proper use of equipment and safety gear, and determining whether you have adequate skill and experience. Power tools, electricity, and other resources used for these projects are dangerous, unless used properly and with adequate precautions, including safety gear and adult supervision. Some illustrative photos do not depict safety precautions or equipment, in order to show the project steps more clearly. Use of the instructions and suggestions found in Maker Camp is at your own risk. Maker Media, Inc., disclaims all responsibility for any resulting damage, injury, or expense.
